Tired of weeds and garden pests? Wish you could garden year-round? Try hydroponic gardening, and enjoy a pest-free, weed-free garden throughout the year.
Nothing quite beats the smell and feel of rich, fresh soil as you plant seeds in your warm spring garden.
But what about all those weeds you have to pull a month later?
Or the unpredictable late freezes or spring flooding which can kill your tender crops?
And if you’re like most folks, no garden or fresh veggies at all during the cold winter months.
Why not strive for the best of both worlds?
A soil-based outdoor garden plot for the traditionalist in you…
And a hydroponic garden inside for your adventurous yet practical self!
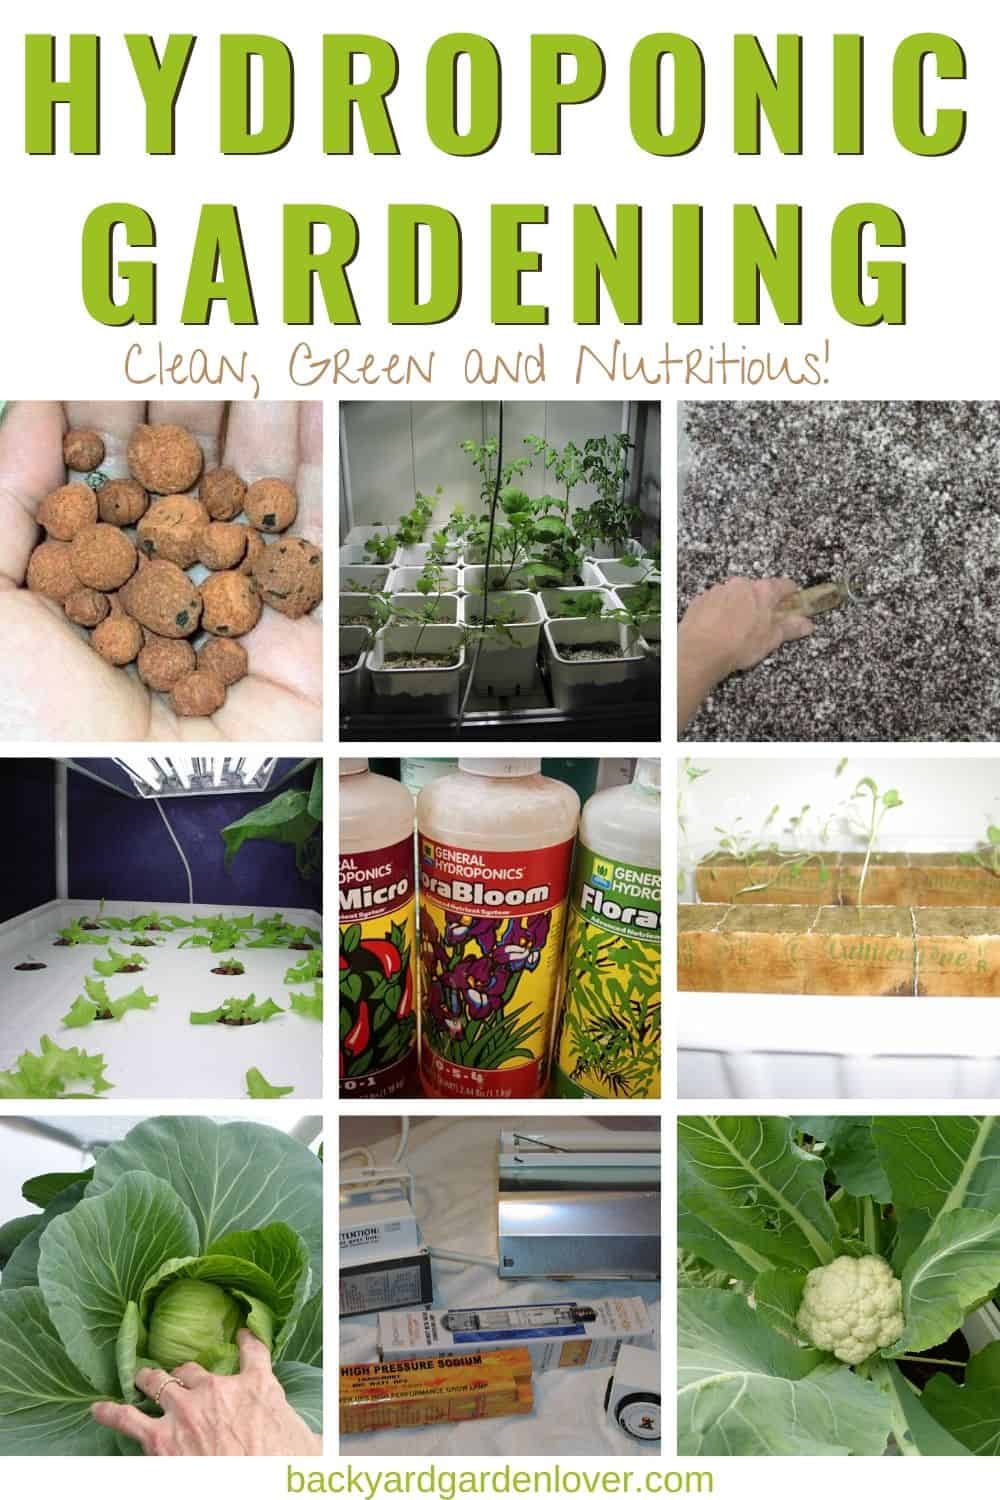
If you’re new to hydroponic gardening, you need this guide! Getting started in hydroponics: expert tips, plans, and secrets is a giant, 320-page guide that will hold your hand through the process of starting your first hydroponic garden. It includes lots of pictures with each step.
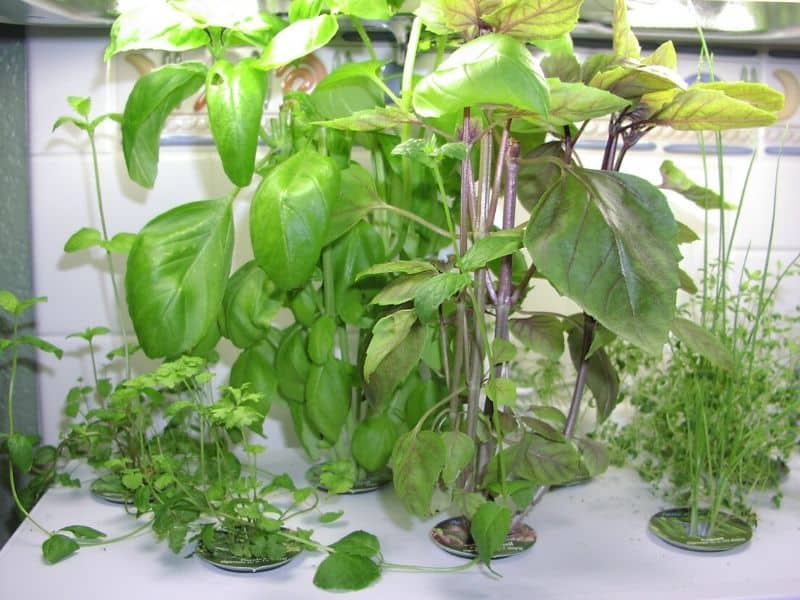
Surely you have heard of hydroponics… but have you ever investigated to see if this intriguing gardening method is for you? I can tell you right now… hydroponics is for everybody! Even if you live in a tiny apartment: with the hydro method, you can harvest healthy fresh herbs in your kitchen…
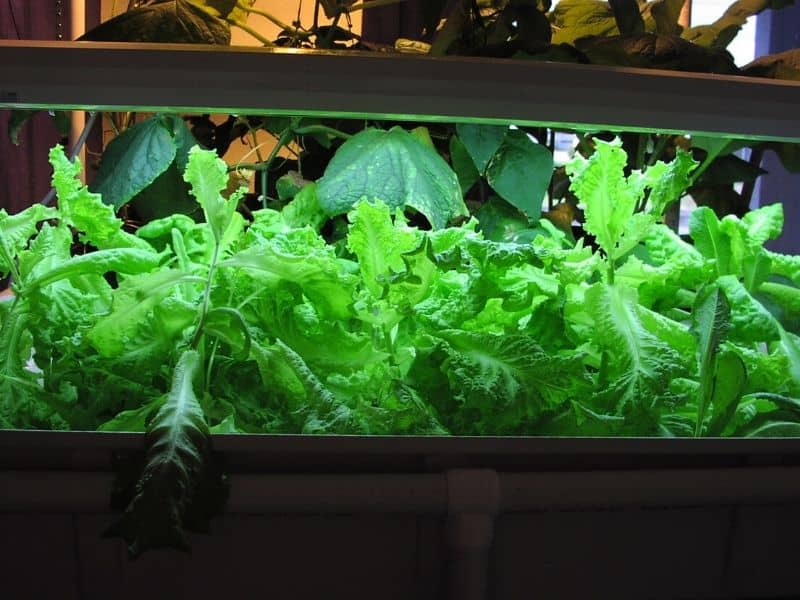
…or tasty heirloom tomatoes and crisp romaine lettuce on your balcony.
And if you live on acreage, or just have a small backyard homestead, there’s plenty of room for you to experiment with some ambitious and prolific hydroponic systems.
There’s always room for a clean and nutritious hydroponic growing method! You can build a system in a greenhouse, on a screened patio or even in a spare bedroom or a large closet inside your house.
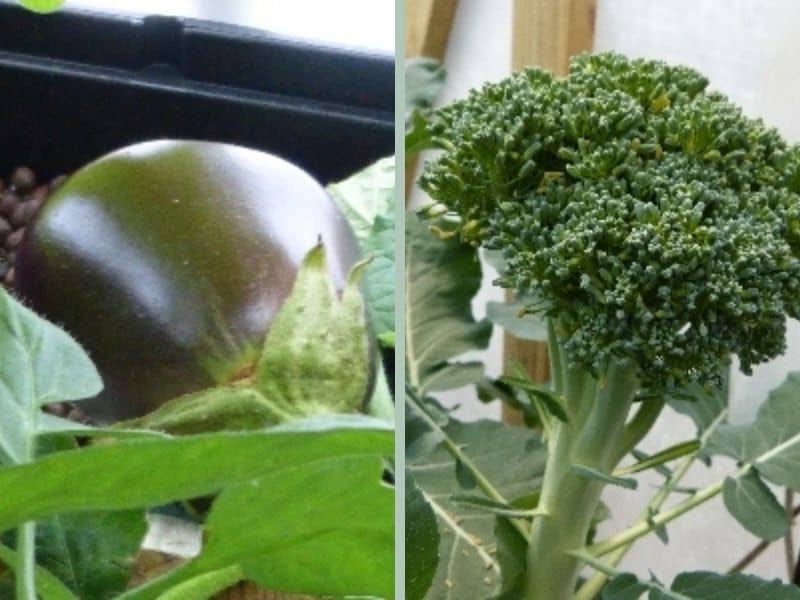
That’s right: delicious fresh eggplant and sweet tender broccoli from your basement… while the snowstorm howls outside.
What is Hydroponic Gardening?
In a traditional soil-based garden, plants get their nutrition from the soil, as well as from possible supplemental fertilizers. The plant expends a lot of energy and growth in its roots, which must spread out far and deep, looking for nutrients, and moisture during droughts.
This use of the plant’s resources results in a large root mass, at the expense of the edible fruits and leaves at the top.
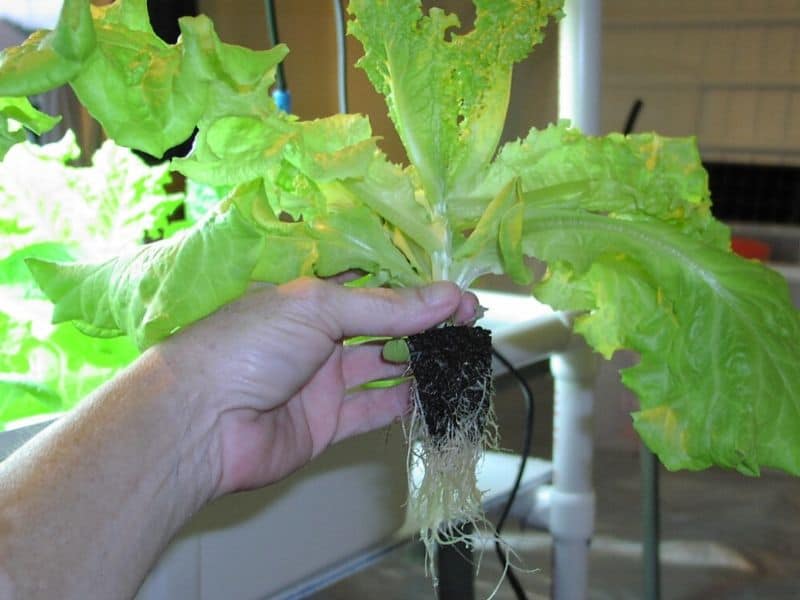
The main hallmark of hydroponics is that plants are grown entirely without soil. The plants are propped or held up in containers full of planting media. Then the hydroponic nutrient solution is pumped up to flood the roots, either intermittently or continuously. This takes care of the plants’ nutritional needs as well as providing plenty of water.
Since all of its nutritional needs are met automatically by this process, hydroponic crops can put all of their energy into the parts you eat: fruits and leafy greens. Hydro plants usually have much smaller root balls than soil-fed. And the fruits can be huge!
Nutrient Solution
Apart from being soil-less, all hydroponic gardens have another thing in common… the use of a specialized nutrient solution to feed them. These formulations have all the vitamins, nutrients, and trace minerals a plant needs for growth. This special mix must be used in hydroponics; you can’t just throw Miracle Grow in your nutrient reservoir!
There are many brands of nutrient solution on the market: enough to get you thoroughly confused. Just keep it simple. Most brands have 2 or 3 part solutions in their line, which you mix in certain ratios as directed on the label. The final solution you end up with matches up to the phase of growth the plant is in.
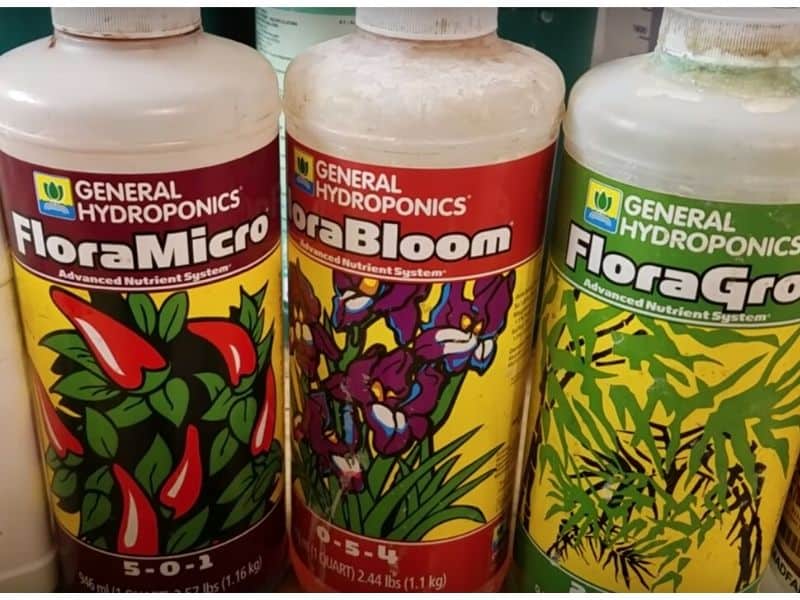
Our favorite nutrient solution is General Hydroponics Flora Series; Flora Micro, Gro, and Bloom (get them all here). Standardized, high quality, and inexpensive, this nutrient solution has never disappointed us!
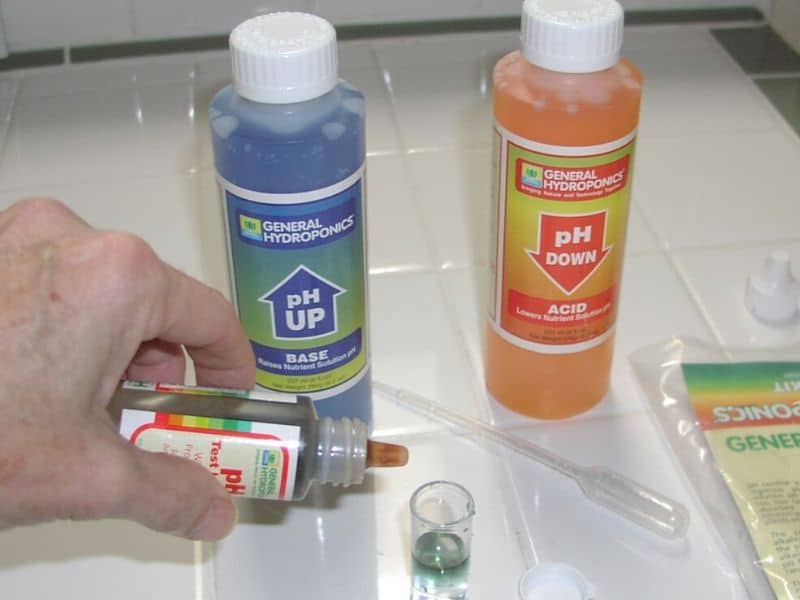
As you go through a hydroponic gardening cycle, there are a couple of things you will want to monitor to get the best results from your garden: the concentration and the pH of your nutrient solution. But there are simple procedures and equipment you can get that help keep these chores easy to deal with.
Hydroponic Media
The material used to support hydro plants are inert, meaning neutral; they do not interact with or change the nutrient solution in any way.
The most popular media used in hydroponics include
- Hydroton (clay balls
- Coco coir (ground palm tree husks)
- perlite
- Rockwool cubes
One can use just one of these media in a pot, or any combination of the first three materials. Rockwool cubes can be used to support a hydroponic plant without using a container and are used alone.
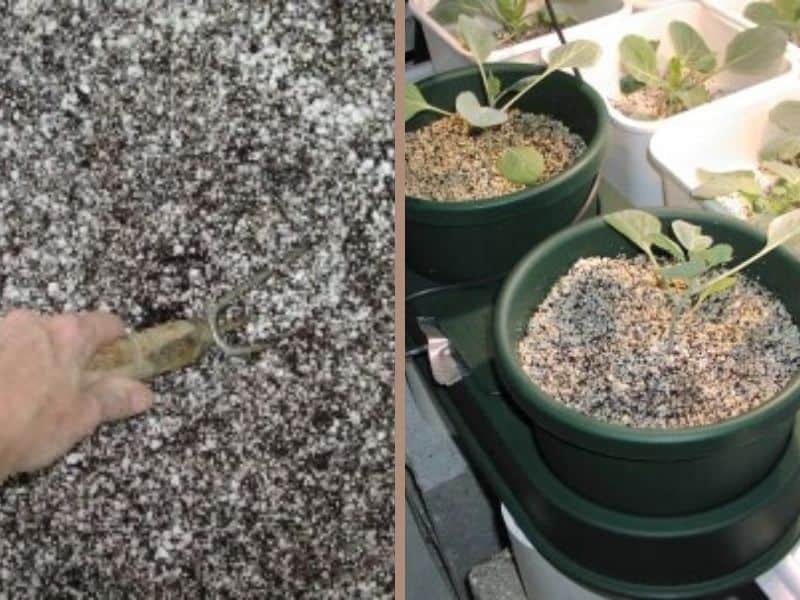
One of our favorite hydroponic medium mixes is perlite (light and airy) mixed with coco coir (adds structure and support). This is what the mixture looks like, and then with cabbage plants in place.
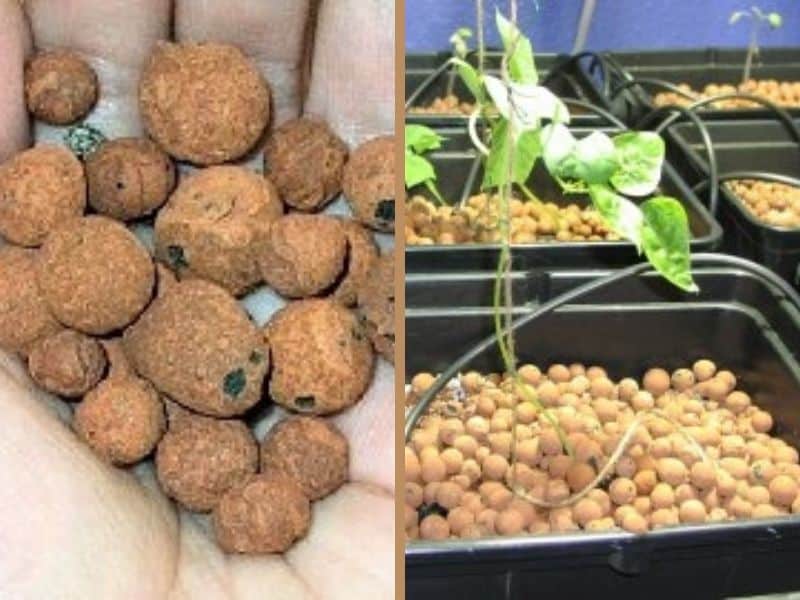
And this is Hydroton or clay balls:
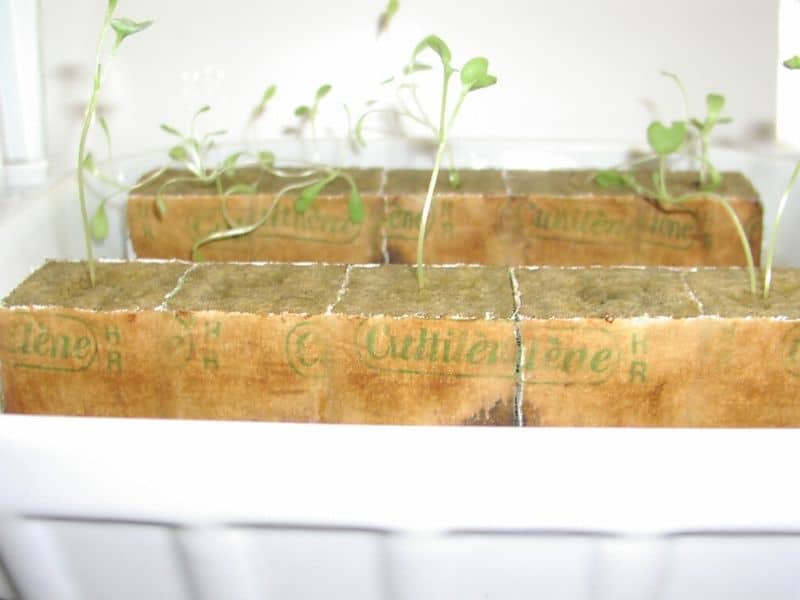
Seedlings started in Rockwool Cubes:
Let There be Light!
So we’ve taken care of feeding and hydrating our hydroponic plants. What else do we need to provide? Just like their soil-borne cousins, hydro crops require adequate bright light of the proper spectrum in order to survive.
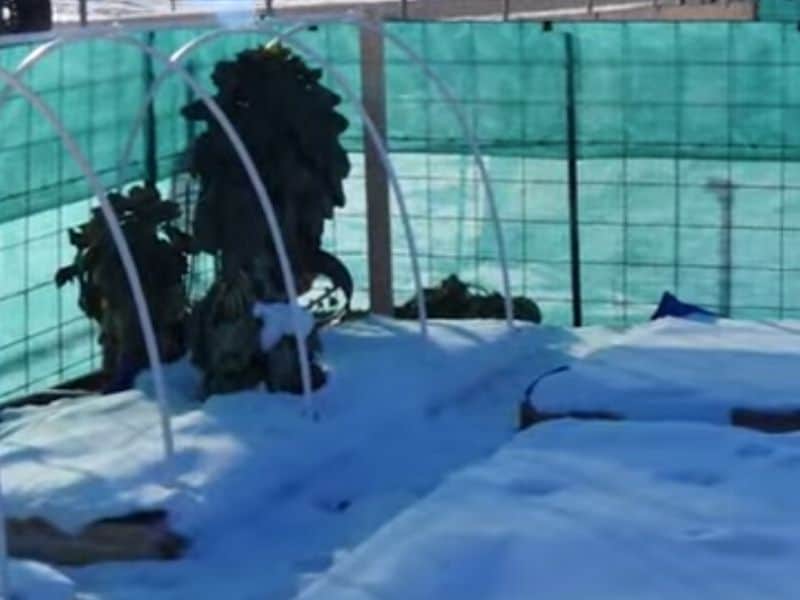
Hydroponic lighting is really quite simple. The best light of all, of course, is the sun. Using “solar power” is possible if you put your hydroponics project in a sunny greenhouse or on a porch that catches several hours of direct sunlight per day. (Hydroponic systems must be under a roof: they cannot be placed directly in the rain.)
If you’re not lucky enough to have a greenhouse, then you would probably set up somewhere inside your house. In that case, you must buy lamps for your indoor garden. And there are three choices.
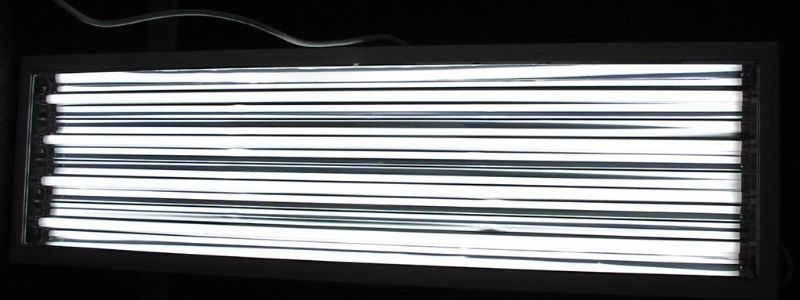
1. T5 high output fluorescent lamps
If you’re only going to be growing herbs, lettuce, and other leafy greens, T5 high output fluorescent lamps work just fine. These lights are cool to the touch, keeping the room cooler, and are very easy on the electric bill. T5s do not, however, have the proper range of light to sustain flowering/fruiting crops (tomatoes, beans, peppers, etc.).
2. HID (high intensity discharge) lighting
For fruiting plants, you should seriously consider HID lighting (High-Intensity Discharge). These lamps are relatively expensive, put out a lot of heat, and can raise your light bill noticeably. So why bother with HIDs? They provide the closest light spectrum to the sun of any “grow light” on the market. You can grow ANY type of plant… leafy, flowering, or fruiting, with HID lighting.
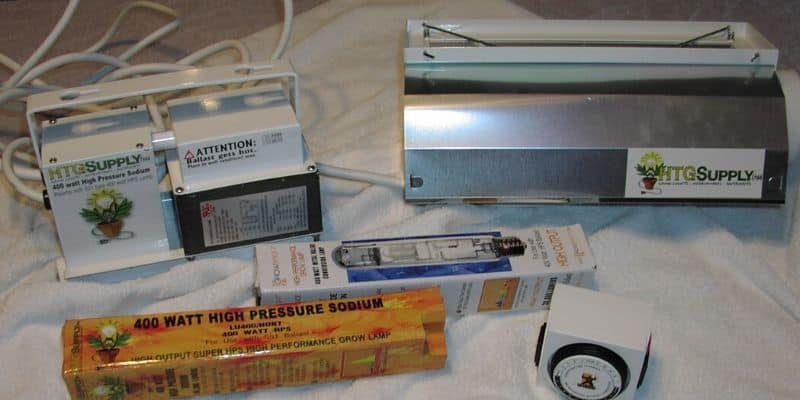
HID lamps are further broken down into MH (metal halide) or HPS (high-pressure sodium). MH lamps are used during the first phase of plant growth, active growth; then changed to HPS lamps for the flowering and fruiting phase. Sounds expensive? Well, you don’t actually have to buy two lamps. You can get one conversion lamp and simply change out the bulbs when the time is right.
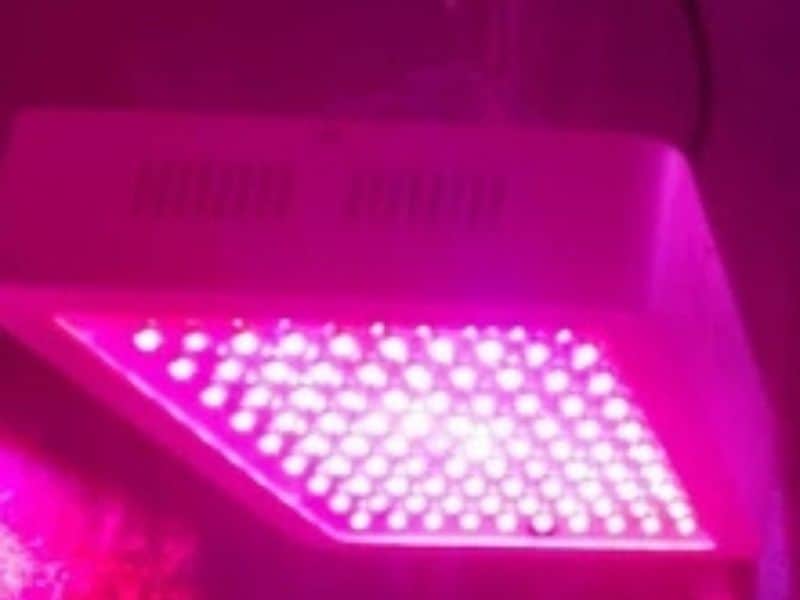
3. LED lamps
Your third option for lighting your hydroponic garden is the LED lamp. They have come a long way in producing LEDs that support even fruiting plants. They burn cool, do not hit your light bill hard, and last for many years. The drawback? They just don’t have quite the spectrum and grow power of the tried-and-true HID lamp. They are getting closer…. but not quite there yet.
Types of Hydroponic Systems
We give you here just a quick sample of the variety of hydroponic systems you might consider for your first build. And we are sticking to 4 simple and cheap plans here!
The Lettuce Raft
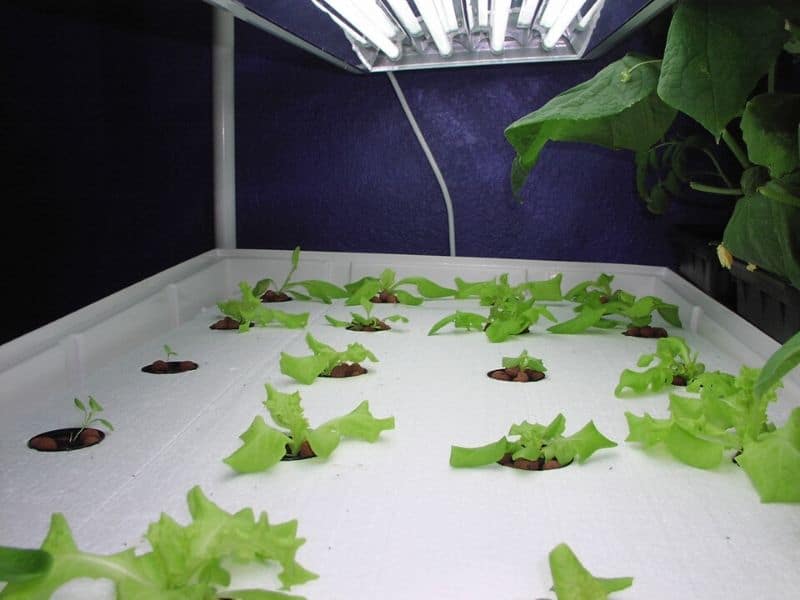
This is probably the simplest, most fool-proof hydro setup there is… and yet it is fun and capable of putting dozens of tasty salads on the dinner table.
This is how to build:
You start with a large flat tray, which serves as the reservoir for your nutrient solution. Then you cut a slab of Styrofoam the size of the tray, cut some holes in it, and let it float on your nutrients. Fill a tiny net pot with a growing medium and stick one into each hole in the raft. Plant a baby lettuce seedling in each pot. Voila! Instant garden! The roots of the plants grow down into the solution and suck up that life-giving potion. Super-charged growth. Great for romaine.
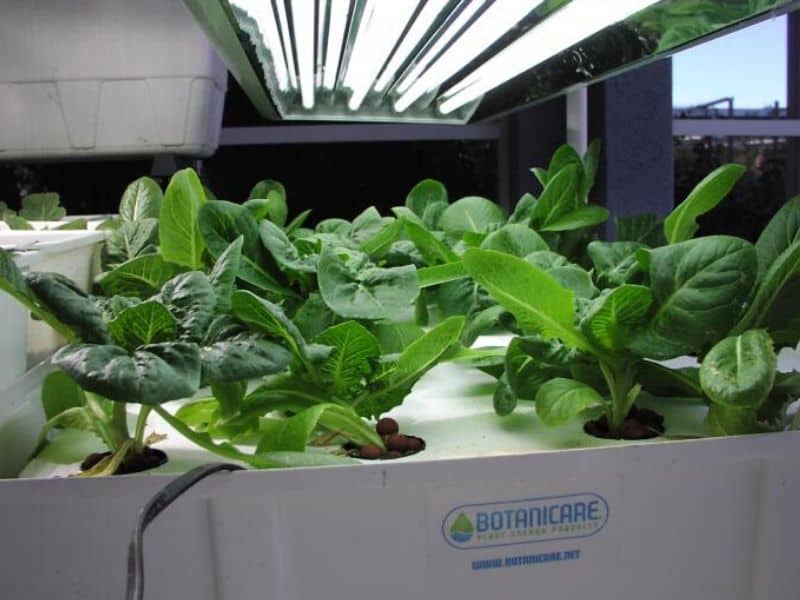
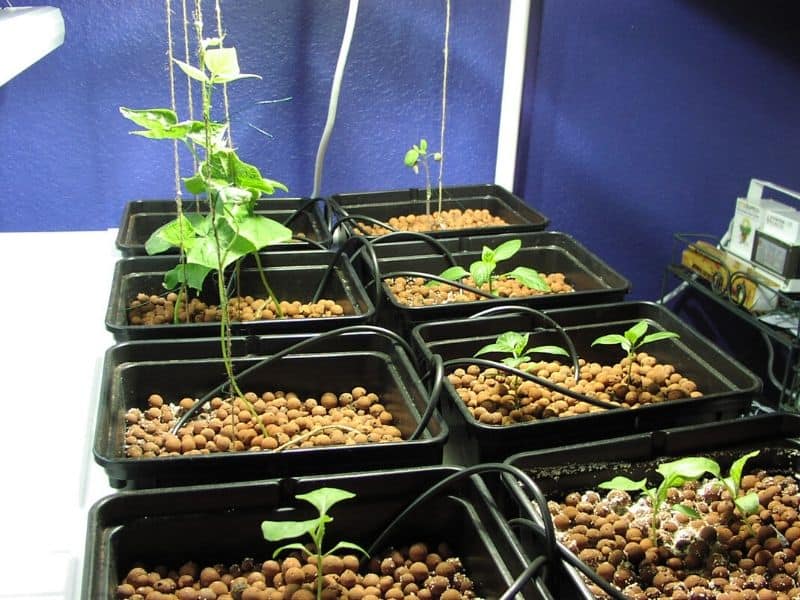
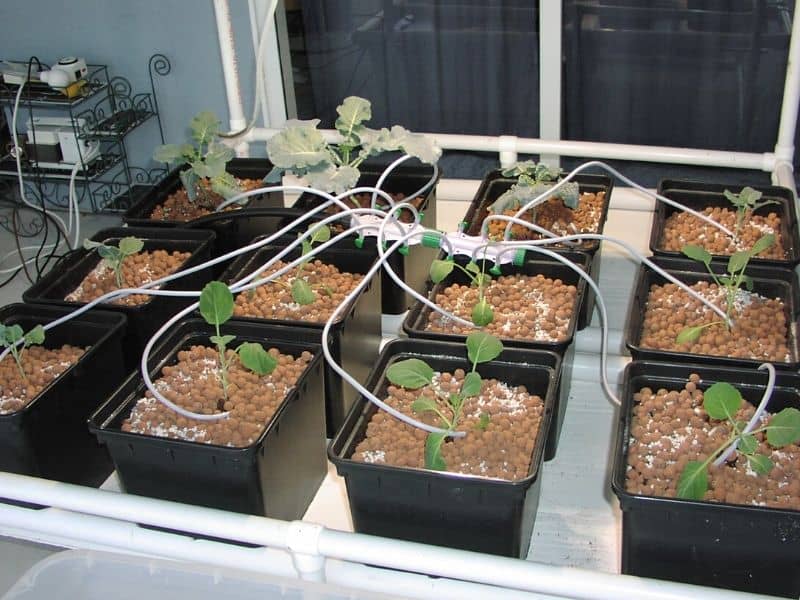
Ebb & Flow
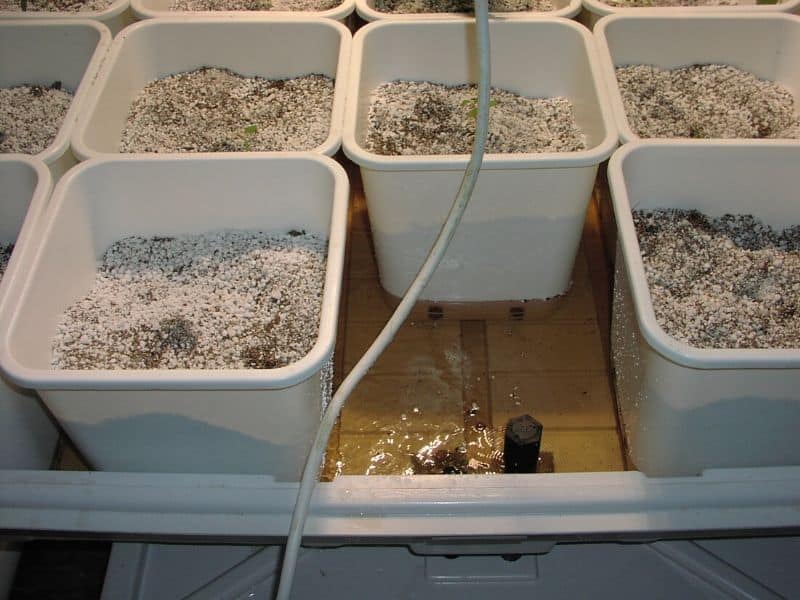
Ebb & Flow, also called Fill & Drain, is probably the most classic hydroponic model. It is a very simple, yet a tried-and-true hydro system that remains very popular to this day. We use it all the time.
Here’s how it works:
You use a very large and sturdy flat tray for your base. Fill it with square pots planted with crops. The pots must have drain holes in the bottom. A nutrient reservoir is kept below the tray. A small pond pump kicks on 4-6 times per day, each time for about 15 minutes. The pump sends the nutrients up into the pot-holding tray and the solution rises up a few inches, totally saturating all the pots through their drain holes. An overflow drain keeps the liquid from rising too high in the tray. The pump eventually stops and the tray drains completely back into the reservoir. Economical re-use of nutrient solution and superior plant growth!
Top Feed Bato Buckets
The Bato or “Dutch” Bucket hydroponic system is a bit more complicated but very popular. It involves the use of specialized buckets with safety drains in the bottoms to retain moisture for the roots, but prevent over-watering.
As in the Ebb & Flow, you use a large, sturdy holding tray, which is filled with planted Bato Buckets. A large reservoir of nutrient solution sits under the tray.
A small pond pump comes on intermittently and pumps the solution up through a system of spaghetti tubing to feed each bucket at the top (“top feed”). Bato Buckets then drain the overflow of liquids out bottom drain holes into the holding tray. Finally, it drains back into the reservoir.
Bato Buckets are excellent for vining plants, like tomatoes, beans, and peppers.
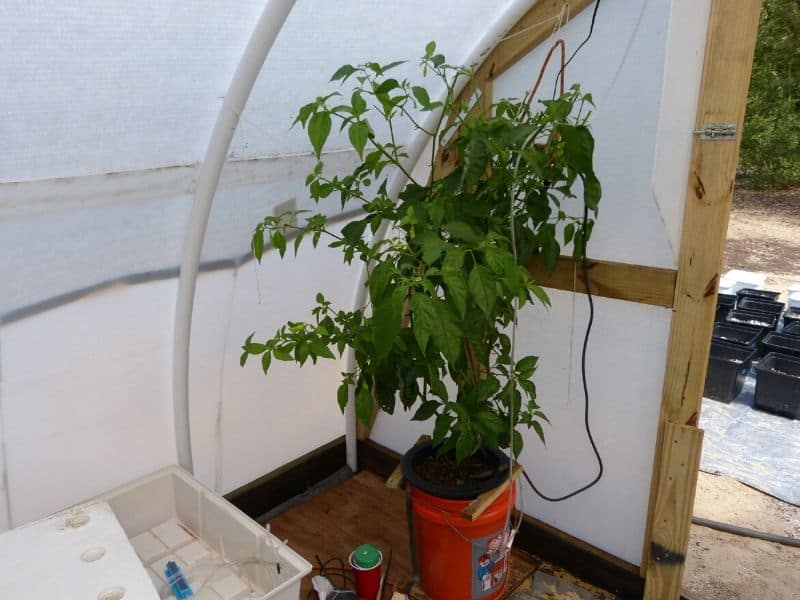
The Bucket Bubbler
Bucket Bubblers are great fun, quick, and easy to put together for a single specimen plant. You can put a bucket literally anywhere, to add a little life to your space. We use bubblers for growing hot peppers, and I keep one in my office.
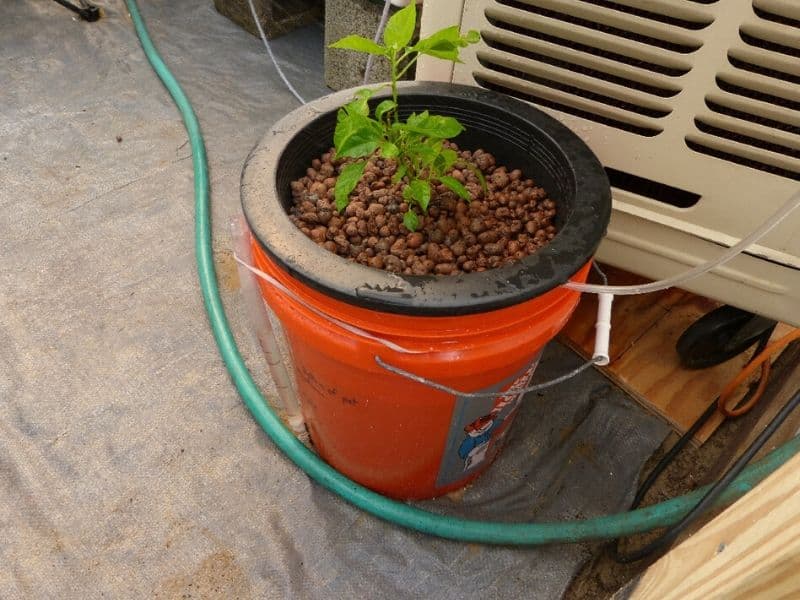
There are several different designs for Bucket Bubblers, but the basic setup involves a 5-gallon bucket to hold the nutrient solution. Over the top of the bucket sits a bowl or large net pot, filled with medium (clay balls) and planted with your specimen. A tiny pond pump sits down in the solution and pumps it up over the top of the pot. Roots from the plant grow down into the bucket, giving it plenty of room to grow… and grow… and grow.
How do I get started in Hydroponics without spending a bundle?
Keep it simple (at first anyway).
Use cheap materials to build basic setups and experiment with different crops and regimens.
Get to know basic hydroponics before you tackle more complicated and difficult systems, like aeroponics and NFT (Nutrient Film Technique).
Check out Hydroponics-Simplified.com for free basic hydroponic plans and answers to all your questions.
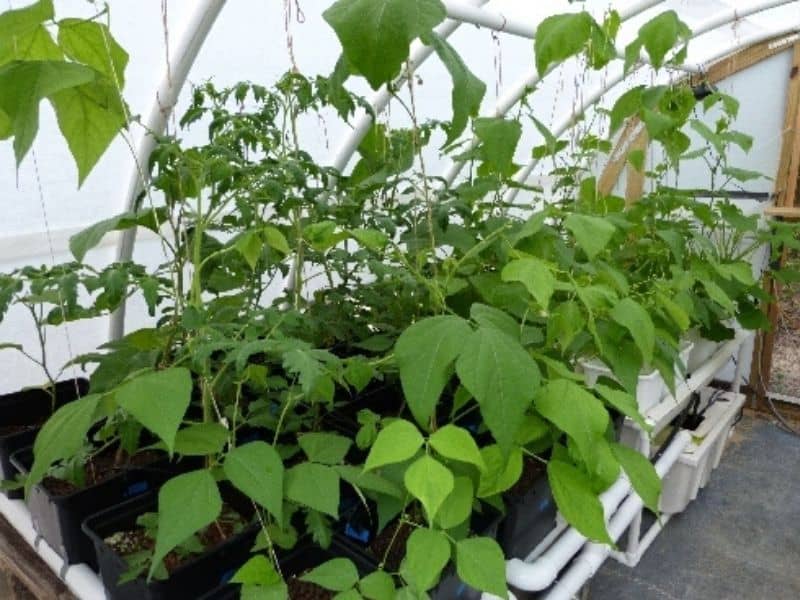
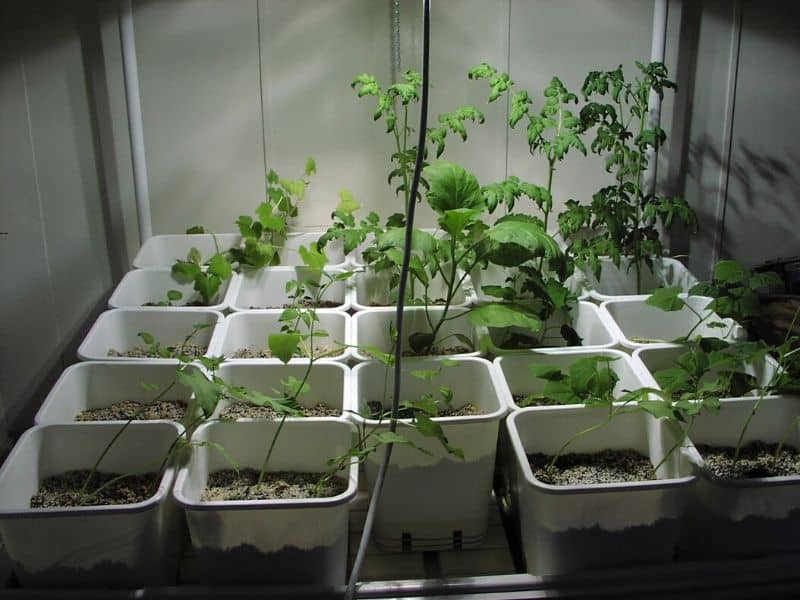
Hydroponic Gardening Showcase
I hope you enjoy the show… these were all from our gardens.
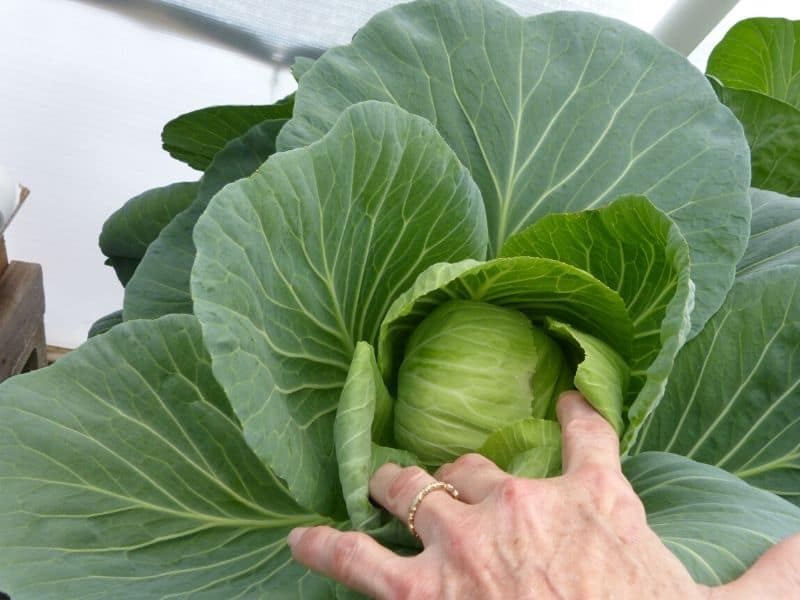
Cabbage – delicious!
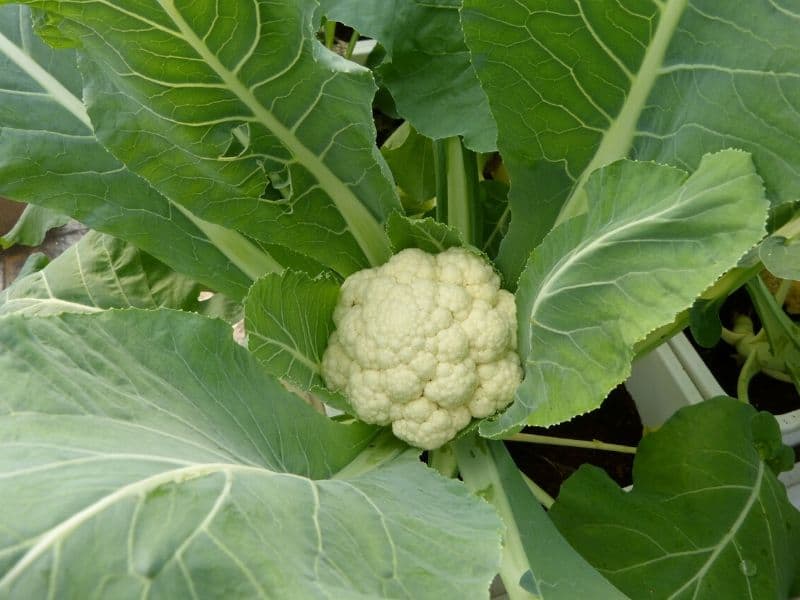
Cauliflower – one of my favorites!
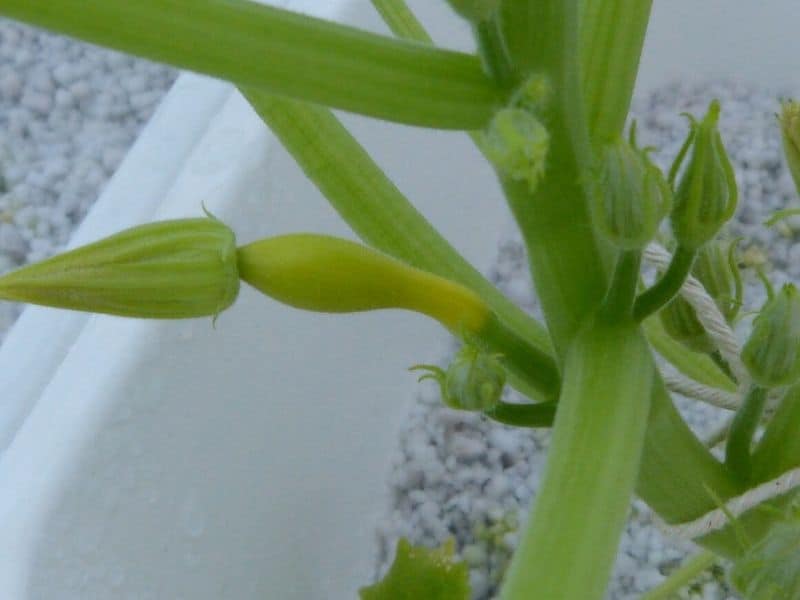
Tiny squash
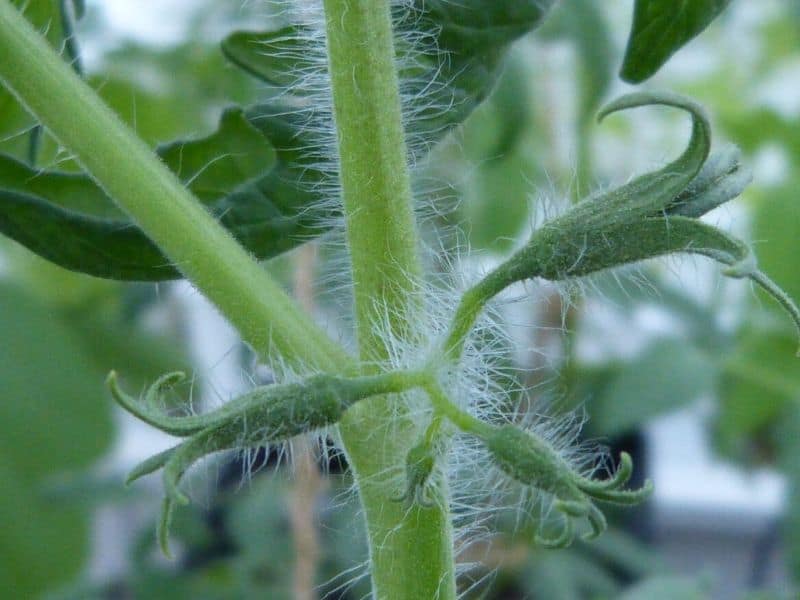
Future tomatoes – here are the best fresh tomatoe recipes.
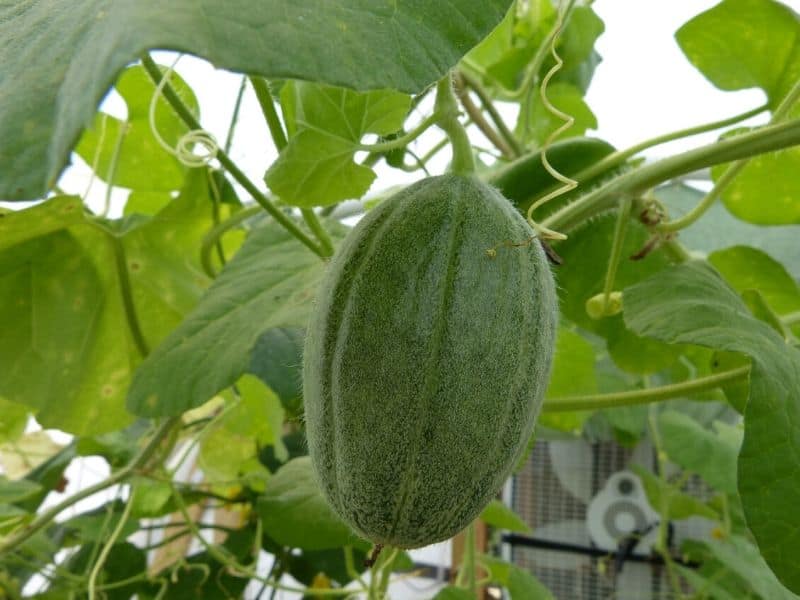
Baby melon
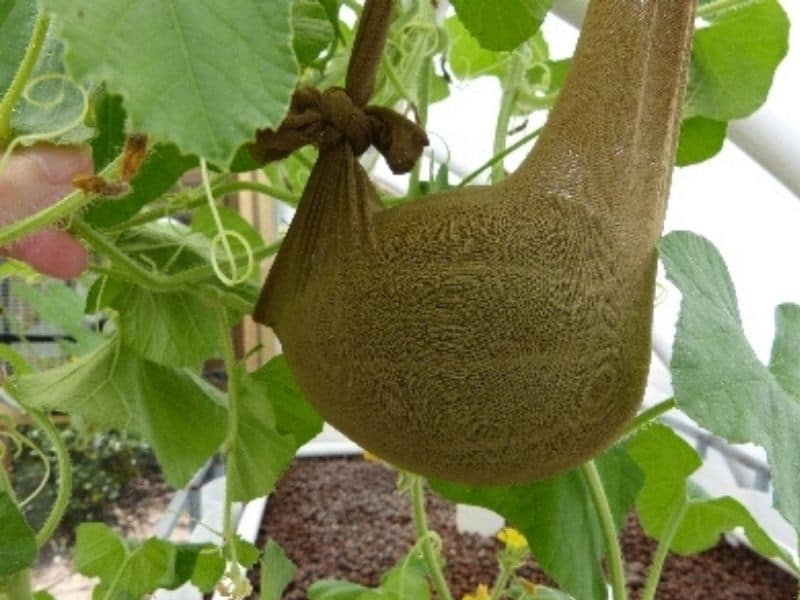
Mature melon
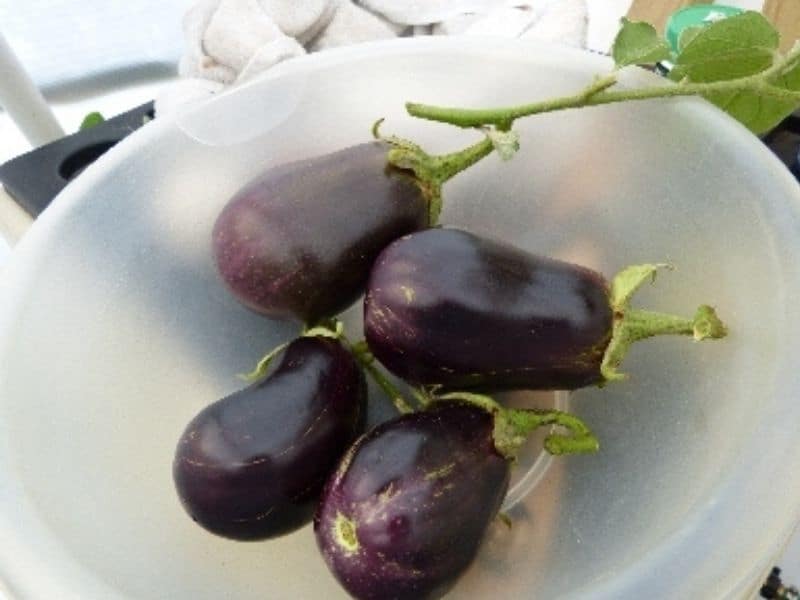
Eggplants – check out my favorite way to cook eggplants.
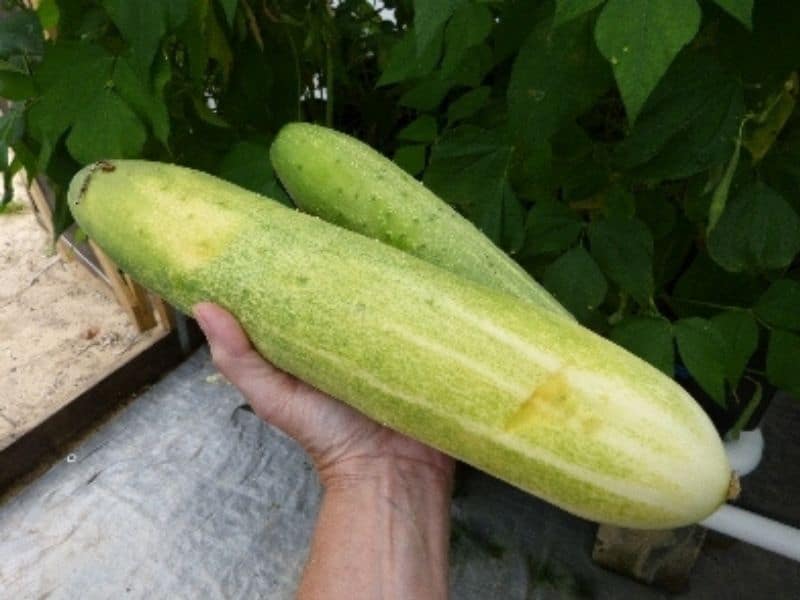
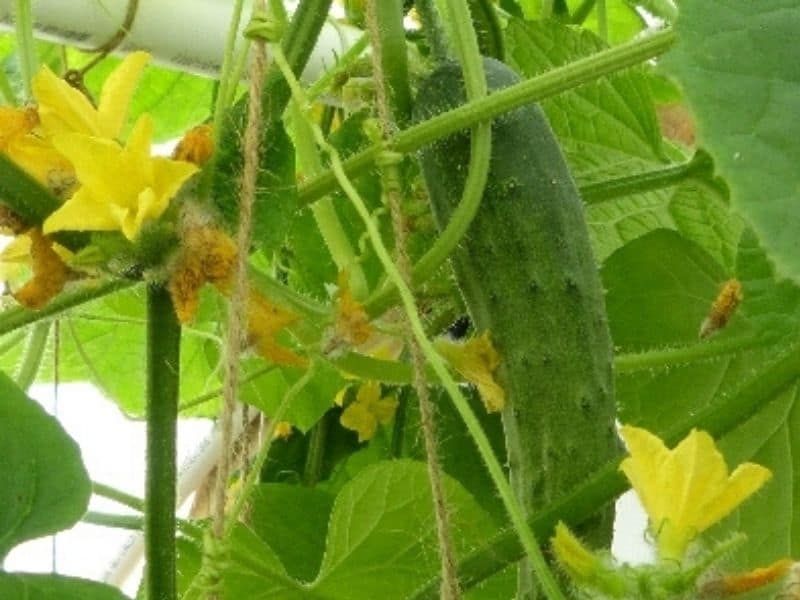
Cucumbers
I hope you enjoyed this tour through our hydroponic garden. If you want detailed step by step instructions to build a great hydroponic system, get this guide: Getting started in hydroponics: expert tips, plans, and secrets. You’ll get a giant, 320-page guide that will hold your hand through the process of starting your first hydroponic garden. Lots of pictures included for each step.
I have no doubt you’ll love hydroponic gardening. Enjoy it!