Summer is the most wonderful time of the year for so many gardeners. Everything is in full bloom and those of us who grow fruits and veggies are up to our elbows in fresh, organic food. It really is the time of plenty, and when we’re in the thick of it, it’s hard to imagine what scarcity feels like.
Whether we’re complaining about the heat, overwhelmed with all of that fresh produce, or simply lazing around enjoying the long summer days, winter is always just around the corner. Now is truly the time to make hay while the sun shines… Or pickles, or jam, or apple sauce!
Preserving all of that wonderful food you’re growing goes hand-in-hand with veggie gardening. While there are certainly some gardeners who garden for the pure enjoyment of it, it’s still hard to see any good food go to waste, especially when you’ve put so much effort into growing it. And let’s face it… There are only so many tomatoes and cucumbers you can eat fresh before they go bad!
Sure, you can (and should) share with family and friends. But how awesome is it when you get to open up a can of your own homegrown tomatoes or green beans or pickled cucumbers in the dead of winter? I can tell you from experience, it is very satisfying!
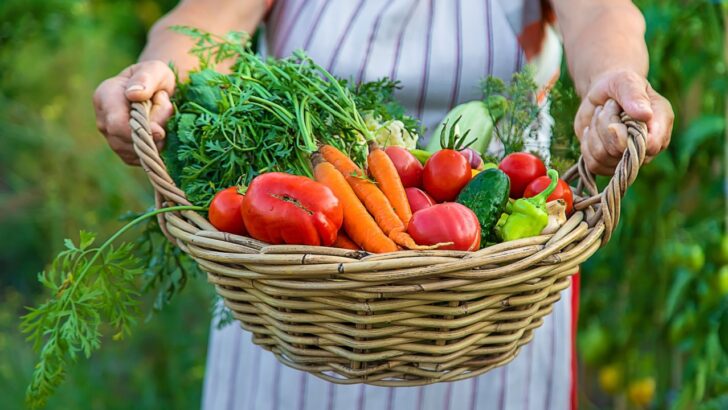
Why Should You Bother To Preserve Garden Harvest?
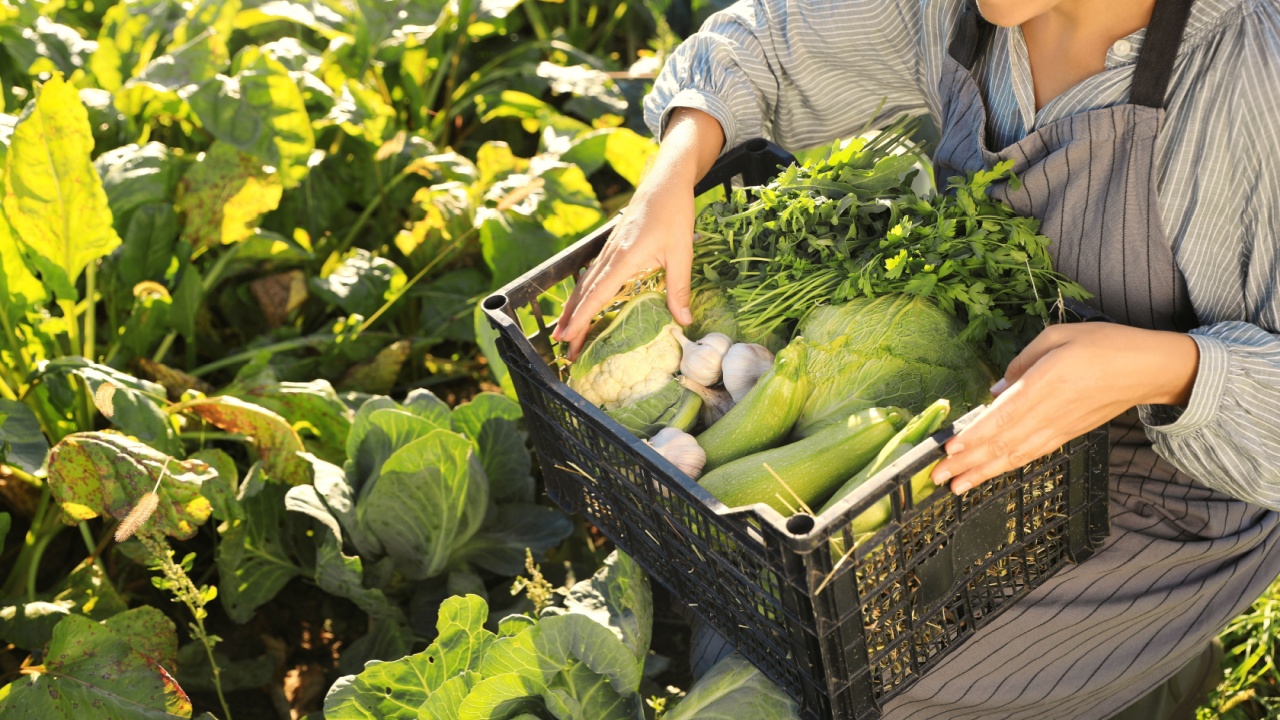
Image Credit: Shutterstock.
Not only does learning to preserve food allow you to enjoy your summer harvest all year long, but it can also help you to eat healthy, organic food year-round, save some money on groceries and become just a little more self-reliant and a little less dependent on grocery stores and foreign shipments of food to meet your needs.
If you’ve never learned to preserve food though, it can be a little intimidating!
- Where do you start?
- What special equipment do you need? (here’s a list to make it easier for you)
- How do you make sure your food will be safe to eat?
- What about all of those horror stories about pressure canners exploding?
- Isn’t it just safer and easier to buy a can of green beans from the store?
Learning to Preserve Garden Harvest
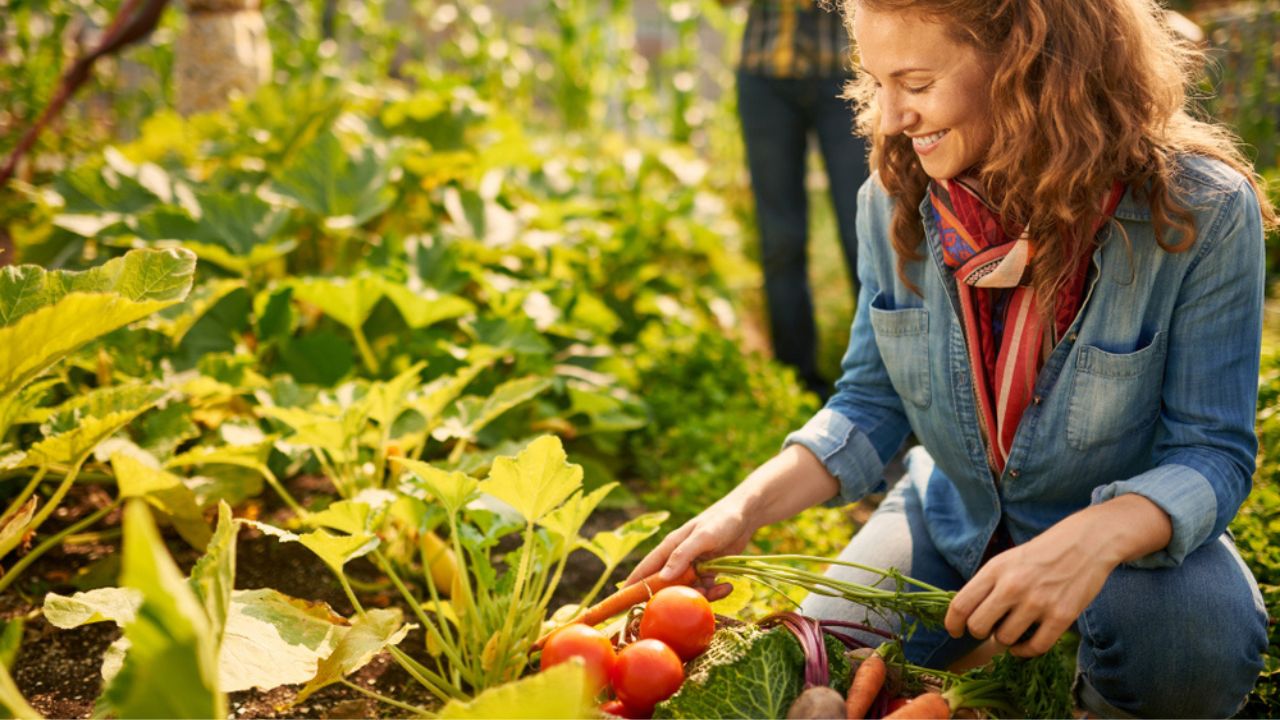
Image Credit: Shutterstock.
These were just some of the questions and concerns that were swarming in my mind before I learned the basics of preserving food. But as soon as I began learning more about it and dispelling some of the myths surrounding topics like home canning, I felt much more at ease to try my hand at preserving food for myself.
Today I have a pantry stocked with canned jams and jellies and pickles and pie fillings and sauces and ciders and dried fruits and infusions of all kinds.
I’m even ready to try pressure canning for the first time this year! And while I’m still a little nervous, I’ve learned enough about the science behind preserving food that I feel confident enough in my abilities. I also know that the whole “exploding pressure canners” thing has been blown out of proportion.
So, where should you start if you’re new to preserving food?
What do you need to know before you begin? I’ve got all your answers right here.
Garden Harvest Preservation Methods
Image Credit: Shutterstock.
When we think about food preservation, we often think first about canning food. This is a great place to start and is one of the best ways to preserve your food. Canning will ensure your food is shelf-stable for quite some time. But it’s certainly not the only method of food preservation. In fact, canning only became popular over the past couple hundred years.
Prior to that, foods were more commonly dried, smoked, cured, fermented, and stored in root cellars as a primitive form of refrigeration.
Of course, today we are also able to freeze foods to preserve them. Chances are pretty good you’ve used a freezer before, and if you have, congratulations! You’ve already preserved food:)
But freezing isn’t always the best way to preserve foods, especially if you live rurally where power outages are common. If your area gets regular blackouts your food might be thawing and spoiling in your freezer. So having a few different preservation techniques up your sleeve doesn’t hurt.
I could literally write a book just about canning, let alone all of the different ways to preserve food. So for now we’ll explore the basics of what I consider to be the three easiest and most accessible methods of food preservation today: freezing, canning, and dehydrating.
Freezing
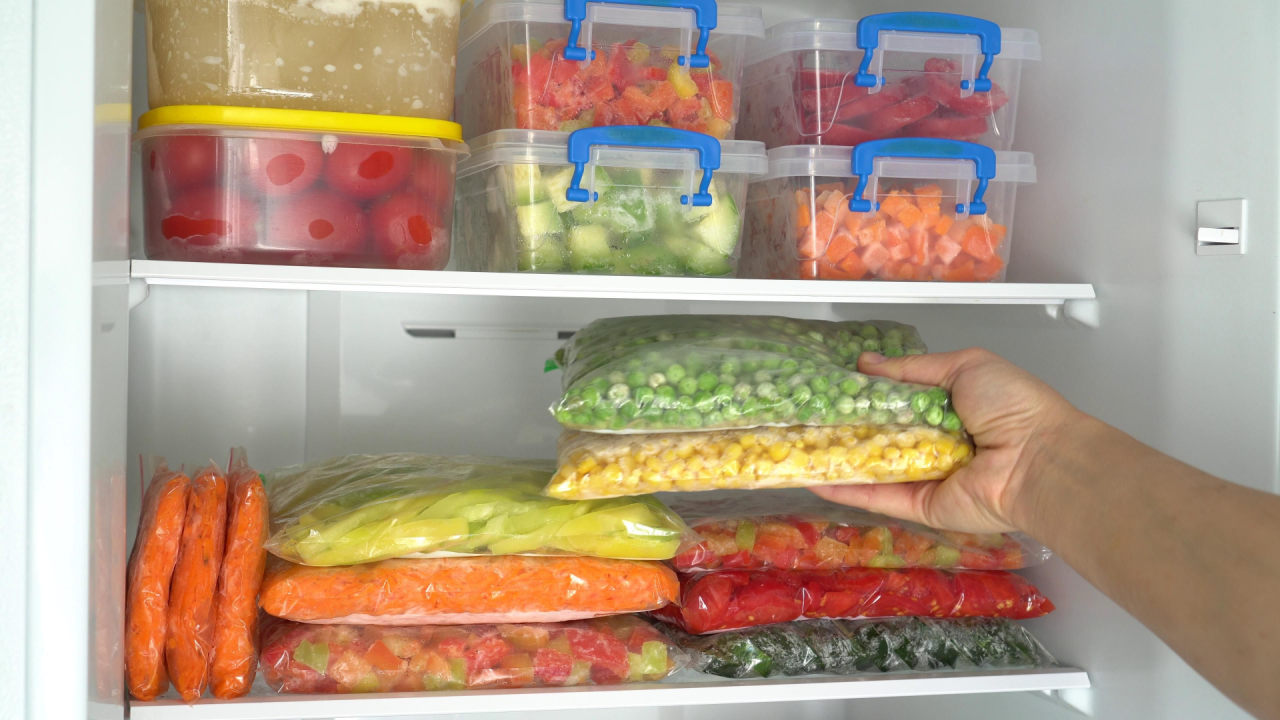
Image Credit: Shutterstock.
This one goes at the top of my list because it is such a quick, easy, and accessible food preservation method for most people living in the modern world. Almost any food can be frozen as long as you know a few basics.
For starters, if you are freezing fruits with pits in them, it’s best to remove the pits first. Most fruits and vegetables can be frozen. It helps to lay them to on a tray with parchment paper first and flash freeze them before dumping them into a freezer bag. This helps to ensure they don’t all stick together in a giant glob.
Some vegetables (like potatoes, green beans, and broccoli) need to be blanched before freezing to preserve their quality. I learned this the hard way when I froze some extra scalloped potatoes I’d made for a family dinner. When we took them out of the freezer later the potatoes were black! It was still edible, but the texture had changed and I just couldn’t bring myself to eat black potatoes, so it went in the garbage.
All fruits and veggies should be washed before they’re frozen. Things like strawberries and tomatoes should be hulled first so they are essentially ready to eat before going in the freezer.
Tips for freezing fruits and veggies
One tip that I learned (and love) is that tomatoes are actually very easy to freeze.
If you’re planning on making tomato sauce or canned tomatoes later on, it’s actually easier to remove the skins once they’ve been frozen. Simply run frozen tomatoes under warm water and slip the skins right off!
It’s also very helpful to be able to freeze tomatoes as they are ready for harvest as the harvest doesn’t typically all come at once. If you’re saving them up to make a big batch of sauce, you can freeze them as they become ready and once you have enough you can take them out and can them!
Aside from those few simple rules and tips, freezing is pretty straightforward. I would recommend investing in a Food Saver system for long-term food storage as this will help keep your frozen food good for much longer than ziplock freezer bags. But standard freezer bags will work in a pinch and are great for storing food that you dip into regularly (like the frozen blueberries I like to sprinkle on my cereal all year long.
Canning
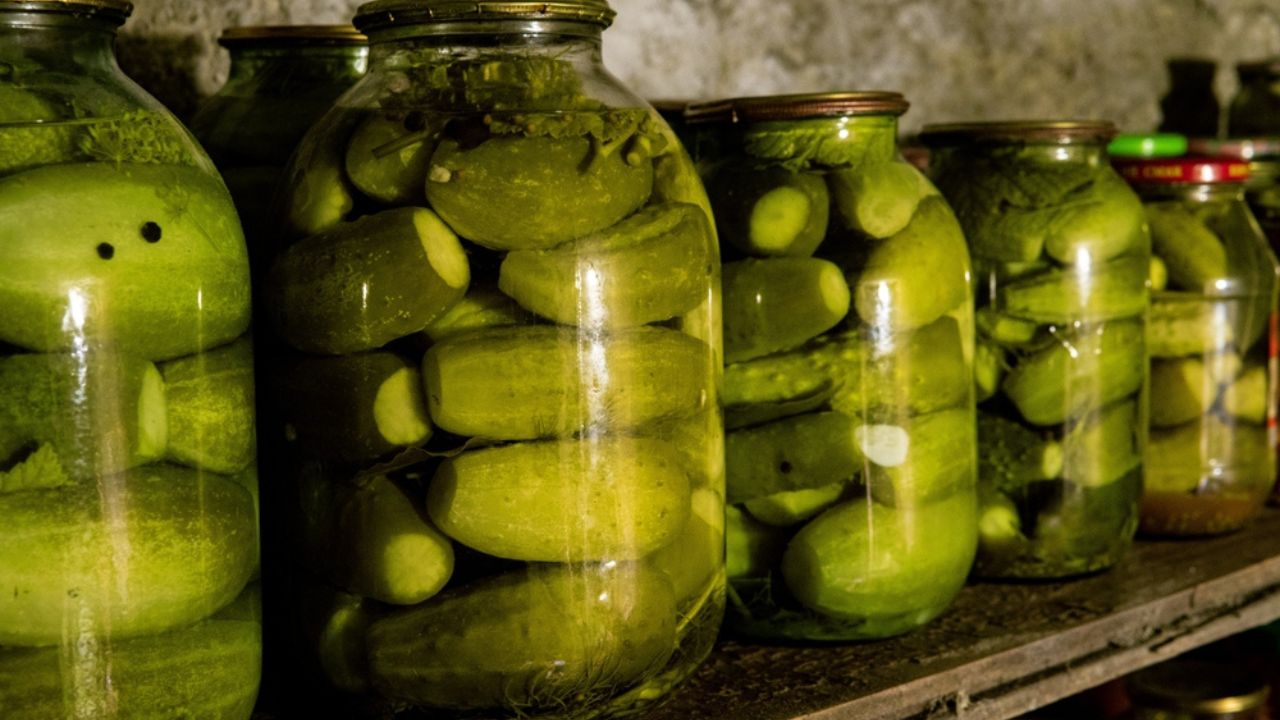
Image Credit: Shutterstock.
There are two forms of canning food: pressure canning and water bath canning.
Water bath canning
The easiest way to start canning, water bath canning requires very few special tools and doesn’t pose quite the same risks as pressure canning does.
Water bath canning is simply where you process your home-canned food in a hot water bath for a specified amount of time. This will kill any bacteria and seal the jar to make it shelf-stable.
The water bath canning method is safe for fruits that are high in acidity and have a pH level of 4.6 or lower. Things like berries, apples, citrus fruits, and most stone fruits all fall within the acidic zone of the pH scale and are safe to water-bath can. Even so, most recipes call for the addition of an acid such as lemon juice or vinegar to ensure the safety of your canned product.
Jams, jellies, pickles, and basic tomato sauces are typically safe to water bath can as they all either call for the addition of acid or contain enough acid already to ensure they will be safe to eat when canned.
While tomatoes historically were quite high in acidity, today’s hybrids have heightened pH levels in some breeds of tomatoes. Even if you grow heirlooms, it’s better to be safe than sorry. Modern guidelines advise adding bottled lemon juice to home-canned tomatoes and tomato sauce just to be safe as you can’t be sure of their pH level.
Other fruits (such as apples, blueberries, and strawberries) are typically acidic enough on their own that they don’t need any extra acid. My favorite strawberry jam recipe calls for no added acidity as well as no store-bought pectin! It is by far the yummiest, most natural tasting strawberry jam I have ever eaten.
Pressure canning
Pressure canning is a bit different from water bath canning. While the general technique is the same (sterilize jars, pack food into jars and process in hot water for a specified amount of time), pressure caning differs in that the water inside a pressure canner gets up to higher than boiling temperatures, which is needed to kill off some harmful bacteria that can’t be killed off at regular boiling temperatures.
Most vegetables need to be pressure canned because they have a pH of 4.7 or higher. Meat and fish also need to be pressure canned for the same reason.
Learn about the best pressure canners to use here.
Precautions for safe pressure canning
While water bath canning can be done with nothing more than a large, stainless steel pot and a few basic kitchen tools, pressure canning does require the use of a proper pressure canner with a weighted gauge and a locking lid.
One of people’s biggest concerns when it comes to pressure canning is that the lid could literally explode off the top of the pot when the pressure builds up, making it into a potentially deadly bomb waiting to go off. In reality though, this is very rare and hard to do if you are following proper procedures, locking your lid correctly, and not actively trying to make a bomb.
Modern pressure canners come with lots of safety features, so there’s very little reason to be truly concerned.
Safety measures while pressure canning
One thing you should worry about just ever so slightly is botulism. Not to scare you, but botulism is a very real danger when it comes to improperly home-canned foods. It is a deadly form of food poisoning with spores that actually thrive in non-acidic, anaerobic environments (anaerobic meaning an environment where there is no air… like inside a sealed Mason jar).
Acidity kills botulism spores which is why it is safe to water bath can acidic fruits and vegetables with added acidity (like adding vinegar to pickled vegetables). But without that added acidity, botulism can grow on non-acidic vegetables and meats if they are not processed at high enough temperatures. This is because botulism spores can survive boiling temperatures and need to be processed at much higher temperatures than you are able to get without a pressure canner.
It is also very important to follow specified processing times on canning recipes. I read a true story about a man who canned some fish he caught at home. He decided to take the jars out of the pressure canner when he heard the lids pop and seal. While the jars did seal, he didn’t leave them in the pressure canner for the full amount of time specified and he ended up contracting botulism. He survived but lost the sensation of taste. The moral of the story? If you cut corners when canning you are potentially taking a serious risk.
That being said, if you follow trusted, up-to-date recipes, you really have nothing to worry about. There is a definite science behind canning safety, and once you understand it, it makes a lot of sense and isn’t so scary anymore.
Pressure canning recipes
I get most of my recipes from what I like to call my “canning bible,” the Ball Complete Book of Home Preserving. For canning safety guidelines, including what you can and cannot, check out the National Center for Home Food Preservation website.
Drying/Dehydrating
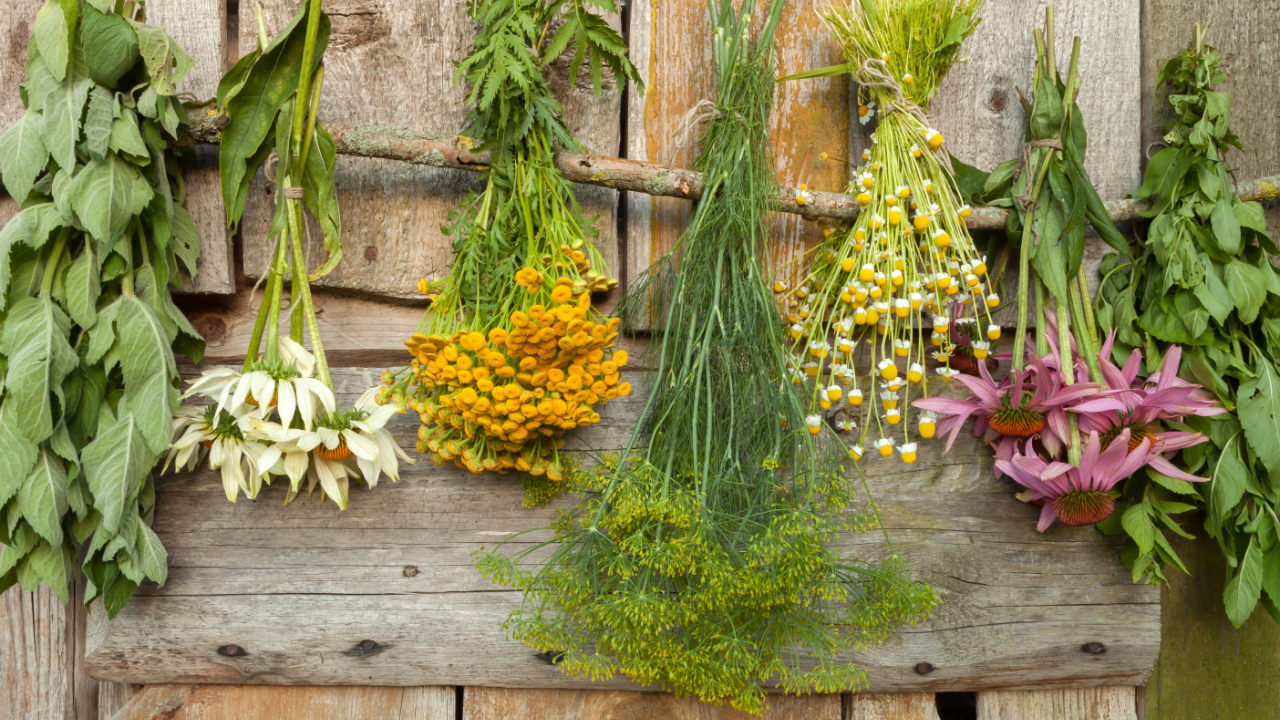
Image Credit: Shutterstock
Drying and dehydrating food is another really easy way to preserve fruits, veggies, herbs, and even meat. While it certainly helps to have a fancy schmancy food dehydrator (I LOVE my Excalibur 9-Tray dehydrator), it’s not necessary for a lot of foods.
Herbs are some of the easiest plants to dry. All you need to do is gather a bunch of herbs (rosemary, oregano, thyme, parsley, etc.) and tie them together at the stem with some twine, string, or an elastic band. Then hang them to dry somewhere out of direct sunlight and away from the threat of rain or moisture. I hang mine on hooks in my kitchen.
I also sun dry some of my herbs, like chives, then chop them up and set out on a pan in the sun for a couple of days to dry. Once done, I put them into a spice shaker in my pantry.
I’ve also dried homegrown chamomile, dandelion, and calendula flowers in the sun to make teas and infusions later on.
And of course, you can dry some fruits this way as well, such as grapes and tomatoes.
Why use a dehydrator
A dehydrator will definitely speed up the process, keep your temperature-controlled, and make sure no bugs get to your produce before it’s all dried up.
A good dehydrator will also allow you to dry all sorts of veggies and even meats that you couldn’t just leave out in the sun. It operates at a very low temperature over a long period of time to dry food out without burning it (sort of like a slow cooker does for cooking food).
If you don’t have a dehydrator or aren’t ready to make the investment, you can always set your oven to the lowest temperature and dry food in there. But do keep your eye on it because even the lowest setting on an oven can usually burn food if left for too long.
Dried foods are excellent for long-term storage and are even better than canned foods. They don’t require the addition of any sugar or other ingredients, so they are easy to pack on a hiking or camping trip and can even be stored in your car for emergency situations. And they last almost indefinitely. Have you ever seen a raisin go bad? Me neither.
Ready to Start Preserving?

Image Credit: Shutterstock.
There is so much to learn about preserving foods! The amount of information out there can be a bit overwhelming. That’s why my goal is to break things down and share the simplest, most accessible, and straightforward ways of doing things with my readers, and that includes simple recipes and food preservation techniques.
As for what to do with all of that beautifully preserved food once it’s glistening on your pantry shelves? The sky’s the limit! Let your creativity take the lead and enjoy the fruits of your labor… All year long.