Fairy gardens are one of those rare projects that make you feel like the best parent ever and keep the kids busy long enough for you to finish a full coffee. TikTok creator @beksmarden made one, then made another after moving because you can leave the coffee maker behind, but not the fairy garden.
This project is equal parts dirt and imagination, and someone will absolutely name a fairy Twinkle. Maybe your kid takes charge as the city planner, or maybe they’re in charge of fairy fashion either way, everyone gets a role in this tiny neighborhood.
If you’re looking for something that works for all age groups, grab a bag of soil and some paint this is the one.
1. Pick a Container and Add Soil

Image Credit: Shutterstock.
You can use almost anything a raised metal box like she did, a large pot, a wooden crate, even an old drawer. It just needs to be deep enough to hold soil and shallow enough for tiny hands to reach into. Pick a spot where you’ll see it often: by the front steps, near the porch, or in a shady garden corner.
Pour in potting soil and flatten it with your hands or a small shovel. Kids can do this part easily. It doesn’t need to be perfect it’s dirt, not cake.
2. Plant the Flowers

Image Credit: Shutterstock.
Choose small flowering plants or ground covers that won’t outgrow the space. Marigolds, alyssum, creeping thyme, or mini succulents work well. Take them out of their pots and space them out across the soil.
Don’t clump them together, spread them out so each one has its own little plot. Add a few low-growing ones in the center to mimic grassy patches. Once they’re in, give them a quick pat and water if needed.
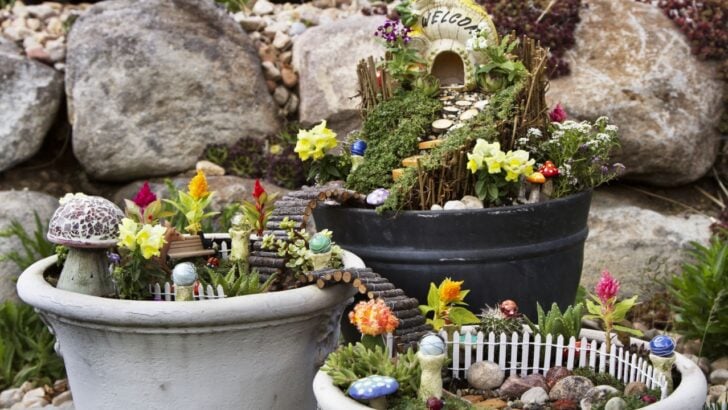
3. Add the Decorations
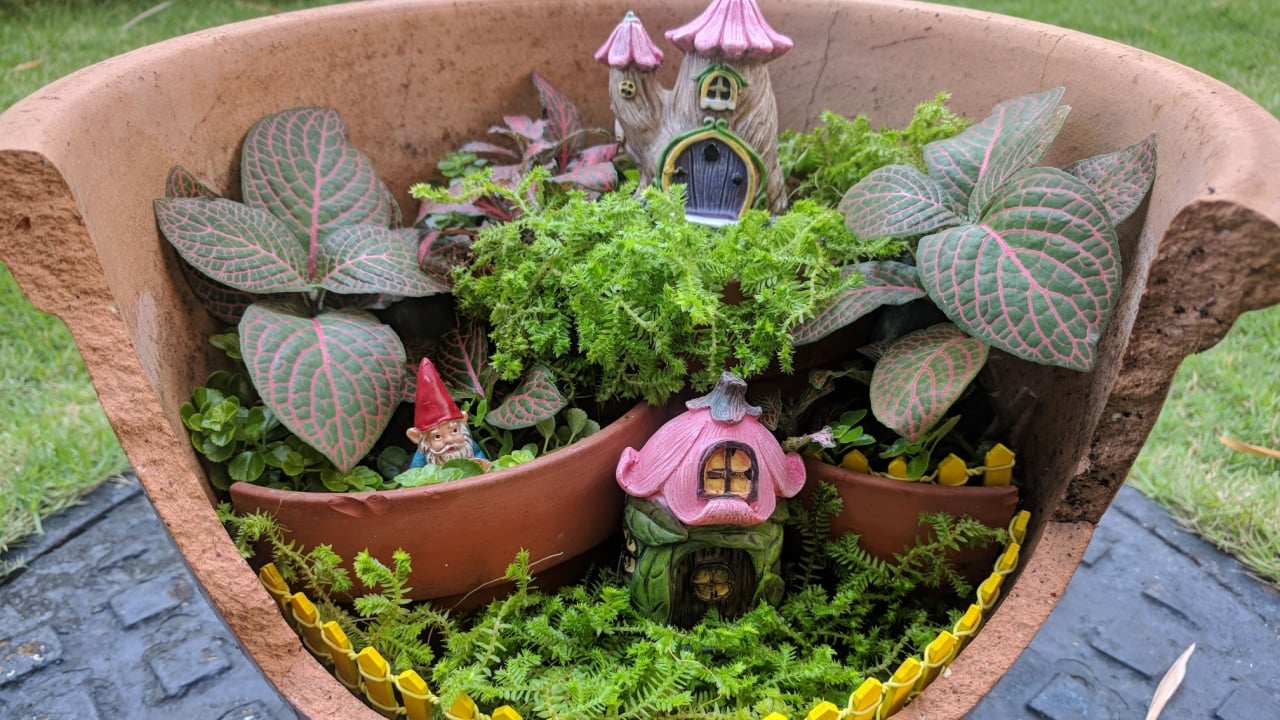
Image Credit: Shutterstock.
Now comes the building of the tiny world. Use mini fences (garden edging) to surround the flowers each one gets its own little yard. Place white or colored pebbles around the plants and along the edges to create tiny paths. They don’t need to be straight. Just make them look like something a fairy would actually walk on.
Add your fairy houses and mushroom figurines around the garden. Place tiny bridges across the pebbles to mimic a river and a bridge. Use a mix of colored pebbles with white ones lining the edges to make the paths pop. Let the kids decide where everything goes. Some fairies live by the flowers, others hang out near the bridge it’s their call.
Tuck in fairy figurines wherever they fit. There’s no wrong placement. If one ends up riding a fake snail, let it happen.
4. Make and Place Signboards
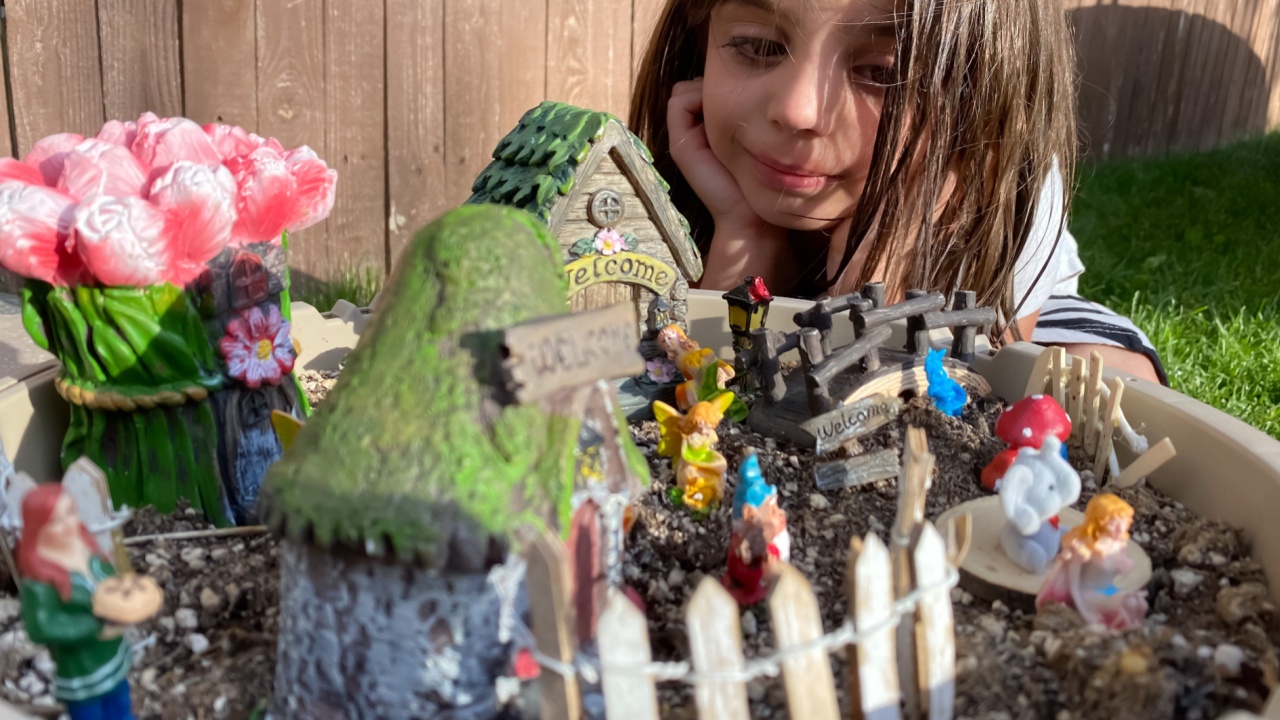
Image Credit: Shutterstock.
Use craft sticks, wooden tags, or anything flat enough to paint on. She made signs like “Strawberry Street,” “Fairies Welcome,” and “Blueberry Lane.” Let the kids name a few they’ll come up with wild ones.
Paint the signs, let them dry, and stick them around the garden. One by the bridge, one near a house, one tucked into the flower patch. These signs make it feel like a real little village.
Keep It Going
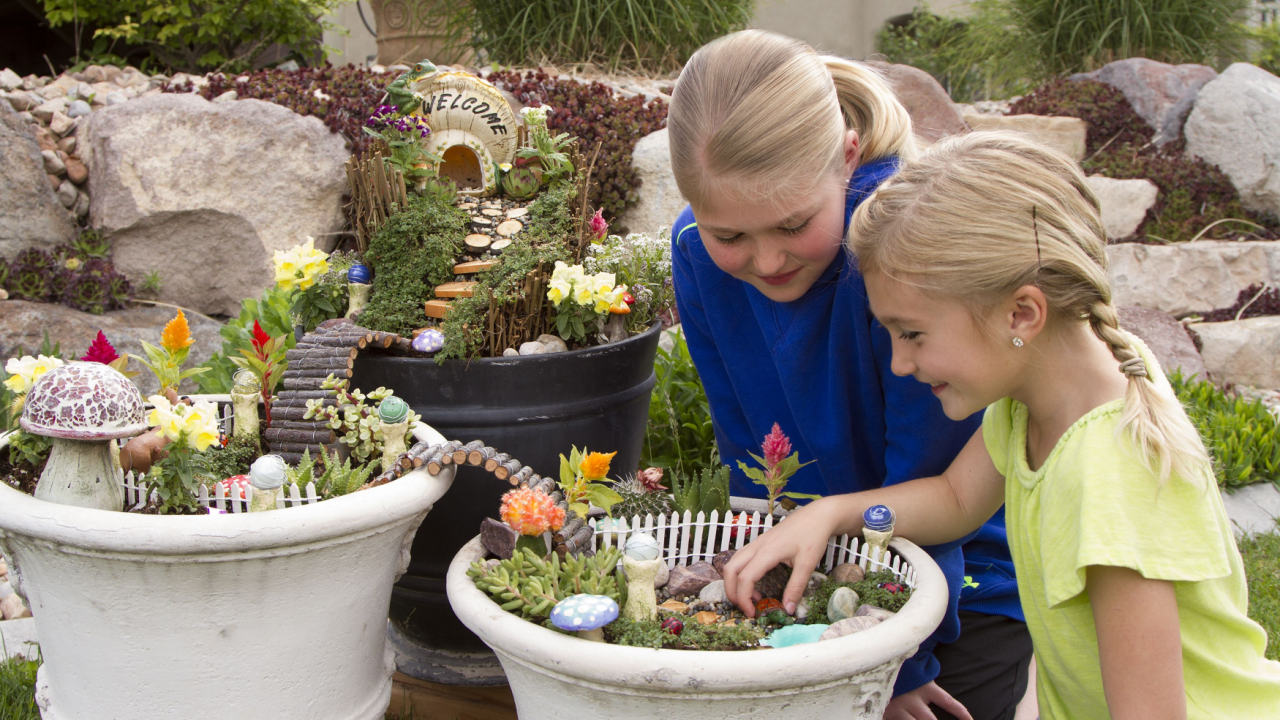
Image Credit: Shutterstock.
Fairy gardens don’t have to be one-and-done. Swap out the decorations once in a while, add a new plant, or leave little fairy notes for the kids to find. You can even pop in some solar lights to make it glow at night.
It’s a simple project that grows with them and gives you something fun to do together that doesn’t involve screen time or glitter explosions.