If you’re a new orchid parent, congratulations! What a beautiful addition to your home garden (indoors or outdoors).
As an orchid mom or dad, you will need to learn how to repot an orchid so that it stays healthy and happy. Orchids can usually live in the same pot for at least a year or two without any issues. But after that, it will start to grow enough that you may need to repot. The exception would be if you purchase an orchid that was not properly potted when you got it.
Even if your orchid is not growing too big for its pot, another reason to repot after a couple of years is that the soil will start to break down. It will no longer be healthy enough to sustain your plant properly, so repotting in fresh soil can help.
Many gardeners and indoor plant enthusiasts find orchids to be a bit fussy. Usually, this just comes down to not knowing how to care for them properly. This includes knowing when and how to repot. It’s an essential part of orchid plant care. Let’s explore this more.
How to Know When You Need to Repot Your Orchid
Repotting can cause your orchid stress, so you should only do it when it is really needed. It can be an opportunity to exchange old, decomposed potting mix that is saturated in salt with fresh top-grade potting mix. You will need to do this about every 1-3 years.
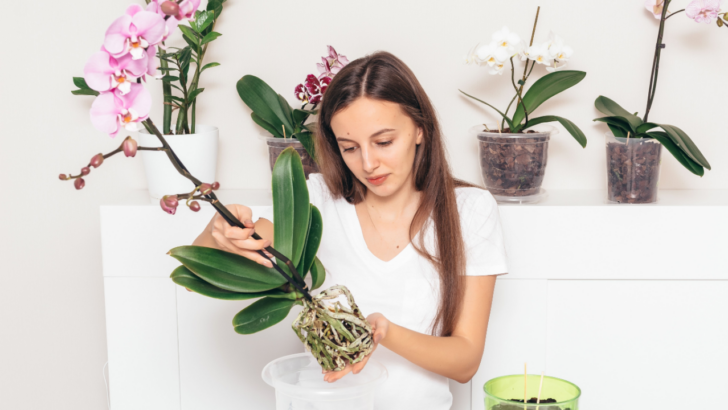
But how can you tell when it’s time to transplant? There are a few key indicators.
First, take a look at the roots. If they’re spilling out of the pot or seem cramped, it’s time for a new home. This keeps them from becoming pot-bound, which can cause you more problems later, especially if the plant starts to suffer from a lack of adequate nutrients or oxygen.
Another sign is yellowing or wilting leaves. This can be a sign of root damage, which won’t improve until the plant is repotted. The roots need adequate space to grow, but you also don’t want to put your orchid in a pot that is too large. We’ll talk more about choosing your pot in a bit.
Finally, if your orchid isn’t flowering as much as it used to, that’s another signal that it could use some fresh soil. In general, if it’s been three years and you’ve never repotted, you should do so, even if your orchid isn’t showing any of the signs above.
Don’t Replant in the Blooming Season
It’s also important to know the right time of year to repot your orchids. You should avoid repotting them during the blooming season. This can create stress on the plant and cause your flowers to die. And sometimes it can damage it permanently, so it won’t ever bloom back again. Just wait to repot, or plan ahead so you can get it done before the blooming season comes.
If your orchids are already in bloom, wait until the season has completely finished before you begin to repot.
How to Choose An Orchid Pot
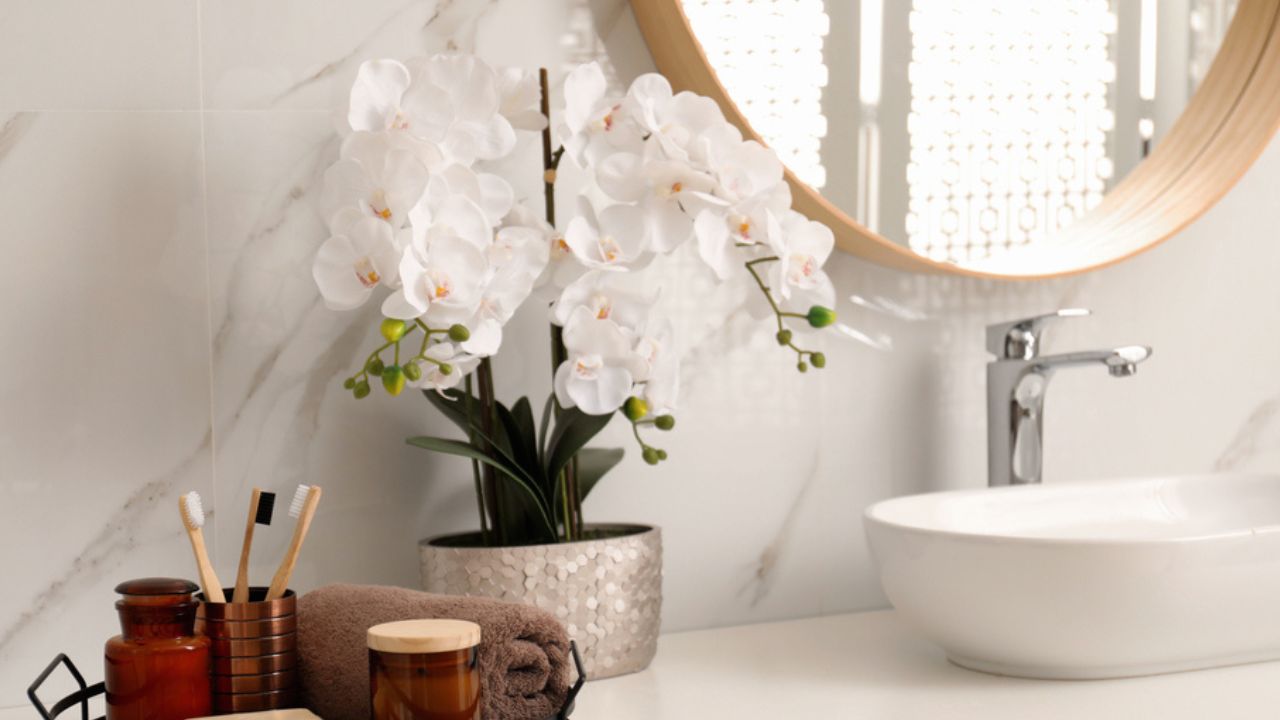
Image Credit: Shutterstock.
Your first step is to choose which pot you will move your orchid to. Choosing the right orchid pot can seem like a daunting task, but it doesn’t have to be. You can shop for pots that are made for orchids, and that will already narrow down your options a bit.
These will be designed for optimal growth and health in your orchid and also for display purposes. They are usually shaped and designed in ways that complement the orchid’s natural features. Here are a few key factors to keep in mind when selecting an orchid pot.
Size: Orchids can range from just a few inches to several feet tall, so it’s important to choose a pot that is proportional to the size of your plant.
Material: Orchids prefer porous materials such as clay pots, which help to aerate the orchid’s roots and prevent root rot. They also do great in the clear pots made of transparent plastic. They have good drainage and lots of holes for aeration.
Draining: Orchids need well-drained soil to thrive. Choose a pot with holes in the bottom to allow excess water to drain away. And be sure to use a potting mix that is designed for orchids; regular soil can compact and become waterlogged, leading to problems with drainage.
With these tips in mind, you’ll be sure to find the perfect orchid pot for your plant!
How to Prepare Your New Pot
You should sterilize the new pot by soaking it in hot water for a few minutes. Orchids are more sensitive to bacteria and other toxins than many houseplants, so you should also sterilize all the equipment you will use during the repotting process.
What Kind of Soil to Use for Your Orchid
One of the most important things to consider when growing orchids is the type of soil you use. Orchids are native to tropical rainforests, so they prefer loose, well-draining soil.
When it comes to orchids, there are a lot of different options for soil. You can use orchid bark, sphagnum moss, or even just regular potting soil. It really depends on what you want and what your orchid needs. If you’re not sure what to use, try a few different types of soil and see how your orchid does. Most people who keep orchids will find a growing medium they really love and just stick with that, but experimentation can help you find the right one.
Just be sure to give it the nutrients it needs and keep an eye on the moisture levels. With a little trial and error, you’ll be able to find the perfect type of soil for your orchid.
A good orchid mix should be made up of equal parts bark, sphagnum moss, and perlite or charcoal. This will provide the orchid with the nutrients it needs while also allowing excess water to drain away quickly. It’s also important to note that orchids do not like to sit in wet soil, so be sure to water them sparingly and have proper drainage. With a little care and attention, you can create the perfect environment for your orchid to thrive.
How to Prepare Your Potting Soil
Before transplanting your orchid, you will want to prepare your potting soil mix accordingly. Measure out enough to fill the new pot. Most types of orchids will need a loose mix of bark and sphagnum moss, as mentioned above. Sometimes you need to break up clumps that have formed in the potting mixture before using it for your plants.
You can also sterilize your fresh potting mix by soaking it in boiling water, then draining it well and spreading it out to cool off naturally. In addition to sterilizing it, this also makes it damp, which gives your orchid a bit of a boost in the new pot.
Pruning While Repotting
When transferring it to a new pot, it’s also a great time for pruning your orchid and cleaning it up a bit. You can remove any old flower spikes so the plant can use its resources more efficiently. Always sterilize your shears and other items you use for pruning your orchid. Cut away any brown, woody spikes at the base and then dispose of them.
Materials Needed for Repotting an Orchid
Before you begin the repotting process, it can be very helpful to gather all your supplies first. Here is a list of materials you will need to repot your orchid:
- Orchid pot: Orchids should be repotted in a pot that is only slightly larger than their current pot. This will help to prevent the roots from becoming too crowded. Be sure to choose a pot with drainage holes to allow excess water to escape.
- Potting mix: There are special orchid potting mixes available, or you can make your own mix by combining equal parts sphagnum moss, perlite, and bark chips.
- Pruning shears: You will need sharp pruning shears to cut away any dead or damaged roots.
- Knife or scissors: A sharp knife or pair of scissors will be needed to cut the pot away from the orchid.
If you have a potting bench or table or another workspace that you use for tending to your plants, you can gather all of your materials here, and also be sure you have plenty of good lighting.
Step-By-Step To Repotting Orchids
When you are ready to repot your orchids, gather all your supplies and then gently unpot the orchid. To make the roots more pliable, you can get them a bit wet.
- Select a pot that is just slightly larger than your orchid. You want to make sure there is plenty of room for the orchid to grow, but you don’t want to go too big with your pot, or it will be more difficult to manage and water.
- Put a layer of drainage rocks or pebbles at the bottom of the pot. This will help keep your orchid from sitting in water and rotting its roots.
- Fill up the rest of the pot with an orchid potting soil or mix that has been specifically formulated for orchids. Depending on the type of orchid you have, you may need a lighter or heavier mix – speak to a specialist or do some research online before selecting your substrate.
- Gently remove your orchid from its current container and remove any damaged or dead roots. Be gentle and don’t tug hard when removing or untangling the roots from the old pot. If the plant has already become root-bound, you can gently cut away the plastic container. If it’s not in a plastic one, you may have to break it out to avoid damaging the plant’s roots. If necessary, trim back any longer roots so that the plant sits at roughly the same height as it did before repotting, and all the roots are snugly inside the new pot.
- Carefully place your orchid into the new container and use a spoon or spatula, if needed, to loosen up and spread out any large clumps.
The more you do this, the better you will get at it and the more experienced you will become at handling the plants, choosing the pots, and then repotting successfully.
Keep Your Orchid Thriving
You don’t have to worry about hurting your orchids by repotting them once you learn how to do it correctly. This is such an important part of the process of owning and growing orchids, so it pays to take the time to learn to do it correctly. It may seem intimidating at first, but once you do it at least once, you’ll see that it’s easy. Just go slow, take your time, and respect the orchid along the way.