
Embarking on a home renovation can feel like you’ve decided to direct a blockbuster movie where you are also the lead actor, the financier, and the person fetching coffee for the crew. It’s a journey filled with high hopes, unexpected plot twists, and a finale that, hopefully, earns a standing ovation. Before the dust starts flying and the first hammer swings, learning from those who have walked this sawdust-covered path.
Renovating a home is as much about careful planning as it is about knowing which wall to convert to an accent wall. Understanding common pitfalls, preparing for unexpected challenges, and learning from the experiences of others can make the difference between a renovation that feels overwhelming and one that truly enhances your home.
Here is what homeowners wish you’d know before you start renovating.
1. Establish a Clear Vision

Image Credit: Deposit Photos.
Before you so much as glance at a paint swatch, you need a detailed blueprint of your destination. A clear vision is more than a vague idea of a “nicer bathroom.” It involves specifics. What style are you aiming for? Modern, rustic, mid-century? What are the must-have features versus the nice-to-haves?
This clarity is the foundation of your entire project. Without it, you are steering a ship without a rudder, susceptible to every passing trend and opinion. If you don’t plan, you may end up with a renovation you deeply regret. A strong vision prevents scope creep, where small additions gradually inflate your project into an unrecognizable and costly behemoth.
Quick Look:
- Actionable Tip: Create a physical or digital mood board. Use platforms like Pinterest or simply a corkboard to gather images, color palettes, material samples, and fixtures that capture your desired look and feel. This visual guide becomes an invaluable communication tool.
- Next Step: Write a detailed project scope document. List everything you want to accomplish, from major structural changes to the style of light switch covers. This document will be your project’s constitution.
2. Budget More Than You Expect

Image Credit: Deposit Photos.
Most renovations will cost more than you think. Even with meticulous planning, unforeseen expenses have a way of appearing. A “surprise” could be anything from outdated wiring hidden in a wall to a sudden decision that you simply cannot live without those hand-painted tiles.
A common rule of thumb is to add a 15-20% contingency fund to your total estimated budget. This isn’t a slush fund for extravagant upgrades; it’s a safety net that protects your project from derailing when the unexpected happens. Setting a realistic budget from the start, including this buffer, provides peace of mind and prevents financial strain down the line.
Quick Look:
- Actionable Tip: Create a detailed spreadsheet itemizing every projected cost, from labor and materials to permits and new furniture. Update it obsessively.
- Next Step: Get at least three detailed quotes from contractors. Comparing bids helps you understand the market rate and identify potential budget discrepancies early.
3. Hire the Right Professionals

Image Credit: Deposit Photos.
Your contractor and their team will become temporary members of your family. You want to choose them as carefully as you would a new roommate. The right professional brings not just skill but also reliability, good communication, and problem-solving abilities to the table.
A bad fit can lead to shoddy work, busted budgets, and constant friction. Don’t let a low-ball offer be the sole deciding factor. Check references, look at their past work, and confirm they are licensed and insured. A great contractor is a partner who will guide you through the process, manage the chaos, and deliver a finished product you love.
Quick Look:
- Actionable Tip: Ask potential contractors for references from their last three jobs. Call those references and ask about their experience, particularly regarding communication, budget adherence, and handling problems.
- Next Step: Review their portfolio to see if their style and quality of work align with your vision.
4. Be Prepared for Delays

Image Credit: Shutterstock.
Your renovation timeline is a well-intentioned suggestion, not a legally binding pact with the universe. Delays are almost inevitable. Materials can be back-ordered, a specialist might have a scheduling conflict, or a sudden storm could halt exterior work for days.
Accepting this reality from the outset will save you a world of frustration. Build buffer time into your schedule, just as you built a buffer into your budget. If the project finishes early, you can celebrate. If it runs late, you were mentally and logistically prepared for it.
Quick Look:
- Actionable Tip: When creating a project calendar with your contractor, ask them to identify potential bottlenecks and plan for them.
- Next Step: Avoid scheduling major life events, like hosting a huge family gathering, immediately after the projected completion date. Give yourself a generous cushion.
5. A Good Contract is Essential

Image Credit: Deposit Photos.
A handshake and a smile are nice, but they won’t hold up when there’s a dispute over who is responsible for a plumbing leak. A comprehensive contract is your project’s most important document. It protects both you and the contractor by clearly defining the scope of work, payment schedule, timeline, specific materials to be used, and procedures for handling changes.
It should detail everything, leaving no room for assumptions. A professional contractor will insist on a thorough contract; if they resist, consider it a major red flag.
Quick Look:
- Actionable Tip: Read every single word of the contract before signing. If there’s anything you don’t understand, ask for clarification. Don’t be shy about requesting additions or changes to make it more specific.
- Next Step: Make sure the contract includes a “change order” process, which formalizes how any alterations to the original plan will be proposed, priced, and approved.
6. Renovations are Stressful

Image Credit: Shutterstock.
Living in a construction zone is disruptive. There will be dust, noise, and a constant parade of people in your personal space. Your daily routines will be upended. Acknowledging the inherent stress of a renovation allows you to plan for it.
The process can strain relationships and test your patience. It’s a marathon, not a sprint. Knowing that it’s normal to feel overwhelmed can help you manage those feelings when they arise. It’s a temporary state of chaos on the path to a more beautiful and functional home.
Quick Look:
- Actionable Tip: Designate one “construction-free” zone in your house, even if it’s just one bedroom. This gives you a clean, quiet space to retreat to when you need a break from the mess.
- Next Step: Plan for self-care. Schedule regular date nights or family outings to get away from the project and reconnect.
7. Communication is Crucial

Image Credit: Shutterstock.
Poor communication is the root of most renovation nightmares. You, your partner, and your contractor must be on the same page. Establish a clear and consistent communication plan from day one. Will you have a weekly check-in meeting? Do you prefer updates via email, text, or a project management app?
Regular, open, and honest dialogue prevents misunderstandings, helps you make timely decisions, and allows you to address small issues before they become big problems. Never assume someone knows what you’re thinking.
Quick Look:
- Actionable Tip: Set a regular time for a weekly walkthrough with your contractor on-site. This allows you to see progress firsthand and discuss any issues in context.
- Next Step: Create a group chat or email thread for all key decision-makers to keep everyone in the loop.
8. You Will Need to Make a Lot of Decisions

Image Credit: Shutterstock.
Renovating involves a seemingly endless cascade of decisions. It’s not just about picking a wall color. You’ll be deciding on grout color, doorknob finishes, outlet placements, trim profiles, and hundreds of other details you never knew existed.
This can lead to decision fatigue, a state of mental exhaustion that can result in poor or hasty choices. Spreading out these decisions and making as many as possible before the work begins can greatly reduce the pressure. Your contractor needs answers to keep the project moving, so being prepared is a gift to your future self.
Quick Look:
- Actionable Tip: Work with your contractor to create a decision timeline. This shows you what choices need to be made by when, so you can research and decide in a more organized way.
- Next Step: For finishes and materials, order samples well in advance. Look at them in your home, in different lighting conditions, before committing.
9. Quality Materials are Worth the Cost

Image Credit: Deposit Photos.
It can be tempting to cut costs by choosing cheaper materials, but this is often a false economy. High-quality materials not only look better but also last longer and perform better. Think about the items that get the most use: flooring, faucets, countertops, and cabinets.
Investing in durable, well-made products in these areas means you won’t have to repair or replace them in just a few years. It’s the difference between a renovation that looks good on completion day and one that looks good a decade later.
Quick Look:
- Actionable Tip: Prioritize your spending. Splurge on high-impact, high-use items and save on elements that are easier and less expensive to update later, like paint colors or decorative lighting.
- Next Step: Talk to your contractor about which materials offer the best long-term value. They have firsthand experience with what holds up and what doesn’t.
10. Plan for Waste Disposal

Image Credit: Deposit Photos.
A renovation generates a surprising amount of debris. Demolished walls, old cabinets, flooring, and packaging materials add up quickly. You can’t just pile it all on the curb for regular trash pickup.
Waste disposal needs to be part of your plan from the start. Usually, this means renting a dumpster. Your contractor may handle this, but you need to confirm this and understand the associated costs. Proper planning prevents your yard from turning into a landfill and avoids potential fines.
Quick Look:
- Actionable Tip: Discuss the waste disposal plan with your contractor. Clarify who is responsible for ordering, placing, and paying for the dumpster.
- Next Step: Before demolition begins, see if any materials can be donated or salvaged. Organizations like Habitat for Humanity ReStore often accept used cabinets, doors, and light fixtures in good condition.
11. DIY Isn’t Always Cheaper

Image Credit: Shutterstock.
Tackling a project yourself can be a rewarding way to save on labor costs. However, it’s important to be brutally honest about your skills, tools, and available time. A poorly executed DIY job can end up costing more to fix than it would have to hire a professional in the first place.
Projects involving plumbing, electrical, or structural work are almost always best left to the experts for safety and code-compliance reasons. Your time also has value. If a project takes you every weekend for three months, consider if the savings were worth the lost personal time.
Quick Look:
- Actionable Tip: Make a list of tasks you are confident you can do well (like painting or light demolition) and a list of tasks that require a professional.
- Next Step: Be realistic about the timeline. A professional can tile a bathroom in a few days; it might take a novice several weekends. Factor this into your decision.
12. Renovations Can Uncover Hidden Problems
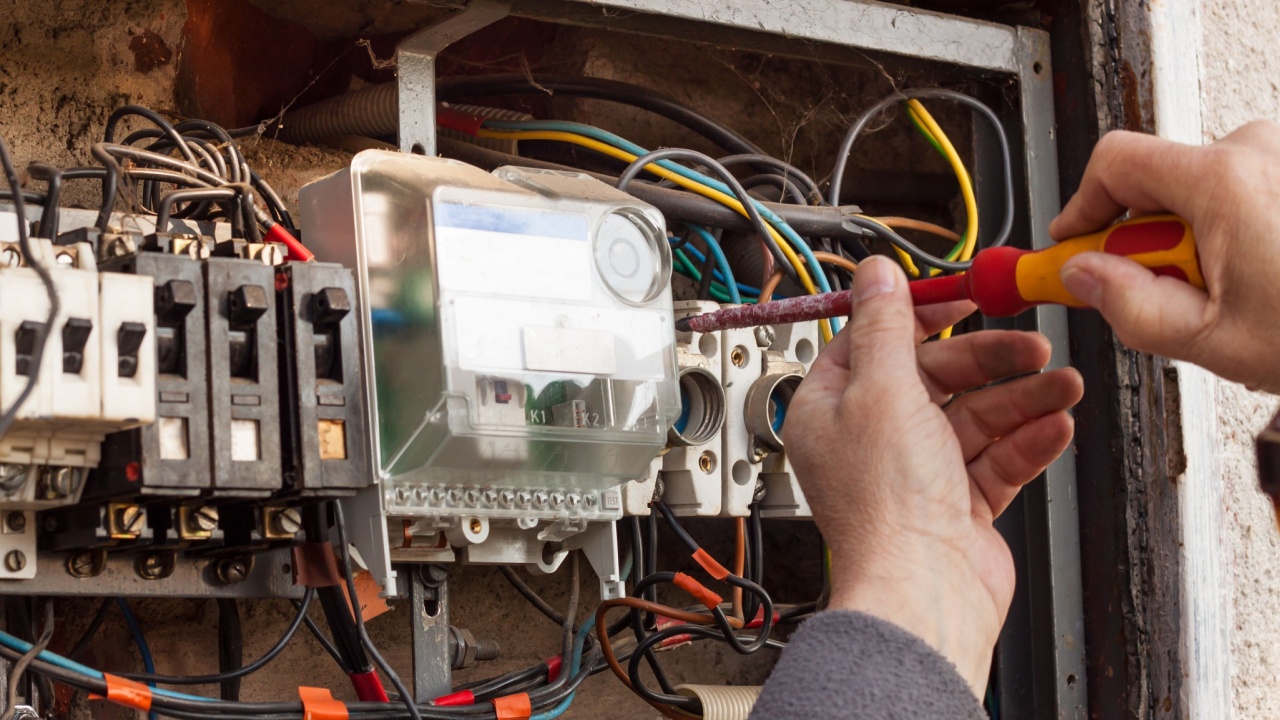
Image Credit: Shutterstock.
Opening up walls and floors is like an archeological dig; you never know what you’ll find. Renovations frequently expose pre-existing issues like termite damage, hidden leaks, mold, or ancient wiring that doesn’t meet current safety codes. This is precisely why your contingency fund is so critical.
While these discoveries are frustrating and can cause delays, they are also a blessing in disguise. It’s an opportunity to fix a serious problem you didn’t know you had, improving the long-term health and safety of your home.
Quick Look:
- Actionable Tip: When a hidden problem is discovered, take a deep breath. Ask your contractor to explain the issue clearly and provide a written change order detailing the cost and time required to fix it.
- Next Step: If the issue is significant, like a major structural problem, you may want to get a second opinion from an independent specialist.
13. Don’t Forget About the Exterior

Image Credit: Shutterstock.
It’s easy to get so focused on the interior transformation that you neglect the outside of your house. A renovation project can take a toll on your landscaping. Heavy foot traffic, material storage, and large equipment can damage lawns, crush flower beds, and break tree limbs.
The exterior is your home’s first impression. A freshly renovated interior feels incomplete if the front door is peeling and the yard is a mud pit. Allocate a portion of your budget and timeline for exterior cleanup and improvements.
Quick Look:
- Actionable Tip: Before work begins, talk to your contractor about protecting your yard. Designate specific paths for workers and clear areas for material storage.
- Next Step: Plan for some simple, high-impact landscaping fixes after the renovation is complete, such as new mulch, a few colorful planters, or reseeding the lawn.
14. Enjoy and Document the Process

Image Credit: Deposit Photos.
This might sound like a strange directive amidst warnings of stress and delays, but it’s important. A renovation is a unique chapter in your home’s story, and you are directing it. Find moments of joy. Celebrate milestones, like the day the new cabinets are installed or the moment the plastic sheeting comes down.
Take lots of “before,” “during,” and “after” photos. One day, the dust will settle, the workers will leave, and you’ll be left with a space that is more beautiful, more functional, and more “you.” Remembering to appreciate the journey makes the destination that much sweeter.
Quick Look:
- Actionable Tip: Keep a renovation journal. Document the progress, the challenges, and the funny moments. It will be a fascinating memento to look back on.
- Next Step: When a major phase is complete, do something to celebrate. Order a pizza to eat on your new countertops (with protection, of course!).
Be Realistic

Image Credit: Deposit Photos.
With the tools of foresight and a healthy dose of realism, you are ready to begin. The next concrete step is to take your vision and your budget and start the conversation. Begin researching and interviewing contractors. Get your ideas out of your head and onto paper.
The journey from “before” to “after” is a complex one, but by honoring these lessons from homeowners past, you can navigate it with confidence.