
Staring at the same yard day after day can leave you feeling uninspired, but a complete garden overhaul isn’t always necessary to reignite your love for the space.
Often, the most significant transformations come from small, thoughtful adjustments.
A few simple, budget-friendly upgrades can turn a tired plot of land into a personal sanctuary, adding personality, function, and beauty that beckon you outdoors.
This guide will walk you through 18 easy changes you can make to create a yard you’ll be proud to call your own, inspired by our favorite gardens and landscape experts.
1. Add a Bench to Create a Quiet Retreat
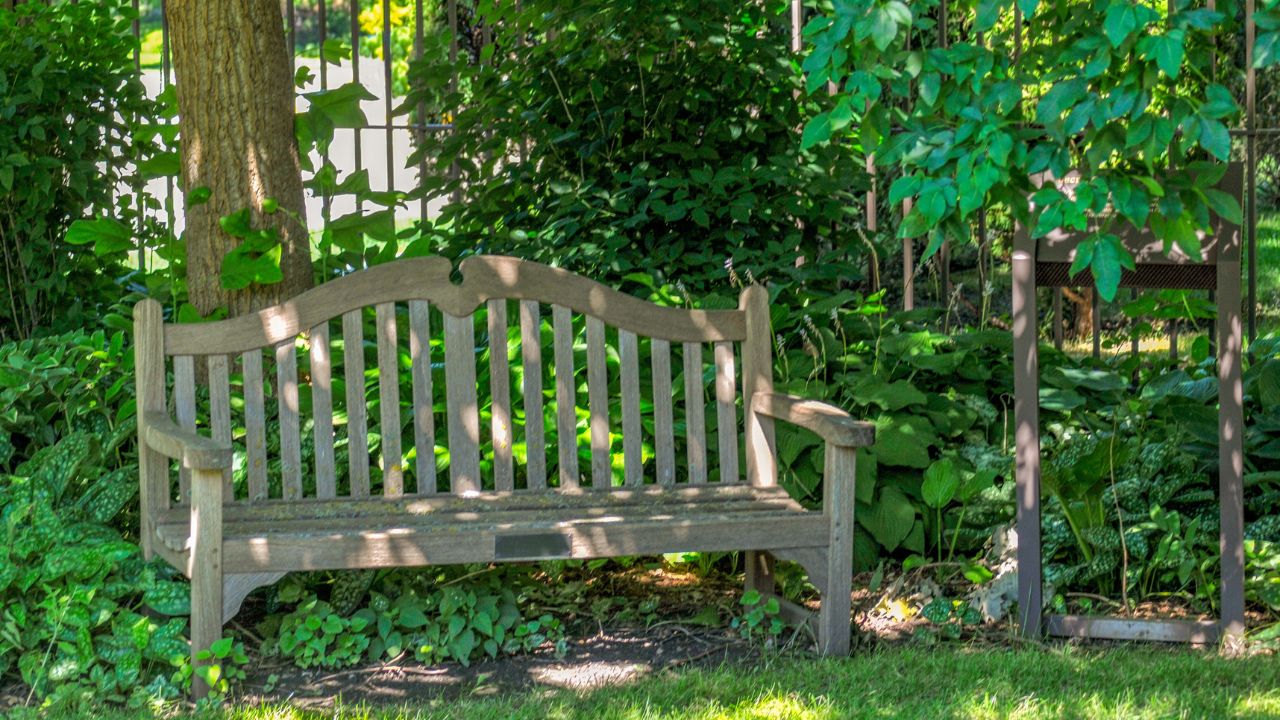
Image Credit: Shutterstock.
Placing a simple bench in your garden instantly creates a destination, a quiet spot for enjoying a morning coffee, reading a book, or just soaking in the sights and sounds of nature. You don’t need a grand installation; a small bench tucked under a shady tree or along a fragrant flowerbed can become the most-used feature in your yard. It transforms an overlooked corner into a functional and inviting retreat.
This is a great option because it encourages you to spend more time actively relaxing in your garden rather than just working in it. A bench adds a touch of classic charm and structure. To make it even cozier, add an outdoor cushion or a throw blanket. Choose a material that complements your garden’s style, like rustic wood, classic wrought iron, or modern concrete.
Care & Next Steps
Ensure your bench is made from weather-resistant materials. If you choose wood, apply a sealant annually to protect it from moisture and sun damage. Before placing it, level the ground to prevent wobbling. Consider planting fragrant flowers like lavender or jasmine nearby to enhance the sensory experience.
Quick Summary:
- Why: Creates a functional, inviting spot for relaxation.
- How: Place a weather-resistant bench in a shady or scenic corner.
- Next Steps: Level the ground, add outdoor cushions, and plant fragrant plants nearby.
2. Refresh Garden Beds with New Mulch
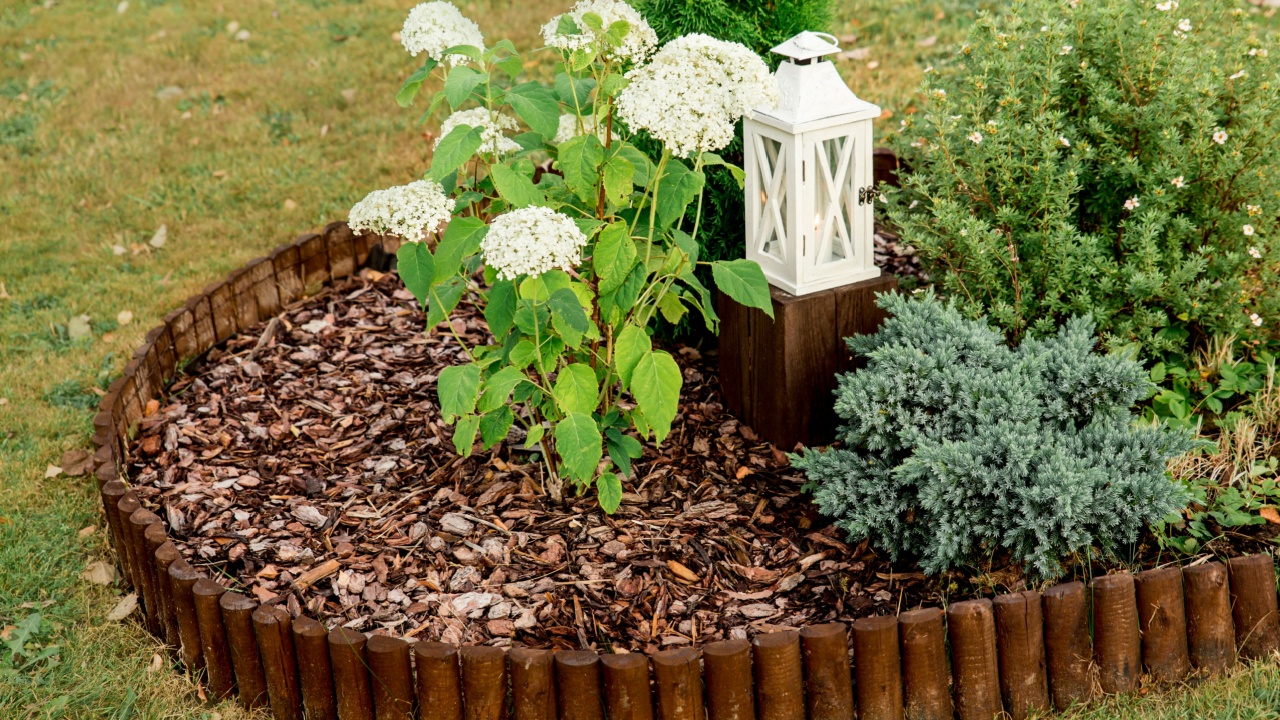
Image Credit: Shutterstock.
One of the fastest and most effective ways to give your garden a clean, polished look is by spreading a fresh layer of mulch. It instantly makes plant beds look well-tended and uniform, creating a beautiful contrast that makes your greenery and flowers pop. Beyond aesthetics, mulch is a garden workhorse. It suppresses weed growth, helps the soil retain precious moisture, and regulates soil temperature, protecting plant roots from extreme heat and cold.
Whether you choose a natural brown bark, a rich black compost, or a vibrant red wood chip, mulch defines garden edges and gives your entire landscape a cohesive, finished appearance. This simple step can make your yard look like it was professionally landscaped.
Care & Next Steps
Before applying mulch, weed the garden bed thoroughly and edge it to create a clean line. Apply a layer about 2-3 inches deep, but be careful not to pile it directly against the stems or trunks of your plants, as this can cause rot. Replenish your mulch once or twice a year, typically in the spring and fall, to keep it looking fresh and maintain its benefits.
Quick Summary:
- Why: Provides a clean look, suppresses weeds, and retains soil moisture.
- How: Apply a 2-3 inch layer of mulch to garden beds.
- Next Steps: Weed and edge beds first. Avoid piling mulch against plant stems. Replenish annually.
3. Hang String Lights for Evening Ambiance
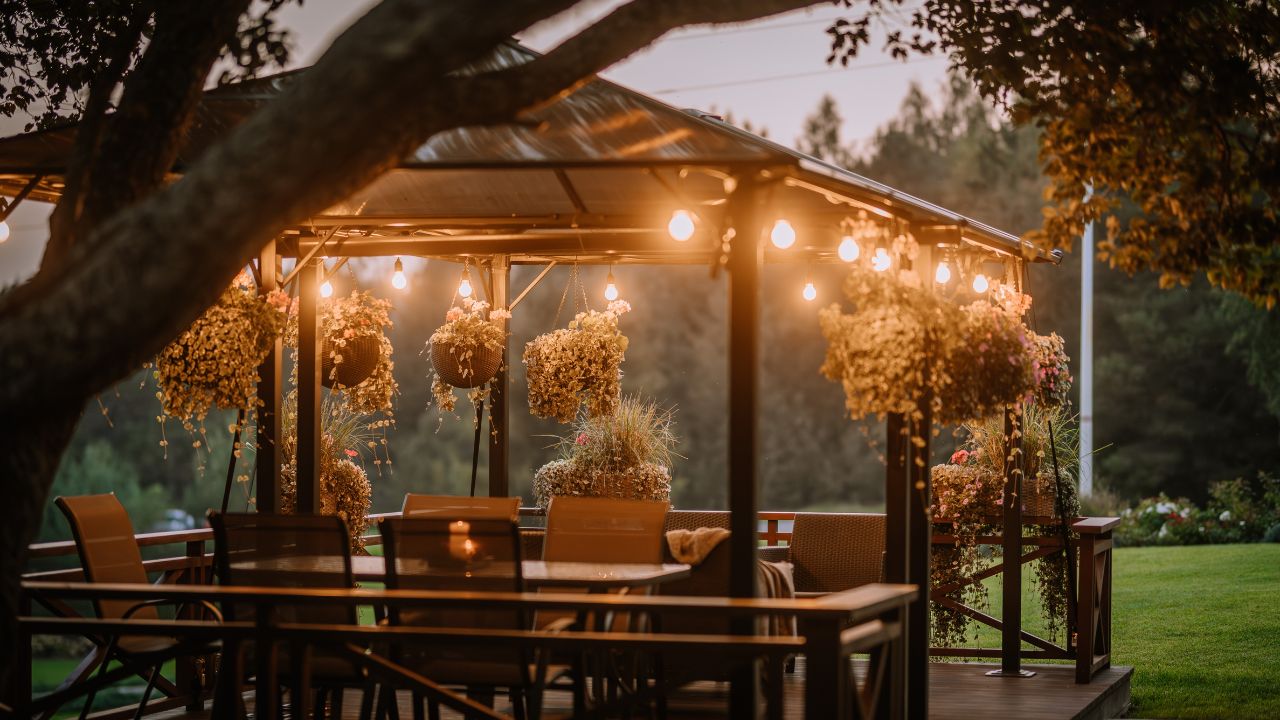
Image Credit: Shutterstock.
Extend the enjoyment of your garden well past sunset by hanging string lights. Draped along a fence, strung between trees, or hung over a patio, these lights cast a warm, inviting glow that transforms any outdoor area into a magical evening space. They add a layer of charm and sophistication that makes you want to linger outside on warm nights.
Solar-powered and battery-operated options make installation incredibly simple, with no need for an electrician. They define seating areas, highlight architectural features, and create a cozy atmosphere perfect for entertaining or quiet evenings alone. It’s an easy upgrade that delivers a huge impact on your garden’s usability and mood.
Care & Next Steps
When hanging your lights, use outdoor-rated hooks or guide wires to ensure they are secure, especially in windy areas. Opt for LED bulbs, as they are more energy-efficient and durable. If using solar lights, place the panel in a spot that receives at least six hours of direct sunlight for a full charge.
Quick Summary:
- Why: Adds warmth and ambiance for nighttime enjoyment.
- How: Drape solar or electric string lights along fences, pergolas, or trees.
- Next Steps: Use outdoor-rated hooks for security and place solar panels in a sunny spot.
4. Install a Small Water Feature
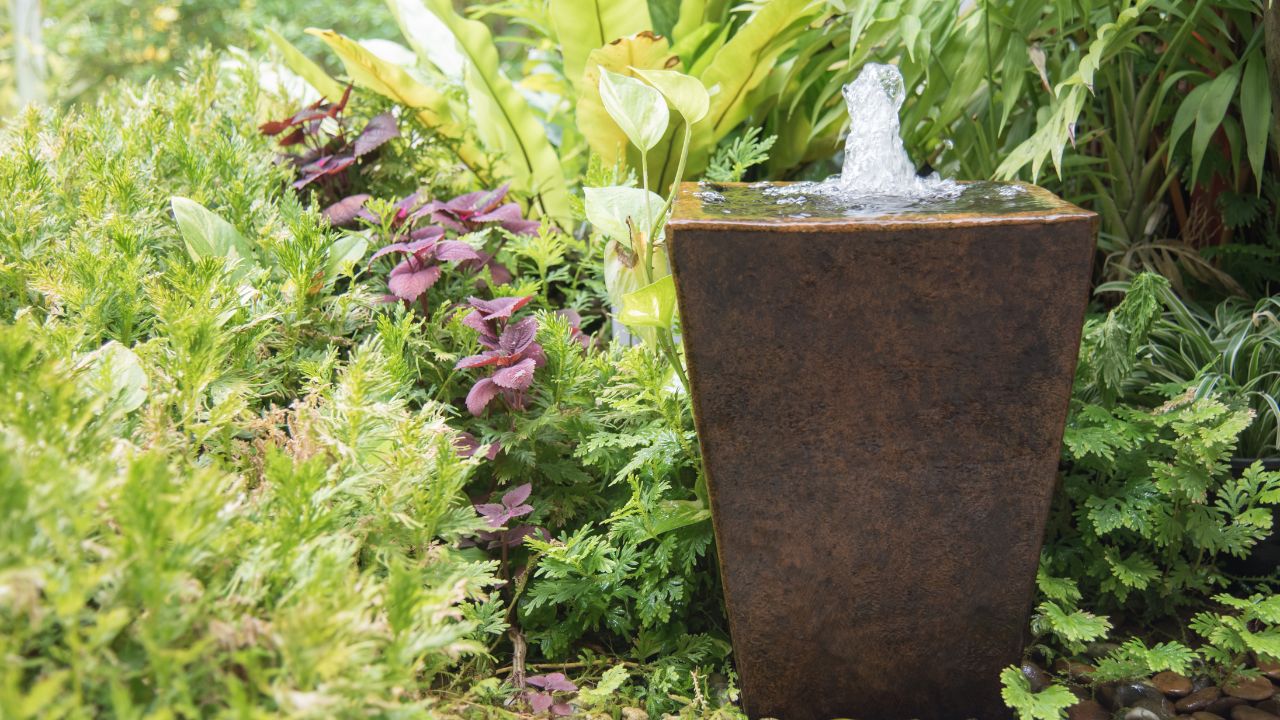
Image Credit: Shutterstock.
The gentle sound of moving water can instantly make a space feel more tranquil. A small water feature, like a tabletop fountain or a self-contained bubbling urn, brings this peaceful element to your garden without the need for a large pond. It adds visual interest, attracts birds and other wildlife, and can even help mask distracting background noise from traffic or neighbors.
This is a fantastic option for adding a sensory layer to your garden experience. Many modern fountains are solar-powered, making them incredibly easy to install. Just add water and let the sun do the rest. The movement of the water also discourages mosquitoes from laying eggs.
Care & Next Steps
Regularly check the water level and top it off as needed, especially during hot weather. To prevent algae growth, clean your fountain every few months with a soft brush and a solution of water and vinegar. In colder climates, drain and store your fountain indoors during the winter to prevent cracking from ice.
Quick Summary:
- Why: Adds soothing sound, attracts wildlife, and masks noise.
- How: Install a solar-powered or plug-in tabletop or standalone fountain.
- Next Steps: Keep water levels topped off and clean regularly to prevent algae. Protect from freezing in winter.
5. Plant a Climbing Vine for Vertical Interest
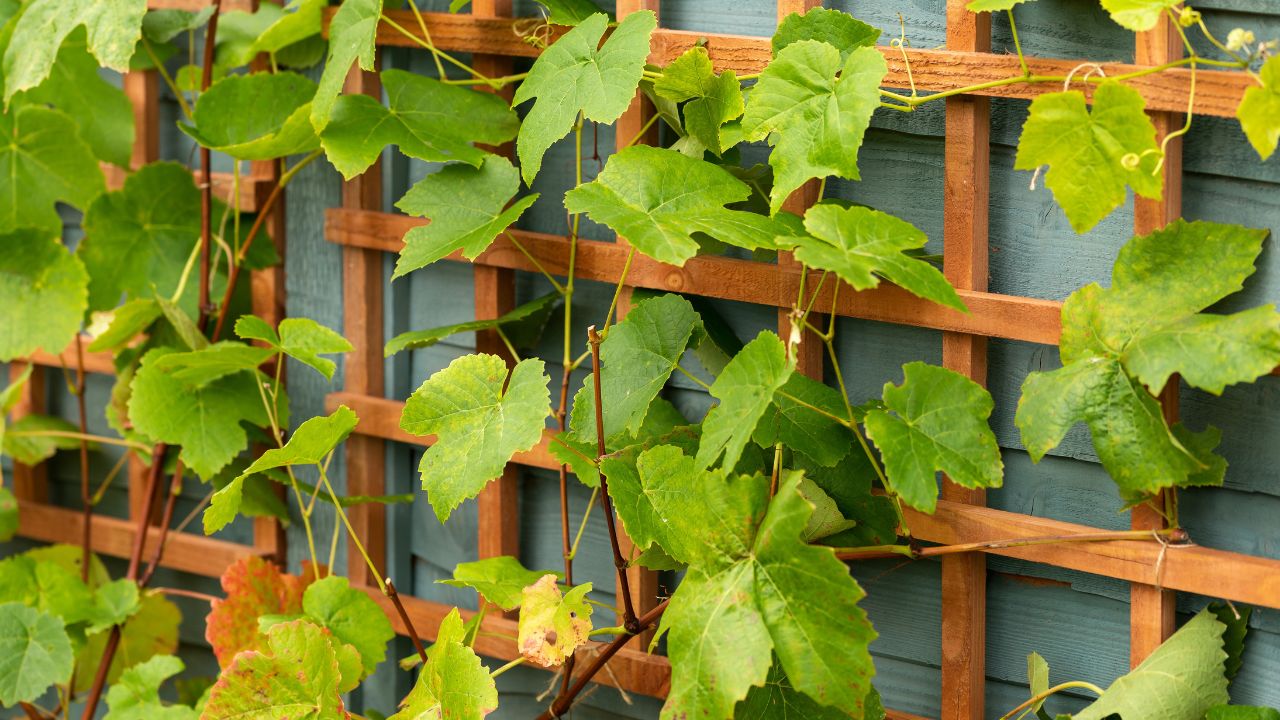
Image Credit: Shutterstock.
Transform a blank wall, a plain fence, or a simple trellis into a living work of art by planting a climbing vine. Vines add vertical dimension to your garden, drawing the eye upward and making the space feel larger and more lush. They are perfect for small yards where ground space is limited. Varieties like clematis, jasmine, or morning glory offer beautiful flowers and, in some cases, a delightful fragrance.
This addition softens the hardscape and integrates it into the garden. It can also provide shade, create a privacy screen, or become a food source for pollinators like bees and hummingbirds. A climbing vine is a dynamic feature that changes with the seasons.
Care & Next Steps
Choose a vine that suits your climate and light conditions. Provide a sturdy support structure like a trellis, arbor, or wires for it to climb. In the beginning, you may need to gently guide the young stems onto the support. Water regularly until established and prune according to the specific needs of your chosen variety to encourage healthy growth and flowering.
Quick Summary:
- Why: Adds vertical beauty, saves space, and softens hardscape.
- How: Plant a vine at the base of a fence, wall, or trellis.
- Next Steps: Choose the right vine for your zone, provide a support structure, and guide its growth initially.
6. Lay Down Stepping Stones
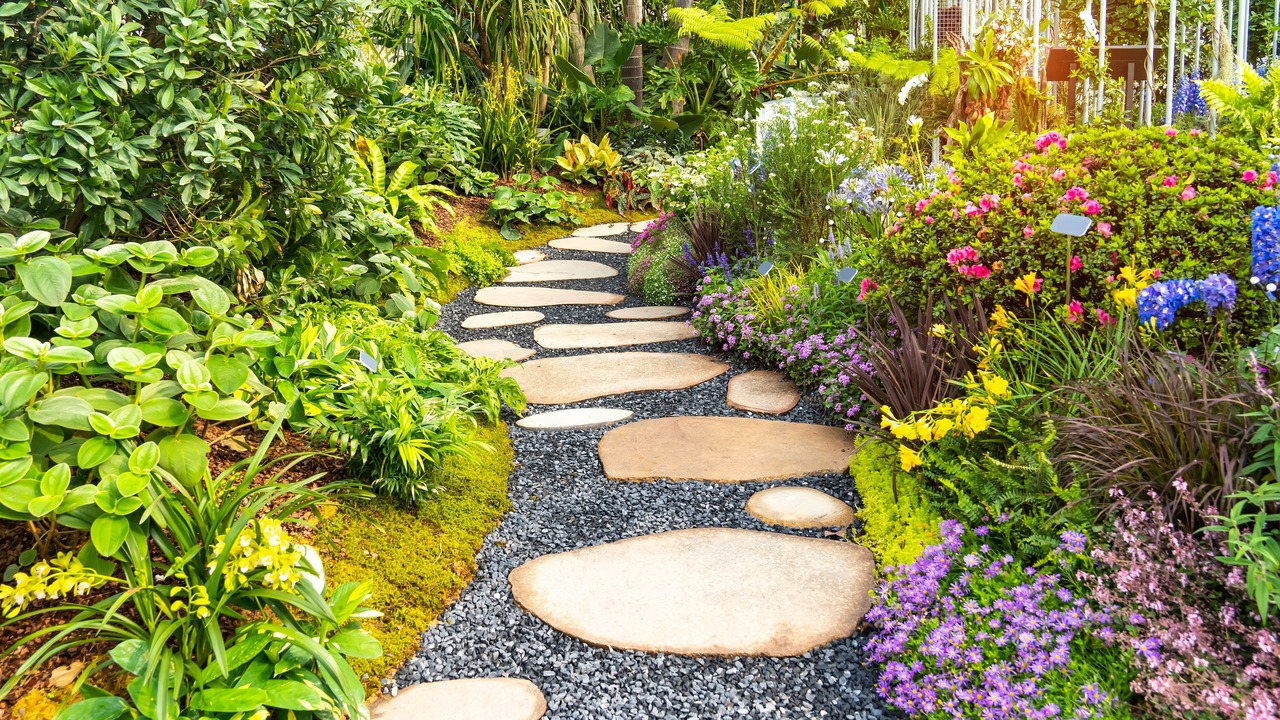
Image Credit: Shutterstock.
Create a clear and charming path through your lawn or garden beds with stepping stones. They guide foot traffic, preventing wear and tear on your grass while keeping your shoes clean after a rain. More than just functional, stepping stones add a decorative element that breaks up large expanses of green and adds structure to your landscape design.
You can create a straight, formal path or a meandering, informal one, depending on your style. There are endless material options, from natural flagstone and slate to pre-cast concrete rounds or whimsical mosaic designs. Spacing them out allows you to plant low-growing groundcovers like thyme or moss in between, adding another layer of texture.
Care & Next Steps
To install, place each stone on the ground and trace its outline with a spade. Remove the stone and dig out the turf and soil to a depth that allows the stone to sit slightly above or flush with the ground. Add a layer of sand at the bottom for stability. Ensure each stone is level and firmly set to prevent tripping hazards.
Quick Summary:
- Why: Defines pathways, protects lawns, and adds decorative structure.
- How: Lay stones on the grass to create a path.
- Next Steps: Dig out turf under each stone, add a sand base for leveling, and set the stone securely.
7. Install a Bird Feeder to Attract Wildlife
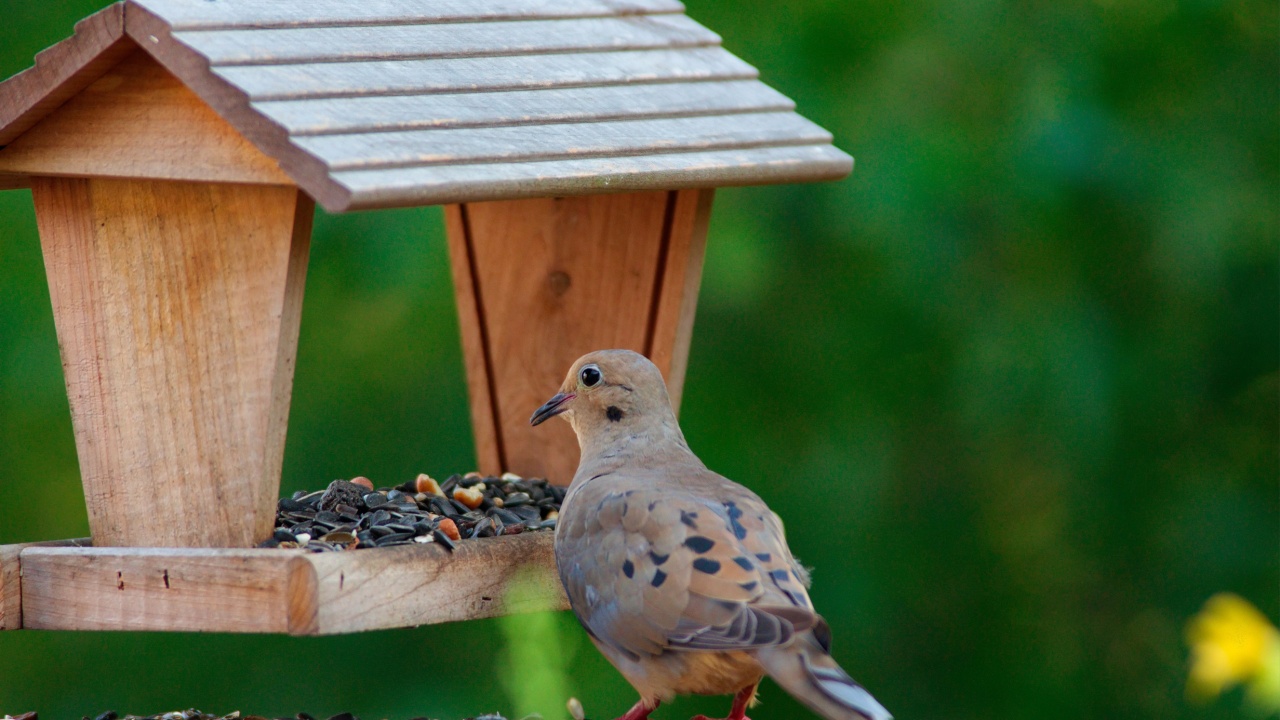
Image Credit: Shutterstock.
Bring life, color, and sound to your garden by installing a bird feeder. It’s a simple addition that supports local wildlife and provides endless entertainment as you watch different species visit your yard. Placing a feeder near a window allows for comfortable birdwatching from indoors, making it a source of joy year-round.
Attracting birds is also beneficial for your garden’s ecosystem. Many birds help control insect populations, naturally reducing pests on your plants. A bird feeder is an easy way to boost your garden’s biodiversity and feel more connected to the natural world around you.
Care & Next Steps
Choose a feeder style that suits the types of birds you want to attract. To keep birds healthy, clean your feeder every couple of weeks with a solution of one part bleach to nine parts water. Rinse thoroughly and let it dry completely before refilling. Position the feeder in a spot that is visible to you but also offers nearby cover for the birds, like a tree or shrub.
Quick Summary:
- Why: Attracts birds for sound and movement, supports wildlife, and helps with pest control.
- How: Hang a bird feeder in a visible location with nearby cover.
- Next Steps: Clean the feeder regularly to prevent disease. Use different seed types to attract various species.
8. Swap Plastic Pots for Terracotta

Image Credit: LarsNB at Shutterstock.
Unify your container garden and give it a warm, classic look by swapping out mismatched plastic pots for terracotta. The natural, earthy tones of terracotta complement almost any plant and garden style, creating a cohesive and polished display. Unlike plastic, terracotta is porous, which allows for better air and water flow to the plant’s roots, helping to prevent overwatering and root rot.
This simple switch can instantly elevate the look of your patio, porch, or balcony. Terracotta pots age beautifully, developing a unique patina over time that adds to their rustic charm. Grouping several terracotta pots of different sizes creates a powerful visual statement.
Care & Next Steps
Before planting, soak new terracotta pots in water for about 30 minutes to prevent the pot from wicking moisture away from the soil. Because they are porous, plants in terracotta pots may need to be watered more frequently than those in plastic pots. In cold climates, store them indoors during winter, as they can crack if they freeze while holding damp soil.
Quick Summary:
- Why: Creates a cohesive, classic look and improves root health through better airflow.
- How: Repot plants from plastic containers into terracotta pots.
- Next Steps: Soak new pots before use. Water more frequently and protect from freezing in winter.
9. Create a Rock Border for Definition
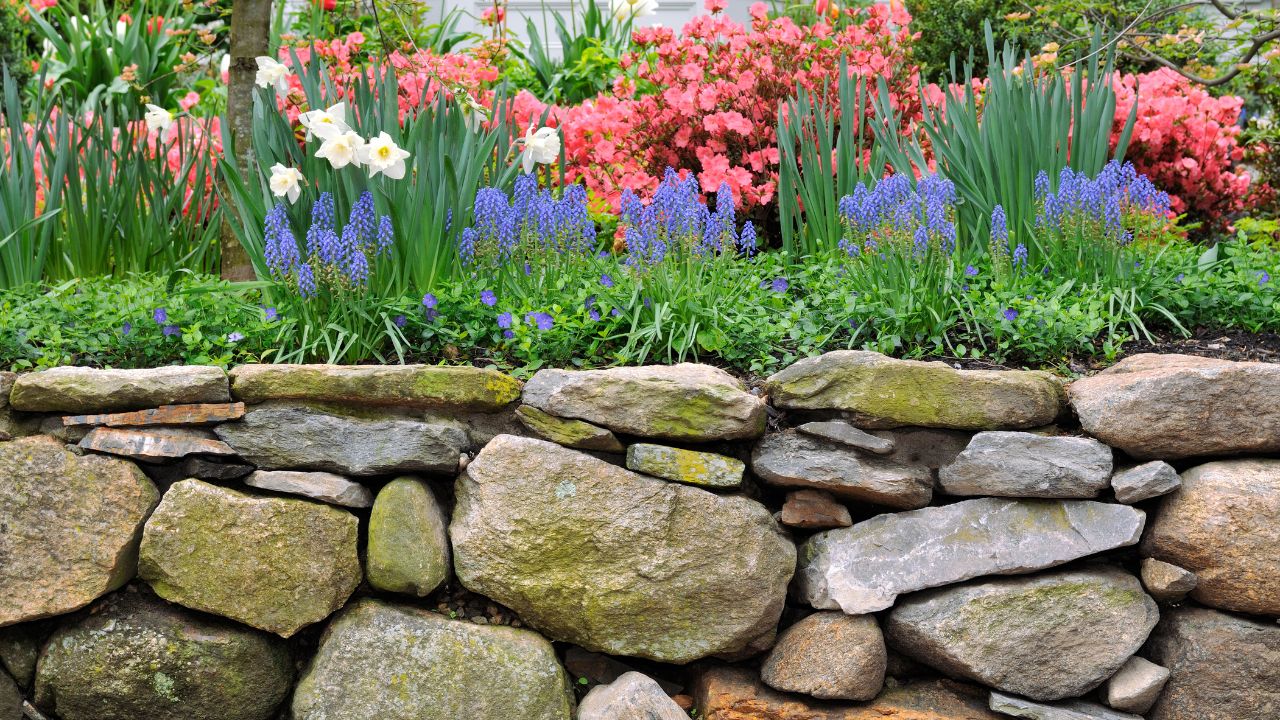
Image Credit Shutterstock.
Define your flower beds and keep your garden tidy with a simple rock border. Edging beds with river rocks, fieldstones, or other decorative stones creates a crisp, clean line that separates your lawn from your garden. This prevents grass from creeping into your beds and keeps mulch or soil from washing out onto the lawn.
A rock border adds natural texture and a permanent, low-maintenance structure to your garden layout. It’s an easy weekend project that provides lasting impact. You can choose rocks that match your home’s exterior or opt for a contrasting color to make your beds stand out.
Care & Next Steps
To install, dig a shallow trench along the edge of your garden bed, about 2-3 inches deep. Lay down a strip of landscape fabric in the trench to help suppress weeds. Then, simply place your rocks in the trench, fitting them together as desired. For a more stable border, you can use larger, flatter stones for the base layer.
Quick Summary:
- Why: Adds definition, contains mulch, and prevents lawn encroachment.
- How: Dig a shallow trench and lay rocks along the edge of garden beds.
- Next Steps: Use landscape fabric underneath to block weeds. Choose a rock size and color that complements your space.
10. Start a Compost Bin

Image Credit: Shutterstock.
Transform your kitchen scraps and yard waste into “black gold” for your garden by starting a compost bin. Composting is an incredibly rewarding process that reduces household waste and creates a nutrient-rich soil amendment for free. Adding compost to your garden improves soil structure, enhances water retention, and provides a slow-release source of essential nutrients for healthier, more resilient plants.
You don’t need a lot of space; a simple compost bin can be tucked away in a corner of your yard. There are many types available, from simple enclosed bins to tumblers that make turning the pile easy. It’s a sustainable practice that benefits both your garden and the environment.
Care & Next Steps
To create a healthy compost pile, layer “green” materials (like vegetable scraps, coffee grounds, and grass clippings) with “brown” materials (like dried leaves, cardboard, and twigs). Keep the pile about as damp as a wrung-out sponge and turn it every week or two to aerate it and speed up decomposition. Your compost is ready when it’s dark, crumbly, and has an earthy smell.
Quick Summary:
- Why: Reduces waste and creates free, nutrient-rich soil for your garden.
- How: Set up a compost bin and layer green (wet) and brown (dry) materials.
- Next Steps: Keep the pile moist and turn it regularly. Harvest the finished compost for your garden beds.
11. Add Hanging Baskets for Instant Color

Image Credit: Shutterstock.
For an immediate burst of color and life, nothing beats a hanging basket. They are perfect for adding vertical interest to porches, patios, and pergolas, or even hanging from a sturdy tree branch. Hanging baskets fill empty visual spaces with vibrant flowers and trailing foliage, adding softness and movement to your garden design.
This is an excellent solution for gardeners with limited space, including those in apartments or townhomes. You can customize them with your favorite annuals, creating a new look each season. Trailing plants like petunias, verbena, and ivy are classic choices that provide a lush, cascading effect.
Care & Next Steps
Hanging baskets dry out quickly, especially on windy or hot days, so check them daily and water thoroughly whenever the top inch of soil feels dry. To keep them looking their best, fertilize every couple of weeks with a water-soluble plant food and deadhead spent blooms to encourage continuous flowering.
Quick Summary:
- Why: Provides instant vertical color and fills empty visual space.
- How: Plant annuals and trailing plants in a hanging basket and hang it in a sunny spot.
- Next Steps: Water daily in hot weather, fertilize bi-weekly, and deadhead spent flowers.
12. Use Solar Path Lights
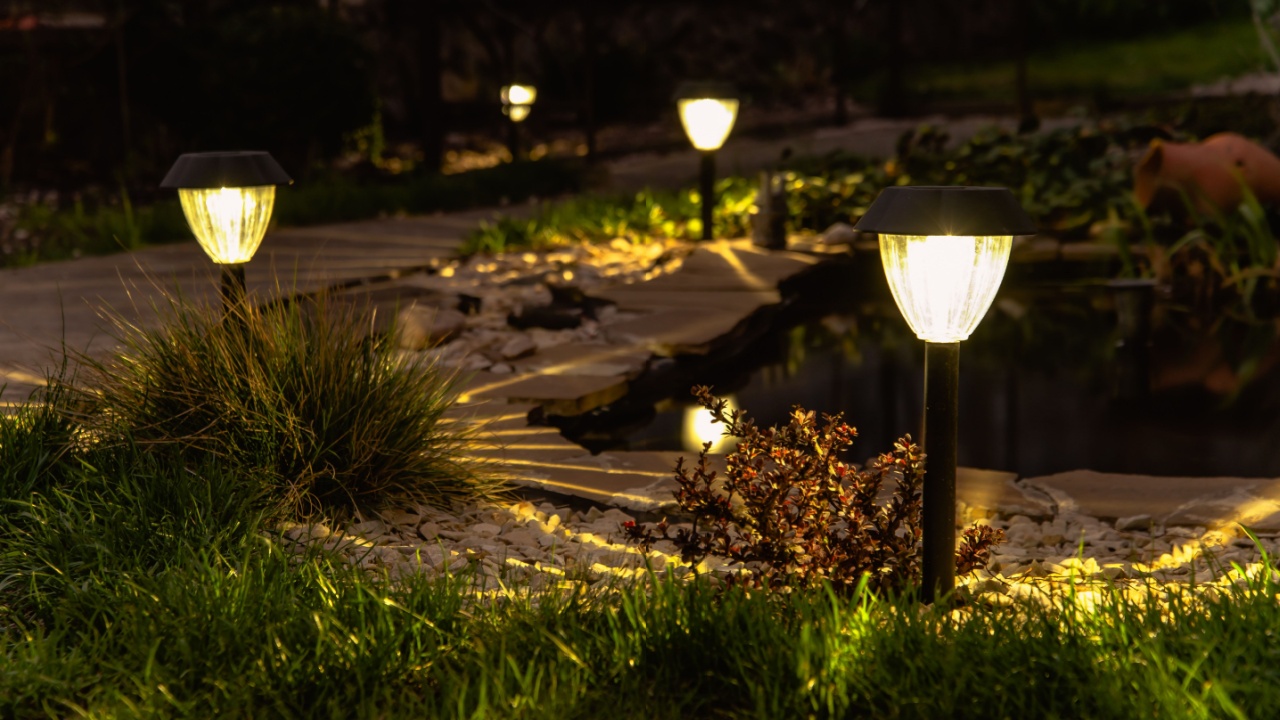
Image Credit: Shutterstock.com.
Illuminate your walkways and highlight key features of your landscape with solar path lights. These lights improve safety by making paths easy to navigate after dark, and they add a beautiful, ambient glow to your garden. Because they are solar-powered, installation is incredibly simple, just stake them into the ground. There’s no wiring, no electrician, and no increase in your energy bill.
Solar lights charge during the day and automatically turn on at dusk, providing hours of gentle illumination. They come in a wide variety of styles, from modern stainless steel designs to rustic lantern shapes, so you can find a look that perfectly matches your garden’s aesthetic.
Care & Next Steps
For optimal performance, place your solar lights where their panels will receive at least 6-8 hours of direct sunlight each day. Periodically, wipe the solar panels clean with a damp cloth to ensure they can charge efficiently. During long periods of cloudy weather, their brightness and duration may be reduced.
Quick Summary:
- Why: Improves nighttime safety and adds ambient glow with no wiring.
- How: Stake solar lights along walkways, driveways, or garden beds.
- Next Steps: Place them in a sunny location and keep the solar panels clean.
13. Create a Mini Herb Garden
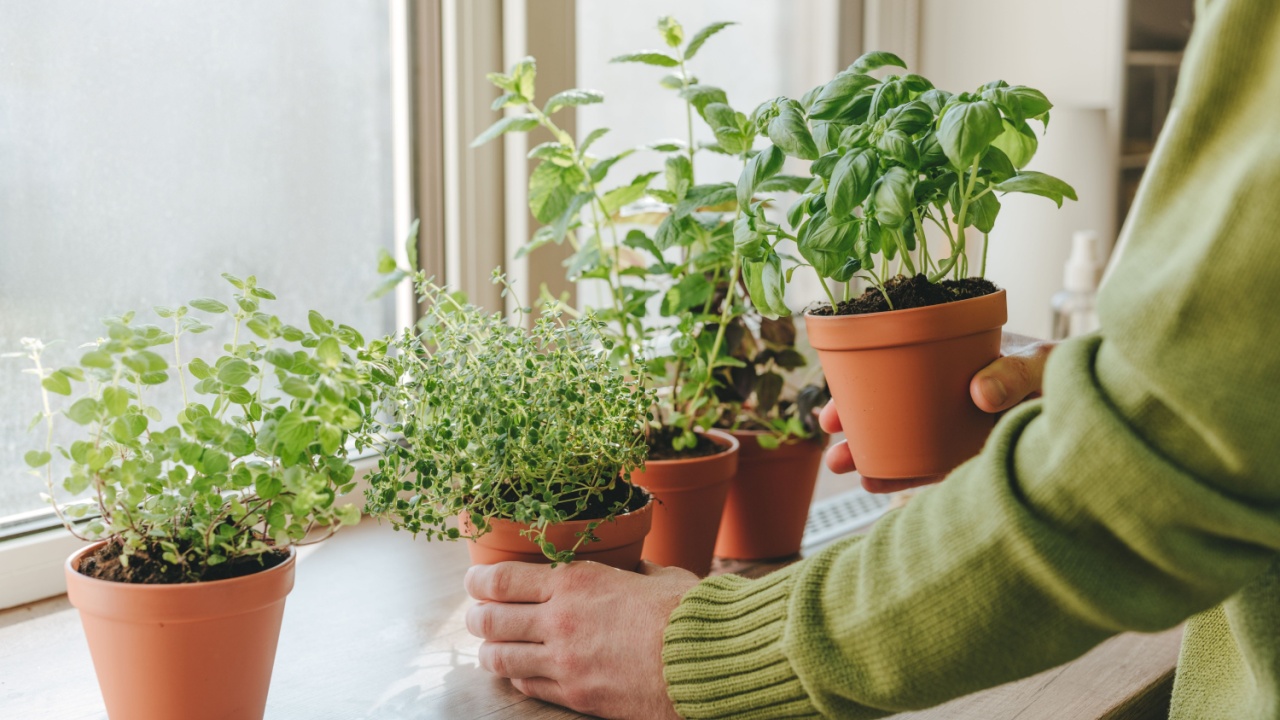
Image Credit: Shutterstock.
Add function and fragrance to your garden by planting a small herb garden, especially near your kitchen or grill. Having fresh herbs like basil, rosemary, parsley, and mint right outside your door is a cook’s dream. It’s both practical and decorative, as many herbs have beautiful foliage and flowers.
An herb garden doesn’t require much space. You can create one in a dedicated raised bed, group several pots together on a patio, or even use a window box. The delightful scent of the herbs will enhance your garden’s atmosphere, and crushing a few leaves as you walk by is a simple pleasure.
Care & Next Steps
Most herbs need at least six hours of sun per day and well-draining soil. Harvest your herbs regularly by snipping off leaves and stems; this encourages bushier, healthier growth. Many herbs, like mint, can be aggressive spreaders, so it’s often best to keep them in containers to prevent them from taking over your garden.
Quick Summary:
- Why: Provides fresh herbs for cooking and adds fragrance to the garden.
- How: Plant herbs in pots, a raised bed, or a window box near the kitchen.
- Next Steps: Provide at least 6 hours of sun and well-draining soil. Harvest often to encourage growth.
14. Upgrade to a Tidy Hose Reel

Image Credit: Shutterstock.
A tangled, kinked garden hose lying in a heap on the lawn can make an otherwise tidy yard look messy. Upgrading to a hose reel is a simple change that instantly organizes this essential tool. A reel keeps your hose neatly coiled, preventing trips and tangles while protecting it from sun damage and prolonging its life.
Hose reels come in various forms, including wall-mounted units, decorative hose pots, and portable carts. Many feature retractable mechanisms that make winding the hose up effortless. This small investment in organization makes watering your garden less of a chore and significantly improves the overall appearance of your space.
Care & Next Steps
Choose a hose reel that is large enough to comfortably hold the length of your hose. If you opt for a wall-mounted model, install it securely on a sturdy wall or post. At the end of the season, drain the hose completely before storing it on the reel to prevent damage from freezing water.
Quick Summary:
- Why: Keeps your hose organized, prevents tangles, and improves yard appearance.
- How: Choose a wall-mounted, cart, or decorative reel for your hose.
- Next Steps: Install it securely and drain the hose before winter storage.
15. Paint Your Fence

Image Credit: Shutterstock.
A fresh coat of paint can work wonders on a faded, weathered fence, instantly giving your yard a crisp and clean backdrop. Painting not only improves the look of your fence but also adds a crucial layer of protection against moisture and sun, extending its lifespan.
Choosing a color can dramatically change the feel of your garden. A dark color like black or charcoal can make the fence recede and cause the green of your plants to stand out dramatically. A light color like white or light gray can brighten up shady areas and create a charming, cottage-garden feel. This weekend project provides a high-impact visual upgrade.
Care & Next Steps
Before painting, properly prepare the fence surface. Scrape off any peeling old paint, sand rough spots, and clean the fence thoroughly with a pressure washer or a stiff brush and cleaner. Allow it to dry completely. Apply a coat of exterior primer followed by at least two coats of high-quality exterior paint for the most durable finish.
Quick Summary:
- Why: Refreshes the look of your yard and protects the fence from weather damage.
- How: Clean, sand, and prime your fence before applying a new coat of exterior paint.
- Next Steps: Choose a color that complements your plants and home. Use high-quality paint for longevity.
16. Build a Simple Raised Garden Bed
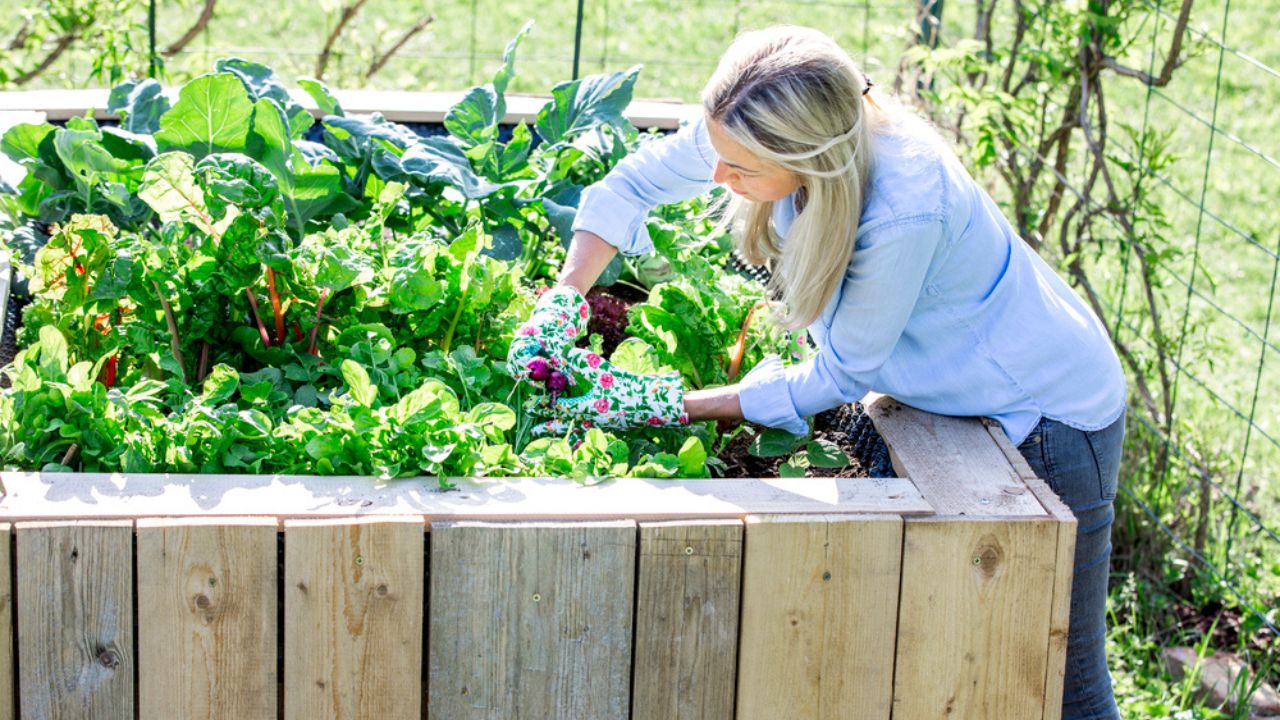
Image Credit: Depositphotos.com.
A raised garden bed adds structure and architectural interest to your landscape while making gardening easier. By elevating the planting area, you gain complete control over the soil, which is a huge advantage if your native soil is poor, compacted, or has poor drainage. You can fill the bed with a perfect mix of high-quality soil and compost, creating an ideal environment for vegetables, herbs, or flowers to thrive.
Raised beds also reduce the need for bending and kneeling, making them a more ergonomic choice. The defined edges help keep weeds and lawn grass out of your garden. A simple bed can be built in an afternoon using untreated lumber, cinder blocks, or kits available at garden centers.
Care & Next Steps
Choose a sunny spot for your raised bed, especially if you plan to grow vegetables. Line the bottom with cardboard before filling it to help smother weeds. Fill with a mixture of topsoil, compost, and other amendments like peat moss or vermiculite. The soil in raised beds can dry out faster, so monitor moisture levels and water as needed.
Quick Summary:
- Why: Improves soil control, drainage, and ergonomics while adding structure.
- How: Build a frame from wood or blocks and fill it with a quality soil mix.
- Next Steps: Place it in a sunny location and monitor soil moisture carefully.
17. Repot Overgrown Plants

Image Credit: Shutterstock.
If some of your container plants look a little sad, tired, or have stopped growing, they may be root-bound. Repotting them into a slightly larger container with fresh soil is like giving them a new lease on life. This simple task can reinvigorate a plant, encouraging new, healthy growth.
When a plant is root-bound, its roots have filled the entire pot and are circling the bottom, unable to expand or properly absorb water and nutrients. Moving it to a larger home gives the roots space to grow and provides a fresh supply of nutrients. While you’re at it, you can trim away any dead or circling roots to promote a healthier root system.
Care & Next Steps
Choose a new pot that is only about 1-2 inches larger in diameter than the current one. Gently remove the plant from its old pot and inspect the roots. Loosen the root ball with your fingers and trim any damaged roots. Place a layer of fresh potting mix in the new pot, set the plant in, and fill in around the sides, pressing the soil down gently. Water thoroughly.
Quick Summary:
- Why: Revives struggling, root-bound plants and encourages new growth.
- How: Move the plant to a pot that is 1-2 inches wider, using fresh potting mix.
- Next Steps: Loosen the root ball and trim any dead roots before repotting. Water well after the move.
18. Plant Flowers That Attract Pollinators

Image Credit: Shutterstock.
Fill your garden with plants that invite bees, butterflies, and hummingbirds to visit. Planting pollinator-friendly flowers like coneflowers, zinnias, bee balm, and salvia adds vibrant color and lively activity to your yard. Watching these essential creatures flit from flower to flower is a rewarding experience.
Beyond the beauty and entertainment, attracting pollinators is crucial for a healthy ecosystem. If you grow vegetables like squash, cucumbers, or tomatoes, more pollinators in your yard can lead to a more abundant harvest. Choosing native plants is especially beneficial, as they are perfectly adapted to support local insect and bird species.
Care & Next Steps
Plant a variety of flowers that bloom at different times from spring through fall to provide a continuous food source for pollinators. Plant them in clumps rather than single specimens to make them more visible. Avoid using pesticides in your garden, as these can be harmful to pollinators. A small dish of water with pebbles can also provide a safe drinking spot for bees.
Quick Summary:
- Why: Adds color and life to the garden while supporting a healthy ecosystem.
- How: Plant a variety of flowers that bloom throughout the seasons.
- Next Steps: Plant in groups, avoid pesticides, and provide a water source.
Your Garden Transformation Awaits
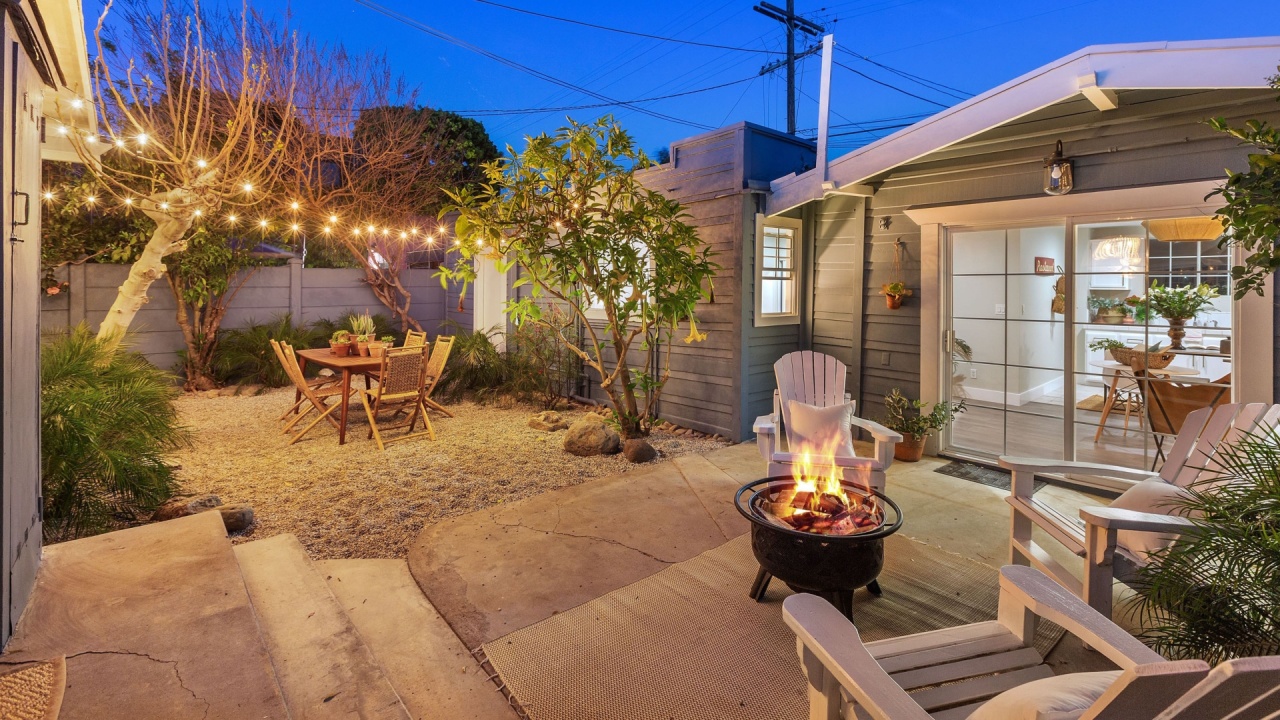
Image Credit: Shutterstock.
As you can see, you don’t need a huge budget or a complete redesign to create a garden that feels new and exciting. By focusing on a few simple but impactful changes, you can transform your outdoor space into a beautiful, functional, and personal sanctuary.
Your next step is simple: pick one or two ideas from this list that resonate with you and start there. Whether it’s adding the warm glow of string lights, the peaceful sound of a fountain, or the practical beauty of an herb garden, each small effort will bring you one step closer to the yard of your dreams. Start today, and watch your garden transform before your eyes.
Read more:
24 Backyard Upgrades That Take Less Than a Weekend
23 Fencing Ideas for a Next Level Backyard
