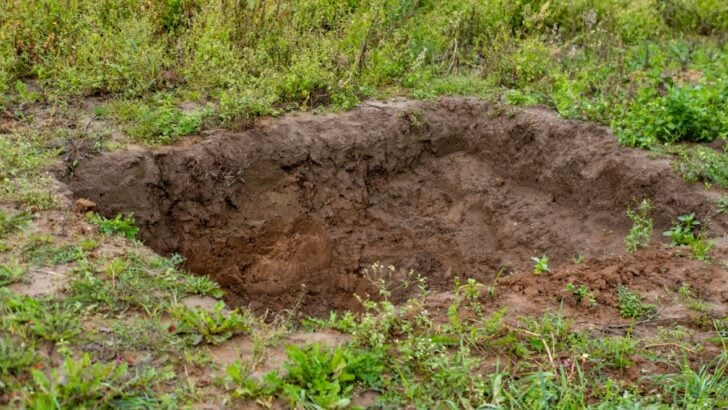
Stump grinding solves the problem of an unwanted tree stump, but it leaves behind a sunken, debris-filled hole that sits in the middle of an otherwise tidy yard. That hole can collect water, attract pests, and create a tripping hazard that lingers for months if left unattended.
Thankfully, filling a stump grinding hole is a manageable project that requires no specialized skills. With the right materials and a clear sequence of steps, the area can be restored to a level, stable, and productive surface.
Most homeowners underestimate how much preparation the hole actually needs before fill dirt goes in. The wood chips and grindings left behind by the grinder interact differently with soil than plain dirt does, and skipping that detail leads to uneven settling and drainage problems down the road.
Here are the stages of the process, from clearing out the old grindings to restoring the surface and watching for long-term settling. Each step builds on the last, so the result holds up well into the future.
1. Clear out the Grindings and Debris
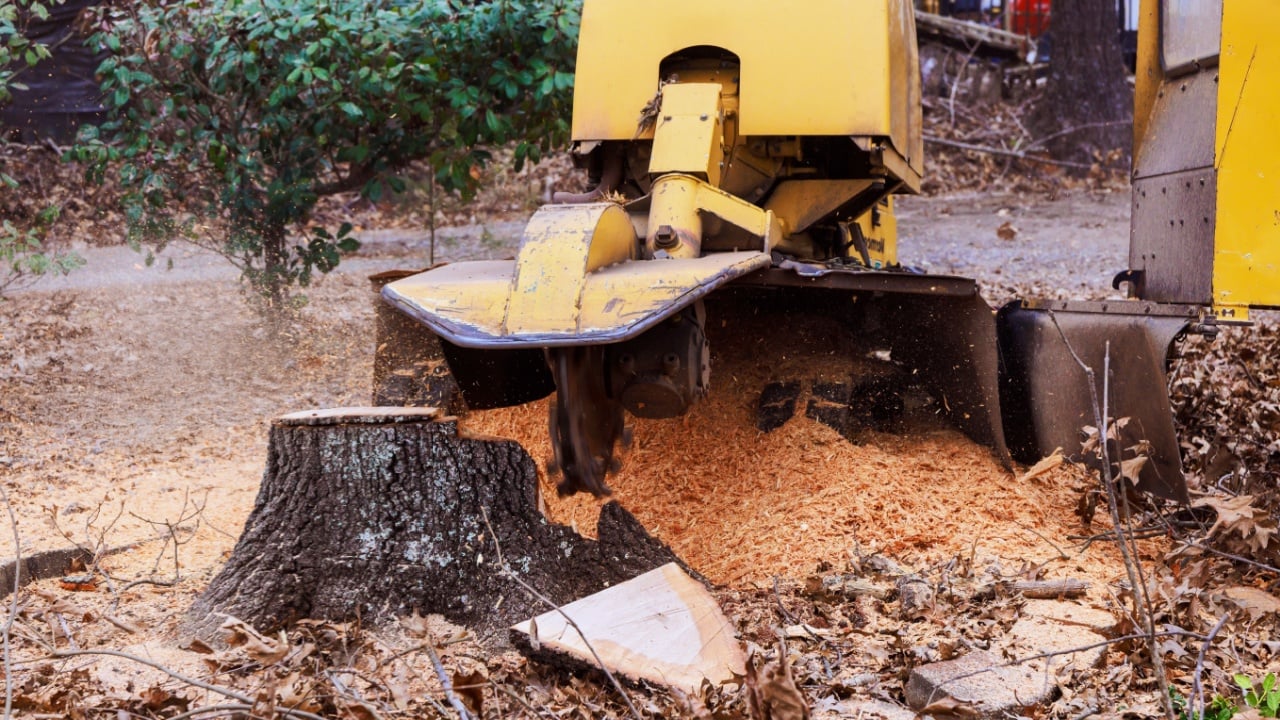
Image Credit: Shutterstock.
After stump grinding, the hole is typically filled with a mix of wood chips, sawdust, and loose grindings. These materials look like soil, but they behave very differently.
As wood breaks down, it pulls nitrogen from the surrounding area, which stunts grass and plant growth if it is left buried in large quantities.
The majority of the grindings should be scooped out and either composted separately or spread thinly over other areas of the yard as mulch. A shovel and wheelbarrow make this job go quickly.
Removing the bulk of the organic debris now creates a cleaner base for the fill materials and prevents excessive decomposition-related settling in the months ahead.
2. Check for Roots and Loose Soil Around the Edges
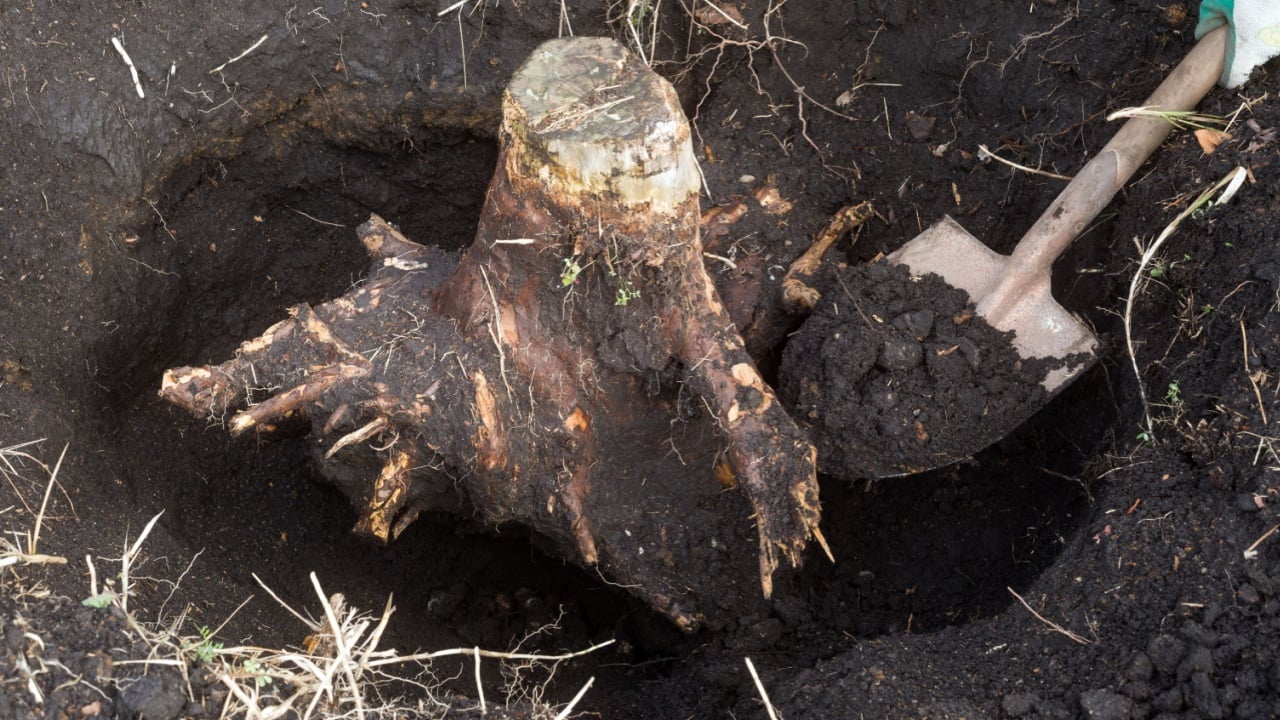
Image Credit: Shutterstock.
Once the grindings are out, it is worth taking a closer look at what remains. Large surface roots that were connected to the stump may extend several feet outward, and sections closest to the hole can be hollow or soft.
These root channels create pathways for water to travel underground, and they will eventually collapse and cause dips in the surface. Probing around the edges of the hole with a rod or the handle of a shovel reveals any soft pockets that need attention.
Loose or crumbling soil along the walls of the hole should be tamped down before adding fill, and any major root channels that sit close to the surface can be packed with soil to prevent future settling. A bit of extra attention at this stage prevents a recurring low spot from developing.
3. Choose the Right Fill Materials
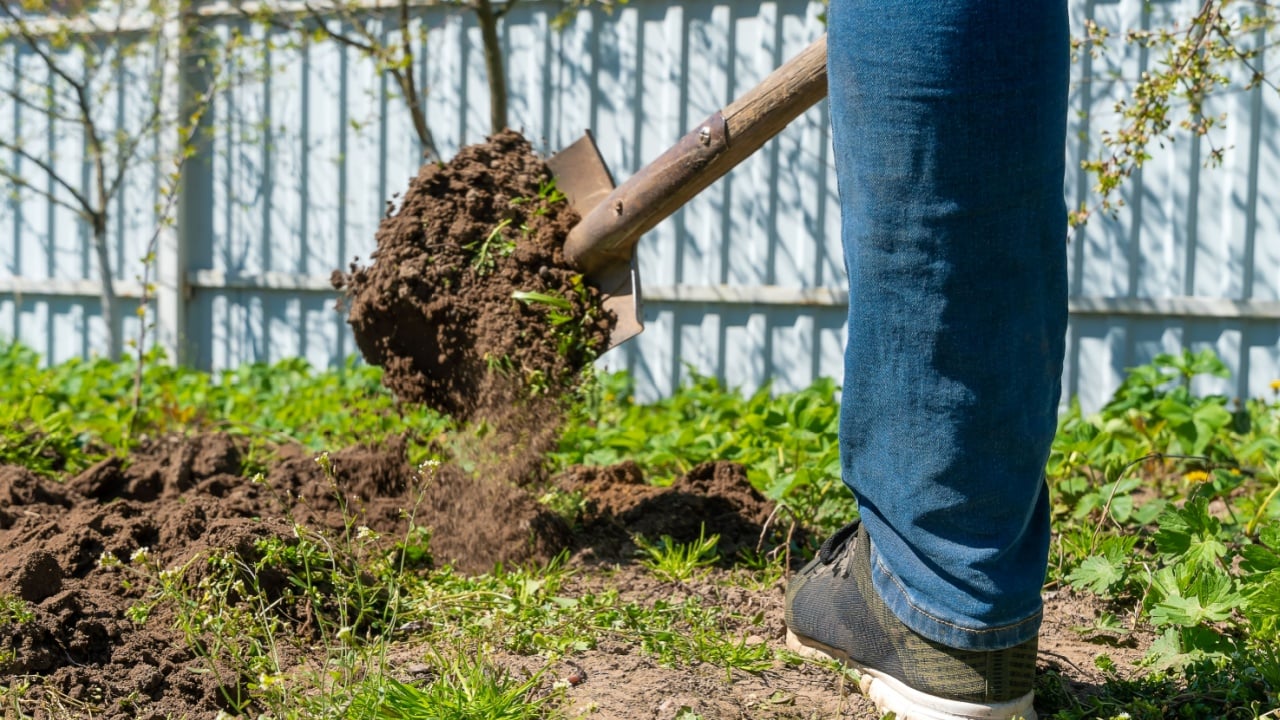
Image Credit: Shutterstock.
Not all soil is created equal, and the materials used to fill a stump hole directly affect how stable and plant-friendly the surface becomes. Clean fill dirt provides the structural base, and it compacts well to create a solid foundation.
It should be sourced from a reputable supplier and free of large rocks, construction debris, or clay clumps that resist proper drainage.
Topsoil should be reserved for the upper layers of the fill, closest to the surface, where it supports root growth. A ratio of roughly three parts fill dirt to one part topsoil works well for the middle and upper layers.
Mixing in some coarse sand can also improve drainage in areas where the native soil tends to hold water, which reduces the risk of a soggy, waterlogged patch forming over the old root zone.
4. Mix in Compost for Soil Health
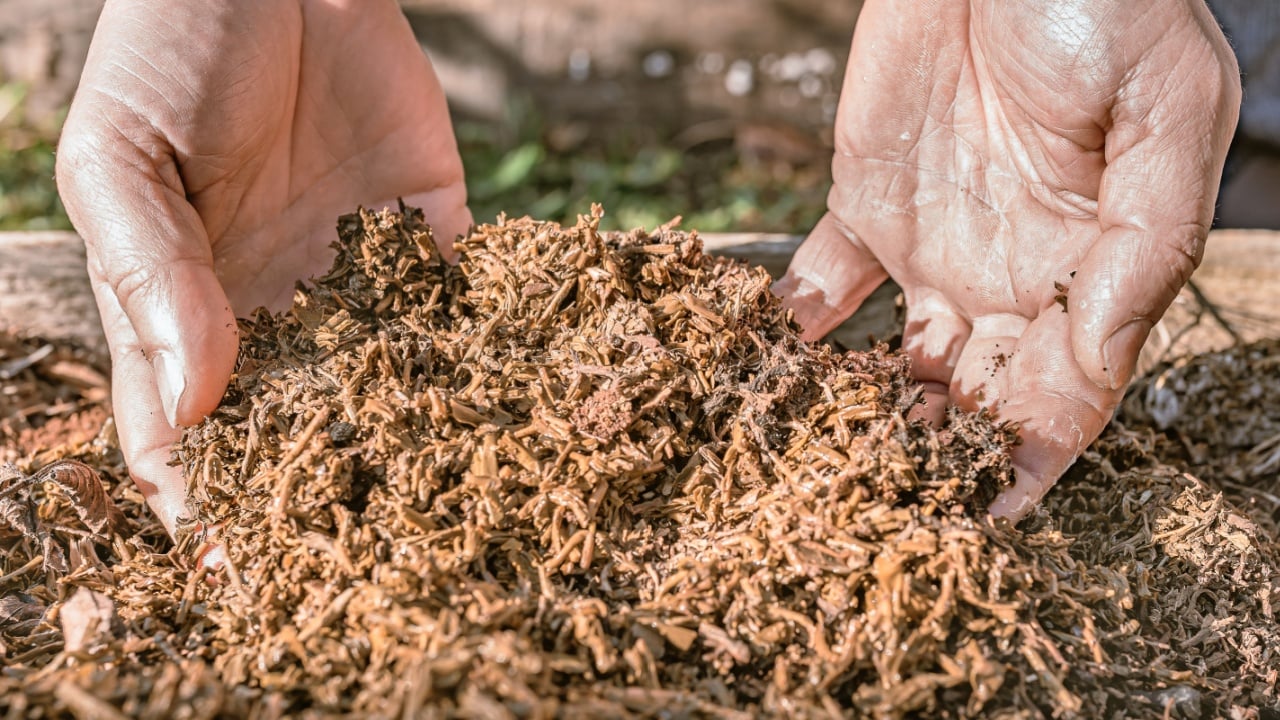
Image Credit: Shutterstock.
Filling the hole with plain dirt creates a stable surface, but it does little to support the microbial life and nutrient exchange that healthy grass and plants depend on. Mixing compost into the fill is a practical way to improve the long-term quality of the soil in that area.
Aged compost, leaf mold, or well-rotted manure all work well and can be blended into the fill at a ratio of roughly one part organic matter to three parts fill dirt.
The compost should be mixed in thoroughly rather than layered in large clumps. Pockets of pure organic matter decompose faster than the surrounding fill, which creates air gaps and uneven settling.
Distributing it evenly throughout the mix produces a more uniform soil structure that compresses predictably and supports healthy roots as the area grows back in.
5. Layer and Compact the Fill Soil
Image Credit: Shutterstock.
Adding all the fill dirt at once is one of the most common mistakes made during this type of project. Soil that is poured in as a single deep mass traps air pockets and settles unevenly over time, which produces low spots and surface depressions that keep returning.
The correct approach is to add the fill in layers of roughly four to six inches at a time, compacting each layer before adding the next.
A hand tamper works well for this task, and a plate compactor is worth renting for larger or deeper holes. Compacting from the outside edges inward distributes pressure more evenly across the fill.
The goal is a firm, stable base at each layer level before building upward, and the final surface should be mounded very slightly above the surrounding ground to allow for natural settling.
6. Water the Fill to Settle the Soil
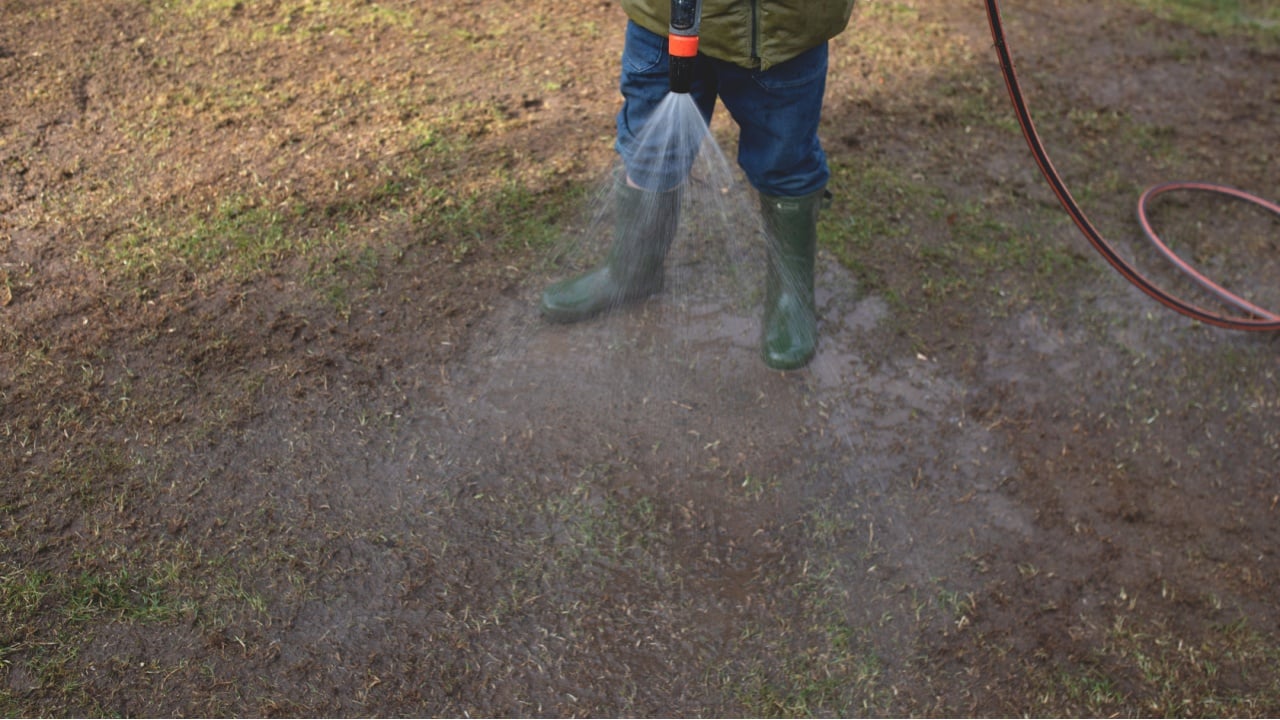
Image Credit: Shutterstock.
Compacting the fill manually removes most of the large air pockets, but watering after filling helps close the smaller gaps that a tamper cannot reach. A slow, steady soak works better than a hard spray, which can displace the surface layer and undo the leveling work.
The water should penetrate the full depth of the fill to encourage uniform settling throughout. After the first thorough watering, the surface will likely drop slightly as the soil settles.
Additional fill dirt should be added to bring it back to grade, and the area should be watered again.
This cycle of topping off and watering may need to be repeated two or three times over the first week, particularly in deeper holes where there is more material to compact and settle.
7. Restore the Surface With Grass or Groundcover
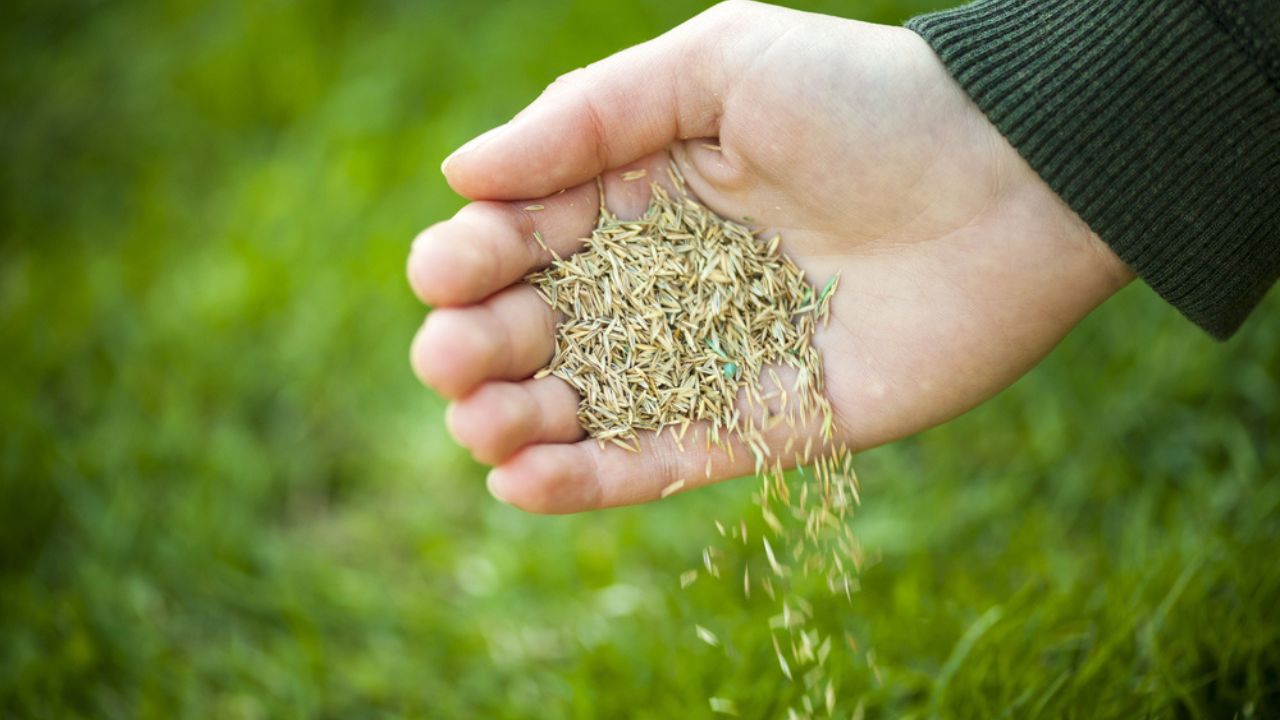
Image Credit: Deposit Photos.
Once the fill has settled and the surface is stable, the area is ready for replanting. Grass seed is the most common choice and blends the repaired spot seamlessly back into the surrounding lawn.
A starter fertilizer worked lightly into the top inch of topsoil gives the seed a strong beginning, and keeping the area consistently moist during germination produces even, healthy coverage.
For spots where grass struggles, such as areas with partial shade or foot traffic, groundcover plants or low-growing natives are a practical alternative. These options spread naturally over time and reduce the maintenance burden of keeping a grass patch alive in challenging conditions.
Mulching lightly around newly planted material helps retain moisture and protects the surface soil from erosion while the roots establish.
8. Monitor for Settling and Drainage Issues
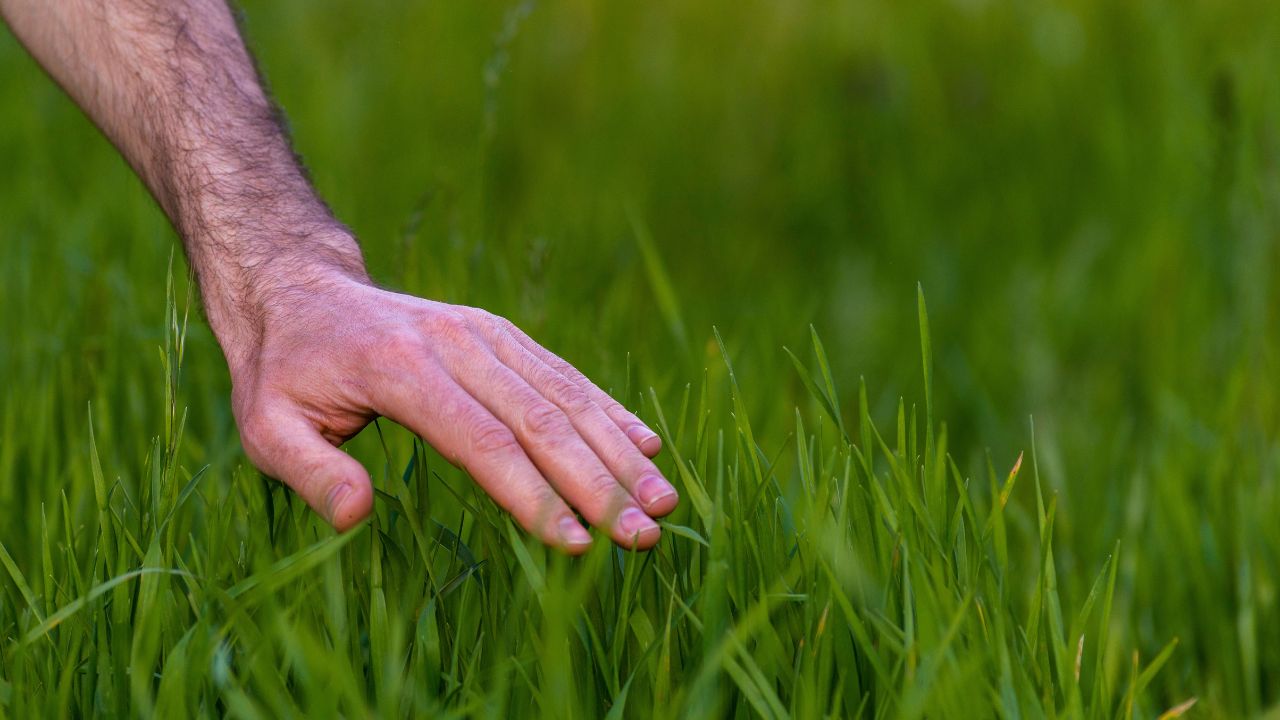
Image Credit: Shutterstock.
Even a well-filled hole needs observation over the first growing season. Soil continues to compress and shift as it is exposed to rain, temperature changes, and foot traffic, and small surface depressions are normal.
Catching these early and adding a thin layer of topsoil prevents them from becoming established low spots that collect standing water.
Drainage behavior around the filled area is also worth monitoring after heavy rain. A properly filled hole should absorb water at roughly the same rate as the surrounding lawn. If water pools consistently over the old stump location, it may indicate that compacted clay layers or decomposing root channels below are blocking drainage.
Aerating the surface or adding a thin layer of coarse sand mixed into the topsoil can help redirect water flow and improve absorption.
A Solid Finish Starts Underground
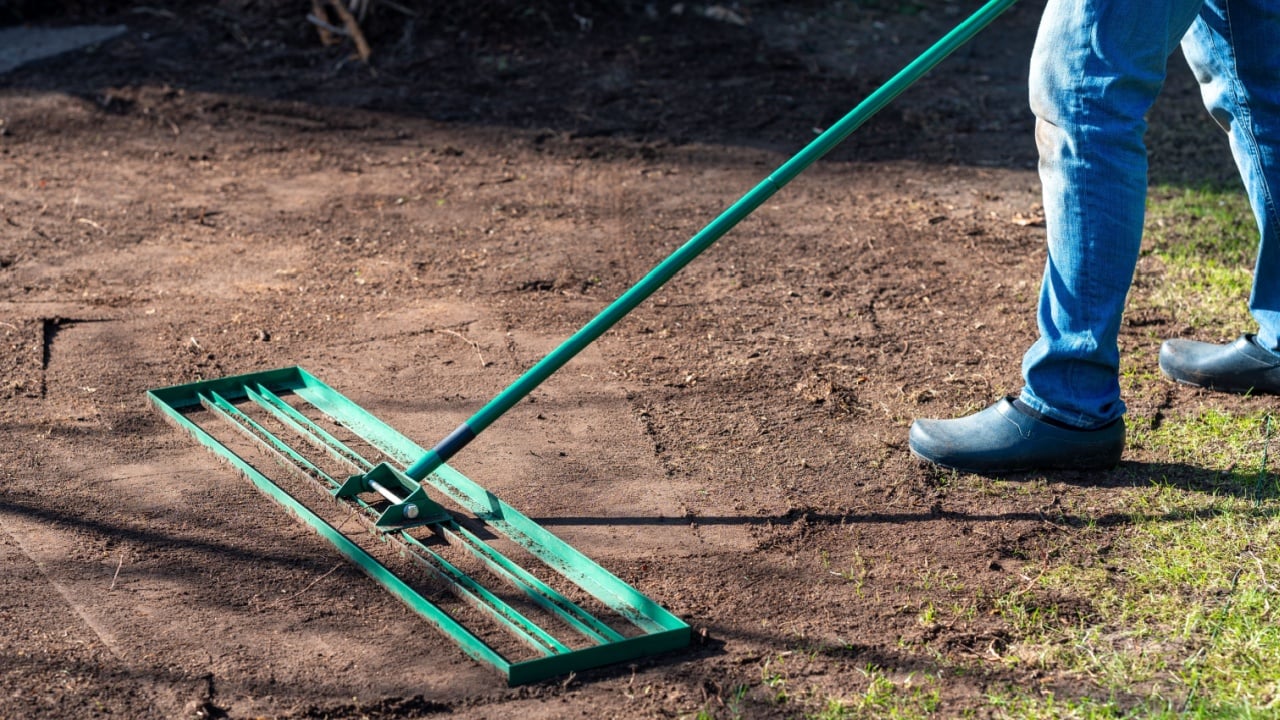
Image Credit: Shutterstock.
The visible surface of a repaired stump hole tells only part of the story. What happens in the layers below determines how the area performs for years to come.
Proper clearing, thoughtful material selection, and careful compaction all contribute to a stable, well-draining surface that holds up through seasonal shifts. Homeowners who invest the extra time in the earlier steps typically find they never need to revisit the spot at all.
A lawn that has had a stump removed can look completely natural within a single growing season when the groundwork underneath has been done right.
Read More:
How to Get Rid of a Tree Stump Without Chemicals or Heavy Equipment