Sweet potatoes are great—they’re like the utility knife of root veggies: dependable, versatile, and ready for all your stews and fries. However, growing them can feel like adopting a high-maintenance pet that needs its own yard, playpen, and daily sunbathing schedule.
If you’ve ever wanted to grow sweet potatoes but felt like you needed a backyard, raised beds, or endless space, Jacque with @Jacquesinthegarden shows you a genius method that flips that idea on its head. Would you like to grow a full crop starting from a milk carton and ending in a compact grow bag setup? Here’s what to do?
1. Start with a Milk Carton
Grab an empty milk carton—the one-liter or half-gallon kind works great. Rinse it out, then cut a big window on one side so you can easily plant and later check on your sweet potato. Leave the bottom and at least one side intact for structure.
A milk carton holds moisture well, fits easily on a windowsill or countertop, and makes the whole process feel manageable, especially if you’re new to this and your space feels like a shoe box with a window.
2. Prep Your Sweet Potato for Slips
Take a healthy sweet potato (organic if possible, since some store-bought ones are treated to prevent sprouting). Cut it in half or leave it whole like Jacques did, then nestle it into the milk carton with the cut side down and the pointed end up. Add a bit of water to keep the bottom moist.
After about 6 weeks, little leafy shoots (called slips) will start growing from the sweet potato. These are what you’ll plant later.
3. Let the Slips Grow
Once the slips are about 4–6 inches long, gently twist them off the sweet potato. Pop them in a jar of water until they grow roots—this takes just a few days.
Change the water every couple of days so it stays fresh and clear. You’ll know they’re ready to plant when the roots are nice and long, 1–2 inches or more.
4. Move Slips to a Grow Bag
Grab a grow bag—anything from 5 to 10 gallons is perfect. Fill it with rich, loose soil (sweet potatoes love well-drained, slightly sandy soil). Plant the slips about 4–6 inches deep, spacing them out if you’re planting more than one.
Don’t overthink it. Just poke a hole, tuck the slip in, and pat the soil around it.
5. Add a Trellis
If you have planted a sweet potato, you know it likes to sprawl and take over the world. Without a trellis, they’ll take over your entire balcony or garden bed. Set up a simple trellis using bamboo sticks, a tomato cage, or even string tied to a nearby fence or railing.
This will save a ton of space and keep leaves in the sun for max photosynthesis. They get more energy for tuber production, and you get a Pinterest-worthy plant.
6. Water, Sun, and Patience
Sweet potatoes need about 6–8 hours of sun a day. Water consistently, but don’t drown them—aim for moist, not soggy. The vines will go wild (especially with a trellis), but the real party’s happening underground.
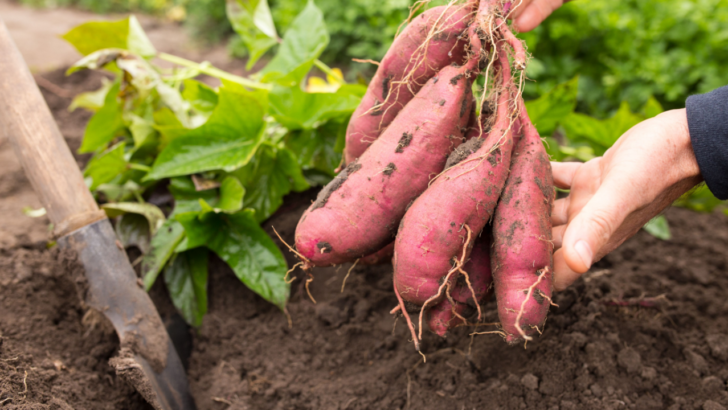
After 90–120 days, once the leaves start to yellow, it’s digging time. Carefully dump out your grow bag, and bam—sweet potato bounty from a method that started with a milk carton.
Why “Infinite?”
Once you harvest, keep a few small tubers to start the next round of slips. You’ll never have to buy sweet potatoes again if you keep the cycle going. This method is perfect for apartment dwellers, balcony growers, or anyone who loves turning trash into treasure.
