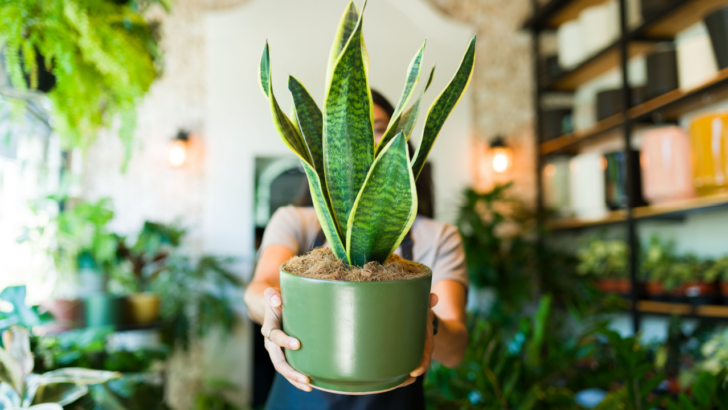
Most people repot plants the same way they make bad sandwiches—too much of the wrong stuff in the wrong place, then wondering why it all turns to mush. The classic move is to grab a bigger pot, dump in soil, shove the plant in, and call it a day. The result is waterlogged roots, sour soil, and a plant that looks like it’s considering emancipation from you.
If you want your plant to survive the move and settle well in its new home, you’ve got to do it like YouTuber @DailySucculent shows. Here’s how to repot like someone who knows what they’re doing, not someone winging it on a Sunday afternoon on an empty stomach.
1. Kick Out the Old Dirt
Start by taking the plant out of its old pot and get rid of that old soil. It’s most likely tired and compacted and just wants an early retirement where it can still learn new hobbies. You know it has to go when it’s holding onto water like a sponge with trust issues.
It’d be tragic to drag the old soil into your plant’s new home, as the nutrients are probably all depleted. Sometimes, it also has pests and diseases that will ruin your plants. It’s recommended that you change your plant’s soil every 12 to 18 months
2. Loosen the Roots
Don’t forget to check the roots too. If they’re circling the base like spaghetti around a fork, loosen them up gently. This will remove additional built-up soil and give the roots room to do their job more efficiently.
3. Add Pebbles at The Bottom of the New Pot
Most people imagine that the new pot needs to be filled with soil. When you do that, water collects at the bottom with nowhere to go, like a broken sink trap. The roots end up swimming, then rotting.
The video advises getting a bigger planter and filling the bottom third with pebbles. Pebbles prevent soil from clogging the drainage holes, which is a crucial step in keeping the plant happy. They also help reduce the depth of the pot if you’re potting in a planter that’s too big or your plant has shallow roots.
4. Add the Soil
Next, add a thin layer—about two centimeters—of balanced soil on top of the pebbles. Not fertilizer-heavy, not dry as sawdust. Use a soil mix that is appropriate for the type of plant you’re repotting. Some plants need extra drainage, while others may prefer a slightly more moisture-retentive mix.
Next, place the old pot (with the plant still in it) directly into the center of the new pot. Then, fill in the gap around it with more soil. You’re creating the exact space your plant will need, without guessing or shoving it around later.
Once you’ve loosely packed the soil around the old pot, removing it will reveal a perfect spot for your plant. Now, lower the plant into the space you made earlier. If you’ve done this right, it’ll sit like it was always meant to be there.
5. Water It
Give it sufficient water. Don’t baptize the whole thing, but no skimping either. You want the soil to settle around the roots, not float above them. This first watering allows the soil to compact around the roots and remove any air pockets. Check the pot’s drainage to make sure excess water flows out. Proper watering right after re-potting will also help the plant acclimate and avoid stress.
Considering the Plant
Different plants have different needs after repotting. For instance, flowering plants like orchids need a period of indirect light and slightly higher humidity to adjust, while succulents prefer dry, sunny spots to recover. After re-potting, avoid direct sunlight for a few days to help your plant settle in. Keep an eye on moisture levels—overwatering is a common mistake. Let the soil dry out between waterings, especially for plants like cacti.
