Composting is one of the best things you can do for your garden, but many people assume it requires a special bin, tumbler, or expensive setup. That assumption stops a lot of gardeners before they even begin.
The truth is, you can turn kitchen scraps and yard waste into rich, usable compost with nothing more than what you already have on hand.
The method you choose depends on your space, your habits, and how hands-on you want to be. Some approaches work quietly underground with almost no effort. Others are more active and give you faster results. All of them are free to get started.
Here are six ways to start composting without spending a single dollar on equipment.
1. Dig a Compost Trench
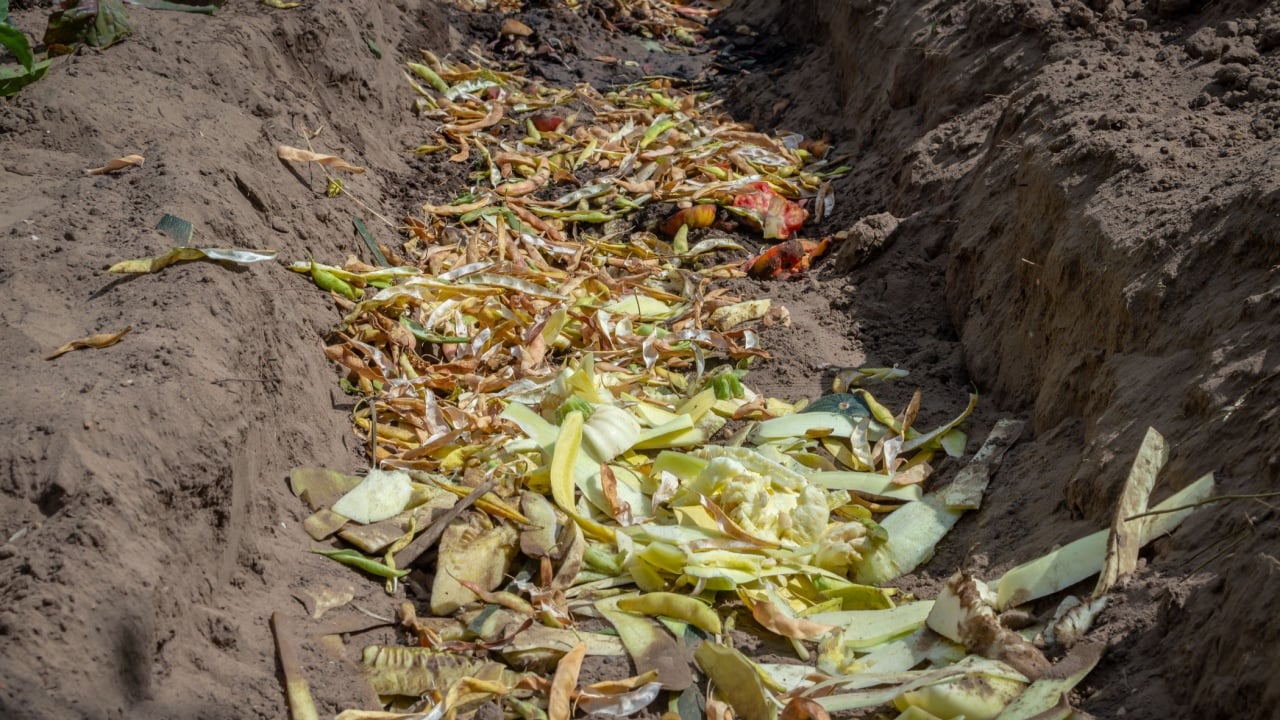
Image Credit: Shutterstock.
Trench composting is one of the most low-effort methods out there, and it works beautifully in garden beds. You dig a hole or trench about 12 inches deep, fill it with kitchen scraps like fruit peels, vegetable trimmings, and coffee grounds, then cover it back up with soil.
The scraps break down underground over several weeks, feeding the soil directly around your plants.
This method works especially well when you rotate it through different sections of your garden bed throughout the season. As you plant in one area, you can trench-compost in another and let it rest.
The decomposed material improves soil structure, adds nutrients, and encourages earthworm activity right where your roots can access it.
2. Build a Simple Compost Pile
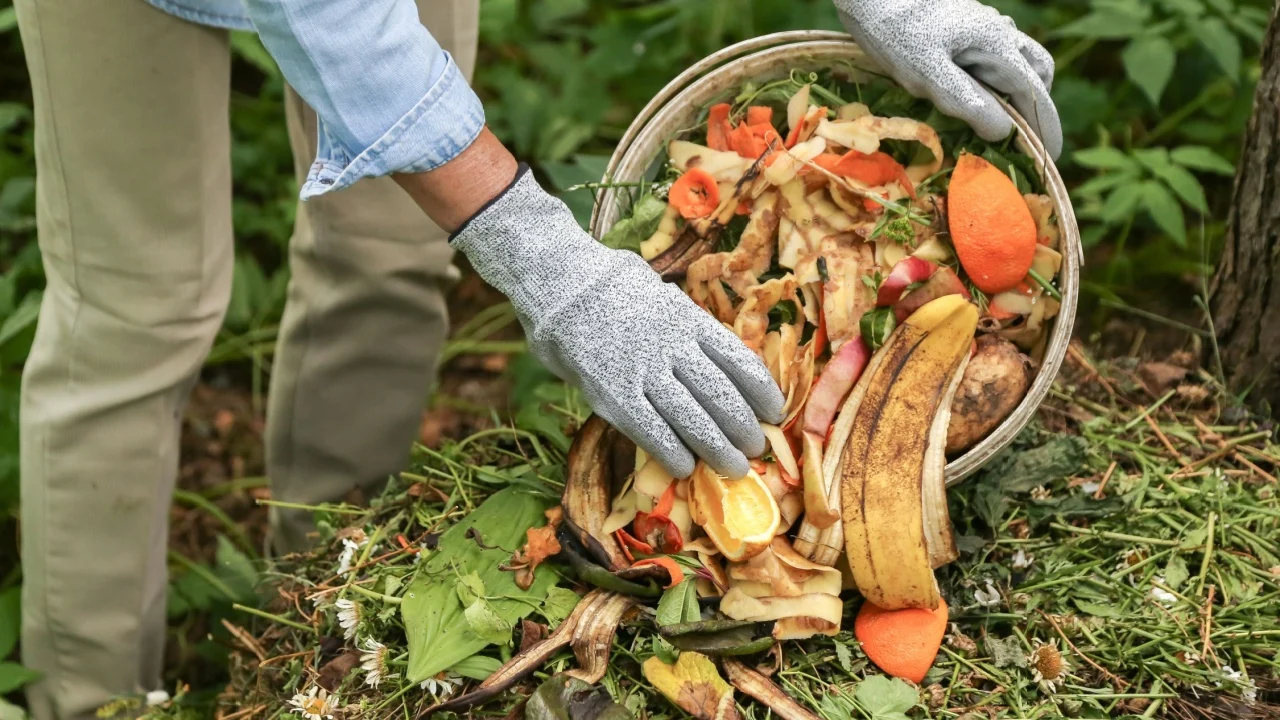
Image Credit: Shutterstock.
A compost pile requires nothing more than an open patch of ground and the right mix of materials. Layer “greens” like fruit scraps, grass clippings, and coffee grounds with “browns” like dry leaves, cardboard, and paper bags in roughly equal portions.
The contrast between nitrogen-rich greens and carbon-rich browns creates the conditions microbes need to break everything down efficiently. Turning the pile every week or two speeds up decomposition by introducing oxygen to the center where heat builds up.
A well-maintained pile can reach internal temperatures between 130 and 160 degrees Fahrenheit, which kills weed seeds and speeds up the process considerably. You do not need a container to make this work; the pile itself is the system.
3. Sheet Mulching Directly on Your Beds
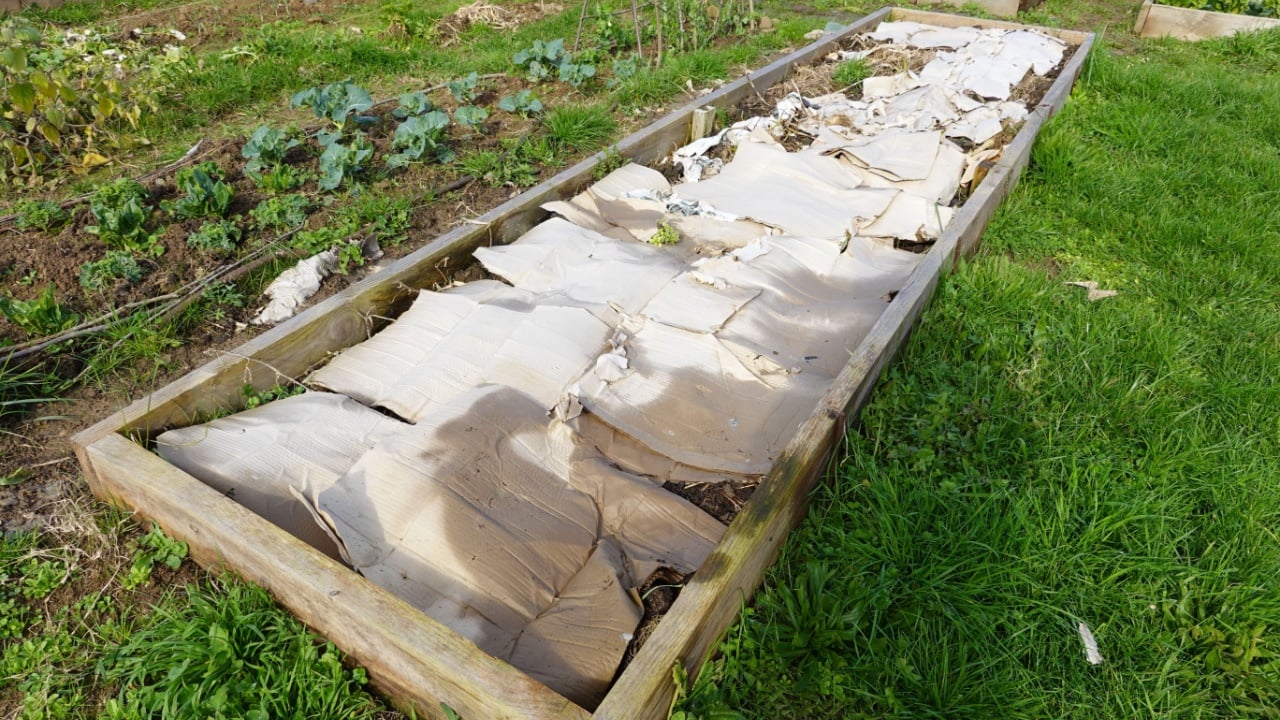
Image Credit: Shutterstock.
Sheet mulching, sometimes called lasagna composting, builds layers of organic material directly on top of your garden beds rather than in a separate pile.
You start with a layer of cardboard or newspaper to suppress weeds, then alternate layers of greens and browns right on the surface of the soil. Rain, worms, and microbial activity do the work of breaking everything down gradually.
This method is ideal if you are building a new garden bed or rehabilitating a worn-out one. As the layers decompose in place, they improve the soil without any digging or turning.
You can add to the layers throughout the season and plant directly into the bed once the material has broken down enough.
4. Use the Pit Composting Method
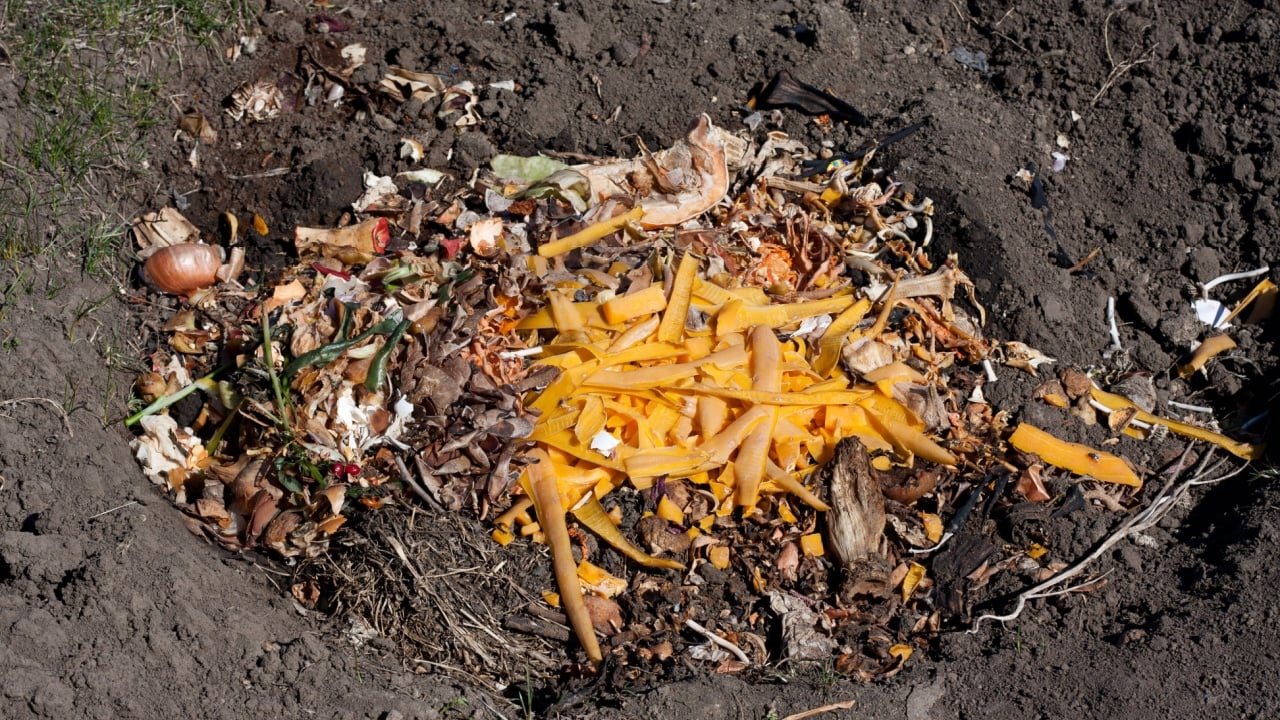
Image Credit: Shutterstock.
Pit composting takes the trench idea further by using a single, dedicated hole rather than rotating trenches across a bed.
You dig a pit about two feet deep in an unused corner of your yard, add food scraps and yard waste as they accumulate, and cover each addition with a thin layer of soil to reduce odors and discourage pests.
When the pit is full, you cover it completely and let it decompose for a few months. The soil lid you add after each deposit acts as a natural filter, keeping the pile contained and speeding up breakdown by introducing soil microbes directly to the organic matter.
This approach suits gardeners who want a low-visibility, low-maintenance setup that requires no daily attention. Once it has fully decomposed, you dig up the finished compost and apply it wherever your soil needs a boost.
5. Vermicomposting With a DIY Worm Bin
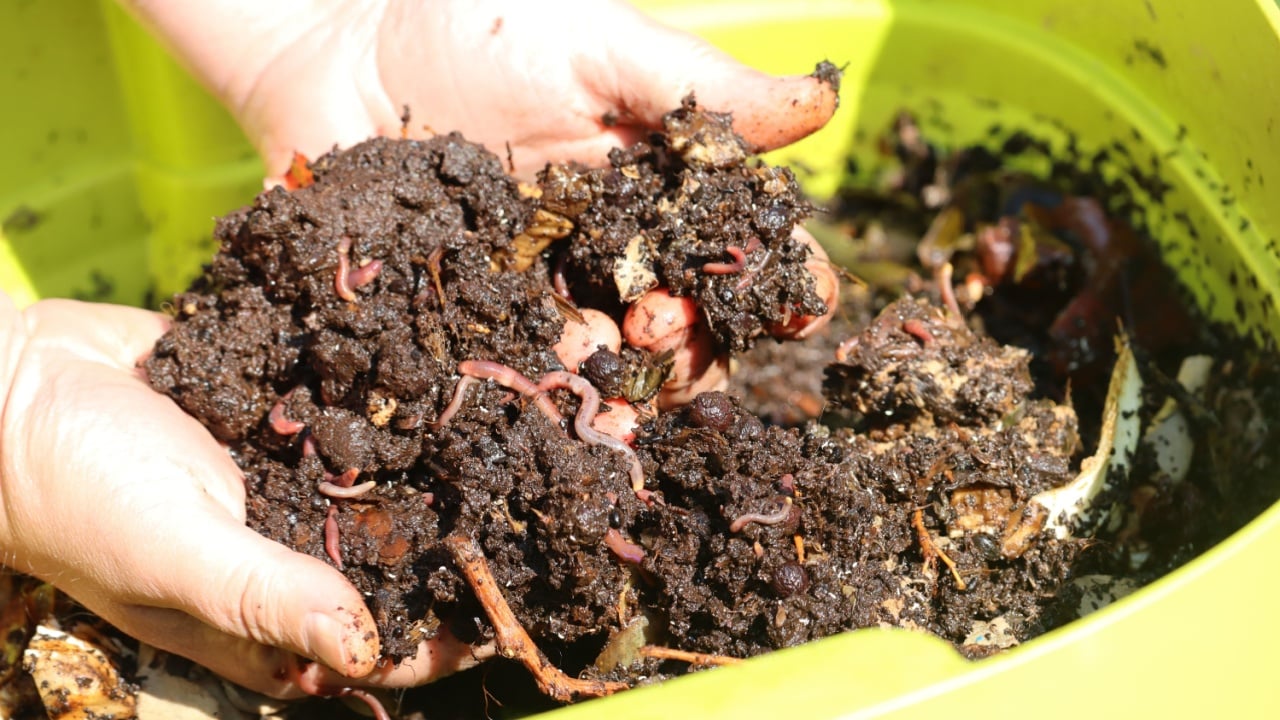
Image Credit: Shutterstock.
Vermicomposting uses worms to break down food scraps into a dark, crumbly compost called vermicast that plants love. While many people buy purpose-built worm bins, you can make one from any plastic storage container you already own by drilling small holes in the lid and sides for airflow.
Add moist bedding material like shredded newspaper or cardboard, introduce a handful of red wigglers, and feed them small amounts of kitchen scraps regularly.
Red wigglers process organic matter much faster than standard earthworms and produce castings that are exceptionally rich in nutrients and beneficial microbes.
A DIY bin tucks neatly under a kitchen counter or in a garage, making this a practical option for gardeners with very little outdoor space. The liquid that drains from the bin, called worm tea, can also be diluted with water and used as a liquid fertilizer directly on your plants.
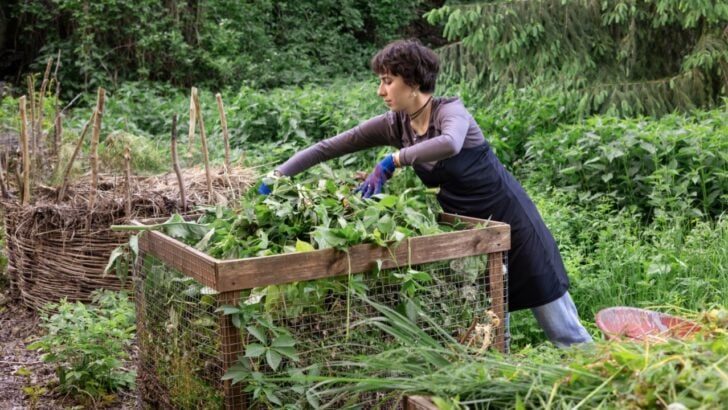
6. Cold Composting in a Wire Hoop or Stick Enclosure
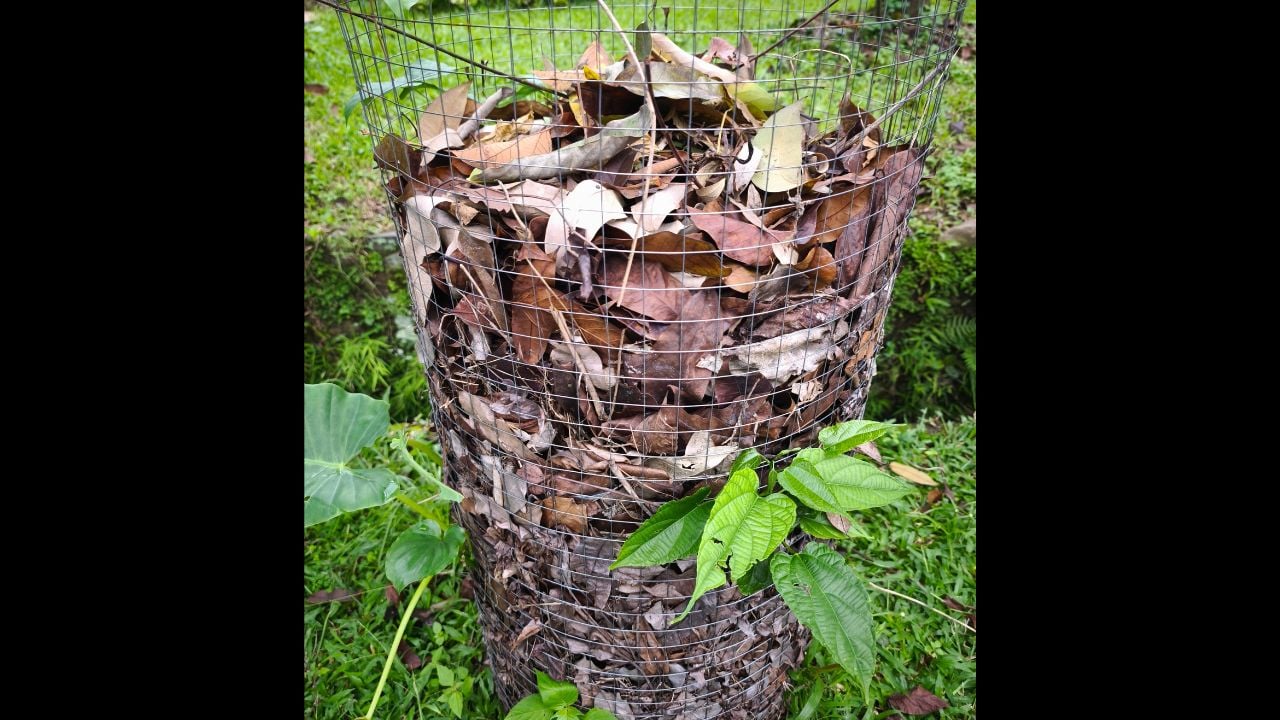
Image Credit: Shutterstock.
Cold composting is the most passive approach of all, and you can contain it with nothing more than a circle of wire fencing or a few sticks pushed into the ground to form a loose boundary.
You add organic material as it becomes available without worrying about ratios, turning schedules, or temperature monitoring. Decomposition happens slowly but steadily, and after six months to a year, you have usable compost at the bottom of the pile.
The enclosure does not need to be fancy; its only purpose is to keep loose material from scattering. Wooden pallets stood on their sides, a ring of chicken wire, or even a bundle of branches tied loosely together, all work just as well as a store-bought bin.
If you are patient and consistent about adding material, cold composting delivers reliable results with almost no effort on your part.
Getting the Most From Your Compost
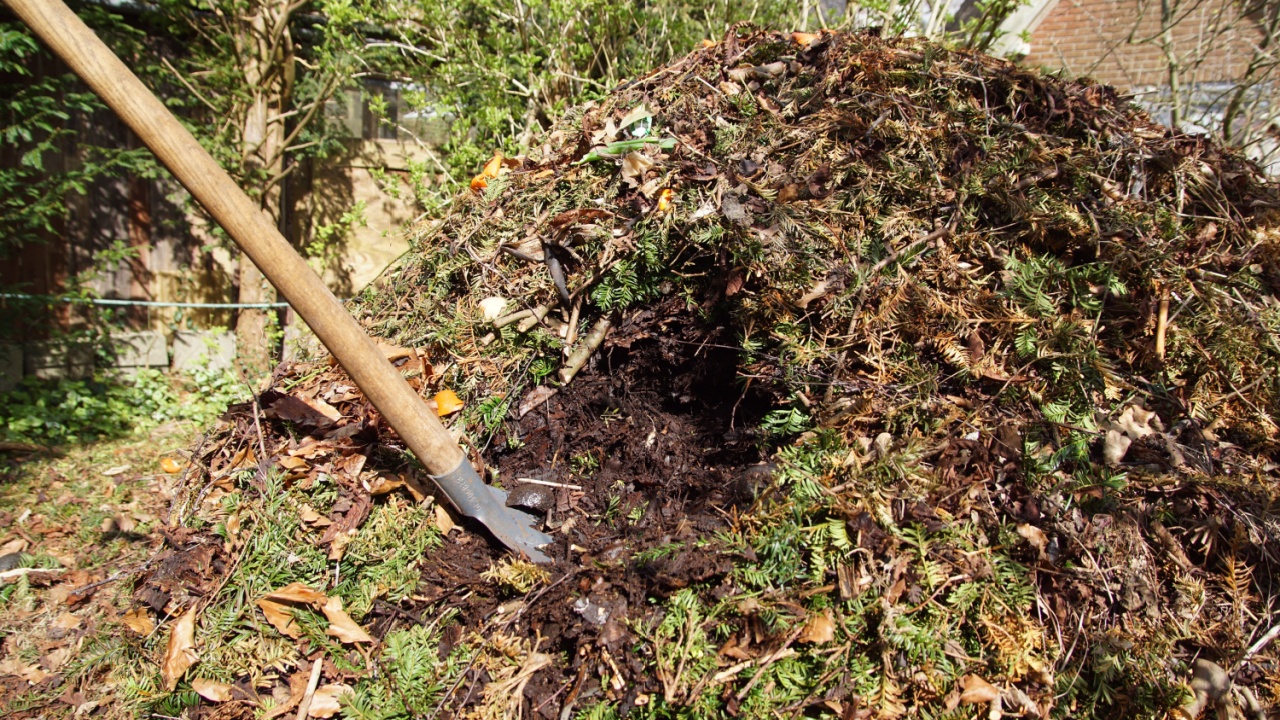
Image Credit: Shutterstock.
Whichever method you choose, a few habits will improve your results across the board. Keep your materials moist but not soggy, since microbes need water to function but will slow down or die in waterlogged conditions.
If you notice a bad smell coming from your pile or trench, you likely have too many greens and not enough browns, so add dry leaves or cardboard to rebalance things.
Pests are the most common concern with open composting, and most issues can be prevented by burying food scraps under soil or brown material rather than leaving them exposed on the surface.
Avoid adding meat, dairy, or cooked foods to any open-air method, as these attract animals more readily than raw fruit and vegetable scraps do.
Read More:
A 5-Step Guide to Composting at Home to Stop Throwing These Kitchen Scraps Away
Stop Buying Bags of Compost and Use 8 Free Alternatives Already in the Yard and Kitchen