Every banana peel, coffee ground, and eggshell you toss into the garbage is a tiny act of throwing money away your garden would have turned them into gold for free.
The average American household wastes roughly $1,600 worth of food every year, and the vast majority of those scraps are perfectly compostable. Meanwhile, gardeners spend hundreds annually on fertilizer, peat moss, and soil amendments that the kitchen could have produced for nothing.
This guide walks you through every step: from setting up a kitchen collection system to choosing the right method for your space to knowing exactly when your finished compost is ready to use.
What Composting Kitchen Scraps Actually Does for Your Garden

Image Credit: Shutterstock.
Composting is nature’s recycling program. Microorganisms, bacteria, and fungi break down organic matter into a dark, crumbly, nutrient-rich material that feeds soil in a way that nothing synthetic can replicate. Where chemical fertilizers deliver a narrow band of nutrients in a fast, sharp burst, compost works slowly and broadly by improving soil structure, boosting water retention, reducing erosion, and introducing beneficial microbes that help plants resist pests and disease.
The EPA confirms that adding compost to your soil can reduce or eliminate the need for synthetic fertilizers. For gardeners spending $50 to $200 a season on soil amendments, that represents real savings. Worm castings, alone, the richest form of finished compost, sell commercially for $10 to $30 per pound. A single worm bin tucked under the kitchen sink produces that for free.
There is also a compelling environmental argument. Food scraps make up roughly 21 percent of landfill material in the United States, according to Home Biogas. Buried under other trash without access to air, organic matter decomposes anaerobically and generates methane, a greenhouse gas 30 times more potent than carbon dioxide. Composting at home can reduce that methane output by up to 84 percent.
The Two Things Every Compost Pile Needs: Greens and Browns
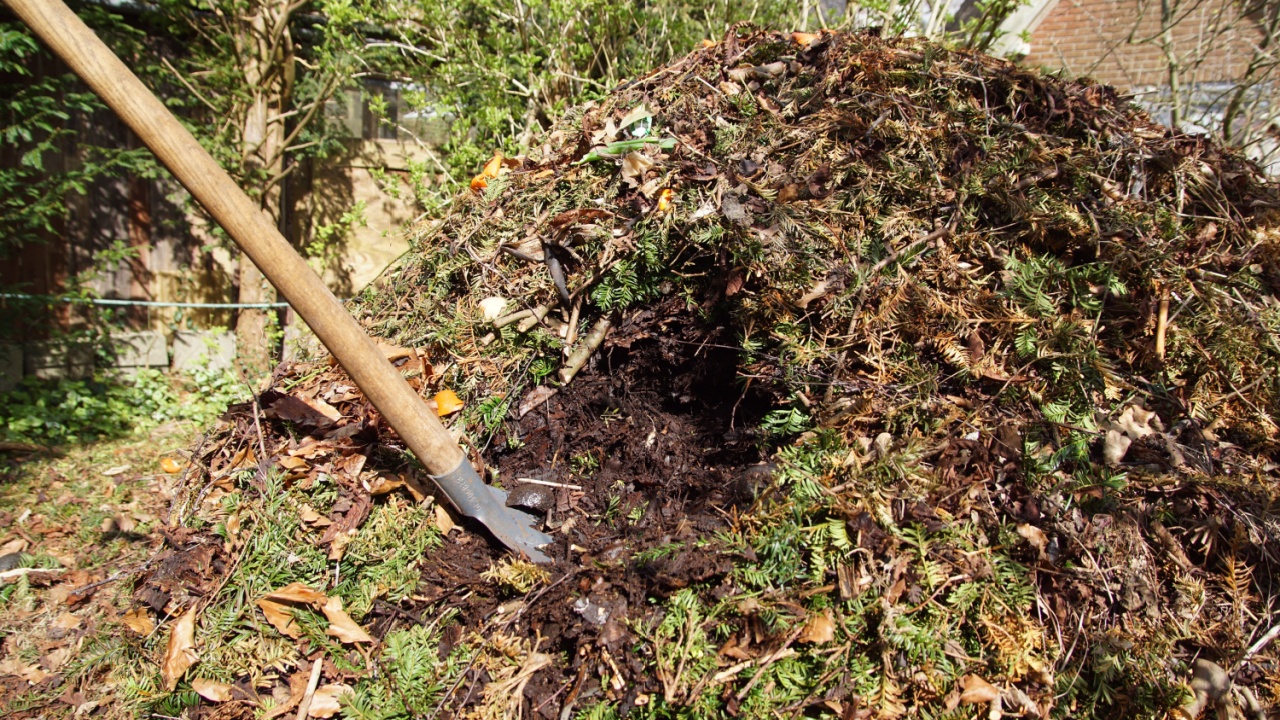
Image Credit: Shutterstock.com.
Before you add a single scrap to a compost bin, you need to understand one concept: the balance between greens and browns.
Greens are nitrogen-rich materials that are typically wet and fresh. This is where your kitchen scraps live: fruit and vegetable peels, coffee grounds, tea bags, and eggshells.
Browns are carbon-rich materials that are typically dry. Dried leaves, shredded cardboard, newspaper, paper bags, and toilet paper rolls all qualify.
Microorganisms need both greens and browns to thrive. Nitrogen is their protein; carbon is their energy source. Without enough carbon, your pile becomes wet, slimy, and foul-smelling. Without enough nitrogen, it dries out and stalls.
For every handful of kitchen scraps, add two to four handfuls of browns. Keep a bag of dried leaves or a stack of shredded cardboard near your bin so the habit becomes automatic. This imbalance too many greens, not enough browns is the single most common reason beginner compost piles fail.
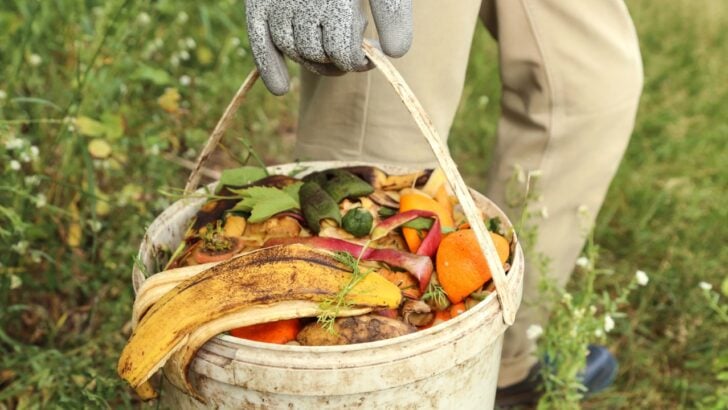
Step 1: Set Up a Kitchen Collection System That Actually Works
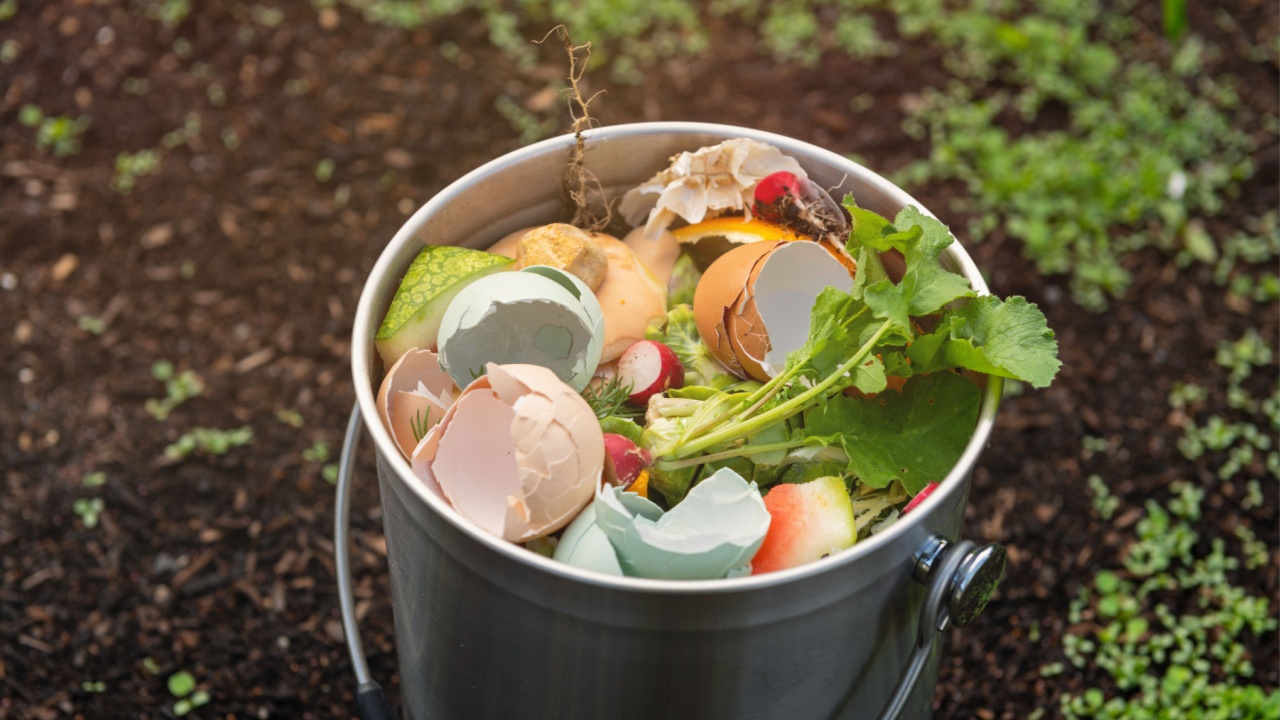
Image Credit: Shutterstock.
You need a place to collect scraps before they go to the pile. A small countertop caddy with a lid is the most practical starting point. Many come with a carbon-filter insert that captures odors, which is worth having, especially during the summer months. Any lidded container works fine: a ceramic crock, a stainless steel pail, a repurposed coffee can.
“It doesn’t have to be all the things that you find online that are really cute little ceramic containers. It can just be an old milk carton.” Leonard Diggs, Pie Ranch Farm, via NPR Life Kit
If odors are a concern or you empty your caddy only once a week, use the freezer method. Collect scraps in a resealable bag or airtight container and store them in the freezer. This halts decomposition entirely, eliminates kitchen odors, and has an added benefit: freezing breaks down cell walls in organic material, which slightly accelerates decomposition once the scraps reach the pile.
Unless you’re sending your compost to a municipal waste center, it’s worth skipping the compostable plastic liners marketed for kitchen bins. Most home composting systems don’t sustain the high temperatures required to break them down, and they tend to end up as a partially degraded mess rather than usable compost.
Step 2: Choose Your Composting Method Based on Your Space
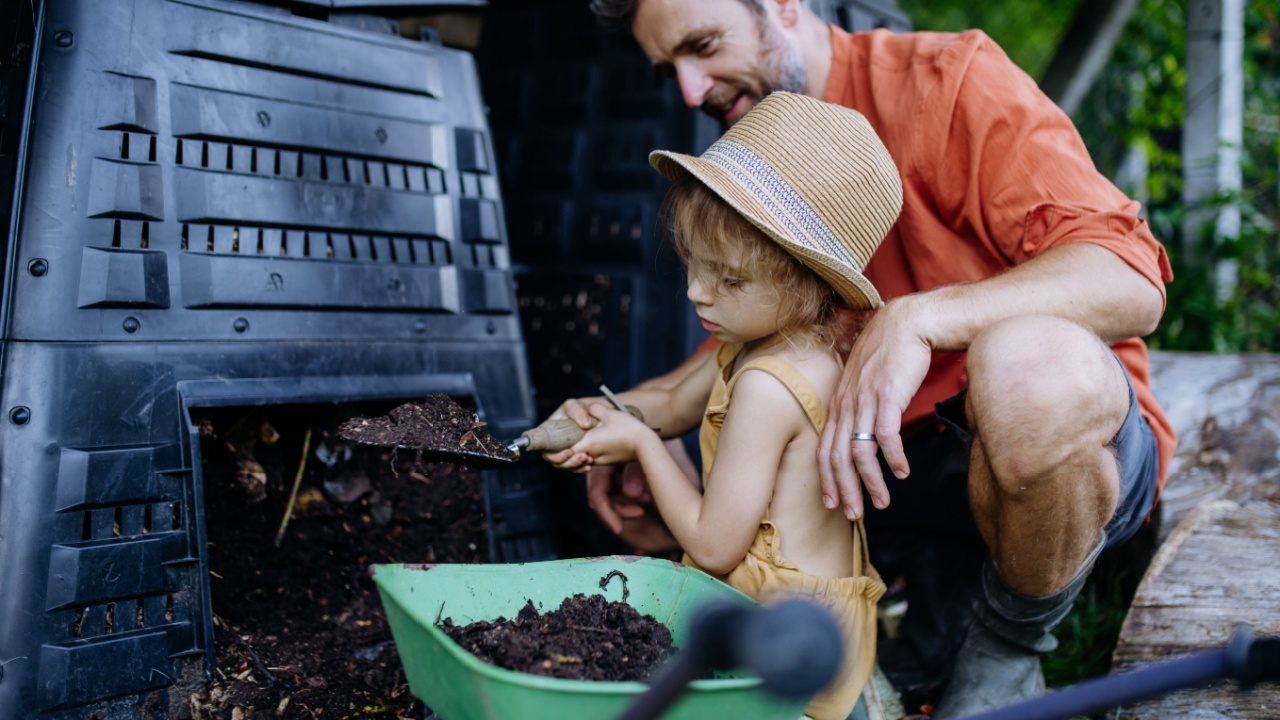
Image Credit: Shutterstock.
There is no single right method to composting, according to Nicole Burke at the Gardenary. The best system is the one you will actually use consistently. Consider one of the following systems and whether it will work for you at home:
- Open bin or backyard pile: The simplest entry point. A wire cage, a wooden pallet enclosure, or even a free-standing heap in the corner of the yard works. Basic enclosed bins cost $30 to $40 and are widely available. Choose a spot with partial shade and good drainage, away from fence lines.
- Compost tumbler: The method most gardening experts recommend for suburban households. Tumblers sit off the ground, protecting against burrowing pests, and aeration requires nothing more than spinning the drum. Invest in a dual-chamber model if possible, one side finishes cooking while you continue adding fresh scraps to the other.
- Vermicomposting (worm bin): The apartment gardener’s solution. A five-gallon bin with red wigglers under the kitchen sink can process a family’s food scraps with no outdoor space whatsoever. Worms eat up to half their body weight daily and produce castings that are among the richest plant amendments available.
- Trench composting: No bin required. Dig a trench eight to twelve inches deep in a garden bed, bury scraps, and cover with soil. The material decomposes directly where your plants grow. It is the lowest-effort method available, particularly useful in winter.
- Bokashi: A Japanese fermentation method using microbe-inoculated bran to break down scraps in a sealed bucket, including meat and dairy. The pre-compost it produces must be buried or finished in an outdoor pile, but it’s the right choice for households that want to compost everything.
Step 3: What to Compost at Home (And What to Keep Out)

Image Credit: Shutterstock.
Most of what your kitchen produces is compostable. However, there are a handful of exceptions that are worth memorizing.
12 kitchen scraps you should be composting instead of throwing away:
- Fruit peels and cores: apple cores, banana peels, mango skins, or melon rinds. Banana peels decompose remarkably quickly and are an excellent source of potassium.
- Vegetable scraps: carrot tops, pepper seeds, onion peels, or corn cobs (chop them first to speed things up).
- Coffee grounds: a strong nitrogen source; use in moderation, as excess grounds can shift pile pH.
- Paper coffee filters: fully compostable; add them right along with the grounds.
- Tea leaves and paper tea bags: check that bags are plastic-free before composting; when uncertain, cut them open and compost only the leaves.
- Eggshells: valuable calcium source; crush or grind them before adding, as whole shells can take a year or more to break down.
- Bread, crackers, and plain cooked grains: rice, pasta, and oatmeal are compostable in a well-managed pile; avoid anything heavily sauced or oily.
- Nutshells: walnut, almond, and pistachio shells decompose slowly but contribute structure; add in small amounts.
- Fresh herbs and wilted greens: parsley stems, cilantro, lettuce past its prime, or spinach.
- Paper towels and napkins: unbleached and ungreased ones count as a useful brown material.
- Cardboard packaging: toilet paper rolls or unbleached egg cartons. Tear or shred before adding.
- Hair and nail clippings: an overlooked nitrogen source that breaks down cleanly without attracting pests.
What to keep out of your compost pile: Meat, fish, bones, dairy products, cooking oils, and grease are the non-negotiables. They attract rats and flies, generate persistent odors, and can introduce pathogens. Heavily sauced or oily-cooked foods carry the same risks in open or bin-style systems (Bokashi is the exception). Pet waste never belongs in a food compost pile.
Step 4: Build and Maintain Your Pile the Right Way

Image Credit: Shutterstock.
Start with a four- to six-inch base layer of coarse brown material like twigs, wood chips, or dried leaves, to allow air circulation at the bottom. Then layer your compost additions like lasagna: a layer of browns, a layer of kitchen scraps (greens), then more browns on top to cover the food entirely. That top layer of browns discourages flies and controls odors.
Keep moisture consistent. Your pile should feel like a wrung-out sponge; damp but not dripping. Add water during dry weather. If the pile gets too wet from rain, add more browns to absorb the excess.
Turn the pile every seven to ten days with a garden fork, pulling the outer material toward the center, according to the Old Farmer’s Almanac. This injects oxygen and feeds the microorganisms driving decomposition. A healthy, active pile will heat noticeably at its core; temperatures of 130 to 160°F are not uncommon in a well-maintained hot pile and are sufficient to kill weed seeds and most pathogens.
If the pile smells bad, add more browns and turn it immediately. If it stalls and produces no heat, add greens and water. Nearly every compost problem has a simple, two-ingredient fix.
Step 5: Know When Your Compost Is Ready and How to Use It
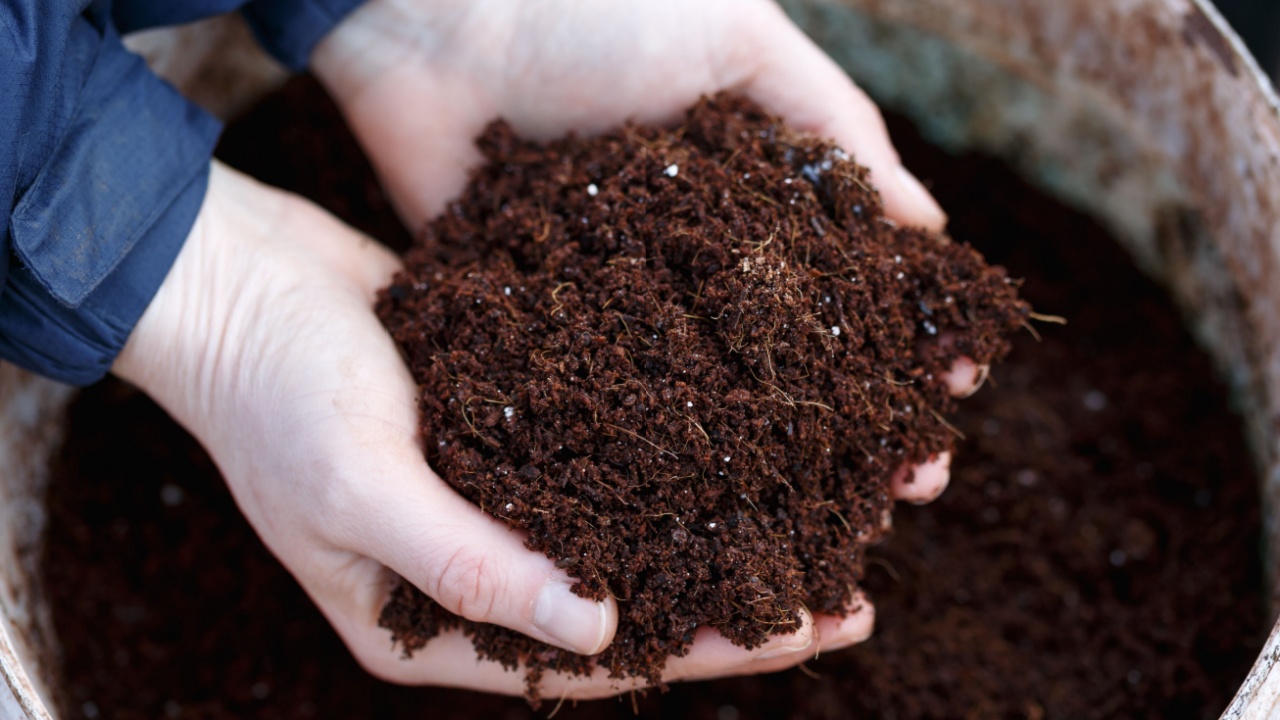
Image Credit: Shutterstock.
Finished compost is dark, crumbly, and uniform in texture. It does not resemble the original materials at all. The smell test is your most reliable tool: finished compost smells earthy, woody, and faintly sweet, the way a forest floor smells after rain. A sour or ammonia-like odor means the pile needs more time.
Before using, sift your finished compost through a wire screen to remove large unfinished chunks like avocado pits, eggshell pieces, and woody stems, and return those to an active pile.
You Don’t Have to Be Perfect to Do This Well
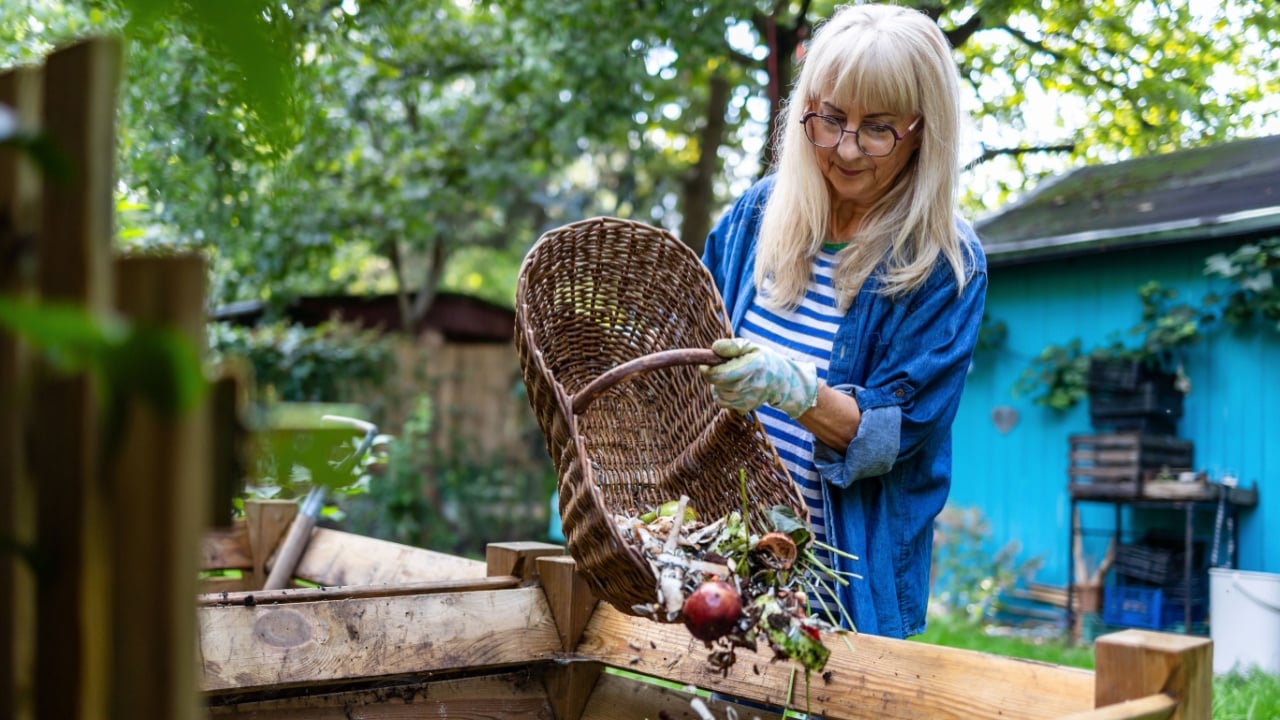
Image Credit: Shutterstock.
Composting is far more forgiving than beginners expect. Nearly every problem too wet, too dry, too slow, too smelly has a straightforward fix. The most important step is simply to start. An imperfect pile still diverts food from the landfill, still feeds your garden, and still costs nothing. Once you hold your first batch of finished compost, dark and loose and smelling like good earth, the habit tends to stay with you for life.
Read more:
How to Make Compost for Your Garden: Your Soil’s Secret Weapon
How To Make Organic Compost At Home For Better Vegetables