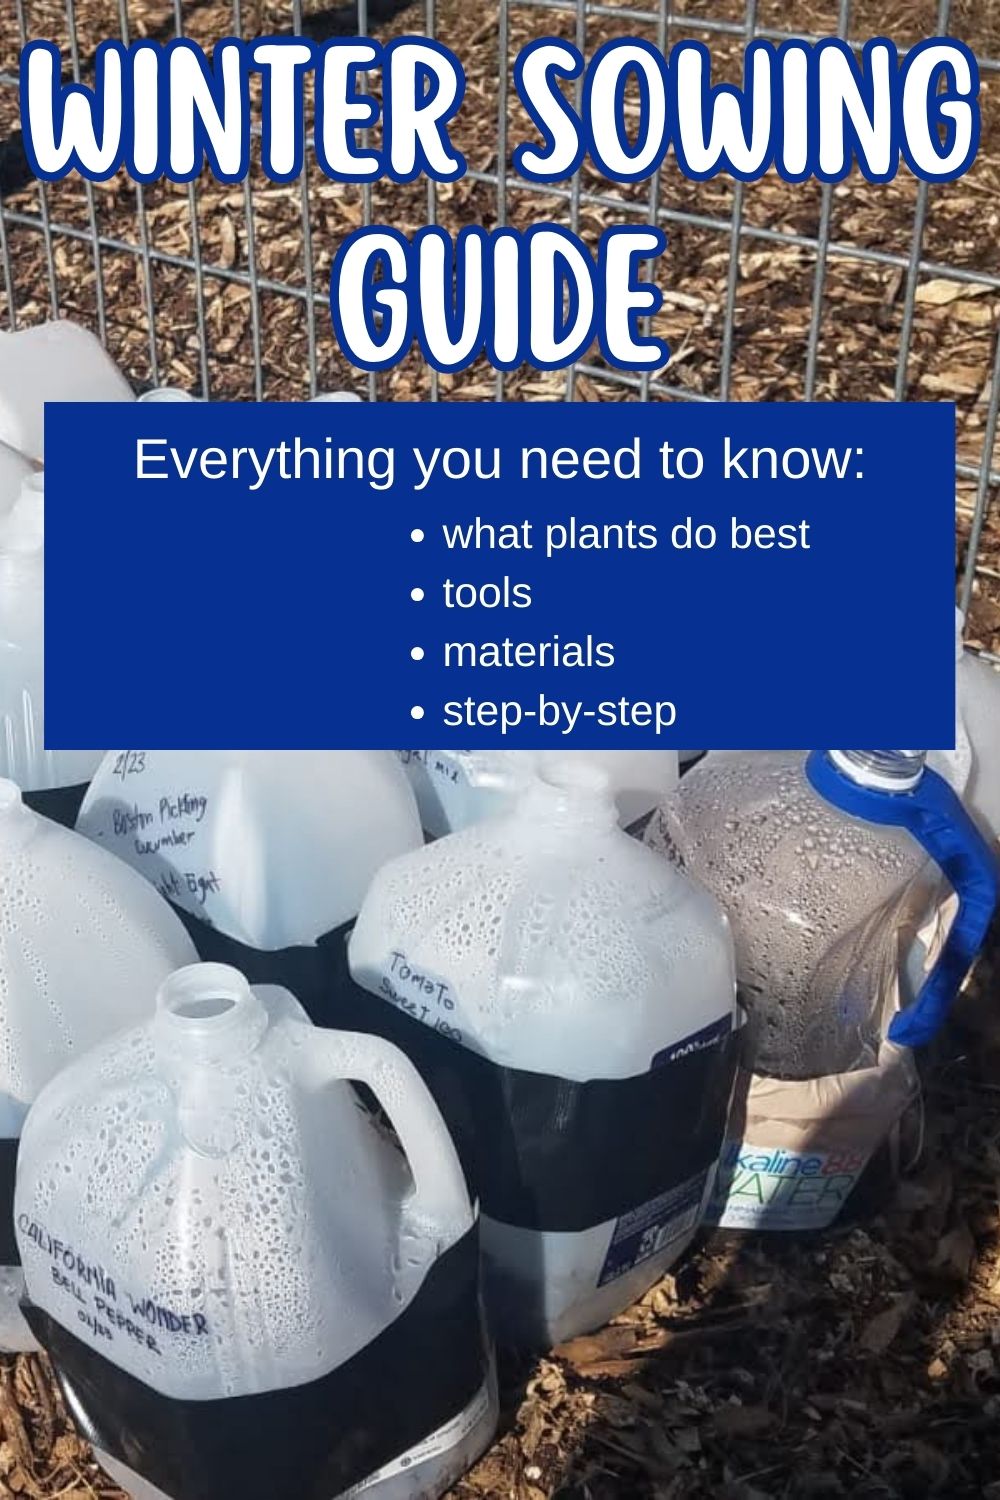
As the short, cold days of winter drag on, slowly lengthening, our fingers itch to dig in warm, crumbly soil again. We flip eagerly through seed catalogs and longingly inventory the packets left over from last year, tucked into plastic tubs or shoeboxes or old biscuit tins. But we don’t have to stop there; many seeds can be planted right now, in the middle of winter! The practice is called winter sowing, and it can be especially useful for those of us with limited space or equipment for indoor seed starting.
What Is Winter Sowing?
Winter sowing is exactly what the name suggests: sowing seeds outside in the winter. Instead of starting seeds indoors or waiting until after the last frost to plant them outside, winter sowing involves using recycled plastic containers as miniature greenhouses to shelter seeds planted outdoors before spring. Because they germinate and grow outdoors, winter-sown seedlings tend to be stronger and hardier than those started under fluorescent lights. They don’t need to be hardened off; they’re already outside in the elements! Of course, there is a caveat. Winter seed sowing is only suitable for certain plants, specifically those that would naturally overwinter as perennials or self-seeding annuals. However, the same method can be applied to start tender plants a bit earlier than normal; see the “schedule” and “seeds” sections below for more details.
How Do You Winter Sow
So, how exactly do you plant seeds outside in freezing temperatures? There are a few tricks to successful winter seed sowing, and once you know them, you can garden almost year-round. All you need are containers, seed starting mix, and the seeds themselves (a knife or scissors, tape, labels, and a permanent marker will come in handy, too).
Gather winter sowing containers
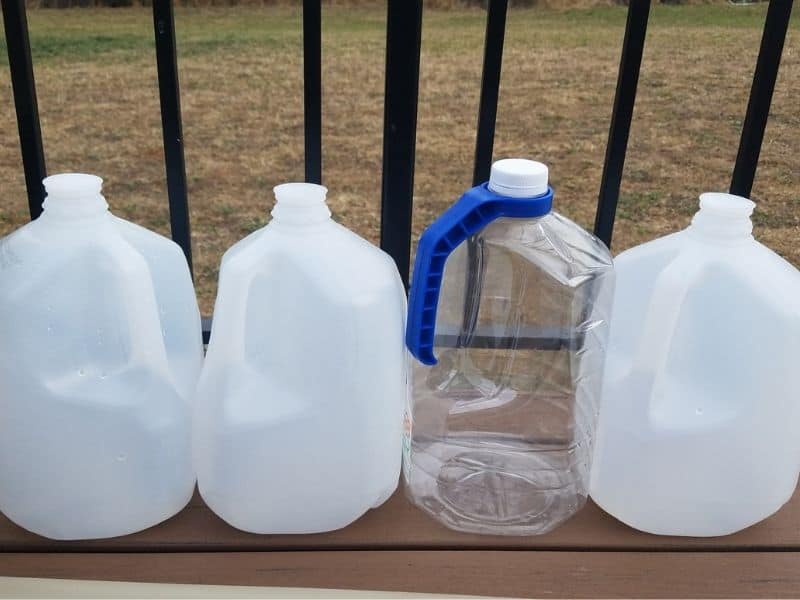
Any clear or tinted plastic container you can see your hand through will admit sufficient light for starting seeds. It must also be deep enough to hold at least three to four inches of soil for healthy root growth. Seed starting trays with clear plastic lids work great, but you don’t have to go out and buy them; your recycling bin probably has what you need:
- milk jugs
- two-liter bottles
- foil takeout containers with clear lids
- clear plastic clamshells
Get creative! You’re not limited to this list; anything matching the description above will work. Once you’ve gathered your containers, throw away bottle caps, remove labels, and wash the containers thoroughly. Punch several drainage holes in the bottom and about a half-inch up the sides of each container. If using soda bottles or milk jugs, you must cut them in half, leaving a one-inch hinge so the bottom and lid remain attached. Takeout containers and clamshells should also have a few holes poked in the lids for ventilation.
Winter sowing schedule
When can you start winter sowing? Typically, winter sowing can begin any time after the winter solstice, though you may have the best results if you adjust slightly for your USDA hardiness zone. In Zones 6 and warmer, you can begin in December; in Zone 5, in December or January; in Zone 4, in January; and in Zone 3, in February. The start date also depends upon the types of seeds you plan on sowing, so you can spread out your winter planting over several months. Begin with perennials and hardy annuals in the first month (December/January/February, depending on your zone), followed in the second month by herbs and other plants that require stratification, then frost-tolerant vegetables, and finally tender plants. Of course, this is just a guide to get you started, and experimentation will help you determine the best winter sowing schedule for your specific growing conditions.
Winter sowing method
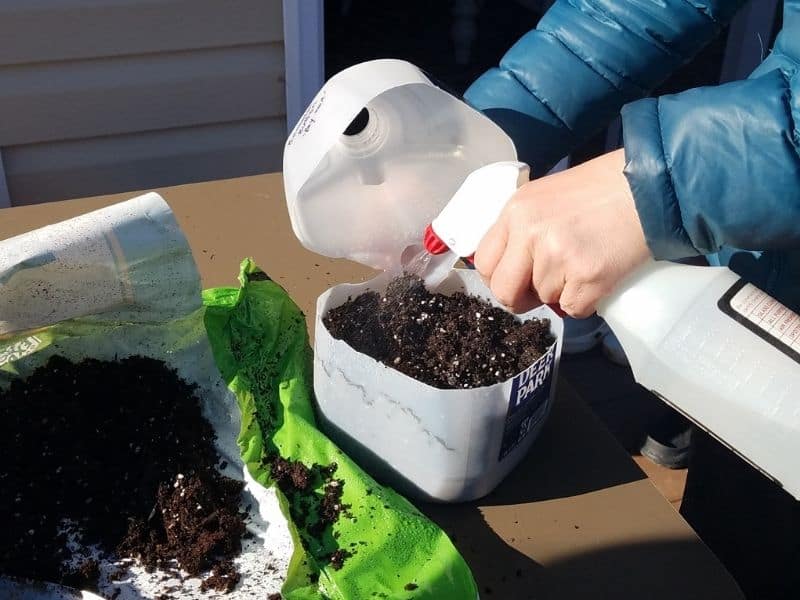
Use a soilless potting mix to start your seeds in for best results. Fill each container with three to four inches of potting mix, then add water to moisten it — the soil should be damp, not wet or waterlogged. If it’s too wet, let it drain for a little while.
Next, plant your seeds! Follow the instructions on each seed packet for planting depth and spacing requirements, keeping in mind that you can always thin seedlings that grow too close together.
Tape closed anything that might blow open, such as milk jugs or soda bottles you sliced to plant your seeds (use duct tape for best results).
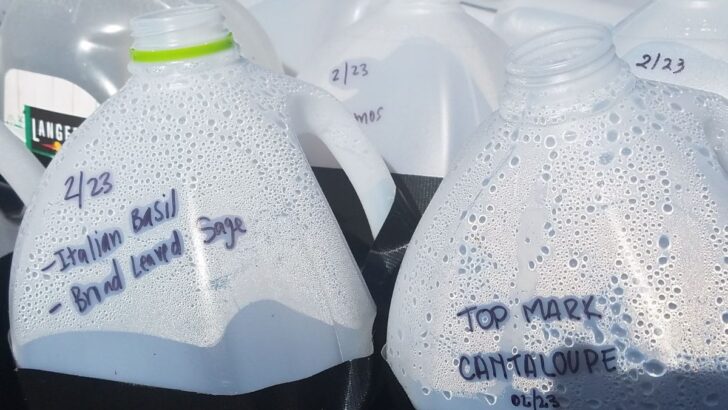
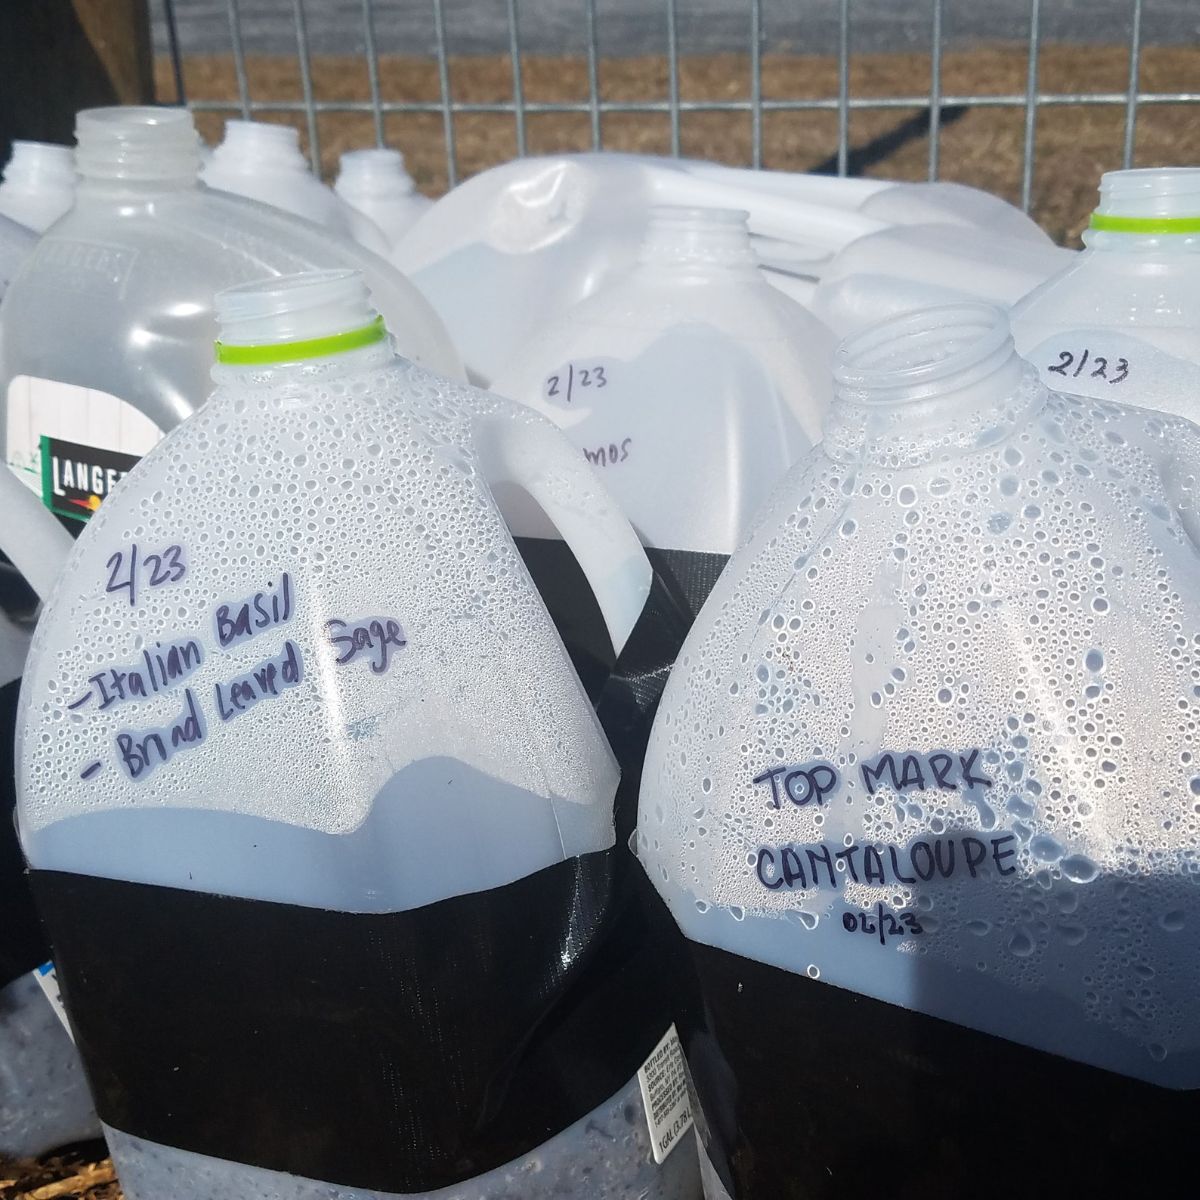
Don’t forget to label the seeds! Otherwise, you may have some surprises come spring and have difficulty figuring out how to transplant those mystery seedlings. You can write directly on the container with a permanent marker, but note that it may fade over time. Other options include plant labels, popsicle sticks, or strips cut from yogurt cups, each of which can be stuck into the edge of the soil before you close the container.
Place the containers in a sunny but protected location, such as on an uncovered deck or porch or against a fence. Sunlight is essential because it will warm up the air inside the miniature greenhouses, and the seedlings will need it once they germinate.
And now you wait.
Monitor the soil to ensure it doesn’t become too wet or dry. Condensation on the lid indicates sufficient moisture; if no condensation appears on days when the temperature rises above freezing, water the seeds by placing the containers in water to allow the soil to soak up moisture through the drainage holes. If condensation still does not appear, try taping over some of the ventilation holes in the lid. Conversely, if the soil appears waterlogged, enlarge the drainage holes on the bottom or add more.
As the seedlings grow and temperatures warm toward spring, you will want to add more ventilation. Cut slits in the tops of the containers, widening them every week or two once the first set of true leaves appears.
Eventually, there will be more uncovered space than covered, and the weather will be warm enough for transplanting. Another option is to remove the lids during the day and replace them at night.
Transplanting winter-sown seedlings
If you plan on recycling the containers when you’re done, cut one side open so you can slide all the seedlings out at once, then gently separate each one to plant it out in the garden as usual. The seedlings should be pretty hardy but try not to cause more shock to them than necessary during this process. If, on the other hand, you would prefer to save the containers to use again next year (assuming you haven’t gouged large slits in the lids), use a spoon or other small, slender tool to lift out each seedling gently. Whichever method you choose, don’t leave the plants in the containers so long that they become rootbound, or you may need to slice them apart.
Best seeds for winter sowing
When choosing good candidates for winter sowing, carefully read the seed packets or product descriptions. Any that contain the following words or phrases can be winter sown:
- perennial
- self-sows
- colonize
- freeze/refrigerate/prechill
- stratify/stratification
- sow outdoors in early spring or while frosts may still occur
- sow in early autumn
- direct sow early
- hardy/withstands frost
- wildflower
Look at the following lists for examples of specific varieties of vegetables, herbs, and flowers to winter sow. Remember that not all of these can be sown at the same time; refer to the “schedule” section above for a reminder of the four different categories and their planting order.
Winter sowing vegetables
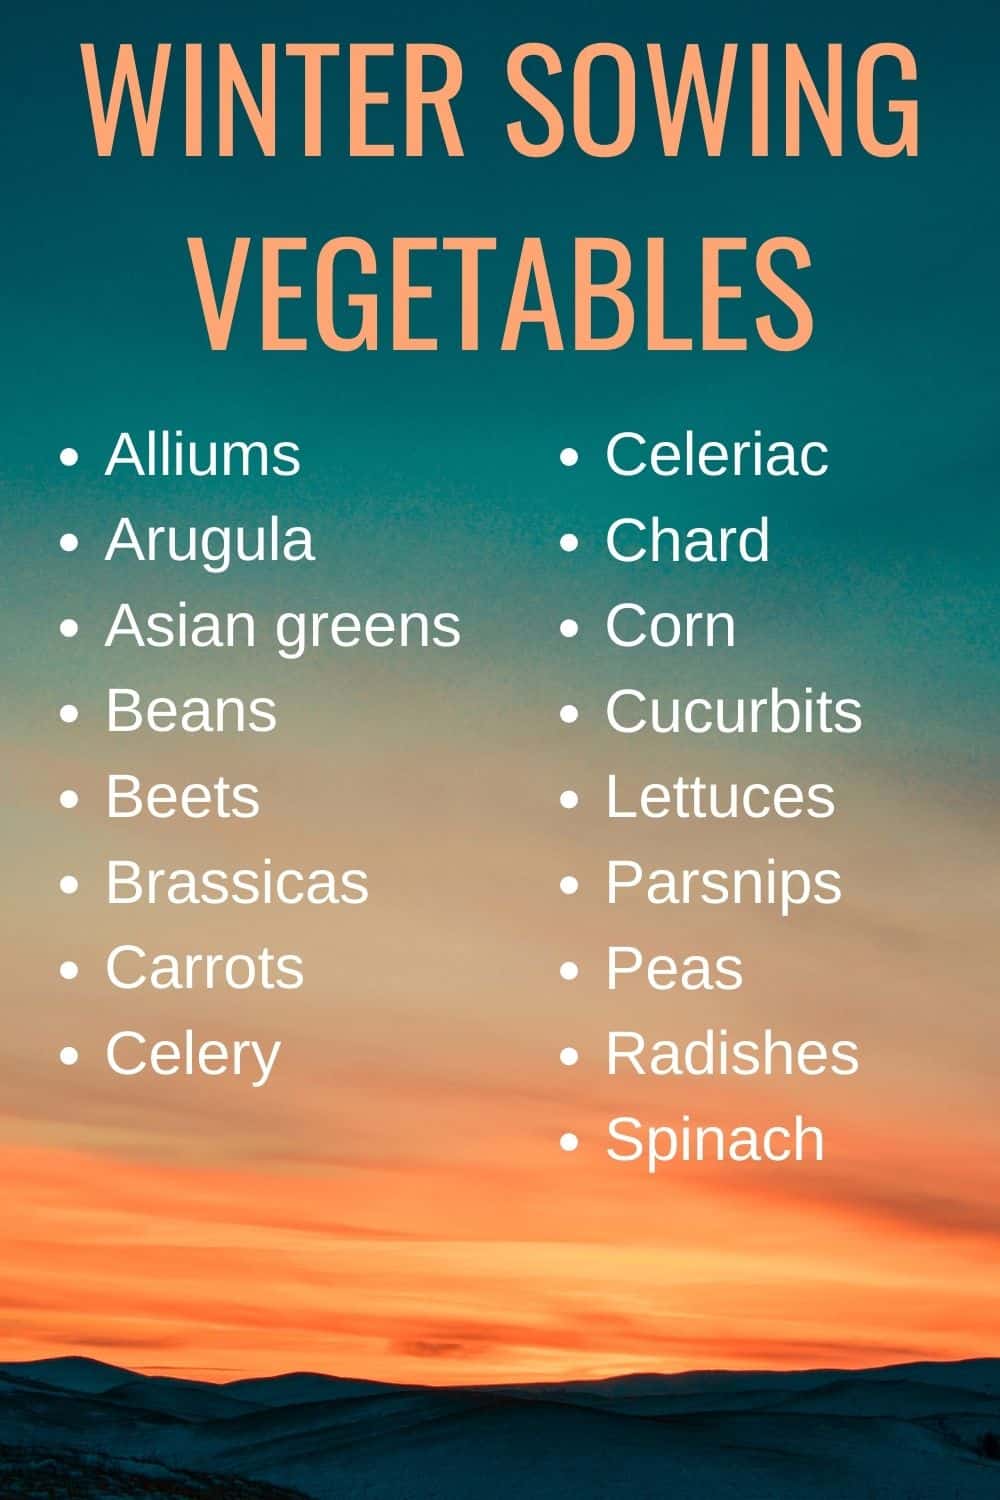
- Alliums (onions, shallots, garlic)
- Arugula
- Asian greens
- Beans
- Beets
- Brassicas (broccoli, cabbage, collards, kale, etc.)
- Carrots
- Celery
- Celeriac
- Chard
- Corn
- Cucurbits (cucumbers, gourds, melons, pumpkins, squash)
- Lettuces
- Parsnips
- Peas
- Radishes
- Spinach
Winter sowing herbs
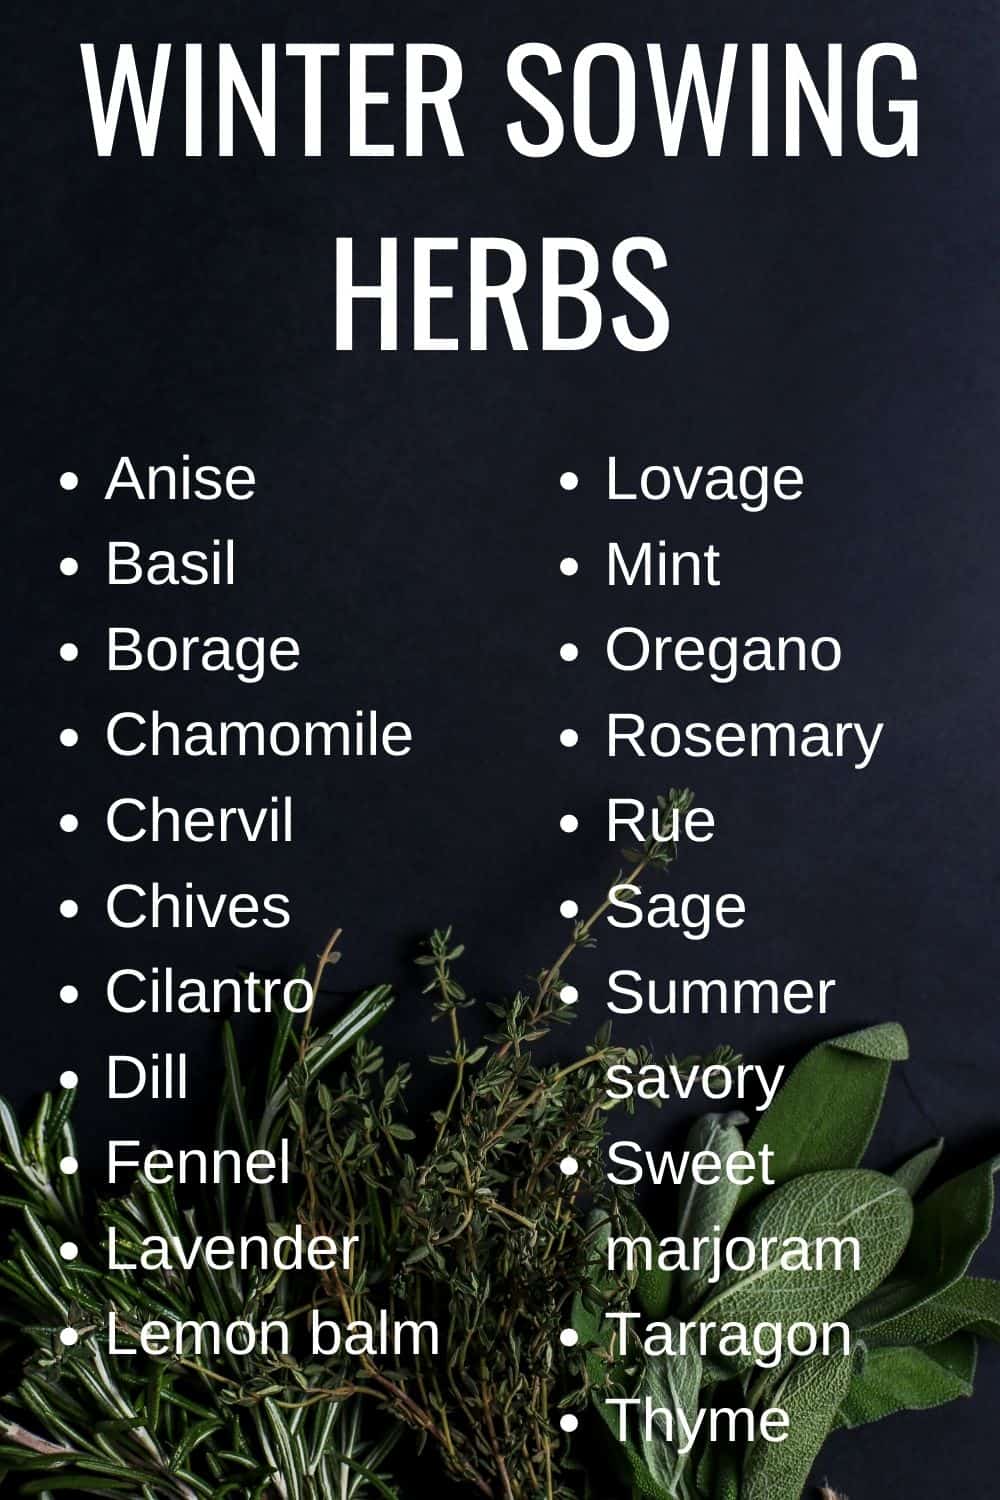
- Anise
- Basil
- Borage
- Chamomile
- Chervil
- Chives
- Cilantro/coriander
- Dill
- Fennel
- Lavender
- Lemon balm
- Lovage
- Mint
- Oregano
- Rosemary
- Rue
- Sage
- Summer savory
- Sweet marjoram
- Tarragon
- Thyme
Winter sowing flowers
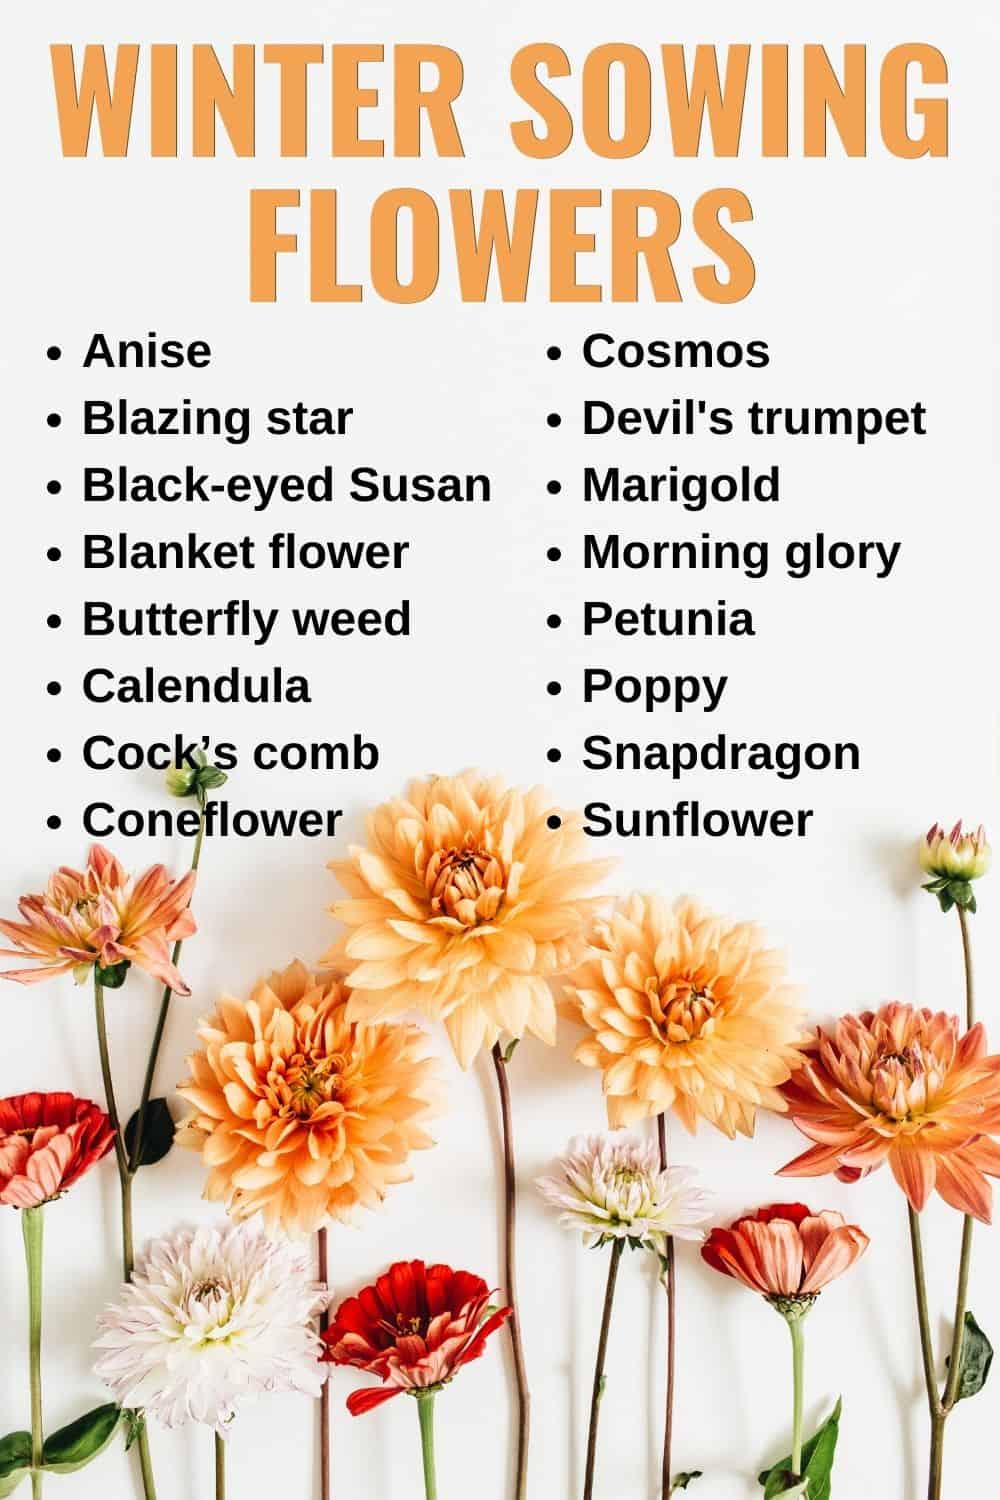
- Anise hyssop (Agastache foeniculum)
- Blazing star (Liatris sp.)
- Black-eyed Susan (Rudbeckia hirta)
- Blanket flower (Gaillardia sp.)
- Butterfly weed (Asclepias tuberosa)
- Calendula (Calendula officinalis)
- Cock’s comb (Celosia sp.)
- Coneflower (Echinacea sp.)
- Cosmos (Cosmos sp.)
- Devil’s trumpet/moonflower (Datura sp.)
- Marigold (Tagetes sp.)
- Morning glory (Ipomoea purpurea)
- Petunia (Petunia sp.)
- Poppy (Papaveraceae sp.)
- Snapdragon (Antirrhinum sp.)
- Sunflower (Helianthus sp.)
Winter Sowing Step-By-Step
Materials
- Empty jugs from water, milk, juices, and even soda bottles
- Paint pen to mark the jugs (permanent marker will fade)
- Plant labels
- Duct tape
- Black gold organic potting soil
Tools
- Cordless drill (if you plan to winter sow a lot)
- Watering wand
- A good knife to cut your jugs
Instructions
- Gather your containers in your work area
- Drill holes into the bottom of every container
- Cut the top half of the container, leaving a small portion to act as a hinge for your mini greenhouse
- Pour your potting soil into a plastic tub and premoisten it (just dampen it, not soaking it up)
- Fill the containers with 3″ to 4″ of your potting soil
- Plant your seeds according to the package instructions
- Label each container (write on the container itself, but also place a plant tag inside the container)
- Tape the containers back together with duct tape (make sure to remove lids, to let air and water circulate
- Place them in a sunny location
- Once the plants start sprouting, keep an eye on the containers to make sure they are not drying out (if your plants need watering, place the containers in a tray filled with water so the soil can absorb moisture from the bottom).
- When ready to plant, open up your containers for a few days, then carefully transplant them in their place for the year.
- Enjoy the bounty!
Winter seed sowing is a snap
Now that you’ve read this guide on winter sowing, you can see how easy it is to start your own seeds, even in the coldest months of the year. You can get started as soon as your seed order arrives. Plus, this method requires very few inputs: aside from the seed starting mix and the seeds themselves, all you need is the contents of your recycling bin. Happy planting!