A frigid cold spell can turn a cozy home into an icebox and a beautiful garden into a frozen wasteland. It’s that time of year when the weather forecast starts sounding less like a prediction and more like a threat. You feel cold just thinking about it.
Preparing for a deep freeze is about more than just finding your favorite fuzzy sweater. It involves a series of smart moves around your house and yard to protect your property, your plants, and your peace of mind. Getting these tasks done before (or when) the temperature plummets can save you from a lot of headaches and expensive repairs later.
Here are 17 things you can do to get through the cold.
1. Seal Windows and Doors
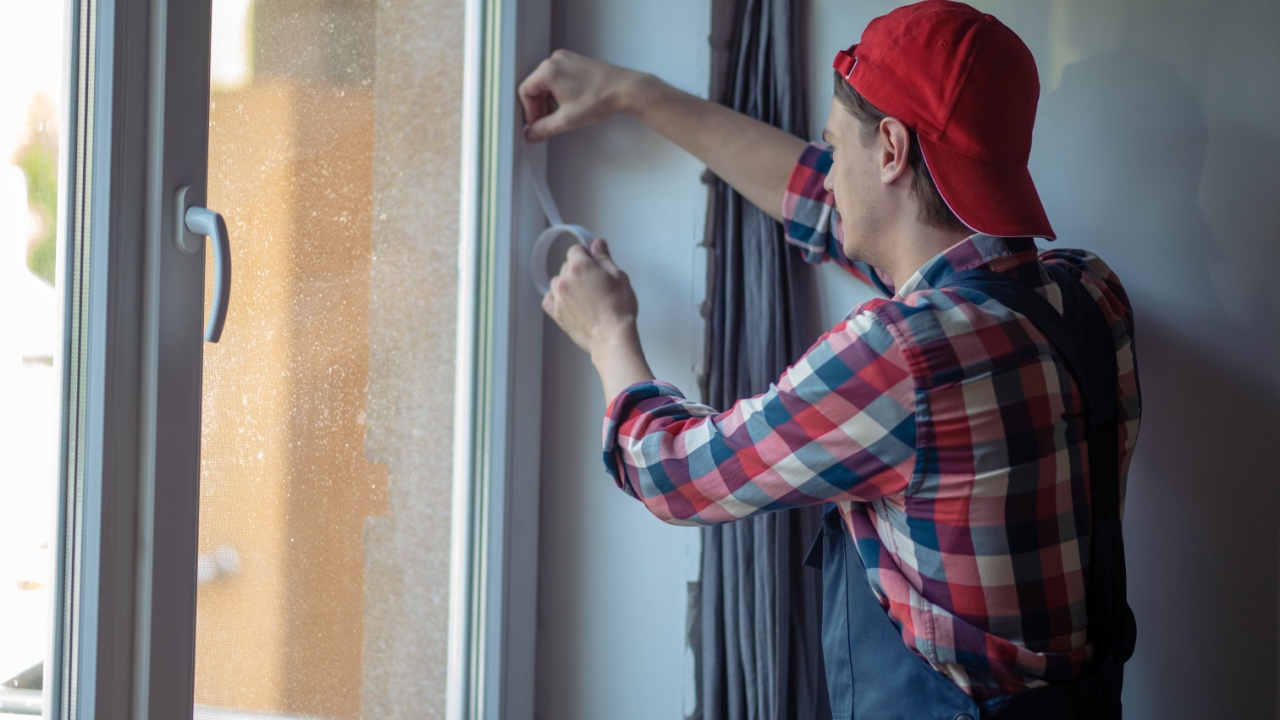
Image Credit: Shutterstock.
Drafts are the freeloading relatives of winter weather; they move in uninvited and make everything uncomfortable. Tiny gaps around windows and doors can let a surprising amount of cold air in, forcing your heating system to work much harder. This translates to higher energy bills and a less comfortable home. Sealing these leaks is a straightforward and effective way to fortify your house against the cold.
Start by checking for drafts. On a windy day, you can often feel them with your hand. For a more scientific approach, you can use a lit incense stick and watch where the smoke wavers. Weatherstripping is a great solution for the moving parts of doors and windows, creating a seal when they are closed. Caulk is better for filling stationary cracks and gaps in the frames.
Quick Action Plan:
- Inspect: Carefully check all window and door frames for visible gaps or drafts.
- Seal: Apply new weatherstripping to door jambs and window sashes. Use exterior-grade caulk to fill cracks around the stationary parts of frames.
- Don’t forget: Check the bottom of your exterior doors; a new door sweep can stop a significant under-door draft.
2. Install Storm Doors and Windows

Image Credit: Bilanol / Shutterstock.
Storm doors and windows are a protective outer layer for your home’s most vulnerable openings. They add a layer of insulation that creates a pocket of air, which is a poor conductor of heat. This buffer zone dramatically reduces heat loss through the glass and frames of your primary windows and doors. It also protects your main doors and windows from harsh winter elements like ice, snow, and wind, extending their lifespan.
If you removed your storm windows and screens for the summer, now is the time to swap them back. Make sure they fit snugly and that all the locking mechanisms are working correctly. A properly installed storm door or window creates a tight seal that enhances its insulating properties.
Quick Action Plan:
- Swap: Remove summer screens and install storm doors and windows.
- Inspect: Check the fit and condition of the storm units. Look for cracked glass or damaged frames.
- Seal: Confirm that they close tightly to create an effective air barrier.
3. Repair Damaged Window Frames

Image Credit: Deposit Photos.
A compromised window frame, especially a wooden one, is an open invitation for problems. Rotting, cracked, or splintered wood acts like a sponge for moisture. When that moisture freezes, it expands, causing further damage to the frame and potentially the surrounding wall. This decay also creates significant drafts and weakens the structural integrity of the window unit.
Addressing frame damage before the deep freeze is critical. Small areas of rot can sometimes be dug out, filled with wood hardener, and then patched with epoxy filler. Larger sections of damage might require a professional to replace a piece of the frame or, in serious cases, the entire window.
Quick Action Plan:
- Examine: Probe wooden frames with a screwdriver to find soft, rotted spots. Look for cracks and gaps.
- Repair: For minor damage, use wood filler or epoxy after removing the decayed material.
- Protect: Once repaired, prime and paint the frame to protect it from future moisture.
4. Trim Overhanging Tree Branches

Image Credit: Shutterstock.
Trees are beautiful, but during a winter storm, their branches can become a major liability. Heavy snow and ice can weigh down limbs, causing them to snap. If those branches are hanging over your house, your car, or your power lines, the results can be destructive and costly. Proactively trimming these potential hazards is a simple safety measure.
Focus on branches that are dead, damaged, or directly overhanging important structures. A good rule of thumb is to maintain at least a few feet of clearance around your roof and power lines. For high branches or those near wires, it is always safest to hire a professional arborist.
Quick Action Plan:
- Identify: Locate any tree limbs that are dead, look weak, or hang directly over your roof, driveway, or utility lines.
- Prune: Trim smaller, accessible branches yourself with a pole saw.
- Call a Pro: For large limbs or anything near power lines, hire a certified arborist for safe removal.
5. Get Your Lawn Ready for Its Winter Nap
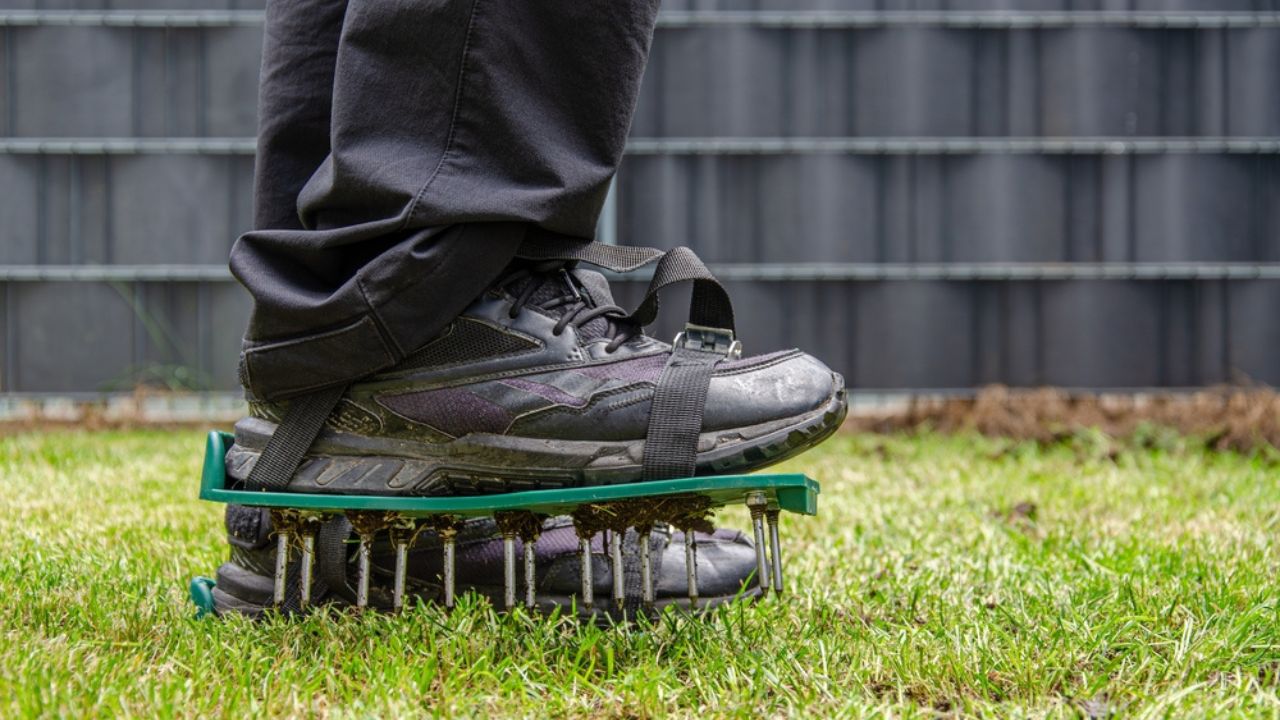
Image Credit: Shutterstock.
Your lawn might look dormant in the winter, but its roots are still active. Preparing it for the cold helps it survive the harsh weather and emerge stronger in the spring. Aerating is the process of creating small holes in the soil, which allows water, air, and nutrients to reach the roots more easily. This is particularly useful for compacted soil.
After aerating, overseeding with a cool-season grass seed can help fill in bare patches. A final application of a winterizer fertilizer gives the roots the nutrients they need to stay healthy throughout the dormant period. These steps result in a greener, more resilient lawn when spring arrives.
Quick Action Plan:
- Aerate: Rent a core aerator or use aerating sandals to perforate the lawn.
- Fertilize: Apply a winter-guard or fall-specific lawn fertilizer to nourish the roots.
- Reseed: If needed, spread grass seed over thin areas to encourage new growth in the spring.
6. Check the Ground Slope Around Your Foundation

Image Credit: Shutterstock.
Water is the enemy of foundations. If the ground around your house slopes inward, it will direct rain and melting snow right toward your foundation walls. This can lead to water in your basement or crawlspace, and repeated freeze-thaw cycles can cause cracks and serious structural damage.
The ground should slope away from your house on all sides, dropping about six inches over the first ten feet. This is called “positive grading.” If you notice pooling water or areas where the soil has settled against the house, you may need to build it up. Adding packed soil to create a gentle slope is a fundamental step in protecting your home from water damage.
Quick Action Plan:
- Observe: After a rain, check for water pooling near your foundation.
- Measure: Assess the slope of the ground around your home.
- Regrade: Add compactable fill, like a clay-heavy soil, against the foundation to build up low spots and create a positive slope.
7. Store Patio Furniture and Protect Pots
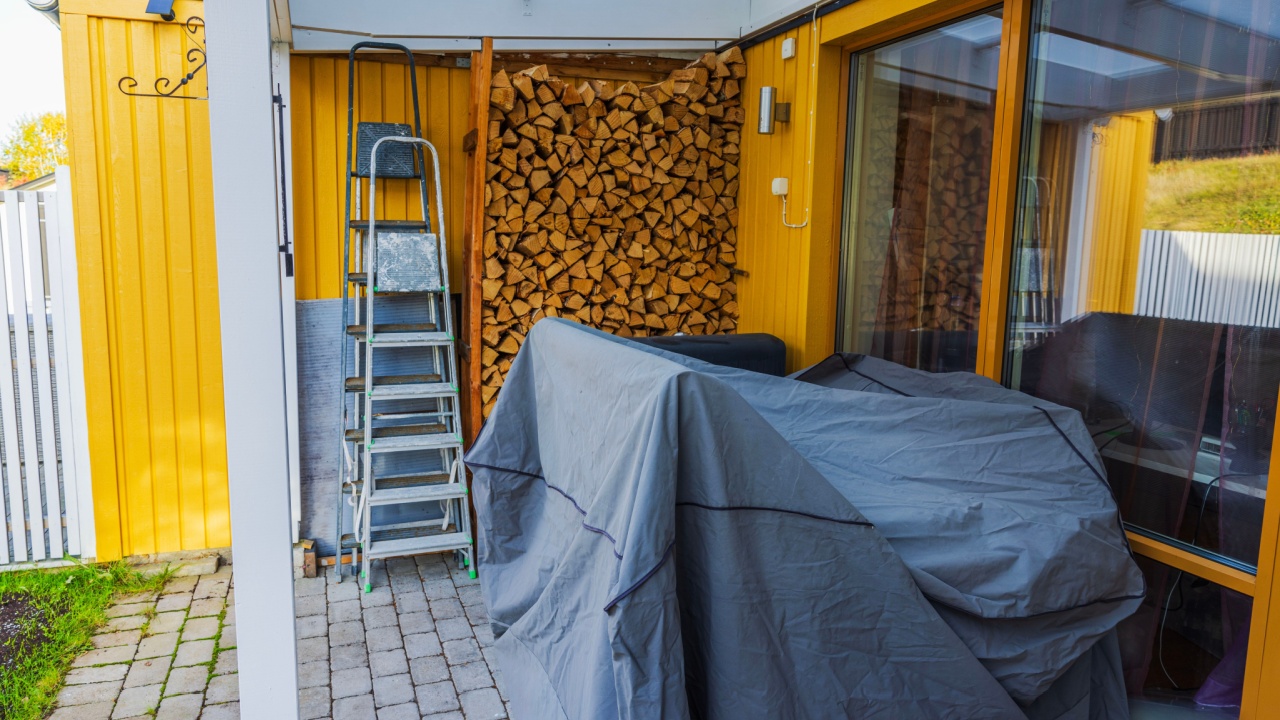
Image Credit: Shutterstock.
Outdoor furniture, planters, and garden decor are not designed to withstand the harshness of a frigid spell. Freezing temperatures and moisture can cause materials like wood, wicker, and some plastics to crack, warp, and fade. Terracotta and ceramic pots are especially vulnerable; any water absorbed into the clay will expand when it freezes, potentially shattering the pot.
Clean and dry all patio furniture before storing it in a shed, garage, or basement. For items that must remain outside, use heavy-duty, waterproof covers. Empty soil from fragile pots and store them upside down in a dry location. Tender plant bulbs, like dahlias or cannas, should be dug up and stored in a cool, dark place.
Quick Action Plan:
- Clean and Store: Wipe down all furniture and move it to a protected storage area.
- Cover: Use fitted, waterproof covers for any large items left outdoors.
- Empty and Protect: Empty soil from terracotta and ceramic pots and store them indoors. Dig up and store tender bulbs.
8. Winterize Your Hoses and Outdoor Faucets

Image Credit: Shutterstock.
A forgotten garden hose connected to an outdoor spigot is one of the most common causes of a winter plumbing disaster. Water left in the hose or the faucet can freeze, expand, and rupture the pipe inside your wall, flooding your house.
The process of winterizing your pipes is simple. Disconnect all hoses from the spigots. Drain the hoses completely before coiling and storing them. Then, find the shut-off valve for your outdoor faucets, which is usually located in your basement or crawlspace. Turn it off, then go back outside and open the spigot to let any remaining water drain out.
Quick Action Plan:
- Disconnect: Remove all hoses from outdoor faucets.
- Drain: Drain the hoses and the faucets thoroughly.
- Shut Off: Turn off the interior water supply valve for each outdoor spigot and leave the outside spigot open.
9. Inspect and Clean Your Deck

Image Credit: Deposit Photos.
Your deck takes a beating all year long, and winter can be particularly tough on it. Debris like fallen leaves and pine needles can trap moisture against the wood, promoting rot and mildew. The expansion and contraction caused by freezing and thawing cycles can worsen existing damage, like splintered boards or loose railings.
Before the first snow, give your deck a thorough cleaning. Sweep away all debris, paying special attention to the gaps between boards. Inspect for any loose boards, protruding nails, or wobbly handrails and make repairs. Applying a water-repellent sealer can provide an extra layer of protection against moisture.
Quick Action Plan:
- Sweep: Clean all leaves, dirt, and debris from the deck surface and between boards.
- Inspect: Look for loose or damaged boards, raised nails, and unstable railings.
- Repair: Secure loose components and replace any rotted wood. Consider applying a protective sealant.
10. Check Outdoor Lighting and Handrails

Image Credit: Shutterstock.
Shorter days and icy conditions make safe passage around your property more important than ever. Well-lit pathways and sturdy handrails are critical for preventing slips and falls. A burned-out bulb in a pathway light or a wobbly railing on your front steps can create a serious safety hazard in slippery weather.
Walk your property at dusk to test all your outdoor lights. Replace any burned-out bulbs and clean the fixtures. Vigorously shake all handrails on stairs and ramps to ensure they are securely anchored. Tighten any loose fittings or make necessary repairs to guarantee they can support someone’s weight in a slip.
Quick Action Plan:
- Test Lights: Turn on all exterior lights and replace any faulty bulbs.
- Check Handrails: Physically test the stability of all outdoor handrails.
- Secure: Tighten loose bolts on railings and ensure lighting fixtures are securely mounted.
11. Move and Maintain Garden Tools
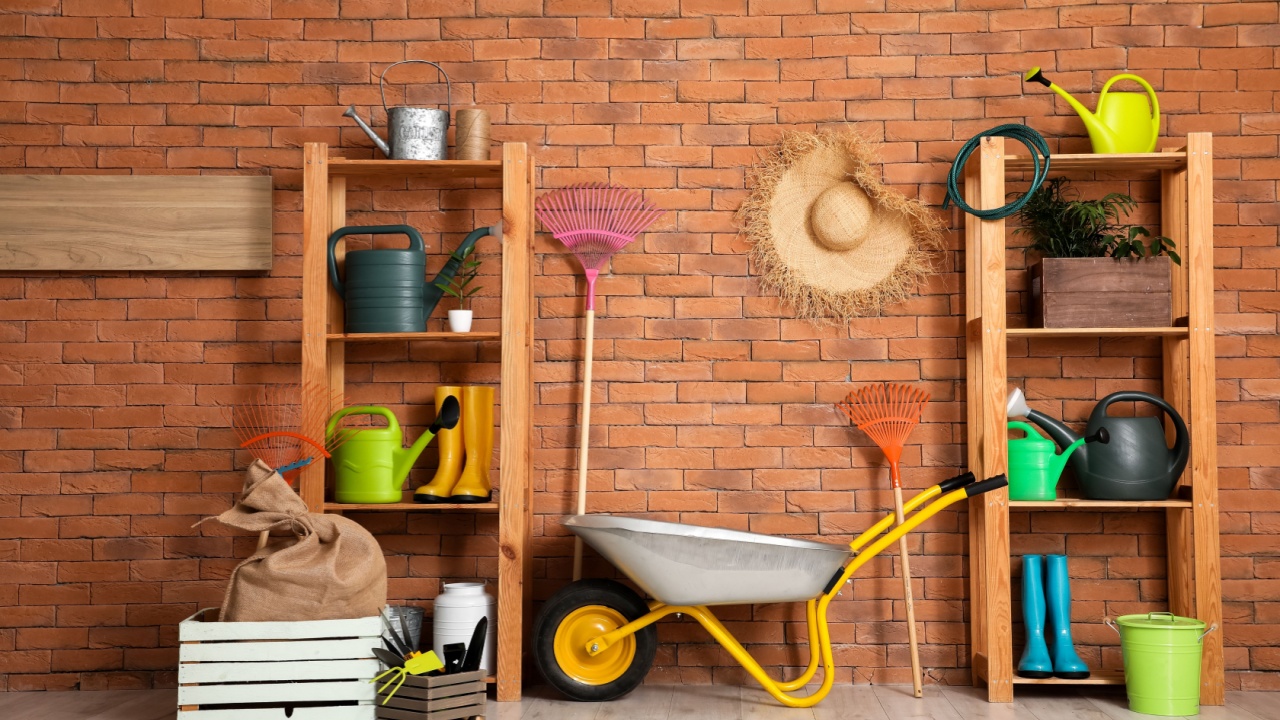
Image Credit: Shutterstock.
If you are into gardening, prepare your garden tools for the frigid cold. Leaving metal tools outside is a recipe for rust. Moisture from rain and snow will quickly corrode metal surfaces, shortening the life of your expensive shovels, rakes, and pruners. Taking the time to properly clean and store them preserves your investment and makes sure they are ready to go in the spring.
Clean all dirt and mud off your tools. For cutting tools like pruners and shears, sharpen the blades. Apply a light coat of a lubricant like linseed oil or a spray protectant to all metal surfaces to prevent rust. Store them in a dry place like a shed or garage. This is also a good time to get your snow-removal equipment ready.
Quick Action Plan:
- Clean: Scrape all dirt and grime from your garden tools.
- Oil and Sharpen: Apply a protective oil to metal parts and sharpen any blades.
- Store: Hang or place tools in a dry, protected location for the winter.
12. Prepare Snow Removal Equipment
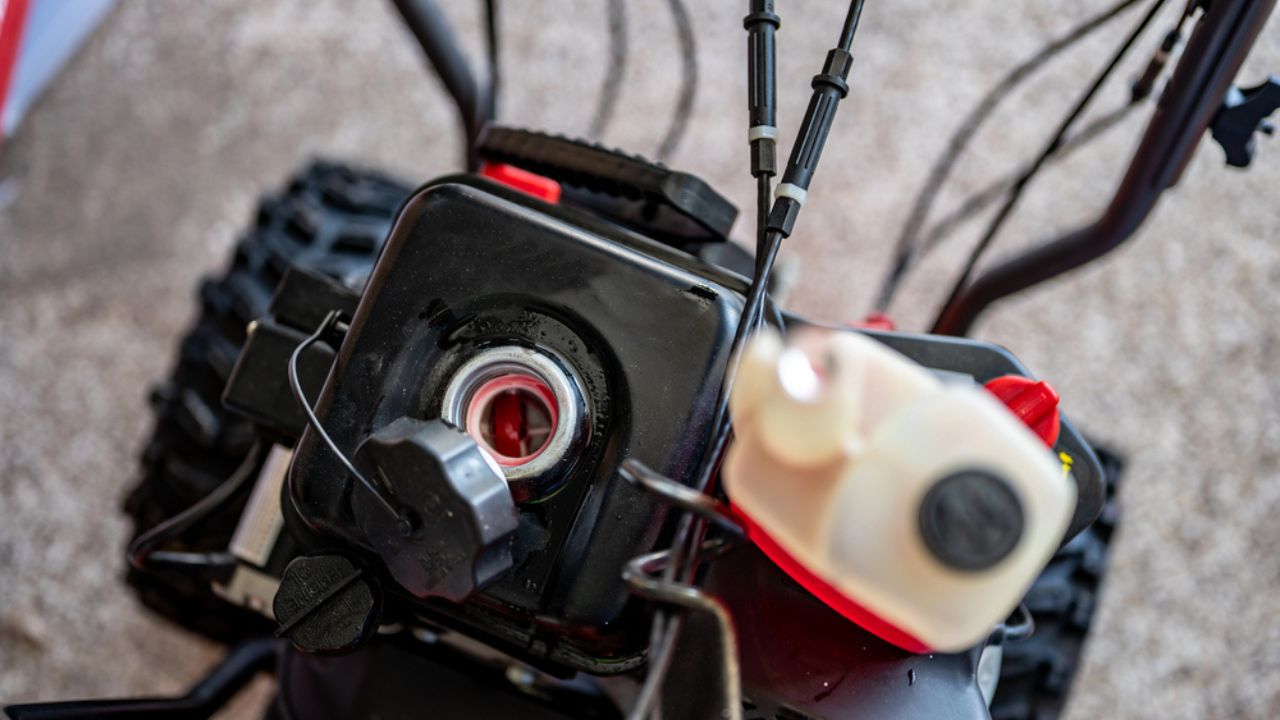
Image Credit: Deposit Photos.
How would you like waking up to a foot of snow and discovering your snow blower won’t start, or your favorite shovel has a cracked handle? Preparing your snow-clearing arsenal before you need it prevents a stressful scramble during the first big storm.
For a snow blower, this means changing the oil, checking the spark plug, and filling the tank with fresh fuel that has a stabilizer added. Make sure the auger and belts are in good condition. For shovels, check for cracks in the handle or blade, and consider sharpening the edge of metal shovels for better ice scraping. Stock up on ice melt or sand so you have it on hand.
Quick Action Plan:
- Service Snow Blower: Change the oil, inspect the spark plug, and add fresh, stabilized fuel.
- Inspect Shovels: Check handles and blades for damage.
- Stock Up: Purchase ice melt, sand, or rock salt before the first storm hits.
13. Service Your Fireplace and Chimney

Image Credit: Shutterstock.
A fireplace can be a wonderful source of warmth, but it can also be a safety hazard if not properly maintained. Creosote, a byproduct of burning wood, can build up in your chimney and is highly flammable, creating a risk of a chimney fire. Structural issues or blockages from animal nests can also be dangerous.
It’s highly recommended to have your chimney inspected and cleaned by a certified chimney sweep annually. They can remove creosote buildup and check for any cracks or blockages. Between professional cleanings, you can inspect the firebox yourself for cracked bricks or mortar. Make sure the damper seals properly to prevent drafts when not in use.
Quick Action Plan:
- Professional Cleaning: Schedule an annual inspection and cleaning with a certified chimney sweep.
- Inspect Firebox: Look for any damage inside your fireplace.
- Check Damper: Confirm that the flue damper opens and closes completely.
14. Maintain Your HVAC System
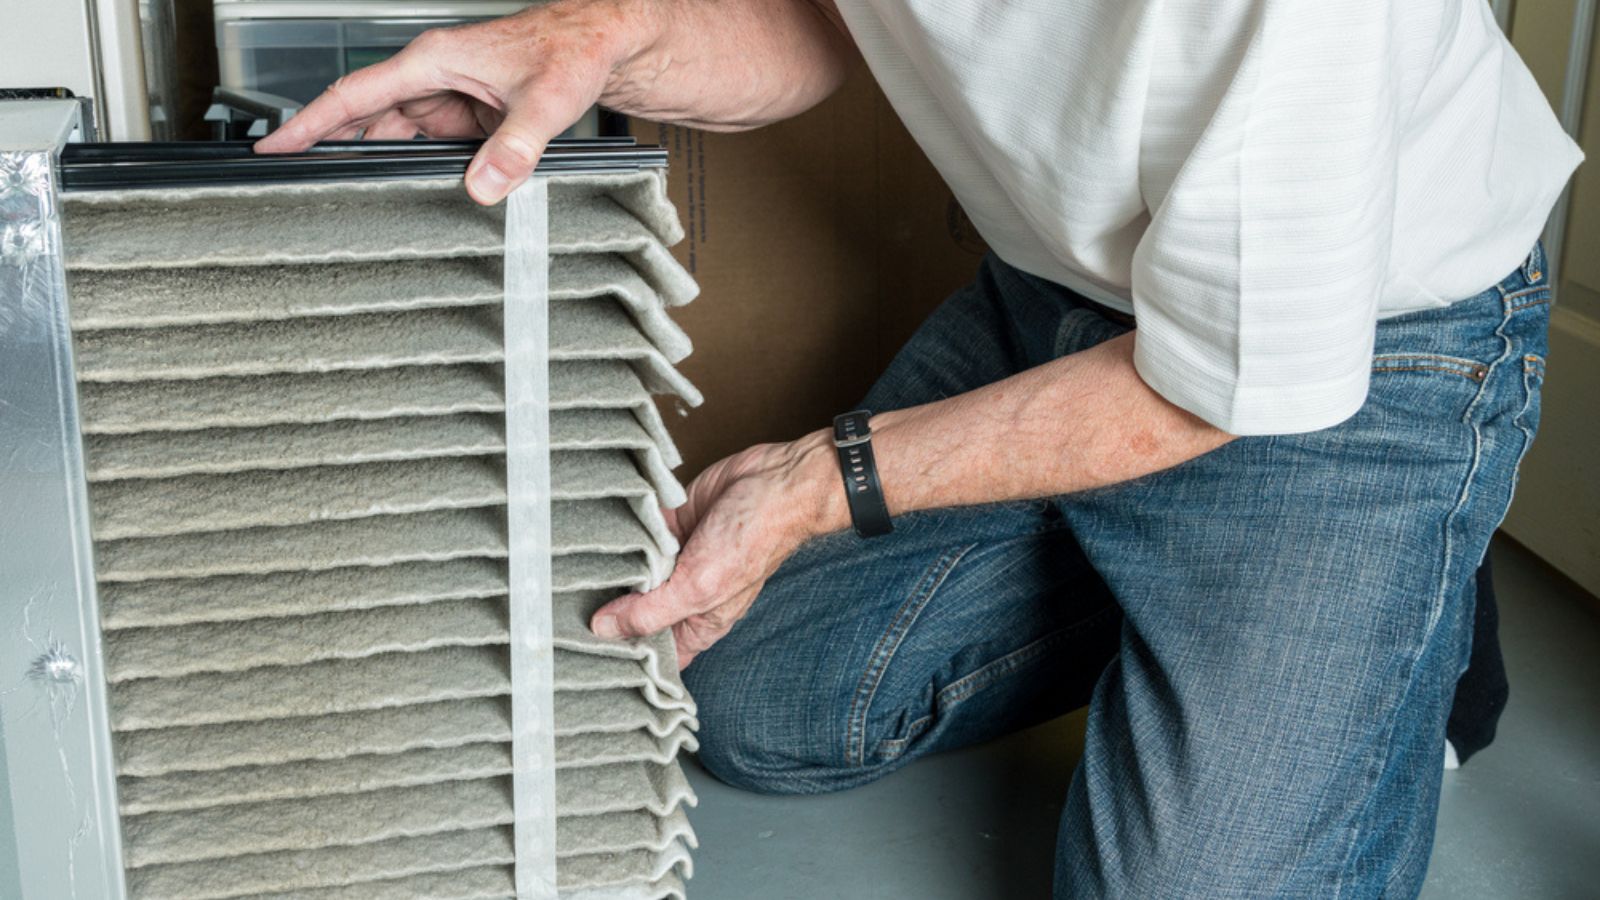
Image Credit: Deposit Photos.
Your heating, ventilation, and air conditioning (HVAC) system is the heart of your home’s comfort during a cold spell. Giving it some attention ensures it runs efficiently and reliably (saving you money on heating). A clogged filter is one of the most common reasons for heating problems. It restricts airflow, forcing the system to work harder and use more energy.
Replace or clean your furnace filter, which is a simple task that can have a big impact on efficiency and air quality. If you have a whole-home humidifier, check and clean the pad. For homes with hot water radiators, bleeding the air out of them can improve their heating performance.
Quick Action Plan:
- Change Filter: Replace your HVAC filter according to the manufacturer’s recommendation.
- Clean Humidifier: Check and clean or replace the filter or pad in your whole-home humidifier.
- Bleed Radiators: If you have radiators, use a radiator key to release any trapped air.
15. Check Safety Detectors

Image Credit: Shutterstock.
During winter, our homes are sealed up tight, which increases the risk of fire and carbon monoxide (CO) buildup. Carbon monoxide is an odorless, colorless gas produced by fuel-burning appliances, and it can be deadly. Functioning smoke and CO detectors are your first line of defense.
Press the test button on every smoke and carbon monoxide detector in your home to confirm the alarm sounds. The general recommendation is to replace the batteries at least once a year. A good habit is to do it when you change your clocks for daylight saving time. Detectors also have a limited lifespan, so check the date on the back and replace the entire unit if it’s expired.
Quick Action Plan:
- Test: Push the test button on all smoke and CO detectors.
- Replace Batteries: Install fresh batteries in all units.
- Check Expiration: Look for the manufacturing date and replace any detectors that are more than 7-10 years old.
16. Insulate Walls and Attics
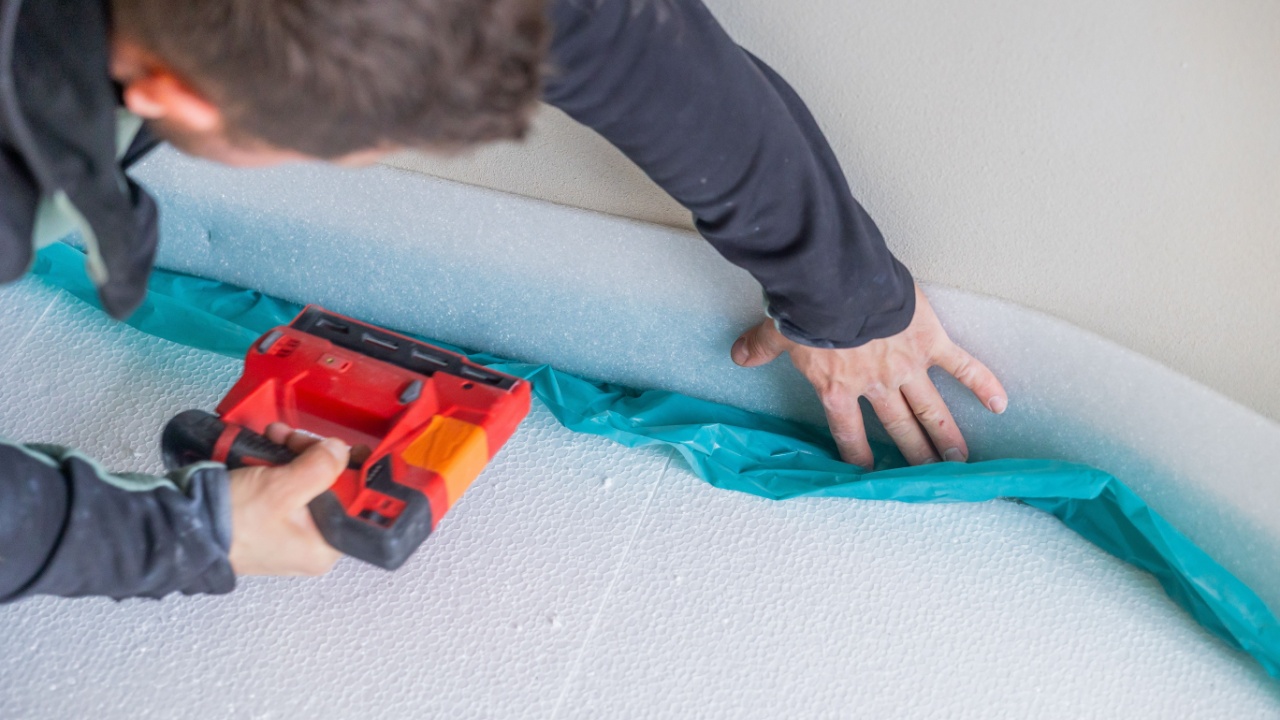
Image Credit: Shutterstock.
An under-insulated house is a bit like wearing a t-shirt in a snowstorm: bold, but probably not wise. Walls and attics are some of the biggest culprits for heat loss during a frigid cold spell. Without proper insulation, warm air sneaks out, cold air barges in, and your heating bills have a field day. Boosting insulation in these areas keeps temperatures steady, saves energy, and gives every room the best shot at staying toasty.
Start in the attic, since heat rises and loves making an escape through the roof. Check if insulation covers the joists evenly and is fluffy, not flattened. If you can see a lot of wood or the insulation is level with the joists, consider adding more. Fiberglass batts, blown-in cellulose, or spray foam all work, but some methods are better for DIYers than others. Walls are tougher to inspect, but adding blown-in insulation is a solid upgrade if the walls feel cold to the touch.
Quick Action Plan:
- Spot Check Attic: Peek into the attic and check if the insulation is deep and even. The Department of Energy recommends at least 10-14 inches, depending on your region.
- Seal Gaps: Before adding new insulation, seal any visible holes, especially around pipes, chimneys, and light fixtures.
- Evaluate Walls: Feel inside exterior walls for drafts and cold spots; removing an outlet cover can give you a sneak peek at what’s inside.
- Upgrade Where Needed: Hire a professional to blow insulation into exterior walls if yours are lacking. Add extra layers in the attic if you can see joists.
- Mind the Access Hatch: Insulate and weatherstrip the attic door or hatch, a classic escape route for heat.
17. Bundle Your Water Heater

Image Credit: Deposit Photos.
Water heaters work extra hard during deep freezes, but most are about as well-insulated as someone wearing a mesh tank top in January. An uninsulated or poorly insulated tank loses heat quickly, quietly demanding more energy to keep your water reliably steamy. Adding an insulating jacket or blanket helps the tank retain heat, meaning less wasted energy and lower bills.
Most big-box stores or hardware shops sell pre-cut water heater insulating blankets. Install one by wrapping the jacket snugly around the tank, making sure not to cover the top, bottom, controls, or warning labels. Leave space for the pressure relief valve and burner access if you have a gas unit. Use foil tape to keep everything tight. Steer clear of duct tape, which doesn’t hold up to the heat.
Quick Action Plan:
- Check: Feel the outside of your water heater. If it’s warm, it’s losing heat.
- Buy: Choose an insulation jacket sized for your tank.
- Install: Follow manufacturer directions, but avoid blocking the water heater’s controls or vents.
Your Plans to Keep Warm

Image Credit: Deposit Photos.
Preparing for winter is your opportunity to be the hero of your own home comfort story. Instead of reacting to a frozen pipe or a shocking heating bill, you can take control. Start by tackling the easiest or most urgent tasks first. Even checking off one or two items from this list puts you in a better position than you were before. These efforts are an investment in a secure, warm, and peaceful winter, allowing you to watch the snow fall from the comfort of a well-prepared home.