
Most people have a cleaning routine. You scrub the toilets, wipe the counters, and vacuum the floors until they look presentable enough for unexpected guests. It serves its purpose. However, lurking in plain sight are sneaky little spots gathering germs and grime while you focus on the obvious messes.
These are the places that may get overlooked week after week, quietly accumulating a collection of dust, bacteria, and general unpleasantness. It’s time to expose these neglected corners and give them the attention they desperately need.
Here are 11 spots in your house that may be dirtier than you know.
1. The Kitchen Sink

Image Credit: Joseph Hendrickson / Shutterstock.
Your kitchen sink sees it all: raw chicken juice, leftover food scraps, and dirt from just-rinsed vegetables. It’s a veritable buffet for bacteria. If you are accustomed to leaving dishes in the sink overnight, the sink may even become dirtier. While you might rinse it out after doing dishes, a proper scrub-down is often forgotten, making it one of the germiest places in the entire house. Giving your food prep area a daily sanitizing session prevents gross buildup and keeps it safer.
Quick Clean Plan:
- Daily: After the last dish, wash the sink basin with soap and hot water.
- Weekly: Sprinkle the basin with baking soda, scrub with a sponge, and rinse. For an extra clean, plug the drain, fill the sink with a warm water and vinegar solution, let it sit for 10 minutes, then drain and rinse.
- Pro Tip: Use a small brush to scrub around the faucet base and drain opening where gunk loves to hide.
2. Your Washing Machine
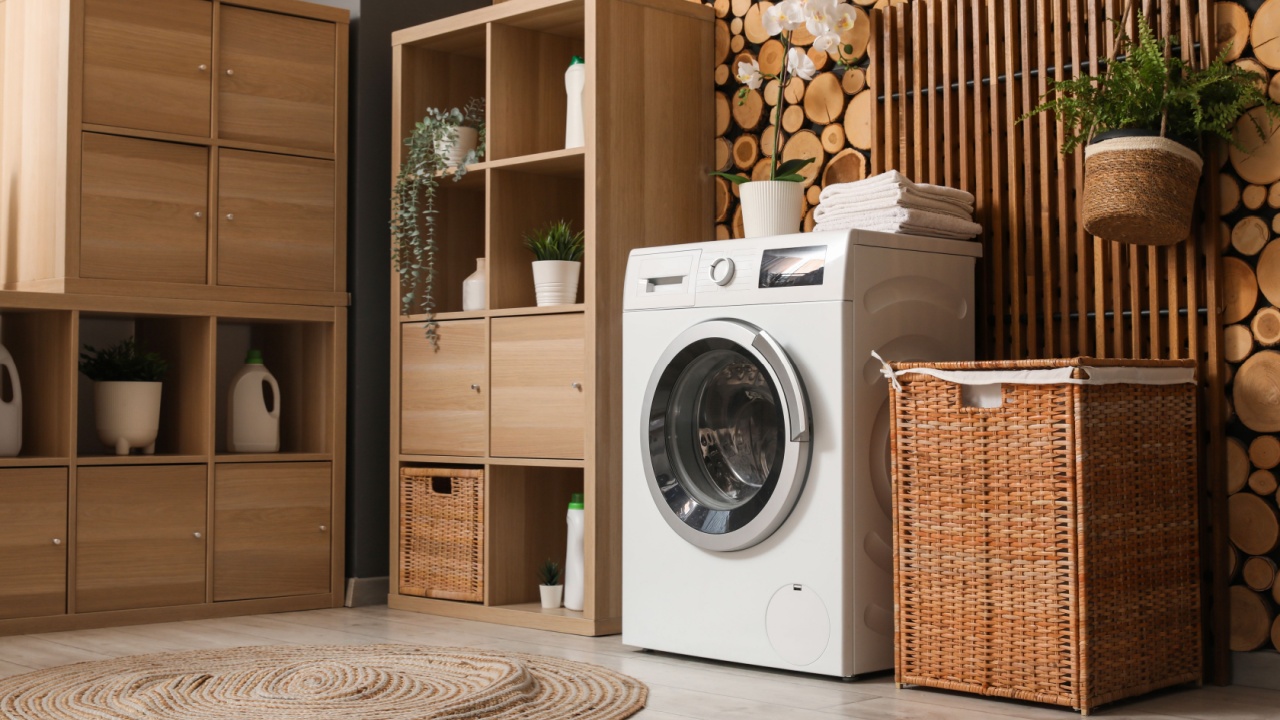
Image Credit: Shutterstock.
The appliance that cleans your clothes needs cleaning too. It sounds like a riddle, but it’s true. Leftover detergent, fabric softener, and moisture can create a perfect breeding ground for mold and mildew inside the washing machine. This can leave your “clean” laundry smelling a bit funky. A monthly cleaning cycle keeps the machine fresh and your clothes smelling like they are supposed to.
Quick Clean Plan:
- Monthly: Run an empty, hot water cycle with a washing machine cleaning tablet or a cup of white vinegar.
- After Each Use: Leave the door open to allow the drum to air out completely. This is especially important for front-loading machines.
- Pro Tip: Regularly wipe down the rubber gasket around the door of front-loaders. It’s a prime spot for mold to grow.
3. Window and Door Blinds
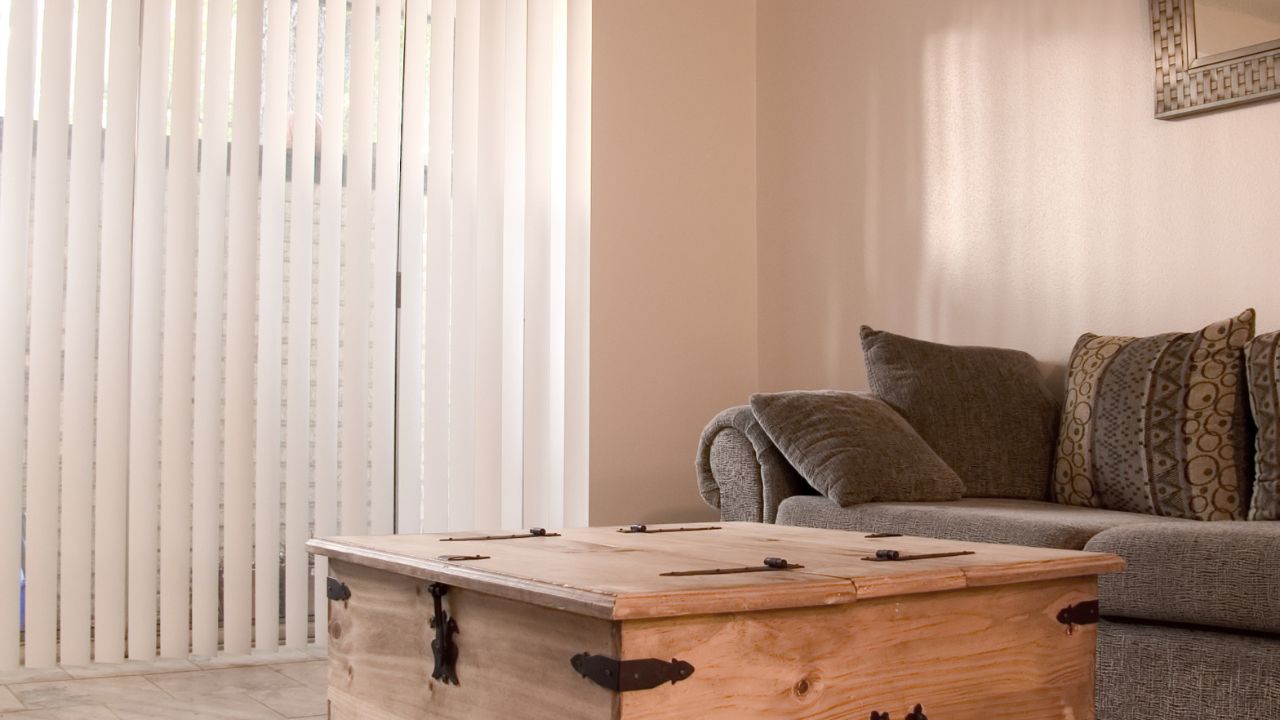
Image Credit: Shutterstock.
Blinds are absolute magnets for dust, pet dander, and various allergens. Each slat is like a tiny, dedicated shelf just waiting to be coated in a fine layer of grossness. They might look clean from across the room, but a closer inspection will likely reveal a fuzzy, gray layer that has just been accumulating.
Taking a few minutes to wipe them down eliminates those airborne irritants that cause sneezing. It also visibly brightens the whole room. It’s amazing what a little less dust can do for your sinuses and your decor.
Quick Clean Plan:
- Bi-weekly Dusting: Close the blinds and dust them with a microfiber duster or the brush attachment on your vacuum. Flip them the other way and repeat.
- Deep Clean: For a more thorough cleaning, wrap two microfiber cloths around a pair of tongs, secure with rubber bands, and dip them in a water and vinegar solution. Clamp the tongs on each slat and wipe from one side to the other.
- Pro Tip: This method works for both horizontal and vertical blinds.
4. Baseboards
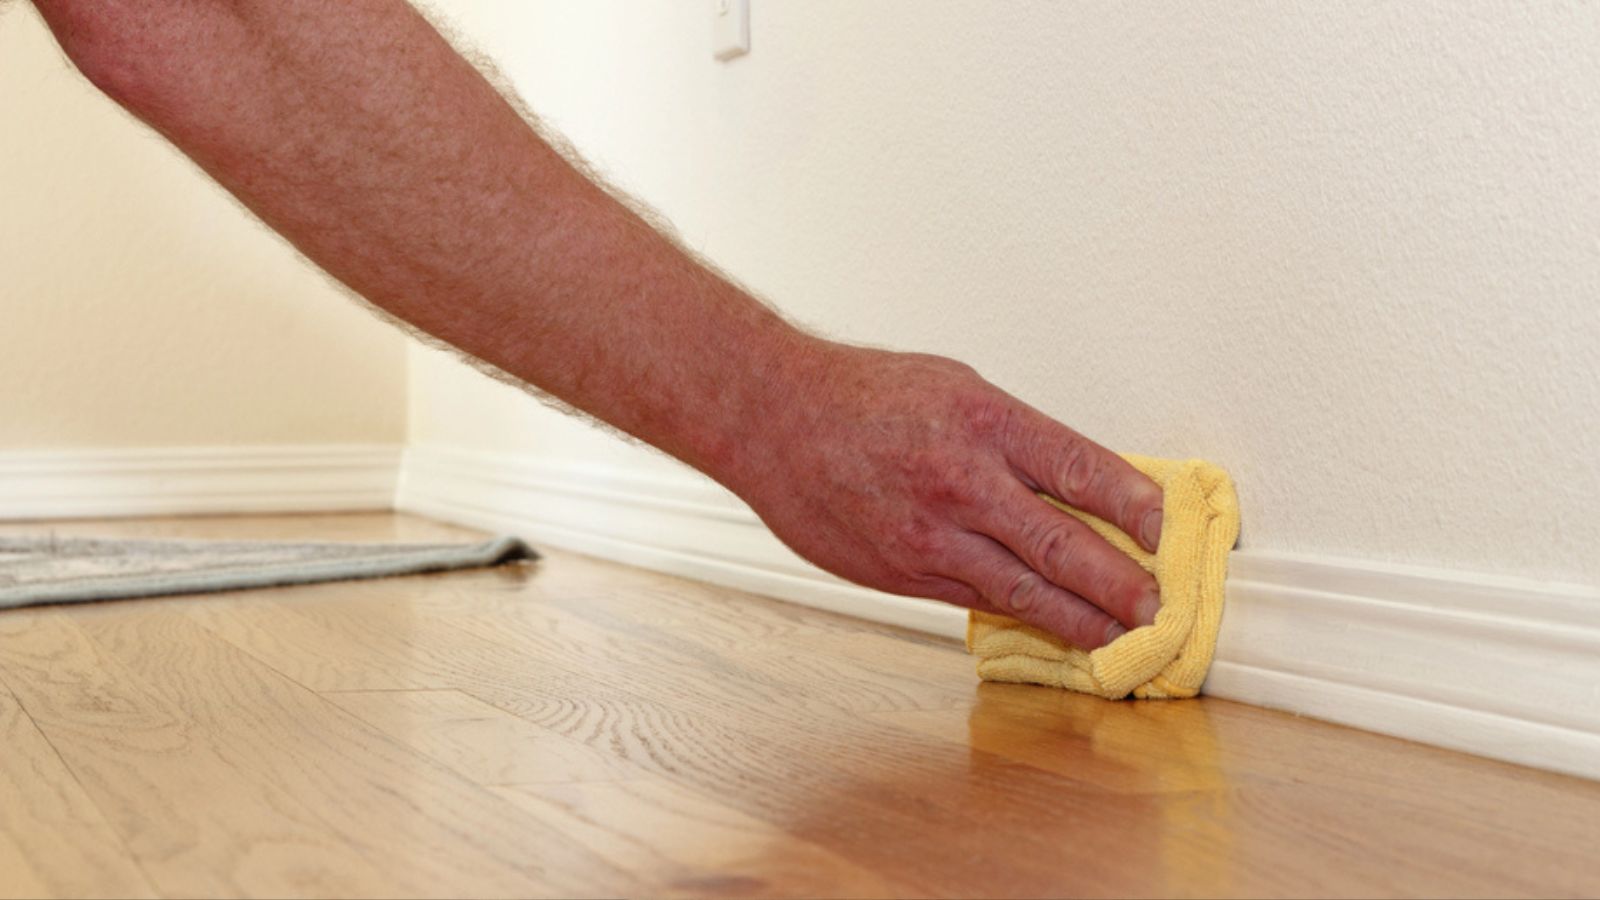
Image Credit: Deposit Photos.
Baseboards are the unpopular collectors of dust, hair, and dirt that inevitably accumulate in every home. Positioned along the edges of every room, they silently gather all the debris that gets kicked up during daily activities. Although they might not always be top of mind, baseboards play an essential role in framing a room, and when they’re dirty or grimy, the whole space can feel less polished, no matter how clean the rest of it is.
Cleaning them isn’t anyone’s favorite task, but tackling them just a few times a year can make a noticeable difference in your home’s overall appearance and freshness. Taking the time to wipe them down, even occasionally, can help maintain that crisp, clean look throughout your space.
Quick Clean Plan:
- Initial Sweep: Use the brush attachment on your vacuum to remove all the loose dust and debris.
- Wipe Down: Mix a few drops of dish soap in a bucket of warm water. Use a microfiber cloth to wipe down the baseboards section by section. For stubborn scuffs, a magic eraser works wonders.
- Pro Tip: Dryer sheets are great for a final wipe-down. They help repel future dust, extending the time between cleanings.
5. Keyboards and Remote Controls

Image Credit: Deposit Photos.
Think about all the hands that touch your remote controls and keyboards every day. These items are often handled while people are eating snacks, drinking coffee, or even shortly after sneezing or coughing. These high-touch surfaces can collect a surprising variety of germs, acting as a record of everything they’ve come into contact with.
A quick wipe-down with a disinfectant cloth or spray can go a long way in reducing this buildup. It will create a cleaner environment and keep everyone in the house just a little healthier.
Quick Clean Plan:
- Weekly Wipe: Turn off electronics and remove batteries from remotes. Use a disinfecting wipe or a cloth lightly dampened with rubbing alcohol to clean the surfaces.
- Get in the Cracks: Use a cotton swab dipped in alcohol to clean between the keys and buttons. A can of compressed air is excellent for blowing out crumbs and dust from keyboards.
- Pro Tip: Keep disinfecting wipes handy for a quick clean after someone has been sick.
6. Window Tracks

Image Credit: Shutterstock.
Open your windows to let in some fresh air. Now, do you notice the condition of the tracks they slide on? These tracks often collect an unpleasant mix of dead bugs, dirt, pollen, and other debris over time. Every time a breeze flows through your open windows, bits of this buildup can get stirred up and blown into your home.
Clean out these tracks just a couple of times a year. A quick wipe-down or vacuuming will help maintain a fresher, healthier indoor environment.
Quick Clean Plan:
- Vacuum First: Use your vacuum’s crevice tool to suck up all the loose dirt and debris.
- Scrub and Wipe: Sprinkle baking soda into the track, then pour a small amount of white vinegar over it. Let it fizz for 5-10 minutes. Use an old toothbrush to scrub the grime loose, then wipe it all up with a paper towel.
- Pro Tip: A butter knife wrapped in a cloth can help you get into the tightest corners.
7. The Blender Gasket

Image Credit: Shutterstock.
You probably wash the pitcher of your blender, but what about the little rubber ring at the base? That gasket creates a seal to prevent leaks. However, in its quest for containment, it also becomes a master at trapping moisture and tiny, insidious food particles.
Ever pulled out your “clean” blender for a morning smoothie, only to be hit with a sour smell that definitely isn’t the ghost of last week’s spinach? Bingo. That forgotten gasket is almost certainly the smelly culprit, silently cultivating its own little ecosystem. It needs a wash.
Quick Clean Plan:
- Every Time: Disassemble the blender base completely after each use. Wash the gasket, blade, and base screw with hot, soapy water.
- Allow to Dry: Let all the pieces dry completely before you reassemble the blender. This prevents moisture from becoming trapped and allowing mold to grow.
- Pro Tip: Check the manufacturer’s instructions; many blender parts are dishwasher-safe.
8. The Toothbrush Holder
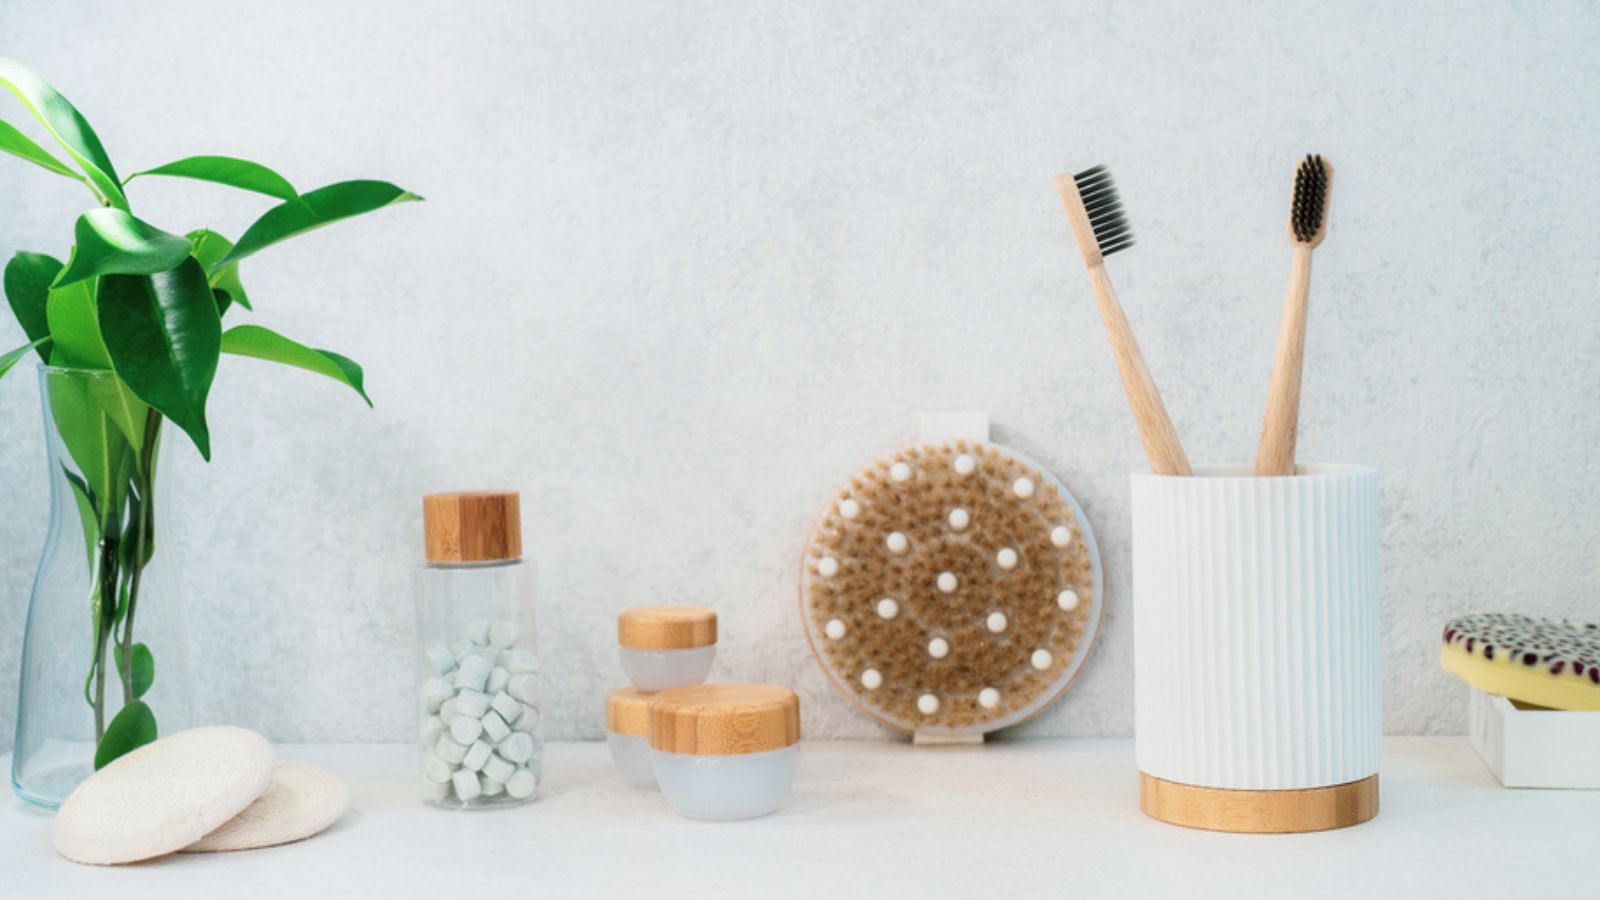
Image Credit: Deposit Photos.
You diligently place your toothbrush in the cute-looking toothbrush holder. The bottom of that holder becomes a perfectly dark, delightfully moist environment for bacteria to thrive. You meticulously clean your teeth, then, without a second thought, you pop your freshly washed brush right back into this bacterial breeding ground.
It’s a bit like taking a shower and then putting on dirty socks. Given that your toothbrush goes in there every single day, keeping its tiny home sparkling clean isn’t just a smart move; it’s a public health service for your mouth.
Quick Clean Plan:
- Weekly Wash: Most toothbrush holders can go right into the dishwasher on the top rack.
- Manual Method: If it’s not dishwasher-safe, wash it with hot, soapy water. Use a bottle brush to scrub the inside of each compartment and get all the gunk out.
- Pro Tip: Let it dry completely before putting the toothbrushes back in.
9. The Range Hood Interior

Image Credit: Shutterstock.
The filter and underside of your range hood play a crucial role in trapping grease and cooking odors, helping to keep your kitchen air clean and fresh. However, these hardworking components can’t capture everything forever. A greasy film builds up on the interior surfaces, including the fan blades, turning into a sticky, dusty mess.
This buildup isn’t just unsightly or difficult to clean; it can also pose a serious fire hazard if left unchecked. Regular cleaning is essential to maintain both the efficiency of your range hood and the safety of your kitchen.
Quick Clean Plan:
- Filter First: Remove the metal mesh filter. Most can be cleaned in the dishwasher or by soaking in a sink of hot water and a strong degreasing dish soap.
- Hood Interior: While the filter is cleaning, spray the interior of the hood with a kitchen degreaser. Let it sit for a few minutes, then wipe away all the grease and grime with a cloth.
- Pro Tip: Clean the filter at least every three months, or more often if you do a lot of frying.
10. The Area Around the Toilet
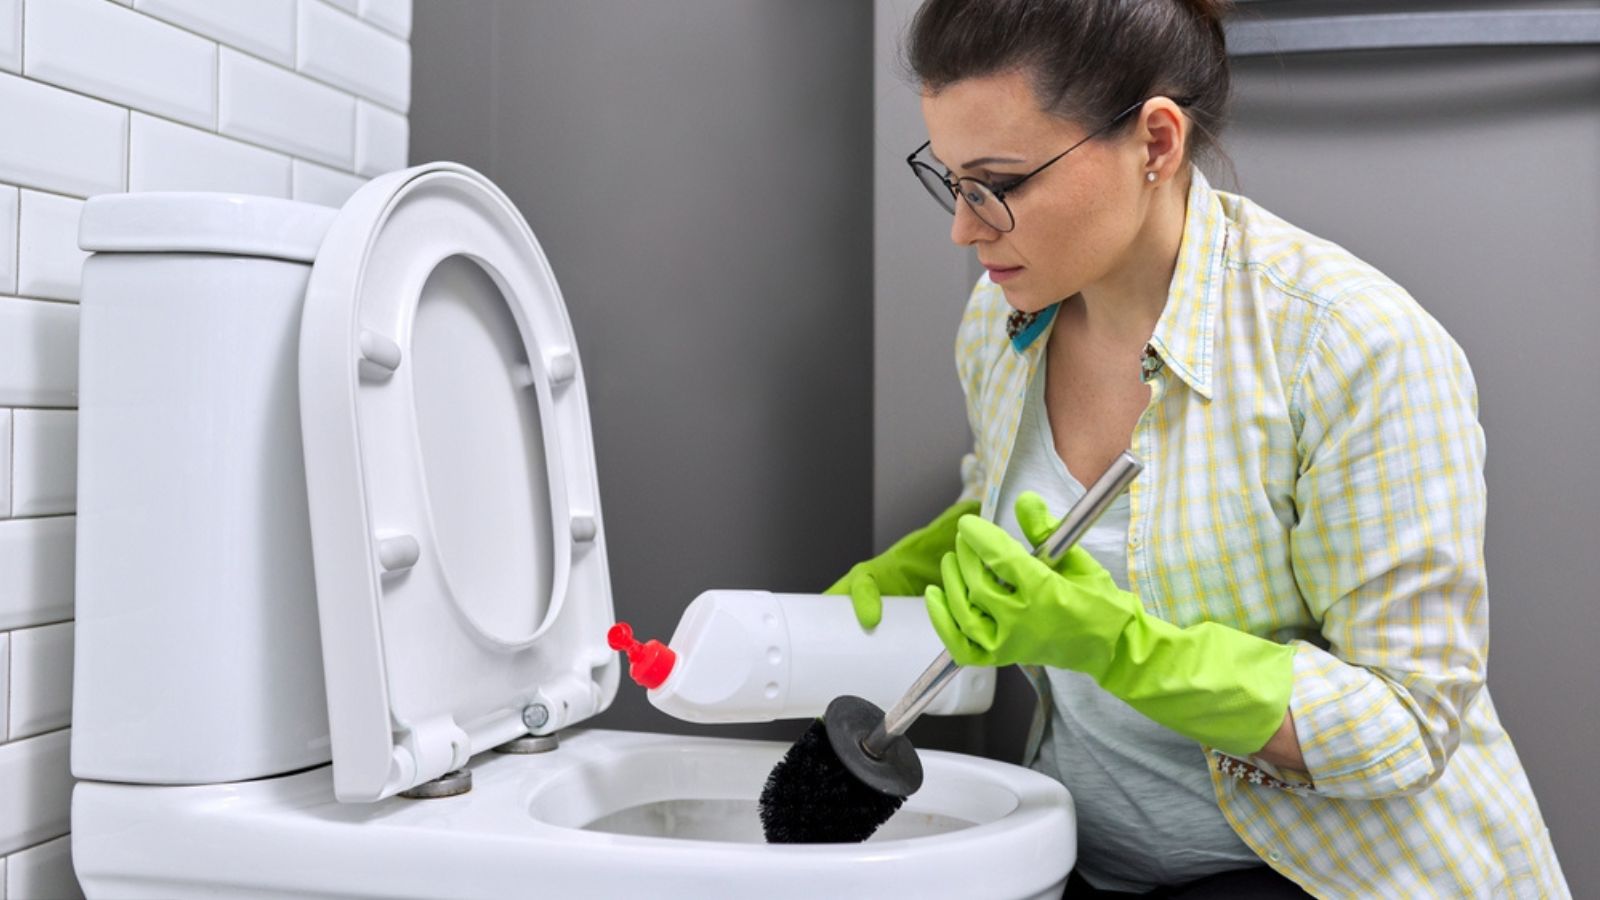
Image Credit: Deposit Photos.
Almost every day, you diligently scrub the toilet bowl, wipe down the seat, and maybe even give the lid a once-over. But what about the splash zone? The floor and walls immediately surrounding your porcelain throne are often forgotten casualties in the war on grime.
Every time you flush, a fine, invisible mist of yucky water (use your imagination) launches itself into the air, eventually settling on every single nearby surface. The bolts at the base of the toilet are good at attracting dust, hair, and other “unpleasantness”. Give it a thorough scrub with a slim brush to reach the corners.
Quick Clean Plan:
- Wipe Everything: When you clean the toilet, use a disinfecting cleaner to also wipe down the tank, the base, and the floor and wall area surrounding it.
- Target the Bolts: Use a disinfecting wipe and an old toothbrush to scrub around the toilet bolts and the caulk line where the toilet meets the floor.
11. Tops of Kitchen Cabinets

Image Credit: Shutterstock.
That mysterious, often forgotten space between the top of your cabinets and the ceiling is like the Bermuda Triangle of your kitchen. We stack our dishes, cook our meals, and generally go about our lives, completely oblivious to the silent build-up happening just above our heads.
This neglected nook is home to a truly delightful, sticky concoction of airborne grease from all your delicious (and not-so-delicious) cooking adventures, mixed with every speck of dust floating around. This dirt may welcome all sorts of unwanted bugs and pests.
Quick Clean Plan:
- Cut the Grease: Use a degreasing spray and a sturdy cloth to wipe down the cabinet tops. You may need some elbow grease to cut through the buildup.
- Prevent Future Mess: After cleaning, line the tops of the cabinets with newspaper or wax paper. When it’s time to clean again, you can simply roll up the paper and the mess with it, and lay down a fresh sheet.
- Pro Tip: Do this once or twice a year to prevent a major cleaning project from developing.
Keeping It Clean

Image Credit: Shutterstock.
To keep the upper hand, set a calendar reminder for a “deep dive” cleaning day every couple of months, and actually invite the stubborn spots listed above to the party. Give yourself bonus points for snapping before-and-after photos; you’ve earned the bragging rights.
Most importantly, become suspicious of anything that hasn’t needed cleaning in a while. If it isn’t sparkling, it’s probably scheming. May your home’s dirtiest secrets forever stay exposed and under control.
Read more
16 Household Habits Making a Home Unnecessarily Dirty
Forget Spring Cleaning— Speed Cleaning Will Change Your Life (and Save You Money)