Stop Making These 7 Mistakes When You Winterize Your Chicken Coop
The two most loving things people do for their hens every winter, sealing the coop tight and hanging a heat lamp, are also the two most likely to hurt them.
It feels backward, and that is exactly why so many flocks suffer. A shivering hen tugs at the heart, so we close every gap and plug in a glowing bulb. But chickens are built for cold. What they are not built for is a damp, stale coop, and they are certainly not built to survive a fire. The National Fire Protection Association found that almost a quarter of U.S. barn fires were caused by heating equipment, and heat lamps led that list. Most homeowners don’t realize the same lamp over their own coop sits a few feet from dry straw, a fence line, and possibly a neighbor’s garage.
Timing matters here. Right now in October, the weather is still mild enough to cut a vent, patch a seam, and rethink your water setup without frozen fingers. Wait until the first hard freeze, and you’ll be making decisions in the dark, in a hurry, which is when the heat lamp comes out. Getting it right also saves real money: a single 250-watt heat lamp running around the clock burns roughly 180 kilowatt-hours a month, which works out to about $33 a month at the U.S. Energy Information Administration’s 2026 average residential rate of 18.2 cents, or around $130 over a four-month winter.
So, here is how to winterize your chicken coop the way experienced keepers actually do it. Not with gadgets, but by avoiding seven common mistakes that cost flocks their combs, their health, and sometimes their lives. Start with the most dangerous one.
1. Stop Hanging a Heat Lamp in the Coop

This is the villain of winter chicken keeping. A heat lamp combines a glowing hot bulb, a dusty room, dry bedding, and birds that flap at roosting time. The supplier Strombergs puts it bluntly: “Many coop fires are started every year by well-intentioned chicken coop owners.” In Wyoming, AgDaily reported a coop heat lamp fire that spread to a mobile home, a camper, two vehicles, and a trailer, with about $20,000 in damage. That’s the kind of fire that ends up on your neighbor’s side of the fence, too.
Fifth-generation chicken keeper Lisa Steele of Fresh Eggs Daily, who favors old-timers’ methods, calls a heated coop a huge fire hazard and says healthy hens are happy well below zero once they’re out of the wind. If you live somewhere brutally cold and truly need heat, University of Minnesota Extension points toward approved radiant panels with thermostats, never a lamp hung by its cord.
2. Stop Sealing the Coop Airtight
Frostbite is mainly a moisture problem, not a cold problem. Chicken manure is about 70 percent water, according to the University of Minnesota Extension, and every breath your hens take adds more. Trap that vapor, and it condenses on walls, bedding, and combs, then freezes overnight.
Ohio State University Extension explains that humid air raises frostbite risk more than dry air does. One keeper’s rule of thumb sums it up perfectly: think of your winter coop as a cold desert, not a warm swamp.
A warm, wet coop will hurt your hens faster than a cold, dry one ever could.
If you see frost on the inside of the windows on a cold morning, or smell ammonia when you open the door, you need more airflow, not less.
3. Avoid Drafts at Roosting Height

Ventilation and drafts are not the same thing, and confusing them is where good intentions go wrong. Vents belong up high, near the roofline, where warm moist air naturally rises and escapes. Down where your birds sleep, the air should be still. University of Illinois Extension offers a simple test: you should never see air moving a chicken’s feathers inside the coop in winter.
The keepers at Silver Fox Farm recommend at least two vents above roost height for cross ventilation, each covered in quarter-inch hardware cloth so predators can’t use them as a door. A roll of hardware cloth and an afternoon of work costs far less than a vet visit for a frostbitten rooster.
4. Never Run an Extension Cord to the Coop for the Whole Winter
Heated waterers are wonderful, but how you power them matters. University of Minnesota Extension advises that extension cords be used only short-term, never as the permanent power line to your coop, and that any coop wiring be installed by a licensed electrician. Cords also need to stay away from water, birds, and flammable litter.
This is one of those safety rules many homeowners may already be breaking without knowing it. An orange cord snaking across a frozen yard for five months is a quiet hazard. If you plan to keep chickens for the long haul, a properly installed outdoor outlet is one of the best investments you’ll make.
5. Stop Cleaning Out the Bedding Until Spring
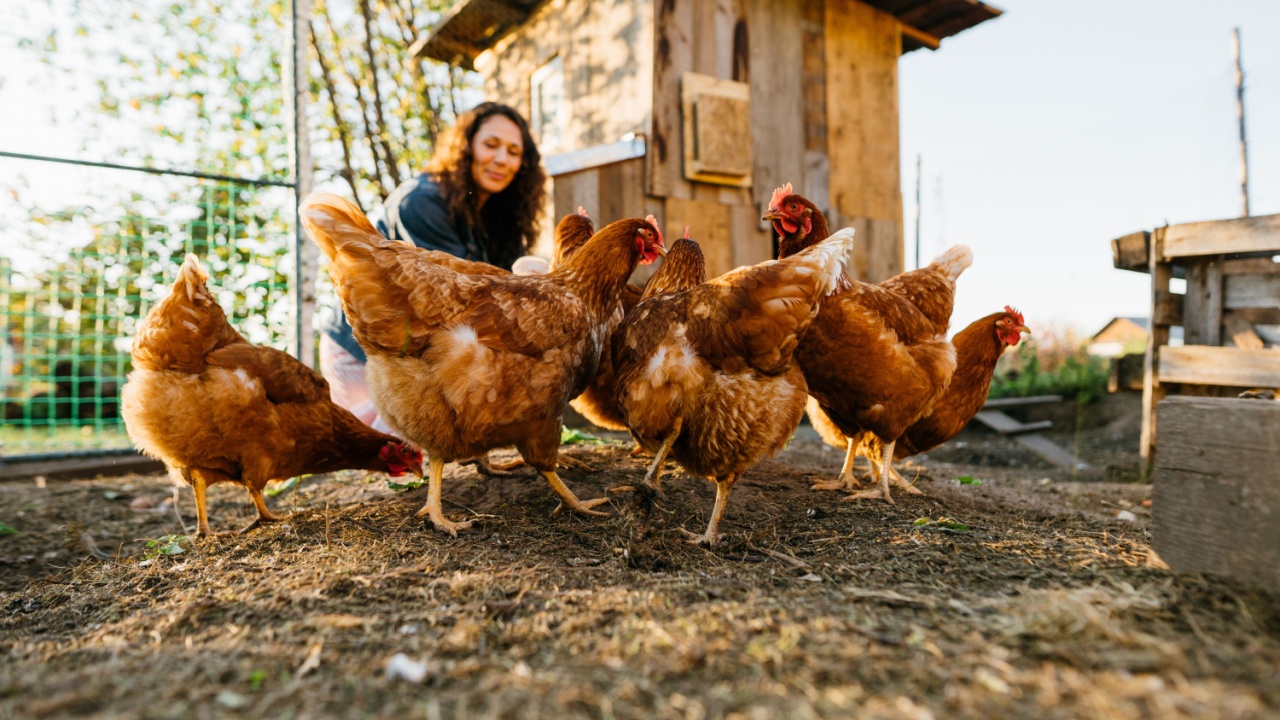
Here’s your permission slip: put the pitchfork down. Dr. Jacquie Jacob of the University of Kentucky, writing for Poultry Extension, advises postponing the full coop cleanout until spring and simply top dressing the bedding all winter. The deep layer insulates, and with a deep litter system and a water warmer, she notes, flocks can do well below zero with no external heat at all.
University of Minnesota Extension suggests a base of 4 to 6 inches of straw or shavings, stirred as it’s soiled and topped with fresh material. For a free boost, bag up dry fall leaves now and toss them into the run in January; Silver Fox Farm says their hens love foraging through them. That’s insulation, entertainment, and next spring’s compost for nothing.
6. Don’t Let the Water Freeze (Even Overnight)
Frozen water is the chore that defines winter chicken keeping. University of Illinois Extension says chickens need access to water at least every 10 hours, day and night, and University of Minnesota Extension warns that without water, chickens stop eating. Lisa Steele’s simple fix at Fresh Eggs Daily is a heated dog water bowl, which she finds easy to clean and reliable.
Keep a spare waterer on hand, raise it on a stand so bedding stays out, and check it every morning. As you get older, those predawn trips through the snow get harder, so a dependable heated waterer is worth every penny.
7. Never Wrap the Run Roof, and Check Your Local Rules First
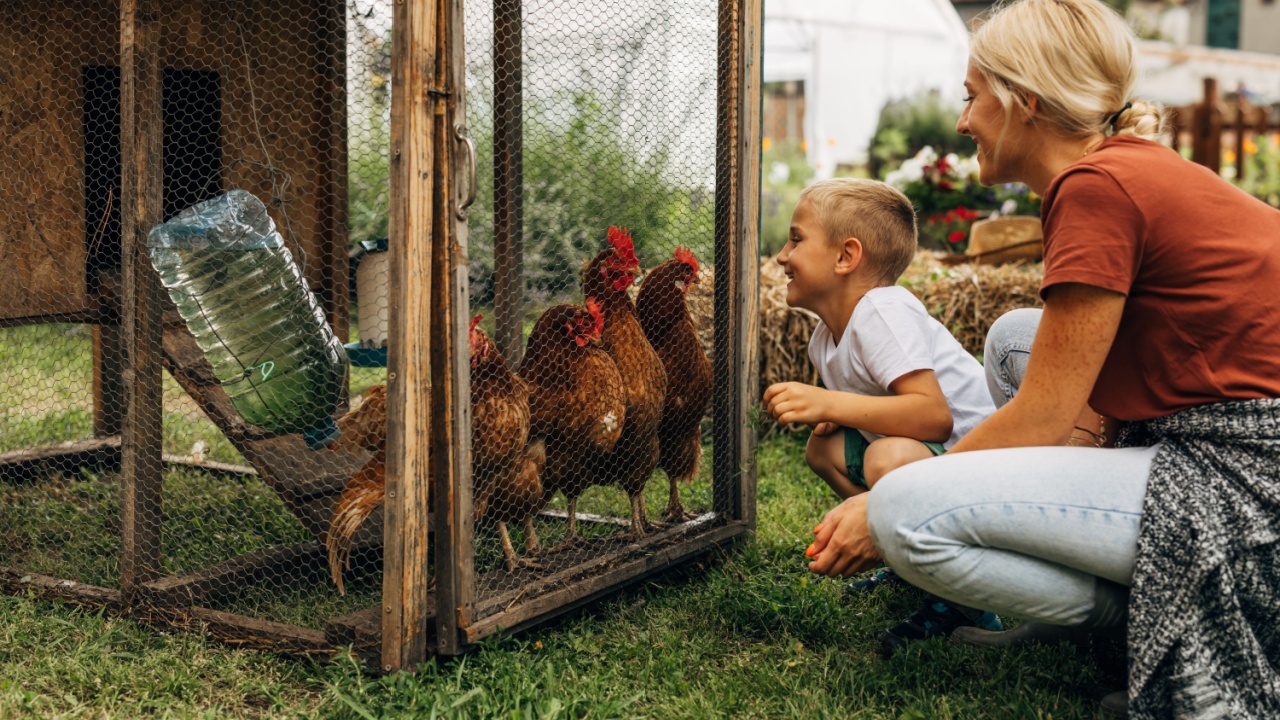
Clear plastic on the sides of a run blocks wind beautifully. On the top, it’s a disaster waiting for snowfall. Lisa Steele learned that the hard way when a snow-loaded tarp brought her run down, and she now wraps the sides only.
Before you build anything permanent, check your town’s rules. Many backyard chicken ordinances regulate coop size, setbacks, and design. Seminole County, Florida, for example, requires a building permit once a coop exceeds 100 square feet, and the City of Kitchener requires coops to be adequately ventilated. A sealed-up, oversized winter addition could put you on the wrong side of the rules and your neighbors.
Assess Your Coop This Weekend
Walk your coop before October ends with a short checklist. Look for condensation and sniff for ammonia. Cut or open vents above roost height. Seal low gaps and cracks. Add 4 to 6 inches of bedding and plan to top it off all winter. Set up a heated waterer on a safe, permanent power source. Wrap only the windward sides of the run. Then give your hens a handful of scratch grains before bed on the coldest nights, which University of Minnesota Extension notes helps them generate heat as they digest.
Whether this is your first winter with a flock or your twentieth, the lesson is the same one the old-timers knew: chickens don’t need you to keep them warm. They need you to keep them dry, sheltered from wind, watered, and safe from fire. Skip the heat lamp, open the vents, and let the bedding pile up. Do these few things now, and come January you’ll be collecting eggs instead of worrying.
Read More
Washing Your Lettuce Won’t Remove Cyclosporiasis, But Growing Your Own Will
Your Grandmother Stored These 8 Foods All Winter Without Canning a Single Jar