
When the summer greens start to fade and there’s a chill in the air, plant parents know what’s coming. It’s time to figure out what to do with all those happy container plants that have been living their best life on your porch or patio. While some are tough enough to handle the cold, many of our leafy buddies need to bunk with us indoors to make it through the winter.
But it’s not as simple as grabbing them and hauling them inside. A sudden move can shock your plants, and you definitely don’t want to invite a bunch of tiny critters to spend the winter in your house.
Here are eight essential tips to move your plants indoors like a pro, keeping them healthy and happy until they can soak up the sun again next spring.
Where We Got This Data
The guidance in this article is based on expert-backed practices and seasonal plant care recommendations. We consulted authoritative sources, including university extension programs, peer-reviewed plant science publications, and professional gardening forums. These insights reflect widely accepted standards for indoor plant care, pest prevention, and seasonal acclimation to ensure your plants thrive through the winter months.
1. Know When to Make the Move
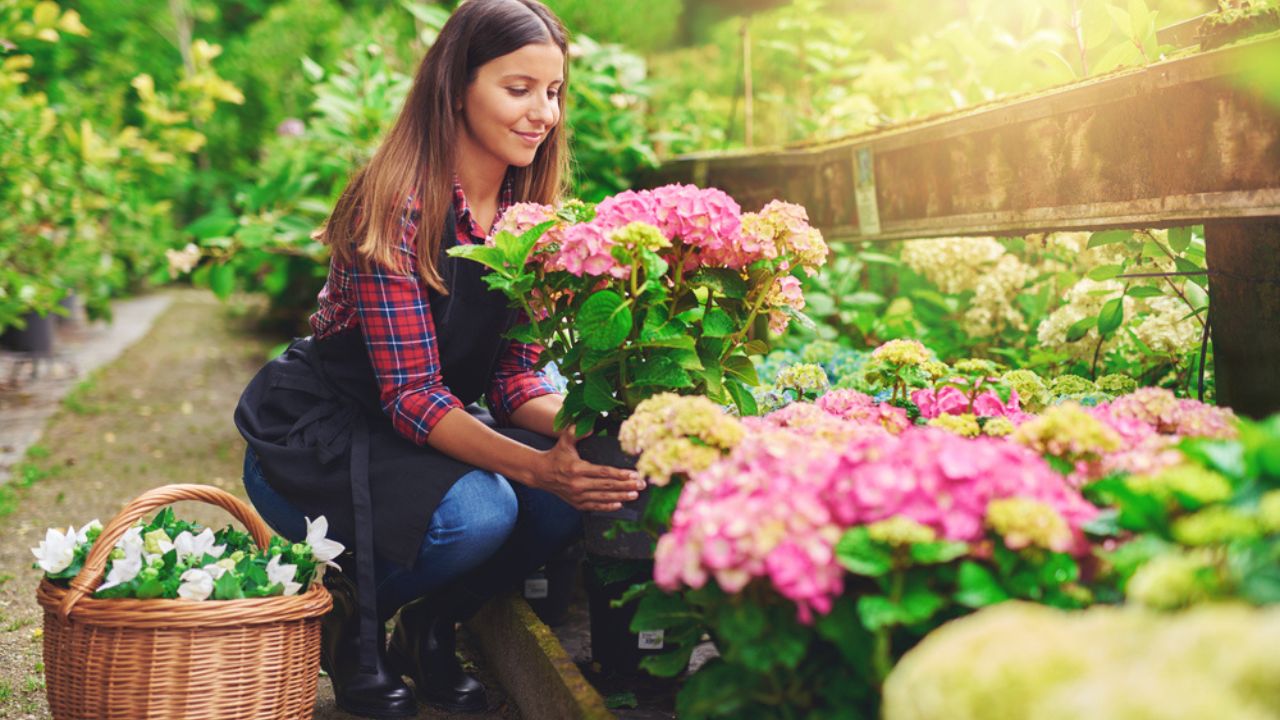
Image Credit: Shutterstock.
Timing is everything when it comes to bringing your plants indoors. If you wait too long, you risk exposing them to a sudden frost, which can be fatal for many tropical and tender perennials.
The general rule of thumb is to start the process when nighttime temperatures consistently drop to around 50°F (10°C). This temperature is a critical threshold for many popular houseplants like ficus, dracaena, and philodendron. Waiting for the first frost warning is often too late, as even a light frost can damage sensitive foliage.
Quick Tip: Start monitoring the 10-day weather forecast in early fall. When you see a trend of nighttime lows approaching the 50-55°F (10-13°C) range, circle a date on your calendar to begin the transition.
2. Give Them a Thorough Inspection
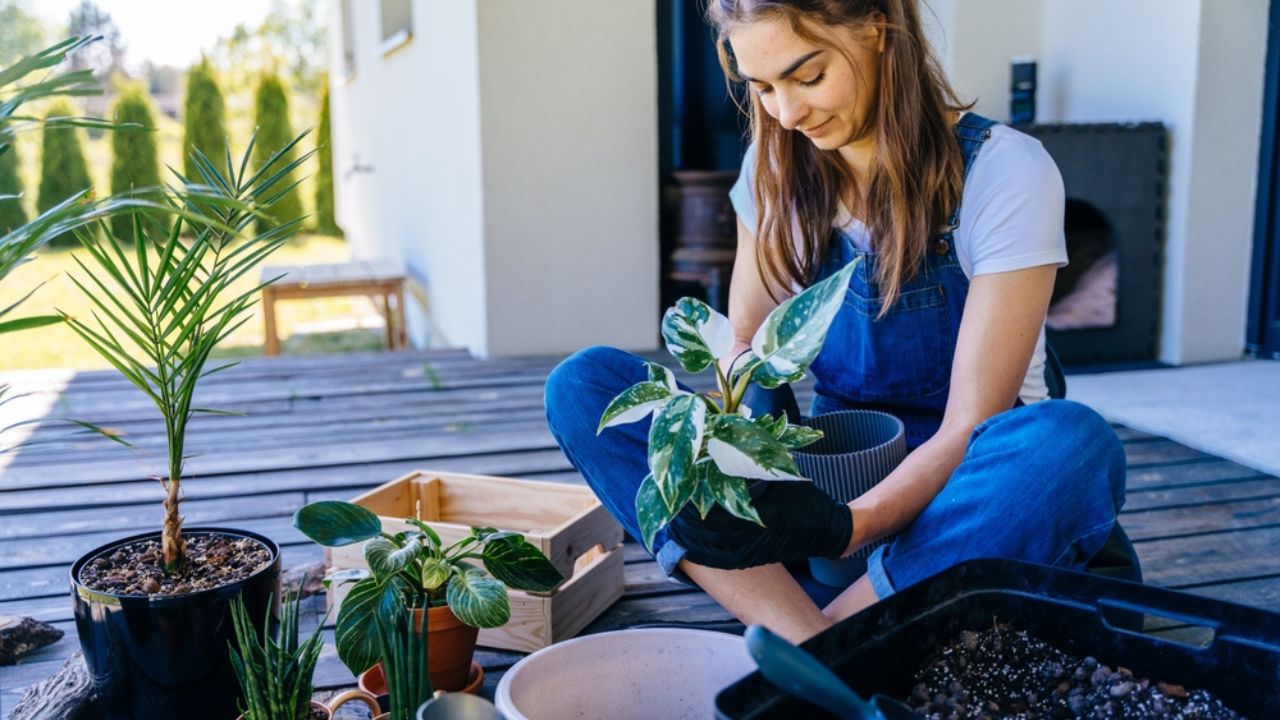
Image Credit: Shutterstock.
Before bringing your plants inside, give them a good look-over. Your outdoor pots are a haven for pests like spider mites, aphids, and mealybugs, and you don’t want them moving in with you. Check under the leaves, along the stems, and on the soil for any uninvited guests like bugs, webs, or sticky spots.
Quick Tip: Use a magnifying glass and a flashlight to get a closer look at all the nooks and crannies. It’s better to be overly cautious now than to deal with a full-blown infestation later.
3. Clean and Treat for Pests
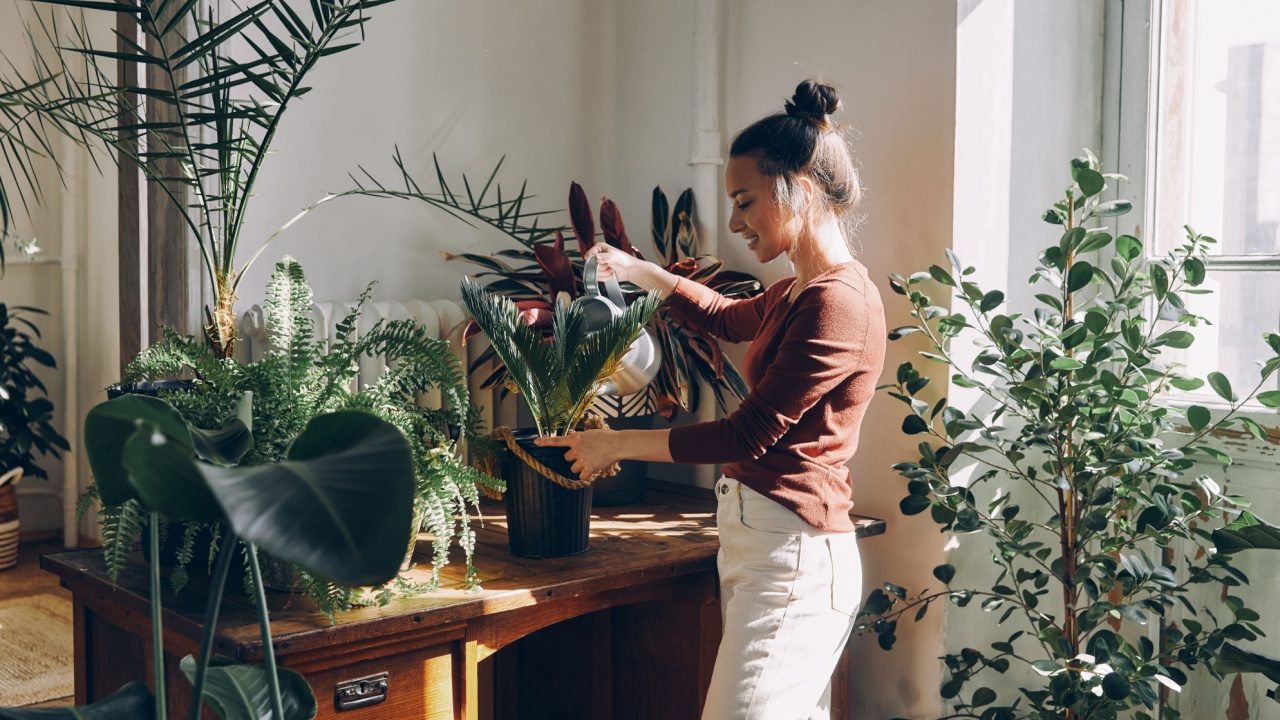
Image Credit: Shutterstock.com.
Once you’ve inspected your plants, it’s time for a good cleaning. This is your best shot at keeping pests out of your home. First, give your plants a gentle shower with the hose to wash off hitchhiking bugs, dust, and pollen. Be careful not to blast them.
For tougher pests, grab insecticidal soap or neem oil, way safer for indoor plants than harsh chemicals. Spray the whole plant, hitting both sides of the leaves and stems. And if you want to go an extra mile, dunk the entire pot in lukewarm water for 15-20 minutes to drown any soil critters. Let it drain completely before moving inside.
Quick Tip: Always apply treatments in a shady spot and out of direct sun to prevent the leaves from burning. Re-treat the plants about a week later to catch any pests that may have hatched since the first application.
4. Prune and Tidy Up

Image Credit: Shutterstock.
Summer growth means your plants are ready for a trim. Pruning encourages new growth and removes dead, damaged, or diseased parts, while also helping the plant conserve energy for its indoor adjustment.
Use clean, sharp shears to snip away yellowing leaves, dead branches, or spent flowers. If a plant is leggy or overgrown, cut it back by about one-third to promote bushier growth and make it more manageable indoors..
Quick Tip: When you prune, make your cuts just above a leaf node (the point where a leaf grows from the stem). This is where new growth will emerge.
5. Check the Pot and Soil

Image Credit: Shutterstock.
Before bringing your plant inside, scrub its pot to remove any dirt or salt buildup. This is also a good time to check if it needs repotting. If the plant looks too big for its container or roots are growing out of the drainage holes, it’s time for an upgrade.
When repotting, use fresh, high-quality potting mix, never garden soil. If you don’t need to repot, you can just refresh the top inch of soil.
Quick Tip: Choose a new pot that is only one to two inches larger in diameter than the current one. A pot that is too large can hold excess moisture, leading to root rot.
6. Acclimate Your Plants Gradually
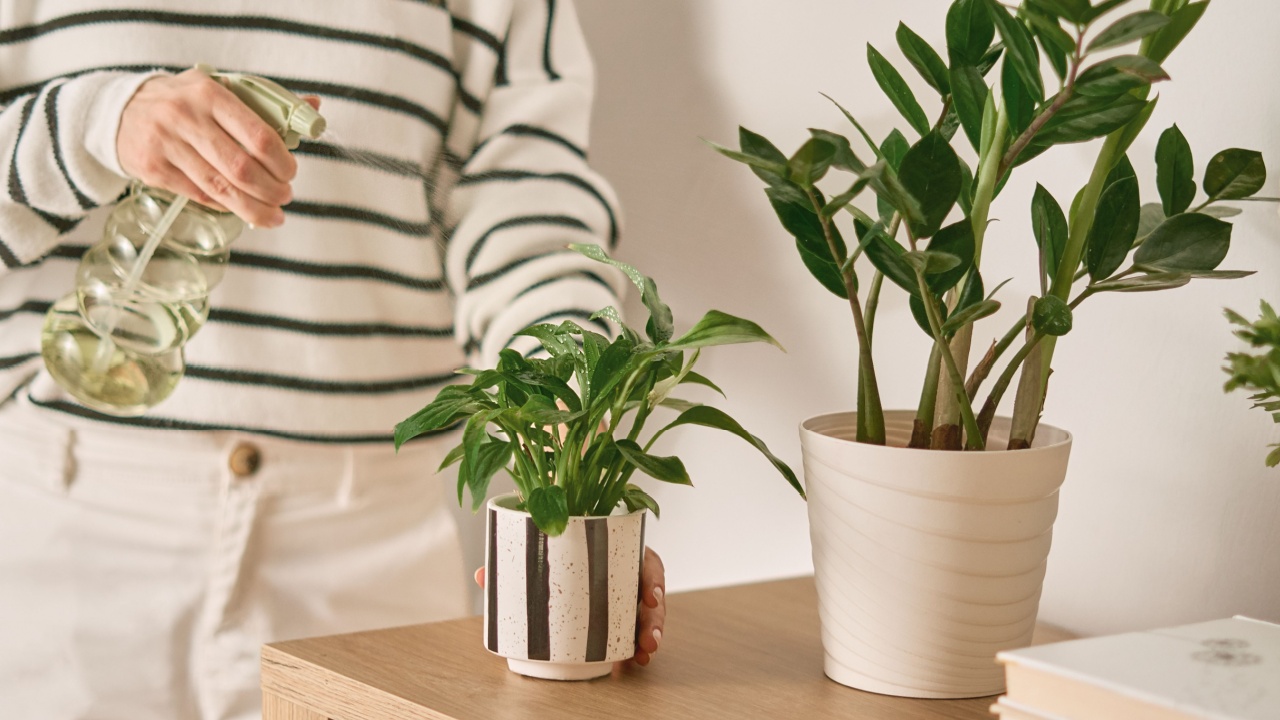
Image Credit: Shutterstock.
Plants, much like people, can get stressed by sudden environmental changes. Sudden moves indoors can shock plants, causing yellowing leaves and leaf drop. To avoid this, acclimate your plants over one to two weeks. Start them in a sheltered, shady spot for a few days, then gradually increase their time indoors. This helps them adjust to your home’s lower light and humidity.
Quick Tip: An unheated garage or a mudroom can be a great transitional space for the first few days indoors before moving plants to their final winter location.
7. Find the Right Indoor Spot
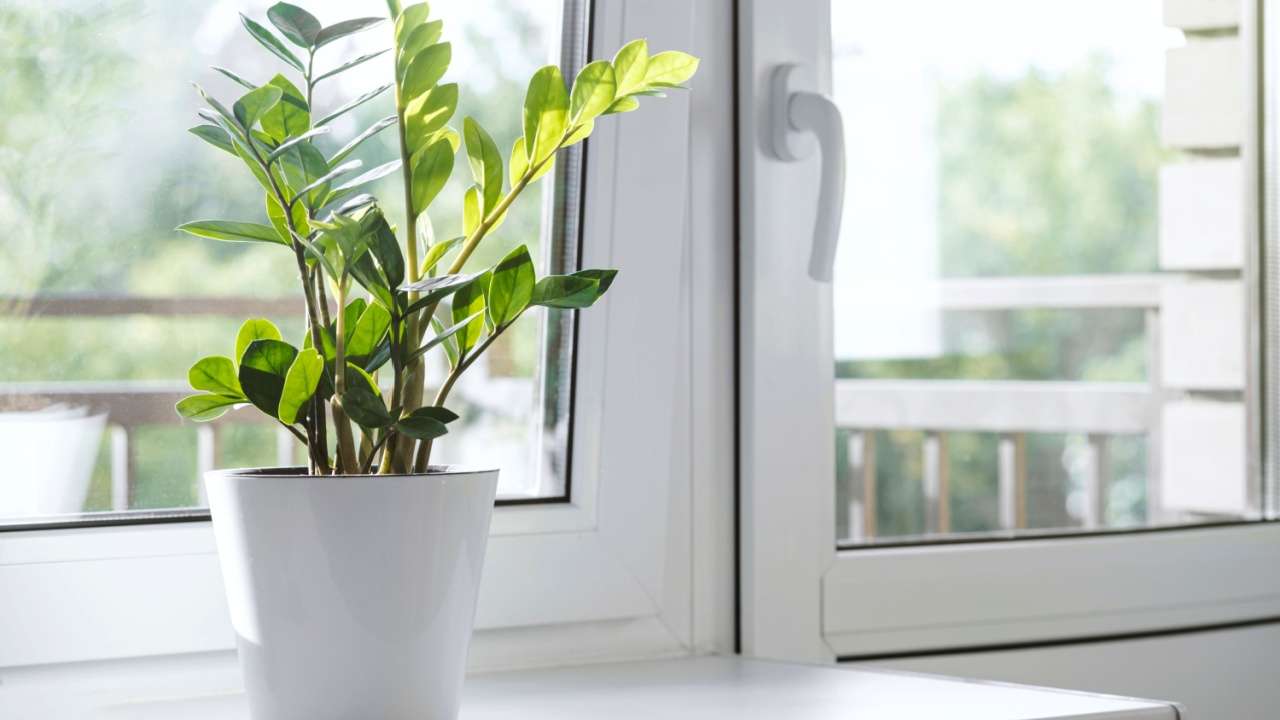
Image Credit: Shutterstock.
Once ready for their final indoor spot, choose wisely for winter survival. Most outdoor houseplants prefer bright, indirect light indoors. A south- or west-facing window is often ideal, but avoid direct sun or cold drafts.
Indoor heating dries the air, so group plants, use pebble trays, or a humidifier to increase humidity. Keep plants away from heat vents, radiators, or fireplaces, as hot, dry air can be very damaging.
Quick Tip: Rotate your plants a quarter turn every week to ensure all sides receive adequate light, promoting even growth and preventing them from leaning toward the window.
8. Adjust Your Care Routine

Image Credit: Shutterstock.
Your plant’s needs will change once it’s indoors for the winter. With less light and shorter days, most plants enter a period of dormancy or slow growth, which means they require less water and fertilizer.
Overwatering can kill your houseplants in winter. Before watering, check the soil by sticking your finger about an inch deep. If it feels dry, it’s time to water. If it’s still moist, wait a few more days.
Quick Tip: Keep a simple log of when you water each plant. It can help you establish a routine and prevent the soil from becoming waterlogged or bone-dry.
Thriving Indoor Garden All Winter Long
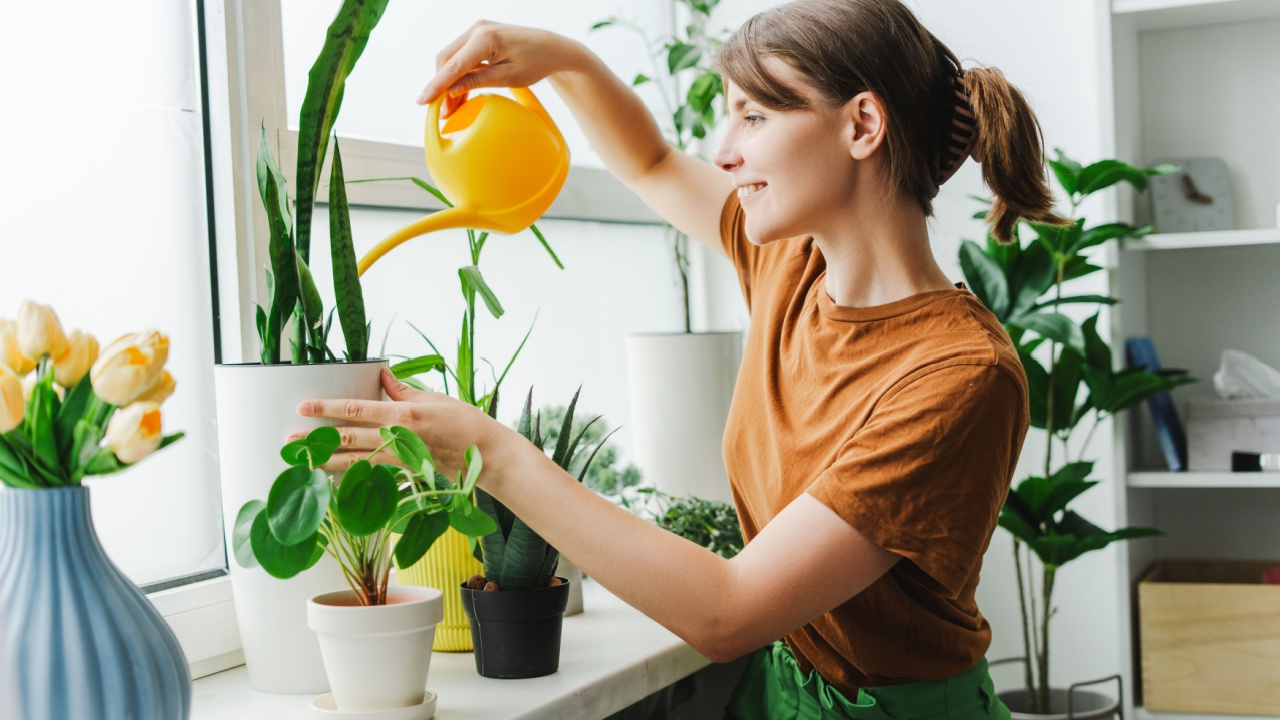
Image Credit: Shutterstock.
By following these steps, you can ensure a smooth and successful transition for your green companions. A little extra care now will reward you with a vibrant indoor garden that brings life and color to your home throughout the cold winter months. When spring arrives, you’ll have healthy, thriving plants ready for another season in the sun.