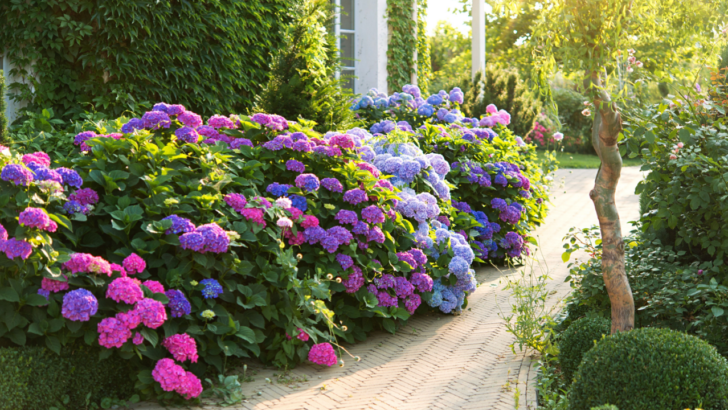
You love your hydrangea. It’s thriving, it’s fabulous, it’s showing off in your yard like it pays rent. Naturally, you want more, and all your friends would love a piece of it. Good news: you don’t need to buy another one. You can clone it, legally. Science meets plant parenthood in this genius trick by @creative_explained.
There’s every reason to love hydrangeas. They don’t just come in pretty colors—they change color based on soil pH. Acidic soil gives you blue blooms, alkaline soil leans pink, and somewhere in the middle gets you purple.
So yes, your hydrangea is basically a moody, floral pH test with petals. Once you grow one, it’s hard not to want ten more. Here’s how to clone one:
1. Grab a Healthy Cutting with No Bark
First, find a branch that’s all green, you’re looking for softwood: flexible, green, and full of potential, like a teenager with a summer job.
Snip a 5–6 inch cutting. Strip off the bottom set of leaves (they’ll rot in water), make a 45-degree cut at the base, and chop off the top few inches. This helps the plant focus on growing roots instead of supporting extra leaves.
2. Soak It in Honey Water
Mix up a little honey water—about a teaspoon of honey in a glass of warm water. Let your cutting soak for 10 minutes. Honey acts as a natural rooting hormone and antimicrobial.
3. DIY Greenhouse Setup With a Plastic Bottle
Take a clean plastic bottle and poke a tiny hole near the bottom. Plug it with a cotton ball or tape—this will be your drain valve. Fill the bottle halfway with water.
Now, drop the cutting in, cap the bottle back on, and let the mini science experiment begin. Place your hydrangea capsule in a warm spot, but keep it away from direct sunlight—this is root camp, not a tanning salon.
4. Water Swap Routine
Each day, unplug the hole at the bottom to drain the water. Then refill from the top. This keeps things fresh and oxygenated, which roots appreciate more than we appreciate iced coffee in July.
In about a week, you should start seeing little roots doing their thing. If it takes a few more days, don’t panic—some cuttings like to take their sweet time.
5. Pot It
Once you see roots about an inch long, it’s transplant time. Pop the cutting into a small pot with well-draining, nutrient-rich soil. Cover the whole thing with a clear Ziploc bag to trap humidity. You’re creating a tiny rainforest in a sandwich bag.
Keep it warm and gently lit—still no harsh sun—and in a few weeks, you’ll have a fully established baby hydrangea ready to take on the world (or at least your front yard).
Time to Go Forth and Multiply
When it comes to hydrangeas, timing matters: Late spring to early summer is prime time for softwood cuttings. If the leaves start drooping, give the Ziploc bag a spritz or add a second one for double insulation; humidity matters too.
And just like that, you’re officially multiplying hydrangeas like a gardener who reads gardening blogs and knows how to get more blooms for zero bucks.
