The gardeners who fill Instagram with overflowing raised beds in June aren’t luckier than you. They just did something in March that most people skip entirely.
Every experienced raised bed grower knows a quiet truth: the harvest isn’t decided in planting season. It’s decided in the two or three weeks before a single seed goes in.
Skipping pre-season prep doesn’t just mean a slower start. It means compacted soil that roots can’t penetrate, depleted nutrients that leave plants stunted, overwintered pests with a head start, and structural failures that hit mid-season when they’re hardest to fix. Danielle Sherwood at Epic Gardening reports that raised beds can increase yields by 30–50% over in-ground growing, but that advantage only holds when the soil and structure are properly renewed each year. Get that part right, and the rest of the season practically takes care of itself.
Here are the 12 tasks to knock out before March ends, in the order they matter most.
1. Walk the Whole Garden Before You Touch Anything
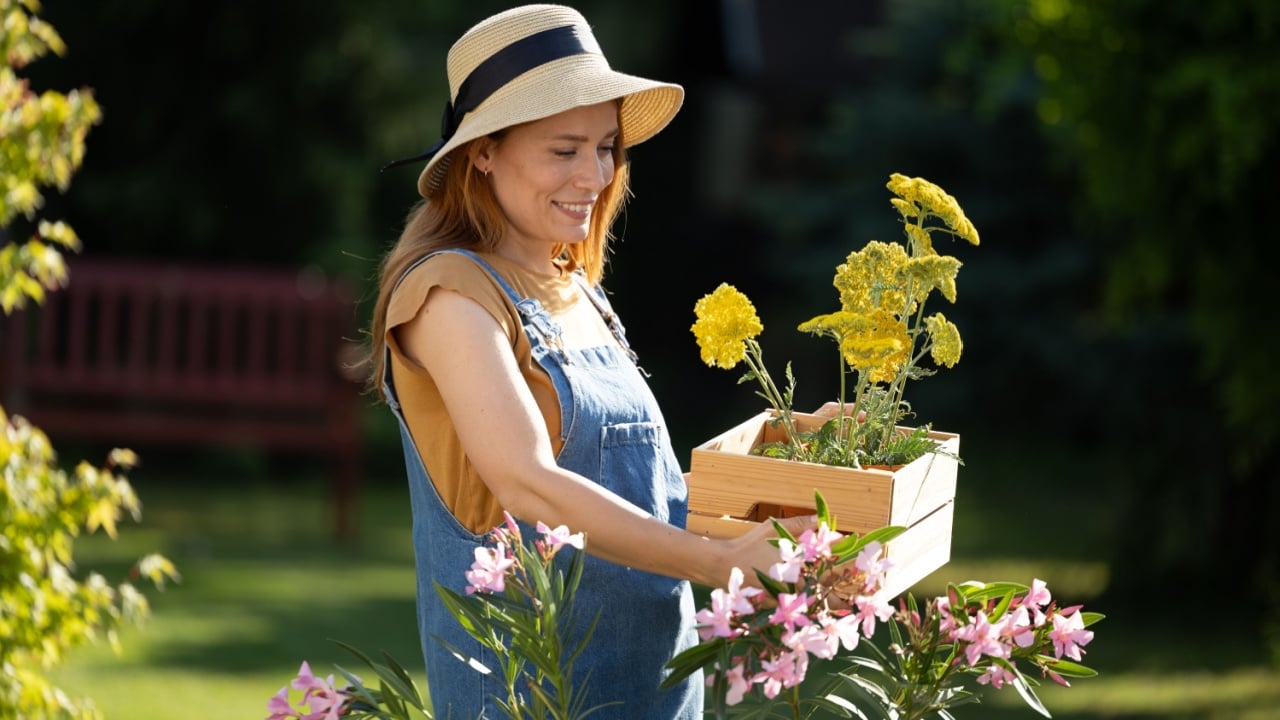
Image Credit: Shutterstock.
Resist the urge to dig in immediately.
Start with a slow lap around your raised beds, with a notepad in hand. Winter freeze-thaw cycles push things out of alignment: perennials can heave, bed walls crack, and irrigation lines develop silent leaks.
According to horticulturist Kelly Young of Northeastern University, this assessment walk is the step that saves experienced gardeners the most time and money all season long. Look for pooling water, sagging walls, early weed activity, and broken trellises. What you find here sets the priority order for everything else on this list.
2. Check Your Bed Structure for Rot or Damage
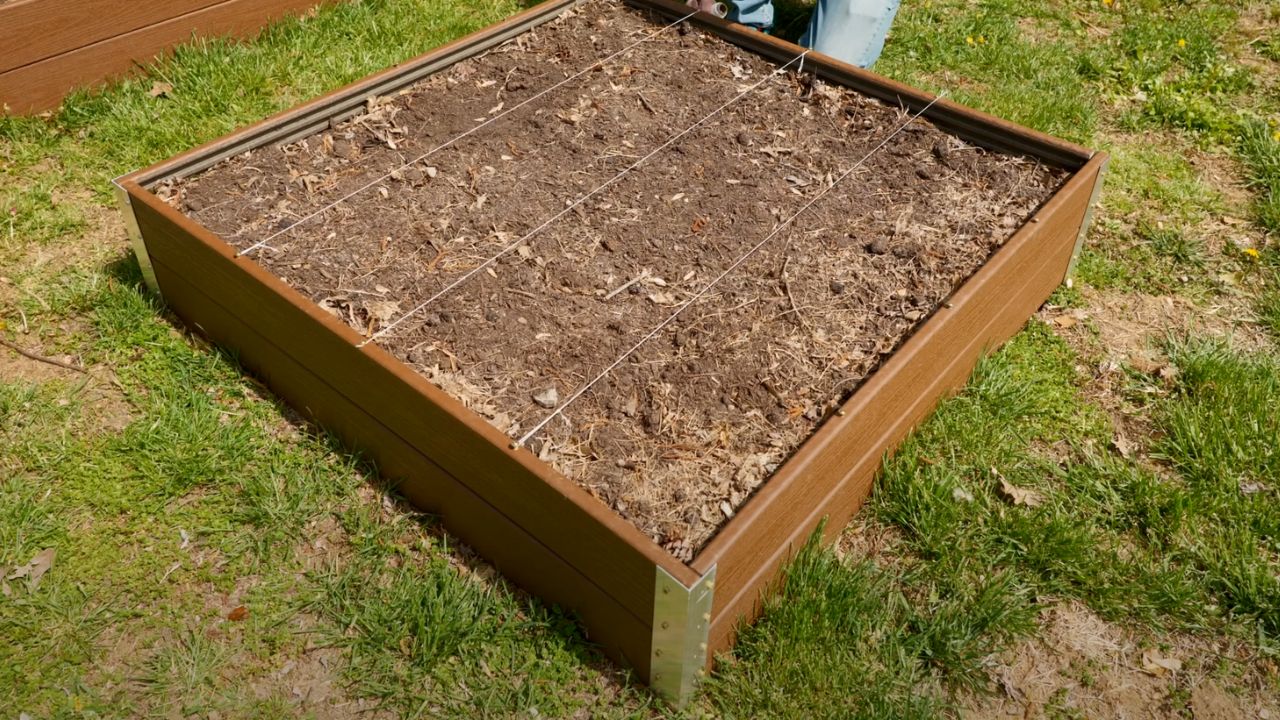
Image Credit: I Like To Make Stuff/Wiki Commons.
Wooden raised beds are charming, but, unfortunately, wood rots, especially at the base and corners where moisture collects.
Press a screwdriver into the lower boards; if it sinks easily, that section is failing. Don’t wait until beds are packed with plants to find out your walls are collapsing. If rot is minor, a plant-based wood sealer can extend life by a season or two. If it’s extensive, this is the moment to replace those boards with galvanized steel or composite lumber, both of which last decades and won’t leach anything into your soil. Composite lumber made from recycled wood and plastic is even approved for certified organic growing.
3. Clear Out All Debris and Spent Plant Matter

Image Credit: Shutterstock.
Infected plant skeletons left in the bed over winter are an open invitation. Fungal spores, pest eggs, and disease pathogens overwinter in debris and are ready to re-infect the moment conditions warm.
Remove all spent annuals and any perennials showing signs of disease. The rule is that if it is healthy, it can go to the compost bin; if it is diseased, bag it and put it at the curb. Seed heads from healthy plants can be left in place a little longer if you’re feeding birds, but everything else should be cleared before you touch the soil.
4. Test Your Soil Before You Fertilize Anything

Image Credit: Shutterstock.
This is the step almost everyone skips, and it costs them more money than a soil test ever would. Applying fertilizer to soil without knowing its pH and nutrient profile is guesswork, and guesswork often leads to over-application, pH imbalance, or supplementing nutrients that are already adequate. A basic home test kit or a university extension lab test (typically $15–$30) tells you exactly what your bed needs and what it doesn’t.
According to the New York Botanical Garden, you should also test soil workability before digging: grab a handful from about 6 inches down and squeeze. If it crumbles apart, the soil is ready to work. If it holds a sticky ball, wait a few more days because working wet soil crushes the pore structure that roots depend on for water and oxygen.
5. Refresh Your Soil, But Don’t Replace It All
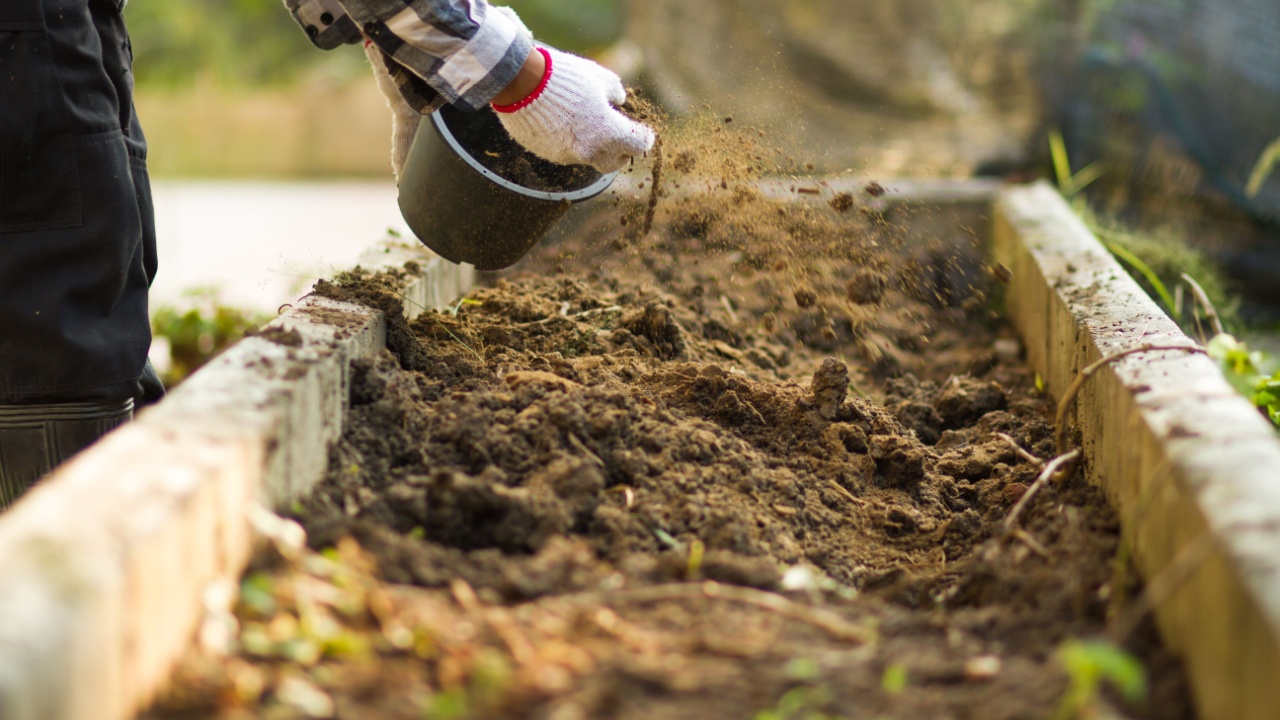
Image Credit: Shutterstock.
After a season of growing, the raised bed soil is depleted. Vegetables are heavy feeders, and they take more than they leave behind.
The good news is that you rarely need to start over. A 1–2 inch top-dressing of finished compost worked gently into the top few inches restores structure and nutrients for another full season. For beds that underperformed badly last year, the Philadelphia Horticultural Society recommends a fuller refresh using roughly 30% topsoil to 70% compost for the best structure.
When sourcing compost, skip the bags if you can: many gardeners find that a single bulk delivery from a local landscape supplier or municipality costs a fraction of the equivalent in bagged product.
6. Never Work Wet Soil
Image Credit: Shutterstock.
Here’s the mistake that quietly ruins more spring gardens than almost anything else. Digging or turning wet soil compacts it, collapsing the tiny air pockets that roots and soil organisms depend on. Sharon Yiesla, plant knowledge specialist at The Morton Arboretum, describes compacted soil as simply a place where plants cannot grow.
If you prepped your bed in April and your plants still seemed to struggle despite good watering and fertilizing, compaction from premature soil work may have been the culprit all along. The squeeze test from Task 4 is your guide. When in doubt, wait.
7. Aerate Without Tilling

Image Credit: Shutterstock.
Your beds don’t need to be tilled each spring; in fact, tilling actively disrupts the beneficial fungal networks and soil organism habitats that make raised bed soil so productive over time.
Instead, use a broadfork or digging fork to loosen the subsoil without turning it over. Push the tines in, rock the handle back gently to lift slightly, then move back 6 inches and repeat down the length of the bed. This simple pass opens air channels, improves drainage, and primes the soil for root penetration without undoing the structure you’ve built up over seasons.
8. Check or Set Up Irrigation Before Plants Are in the Way
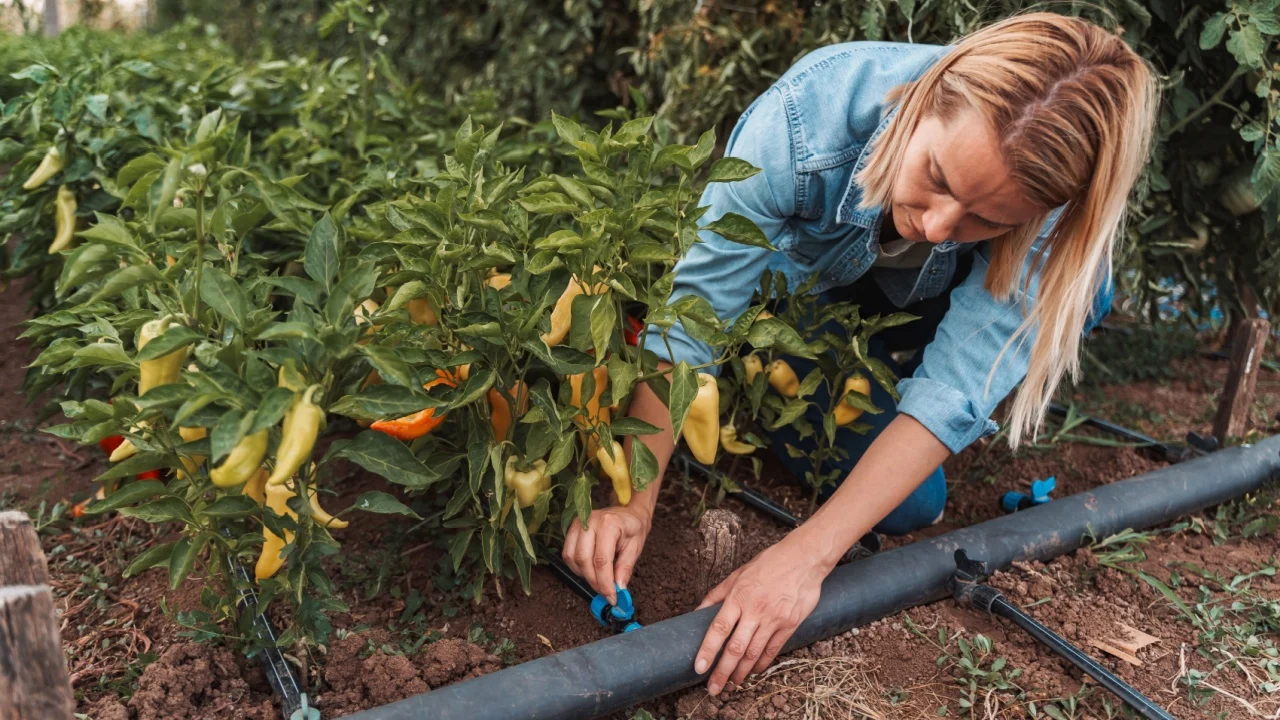
Image Credit: Shutterstock.
Irrigation problems are exponentially harder to fix once a bed is planted. Before anything goes in the ground, inspect your soaker hoses or drip lines for cracks, clogs, and misaligned emitters.
If you don’t have a system yet, March is the best time to install one. Soaker hoses are the preferred choice for raised beds: they deliver water at the root zone, reduce moisture on leaves (which invites disease and sunscald), and can be connected to a timer for hands-free watering. Installing that timer now, before the season chaos sets in, is one of the highest-return setup steps experienced growers consistently recommend.
9. Install Trellises and Vertical Supports Now
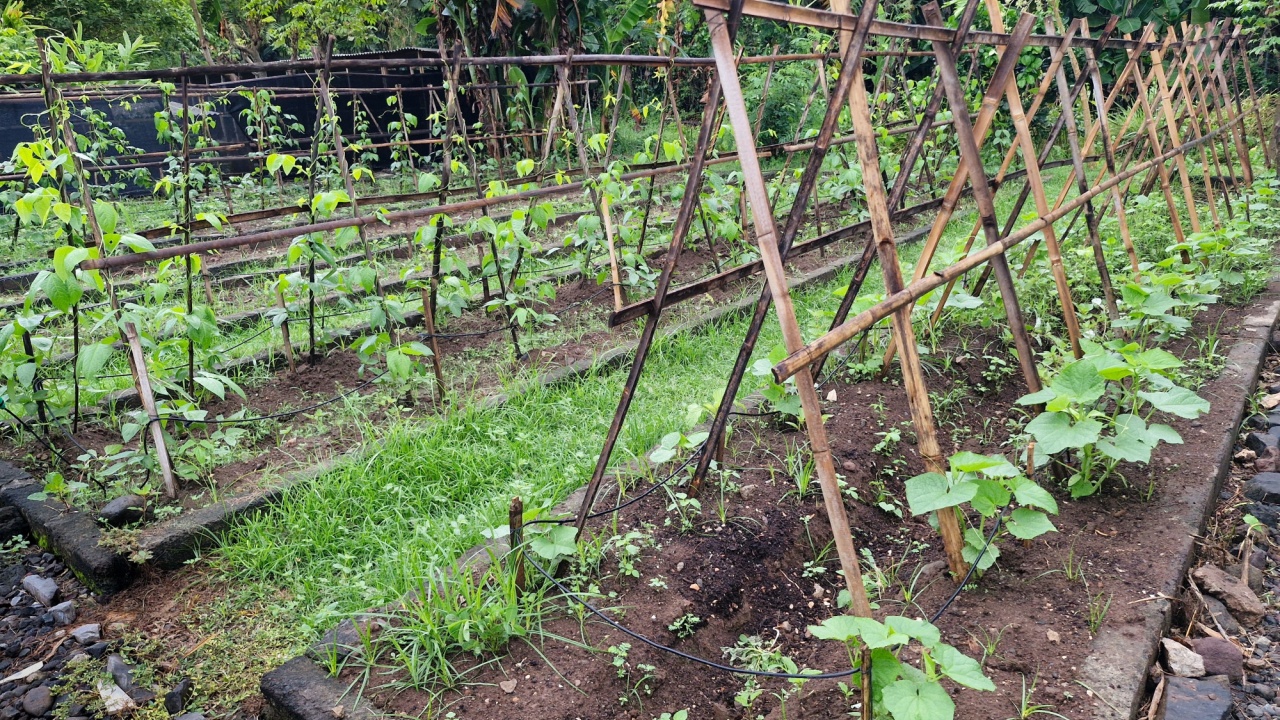
Image Credit: Shutterstock.
A trellis hammered in after tomatoes are established damages roots, disturbs the soil you’ve carefully prepared, and often ends up crooked because you’re working around plants. Install all vertical supports, cages, and trellis panels now, while the bed is empty.
Beyond just supporting vining crops like cucumbers, peas, and pole beans, those vertical structures do double duty: they serve as the framework for row covers and cold frames when late March nights drop unexpectedly. You get pest protection, frost protection, and plant support from the same installation.
10. Pin Down Hardware Cloth If Burrowing Pests Are a Problem

Image Credit: Shutterstock.
If you’ve ever lost root vegetables to voles or had a gopher excavate an entire carrot crop, you already know this one hurts.
Hardware cloth (a wire mesh with a quarter-inch grid) pinned under the bed before filling or planting is the only reliable solution. This is not a task you can do adequately once plants are established because it requires accessing the underside of the bed. If your current beds sit directly on soil with no barrier, mid-March is the window to address it before the growing season begins and the damage is done.
11. Level and Edge the Bed
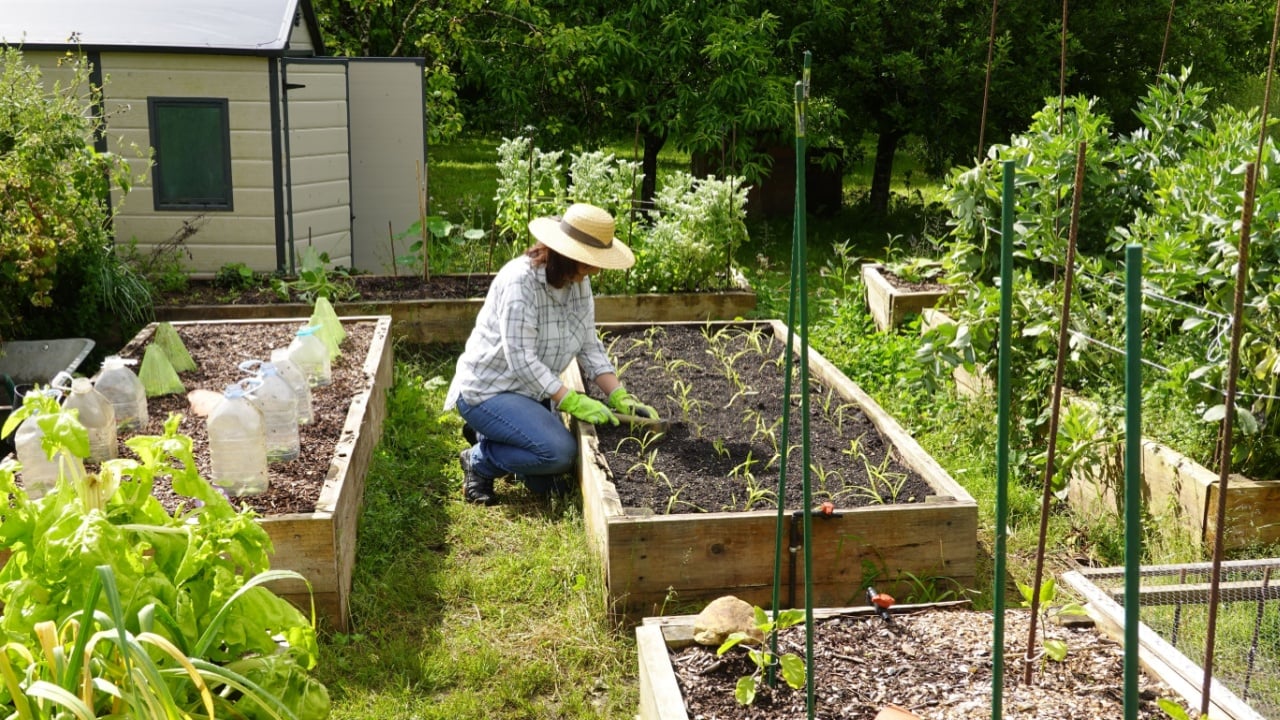
Image Credit: Shutterstock.
An unlevel raised bed creates a slow-motion drainage problem: water consistently collects in the low corner, suffocating roots, while the high corner dries out unevenly. Use a level across the frame before the season begins, and pack gravel or sand underneath to correct any tilt.
While you’re at it, edge along the outer base of the bed to cut off any grass or perennial weeds attempting to creep in underneath. This five-minute task in March prevents hours of pulling weeds from inside the bed all summer.
12. Finish With a Layer of Mulch
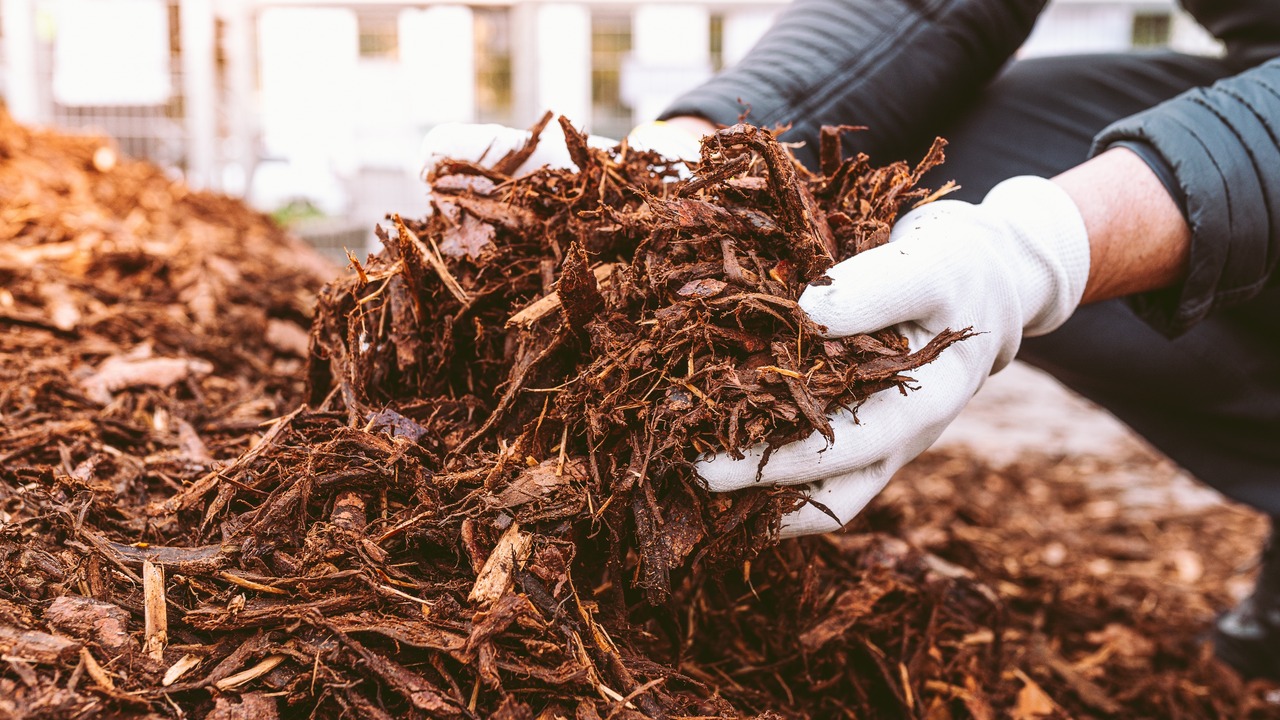
Image Credit: Shutterstock.
Mulch is the last step, and it’s the one most often skipped because plants aren’t in the ground yet, and it seems premature. Don’t skip it.
A 2–3 inch layer of straw, shredded leaves, or wood chips laid over prepped soil does four things at once: retains moisture so you water less, suppresses weed seeds that are already in the air, moderates soil temperature against late-March cold snaps, and breaks down over the season to add organic matter. Never leave bare prepped soil exposed to the elements; it dries out faster, erodes in rain, and gives weed seeds exactly the light exposure they need to germinate.
What to Do This Weekend

Image Credit: Shutterstock.
If the full list feels like a lot, start with tasks 1 through 4. A walk-through, a structural check, a debris clear, and a soil assessment take a single afternoon and address the highest-consequence problems first. From there, tackle soil refreshing and irrigation before the end of March.
Raised beds warmed by the March sun are ready to work with now, weeks before in-ground gardens are even approachable. Every prep task you complete this month translates directly into earlier planting, stronger starts, and a longer harvest window.
Read more
What Is A Raised Bed Garden? Tips & Ideas For Growing A Successful Raised Garden
Raised Garden Beds for Every Budget and Space