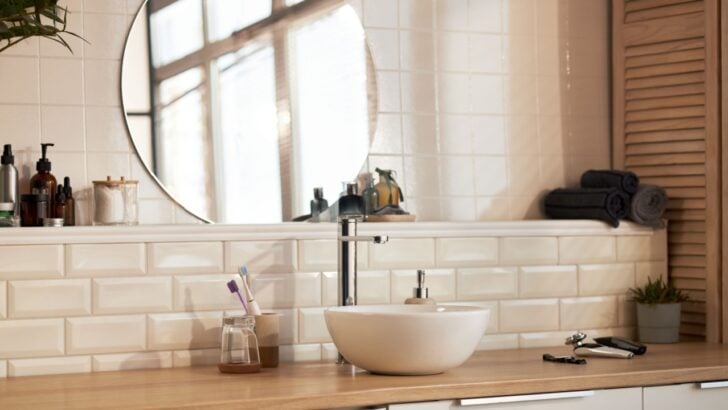
Keeping your home and garden beautiful is a labor of love. From tending your plants to decorating your living space, you invest time and effort into creating a sanctuary. But what about the bathroom?
This high-traffic area can quickly become a challenge to keep clean, and a grimy bathroom can detract from the peaceful, natural vibe you’ve cultivated throughout the rest of your home. Learning how to clean this space efficiently means less time scrubbing and more time enjoying the fruits of your labor, both indoors and out.
This guide provides 13 powerful cleaning tips to help you conquer bathroom messes with less effort. We’ll explore methods for tackling tough soap scum, stubborn stains, and hidden grime.
By incorporating these strategies from home and cleaning experts, you can make your bathroom sparkle and maintain a healthier, more pleasant environment for your family and guests.
1. Vacuum Before You Scrub
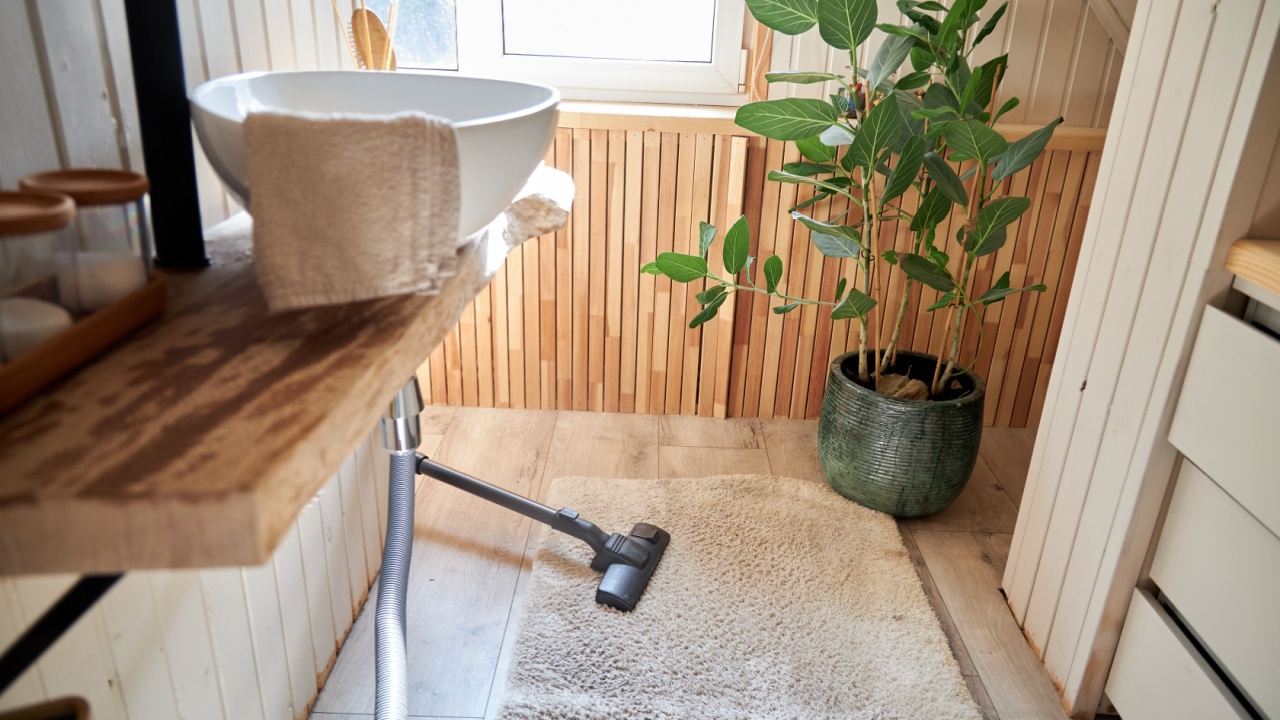
Image Credit: Shutterstock.
You wouldn’t start weeding a garden bed without clearing away the large debris first. Apply the same logic to your bathroom. Wet hair and dust bunnies transform into a frustrating, grimy paste when mixed with water and cleaners.
By vacuuming first, you remove this dry debris, making the rest of the cleaning process faster and more effective. Start from the top down. Use a soft brush attachment on your vacuum to capture dust from light fixtures, exhaust fan covers, and the tops of window frames. Work your way down the walls and over the vanity before thoroughly vacuuming the floor. Pay special attention to the base of the toilet and the corners where hair and dust love to gather. This simple first step prevents you from just pushing dirt around with a wet sponge.
Quick Guide:
- Why it works: Removes dry debris like hair and dust before it turns into wet grime.
- How to do it: Use a vacuum with a soft brush attachment. Start with high surfaces and work your way down to the floor.
- Next Steps: Once the vacuuming is done, you have a clean slate for wiping down surfaces and mopping the floor without creating a muddy mess.
2. Buff Away Heavy Soap Scum
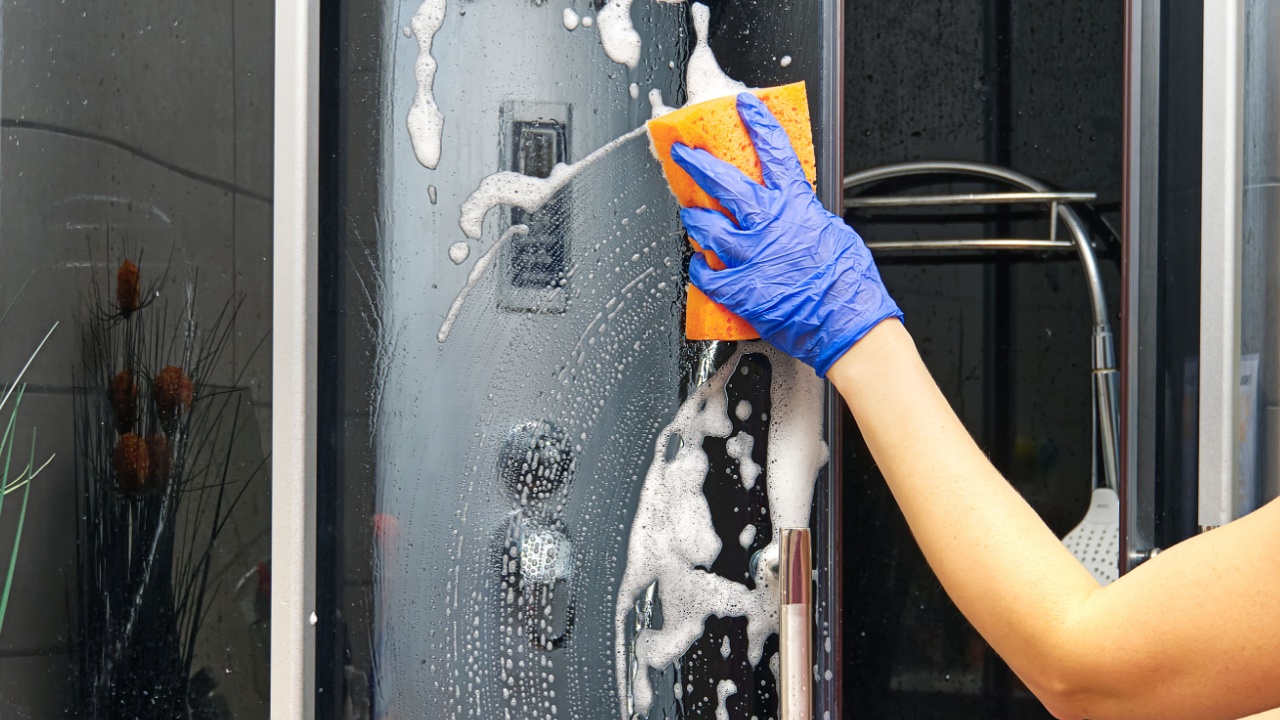
Image Credit: Shutterstock.
Glass shower doors can develop a thick, hazy layer of soap scum and mineral deposits that seems impossible to remove with standard sprays. When simple scrubbing doesn’t cut it, it’s time to bring in a more powerful tool: an automotive buffer. You can find polishing compounds at most home improvement or auto parts stores.
Apply a small amount to the pad of an auto buffer and work it across the glass in slow, overlapping circles. The gentle but consistent abrasive action will lift the stubborn buildup without scratching the glass. For best results and to minimize mess, remove the shower doors and take them to a garage or outdoor workspace.
Warning: For advanced cleaners and DIYers only, there is a risk of scratching glass without special care.
Quick Guide:
- Why it works: An auto buffer provides more power and consistency than manual scrubbing, effectively removing caked-on grime.
- How to do it: Apply auto polishing compound to a buffer pad and move it across the glass shower doors.
- Next Steps: After buffing, rinse the doors thoroughly and protect them from future buildup using a water-repellent treatment.
3. Protect Shower Doors from Future Buildup
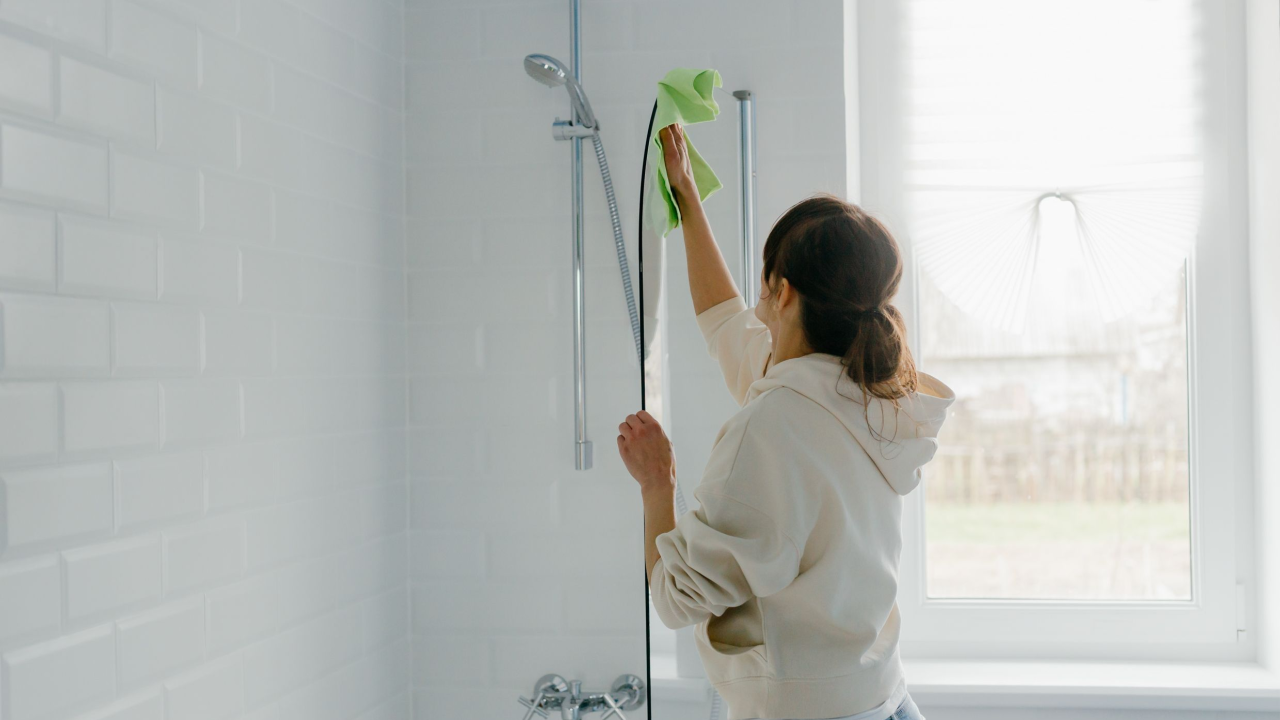
Image Credit: Shutterstock.
After you’ve worked hard to get your glass shower doors sparkling, the last thing you want is for water spots and soap scum to return immediately. You can prevent water from beading and leaving mineral deposits by applying an auto-glass treatment, like those used on car windshields. These treatments create a hydrophobic surface, causing water to sheet off the glass instead of forming droplets.
Simply apply the product according to the package directions. This proactive step drastically reduces the need for constant squeegeeing and scrubbing, keeping your shower doors clearer for much longer.
Quick Guide:
- Why it works: Creates an invisible barrier that repels water, preventing mineral stains and soap scum.
- How to do it: Apply a commercial auto-glass treatment to clean, dry shower doors.
- Next Steps: Reapply the treatment every few months or as needed to maintain its water-repellent properties.
4. Install a Detachable Toilet Seat
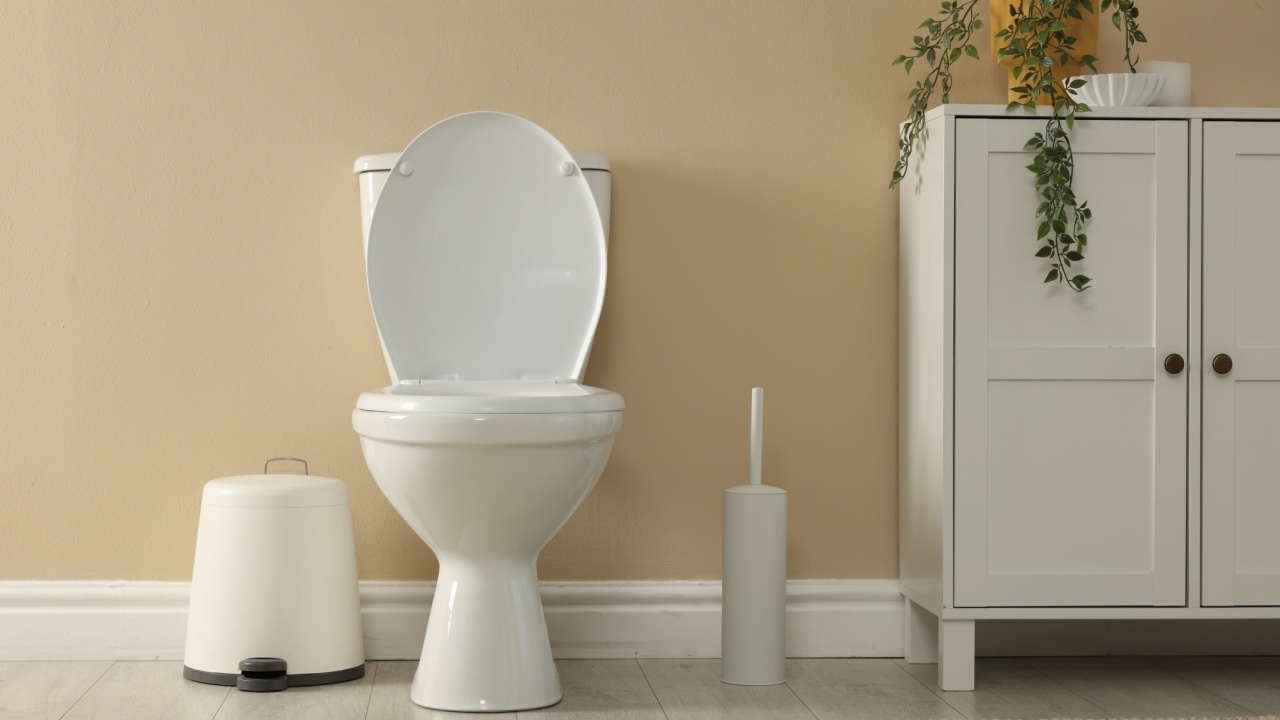
Image Credit: Shutterstock.
No matter how diligently you clean, the area around the toilet seat hinges is notoriously difficult to reach. It’s a prime spot for grime and bacteria to accumulate. The best solution is to eliminate the problem altogether by installing a detachable toilet seat.
Many modern toilet seats are designed with quick-release mechanisms that allow you to remove the entire seat in seconds without any tools. This gives you complete, easy access to clean the top of the bowl and the area under the hinges, ensuring a truly sanitary clean.
Quick Guide:
- Why it works: Allows for easy removal of the seat, exposing hard-to-reach areas for thorough cleaning.
- How to do it: Replace your current toilet seat with a model featuring a quick-release function.
- Next Steps: Make removing the seat part of your weekly bathroom cleaning routine to prevent any buildup.
5. Dissolve Rust Stains with a Safer Acid
Image Credit: Shutterstock.
If your home has water with high iron content, you’re likely familiar with the stubborn orange and brown rust stains that can appear in toilets and tubs. For these tough jobs, a product like Acid Magic can be incredibly effective. It offers the rust-dissolving power of muriatic acid but is much safer to handle.
While you should still wear gloves and eye protection, this product doesn’t produce the harsh fumes of traditional acids and is less likely to burn your skin. For general use, dilute it by mixing one part acid to three parts water. Apply the solution with a spray bottle or brush, let it sit for a few minutes to dissolve the stain, and then rinse thoroughly.
Quick Guide:
- Why it works: The acid specifically targets and dissolves iron oxide (rust) stains on porcelain surfaces.
- How to do it: Mix 1 part Acid Magic with 3 parts water, apply to the stain, wait, and rinse. Use full strength for very stubborn stains.
- Care Tip: Avoid getting the acid on metal fixtures like drains or faucets, as it can cause discoloration.
6. Erase Grime with a Melamine Sponge
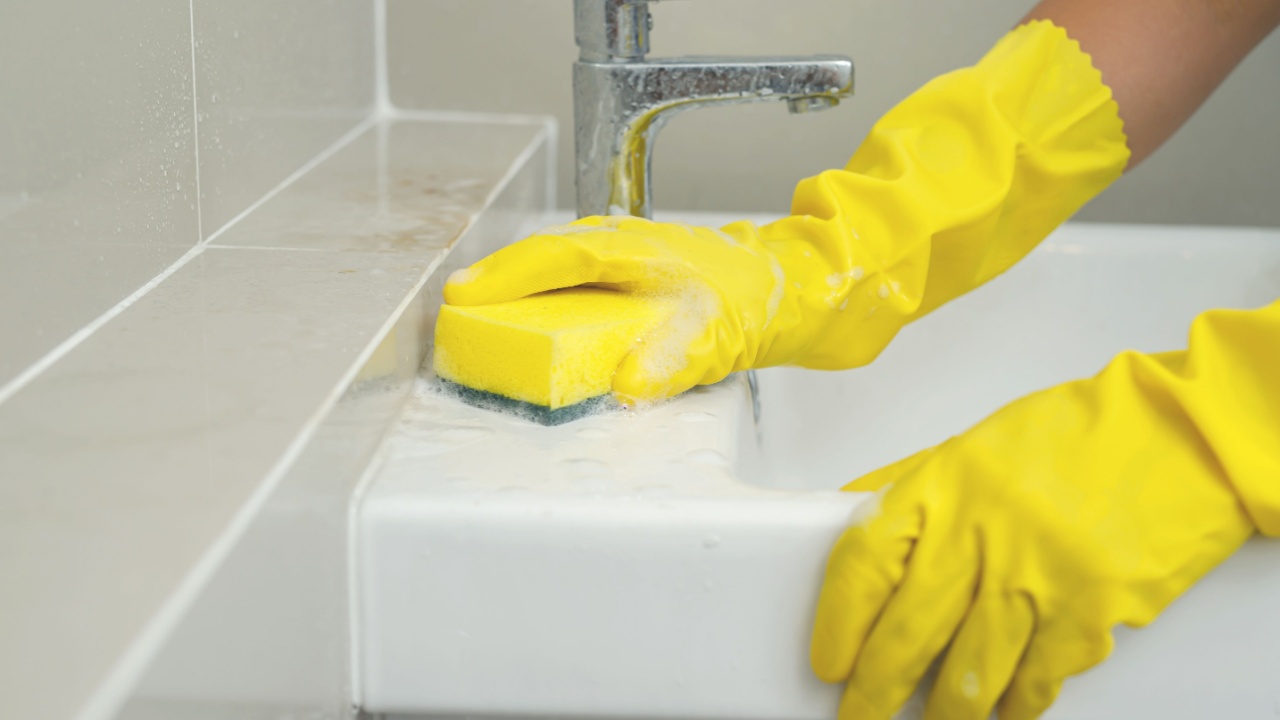
Image Credit: Shutterstock.
For a variety of tough bathroom messes—from dried toothpaste on the counter to scuff marks on the floor—a melamine foam sponge (like a Magic Eraser) is an invaluable tool. These sponges act like super-fine sandpaper, physically scrubbing away grime without the need for harsh chemicals.
Simply dampen the sponge and gently rub it on the surface. You’ll be amazed at how easily it lifts ground-in dirt from tile grout, soap scum from nonslip tub strips, and buildup from fiberglass showers. Keep in mind that these sponges wear down as you use them, so it’s a good idea to have a few on hand.
Quick Guide:
- Why it works: The micro-abrasive structure physically lifts and traps dirt from surfaces.
- How to do it: Dampen the sponge and rub it on the affected area.
- Next Steps: Melamine sponges are versatile. Try them on wall scuffs, baseboards, and even discolored plastic fixtures.
7. Clean Grout with a Bleach Pen
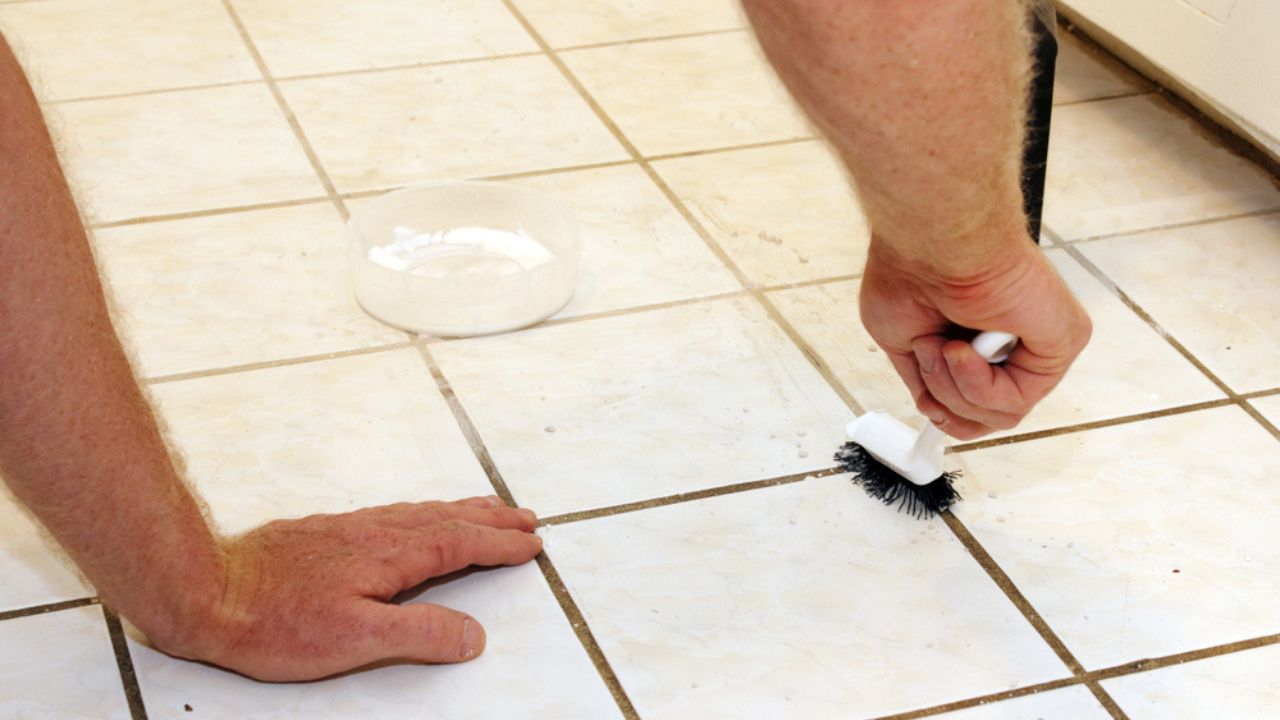
Image Credit: Depositphotos.com.
Dirty grout can make an otherwise clean tiled wall look dingy. A bleach pen is an excellent tool for targeting stained grout lines without getting bleach all over your tiles. The gel formula clings to the grout, giving the bleach time to work its magic.
Carefully apply the bleach gel directly onto the grout lines. Let it sit for about 10 minutes before rinsing it off with water. For heavily mildewed areas, you can gently scrub the gel into the grout with an old toothbrush before letting it sit. Always ensure the bathroom is well-ventilated by running the fan or opening a window.
Quick Guide:
- Why it works: The pen’s precision tip allows for targeted application, and the gel formula helps the bleach penetrate stains.
- How to do it: “Draw” over the grout lines with the pen, wait 10 minutes, then rinse.
- Care Tip: This method is best for white or light-colored grout. Test on a small, hidden area first if you have colored grout, as it may cause fading.
8. Make Your Own Greener Cleaning Solution

Image Credit: Shutterstock.
Many effective cleaning solutions can be made from simple, inexpensive ingredients you may already have. You can use castile soap on its own (mixed with the amount of water recommended for the surface) or combine it with the power of borax. To remove film on glass and countertops, rinse with vinegar.
Note: Just don’t mix castile soap and vinegar together, because the acidity of the vinegar reduces the power of the soap.
Quick Guide:
- Why it works: Vinegar cuts through grease and acts as a disinfectant, while borax is a natural cleaning booster and deodorizer.
- How to do it: Mix borax, soap, and hot water. Add essential oils for fragrance. Rinse with vinegar.
9. Clear Your Exhaust Fan with Canned Air

Image Credit: Shutterstock.
Your bathroom’s exhaust fan is essential for controlling moisture and preventing mold growth, but it can’t do its job if it’s clogged with dust. A quick and surprisingly effective way to clean the grille is with a can of compressed air. First, turn on the exhaust fan. Then, aim the nozzle of the canned air at the grille and spray in short bursts. The force of the air will dislodge the dust, and the running fan will immediately pull it outside. This is much faster and less messy than trying to vacuum the grille in place.
Quick Guide:
- Why it works: The powerful blast of air loosens packed-in dust, which is then immediately vented out by the fan.
- How to do it: Turn the fan on and spray the grille with canned air.
- Care Tip: This method also works wonders on the return air grilles of your central HVAC system.
10. Bleach Away Stubborn Countertop Stains
Image Credit: Shutterstock.
For stubborn stains on non-porous surfaces like cultured marble or plastic laminate countertops, a targeted bleach application can work wonders. This is especially useful for things like hair dye or makeup stains that won’t budge with regular cleaners.
Soak a paper towel in bleach, lay it directly over the stain, and cover it with a plastic cup or bowl to contain the fumes and keep the towel from drying out. Leave it overnight. By morning, the stain should be significantly faded or gone completely. If some of the stain remains, repeat the process.
Quick Guide:
- Why it works: The prolonged contact with bleach breaks down the pigments in the stain.
- How to do it: Place a bleach-soaked paper towel on the stain and cover it overnight.
- Warning: Do not use this method on natural stone like quartz or granite, as bleach can damage the surface. Always test in an inconspicuous area first.
11. Refresh Your Drains with Baking Soda and Vinegar
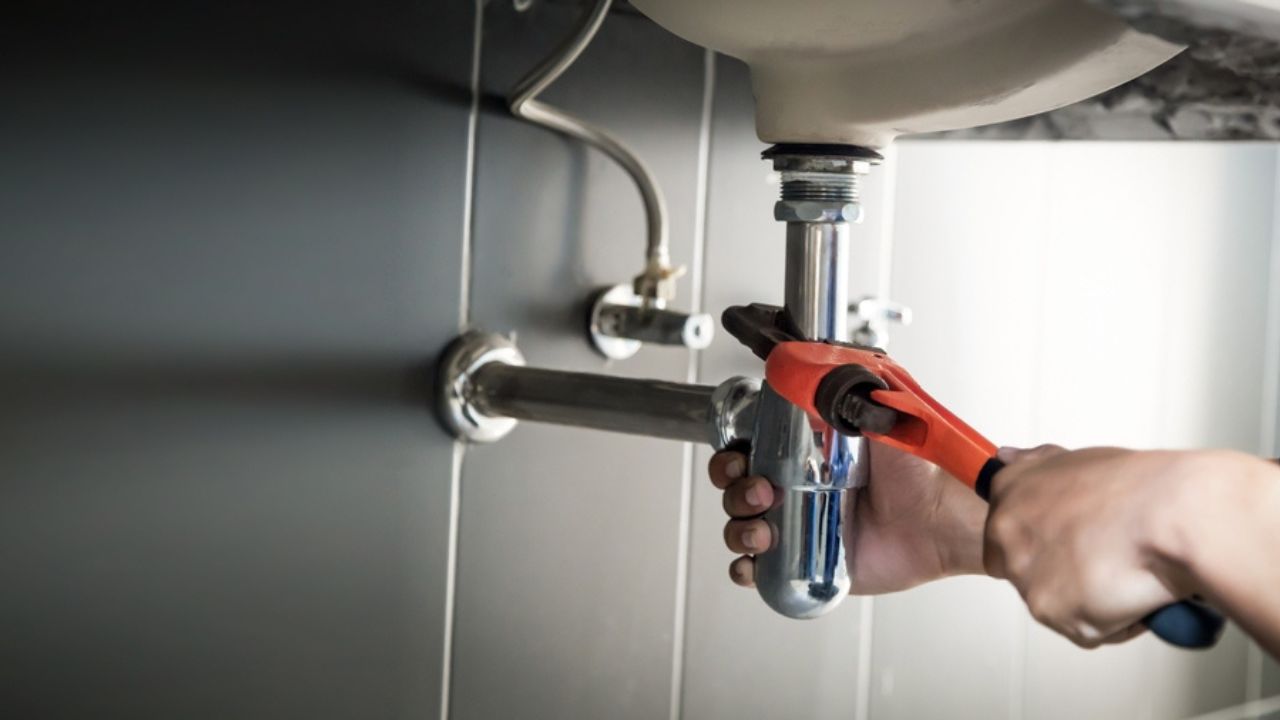
Image Credit: Shutterstock.
A slow-draining or smelly sink can be a sign of buildup in your pipes. Before reaching for a harsh chemical drain opener, try a classic, eco-friendly combination: baking soda and vinegar. This duo is excellent for clearing minor clogs caused by soap scum and hair.
Pour about a half-cup of baking soda down the drain, followed by a half-cup of white vinegar. The mixture will fizz and bubble, working to break down the gunk inside the pipes. Let it sit for about 30 minutes, then flush the drain with a pot of very hot water.
Quick Guide:
- Why it works: The chemical reaction creates a foaming action that scrubs the inside of pipes, while the vinegar helps dissolve buildup. It won’t work for massive blocks, but it is a simple way to loosen small buildups.
- How to do it: Pour baking soda, then vinegar, down the drain. Wait 30 minutes and flush with hot water.
- Next Steps: Do this monthly on metal pipes as a preventative measure to keep drains fresh and flowing freely. (Use caution on older or plastic pipes.)
12. Steam Clean Your Shower and Tile
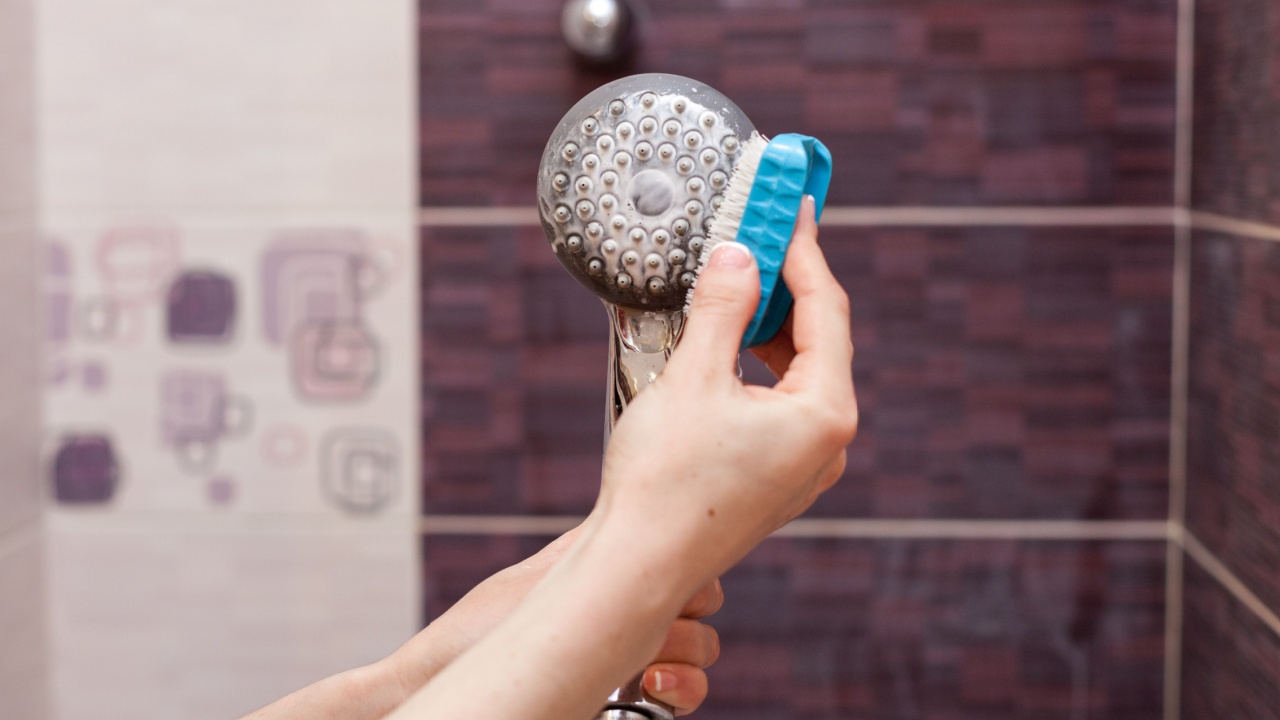
Image Credit: Shutterstock.
For a deep clean of the shower without any chemicals, a handheld steam cleaner is an amazing tool. Steam is powerful enough to kill 99.9% of germs and bacteria, and it effortlessly melts away soap scum, hard water deposits, and mildew from grout, tile, and glass. Fill the steamer with water, allow it to heat up, and use the appropriate attachment (like a grout brush or squeegee tool) to direct the steam onto the surface. The high-pressure steam dislodges grime, which you can then simply wipe away with a microfiber cloth. It’s particularly effective for getting into tight corners and around fixtures.
Quick Guide:
- Why it works: High-temperature steam sanitizes and dissolves grime without the need for scrubbing or chemicals.
- How to do it: Use a handheld steam cleaner with a nozzle or brush attachment to blast away dirt from grout, corners, and fixtures.
- Care Tip: Be careful when using steam around caulk, as high heat can sometimes soften it.
13. Consider a Wall-Mounted Toilet
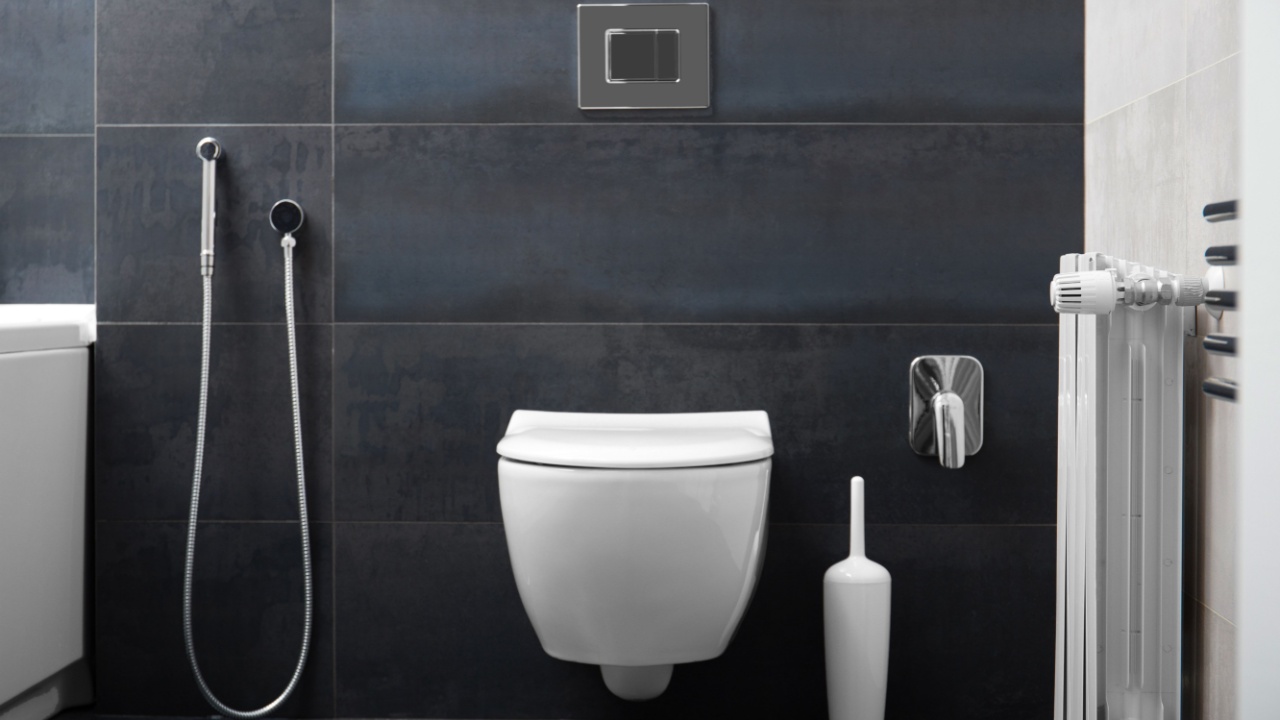
Image Credit: Shutterstock.
For the ultimate in easy cleaning, a wall-mounted toilet is unmatched. Because the tank is hidden in the wall and the bowl floats above the floor, there are no nooks and crannies at its base to trap dust, hair, and other grime. Cleaning underneath is as simple as running a mop or cloth right under it—no more awkward bending and scrubbing around toilet bolts. While this is a more significant investment typically done during a remodel, it’s a design choice that pays long-term dividends in cleanliness and a sleek, modern aesthetic.
Quick Guide:
- Why it works: Elevating the toilet off the floor eliminates the hard-to-clean base and creates a seamless floor surface.
- How to do it: This is a major installation that requires professional plumbing and framing work.
- Next Steps: If you’re planning a bathroom renovation, discuss the possibility of a wall-mounted toilet with your contractor.
Mindful Steps to a Cleaner Home

Image Credit: Shutterstock.
A sparkling clean bathroom contributes to the overall sense of peace and order in your home. By using these tips, you can work smarter, not harder, to maintain this essential space. Now that you have these new strategies, your next step is to create a simple weekly routine. Choose a few of these tips to incorporate each week to stay on top of the grime.
Spending less time on chores gives you more time to enjoy what you love—whether that’s planning your spring garden, arranging fresh-cut flowers on your pristine vanity, or simply relaxing in a beautifully maintained home.
Read more
15 Design Flaws That Are Making Your Bathroom Impossible to Keep Clean
Say Goodbye to Grime with 10 Genius Cleaning Hacks for Your Bathroom