If your bathroom is starting to resemble a “before” photo, it’s a clear sign that it’s time for a deep clean. For most people, though, the thought of scrubbing every corner often feels like signing up to endure harsh chemicals. You may even be considering a hazmat suit for this spring’s bathroom deep cleaning. It’s not an irrational fear; the American Lung Association notes that harsh chemicals in cleaning supplies can cause chronic respiratory problems.
If a plan to spring clean your shower has you grabbing gloves and bracing for a chemical blast,@Kacie_thedeepcleanco‘s shares a video that proves you can achieve a sparkling clean without relying on industrial-strength fumes.
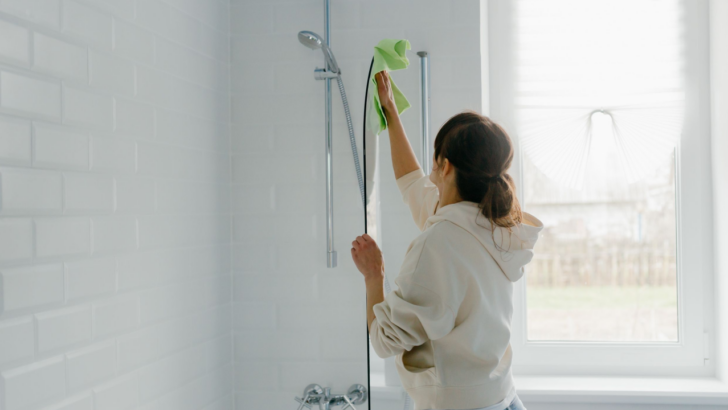
Here’s how to make your shower sparkle, the non-toxic way.
1. Start With a Reliable Multi-Purpose Cleaner
If your cleaning cabinet still includes mystery bottles with warning labels longer than the ingredient list, it might be time for a swap. She recommends a nontoxic, all-purpose cleaner such as For All or Dr. Bronner’s Castile Soap. You need something plant-based, biodegradable, and safe for skin contact, which is more than enough for most shower surfaces.
Spray it liberally on walls, floors, grout lines, fixtures, and shower doors, and wait a few minutes. Giving it time to work helps lift grime and soap scum so you won’t have to get abs scrubbing your tiles. You can then safely clean in a closed space without needing a fan running full-blast or holding your breath with every spray.
2. Use a Shower Brush to Tackle the Grout and Tile
A strong brush with medium bristles and a comfortable grip will give you the reach and scrubbing power you need without damaging your surfaces.
Work in small sections, focusing especially on grout lines and textured tile where buildup tends to hide. Circular motions help lift dirt more efficiently than back-and-forth scrubbing. And because you already let the cleaner do its job, the brush won’t have to do all the heavy lifting.
3. Grab A Non-Scratch Scourer for Stubborn Spots
Every shower has those zones that resist regular cleaning—around the drain, along the edges, and in the corners where shampoo drips settle and dry. A non-scratch scourer is great for these areas. It offers more grit than a sponge, but it’s still safe for tile, chrome, and porcelain.
Dampen the scourer, add a small amount of cleaner, and go after the trouble spots. It won’t take much pressure to cut through the grime once the cleaner has loosened things up.
4. Use a Magic Eraser for a Polished Finish
Once everything looks clean, a magic eraser is perfect for taking it one step further. It’s especially effective on water spots, glass doors, and those faint streaks that regular scrubbing can miss.
Wet the eraser, squeeze out the excess water, and gently wipe across the surfaces you want to brighten. It’s an easy final pass that can make chrome gleam and glass shine without any extra product.
5. Rinse and Dry to Lock in the Clean
Finish off by rinsing all surfaces with warm water, then drying everything with a microfiber cloth or soft towel. This keeps water spots from forming and gives you a streak-free finish.
Rinsing clears away any remaining residue from both the cleaner and the gunk it loosened while drying helps prevent mildew from creeping back in too soon.
Deep cleaning your shower doesn’t have to feel like you’re preparing for a chemical spill. With a solid, non-toxic routine, you can get the same satisfying sparkle—without the harsh smells, skin irritation, or environmental toll.
