Count yourself lucky if you have never stood staring at a hole in your wall. Many homeowners avoid repairing these damages for fear of further damaging the surface. Their fear is justified, yet hiring a professional to fix minor wall damage can be expensive.
Did you know you can actually achieve a flawless surface on your own with just a few basic tools and materials? Learning the right techniques saves money while boosting your confidence in basic home repairs. The process involves more patience than actual physical skill.
Proper preparation dictates how well the final surface blends with the rest of the room. Rushing through the spackling process usually leads to visible bumps and messy textures. Taking time to understand the materials creates a totally invisible fix.
Here are practical steps for fixing damaged walls without needing prior construction experience.
1. Select the Proper Joint Compound
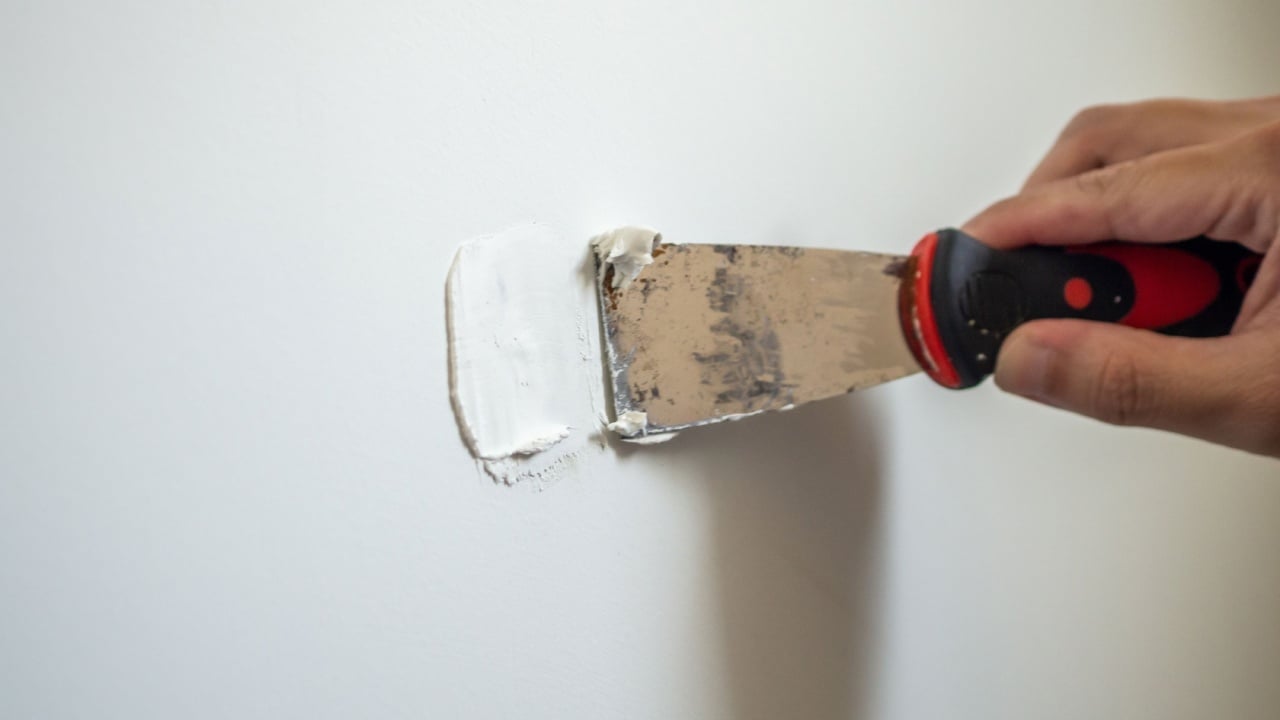
Image Credit: Shutterstock.
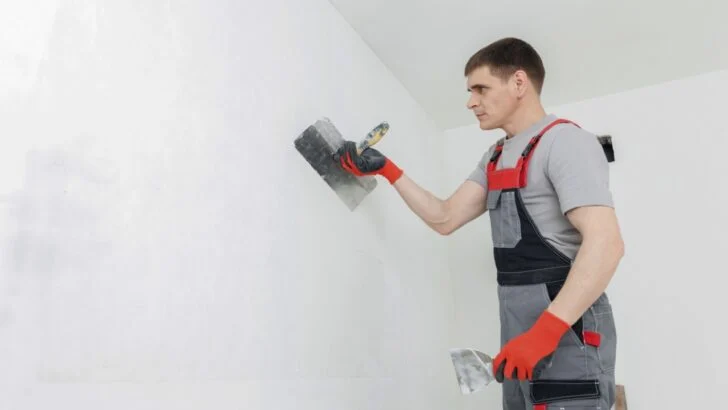
Fixing minor dents under half an inch wide requires a thin layer of standard joint compound. You apply this material smoothly over the damaged area using a flexible putty knife.
The compound fills the empty space completely, so the surface matches the surrounding wall. Buying the correct type of spackle prevents cracks from forming after the wall dries.
Lightweight compounds work well for tiny scratches because they dry very quickly and sand easily. Homeowners dealing with bigger gaps should choose setting-type compounds for better structural support.
2. Reinforce Any Large Holes
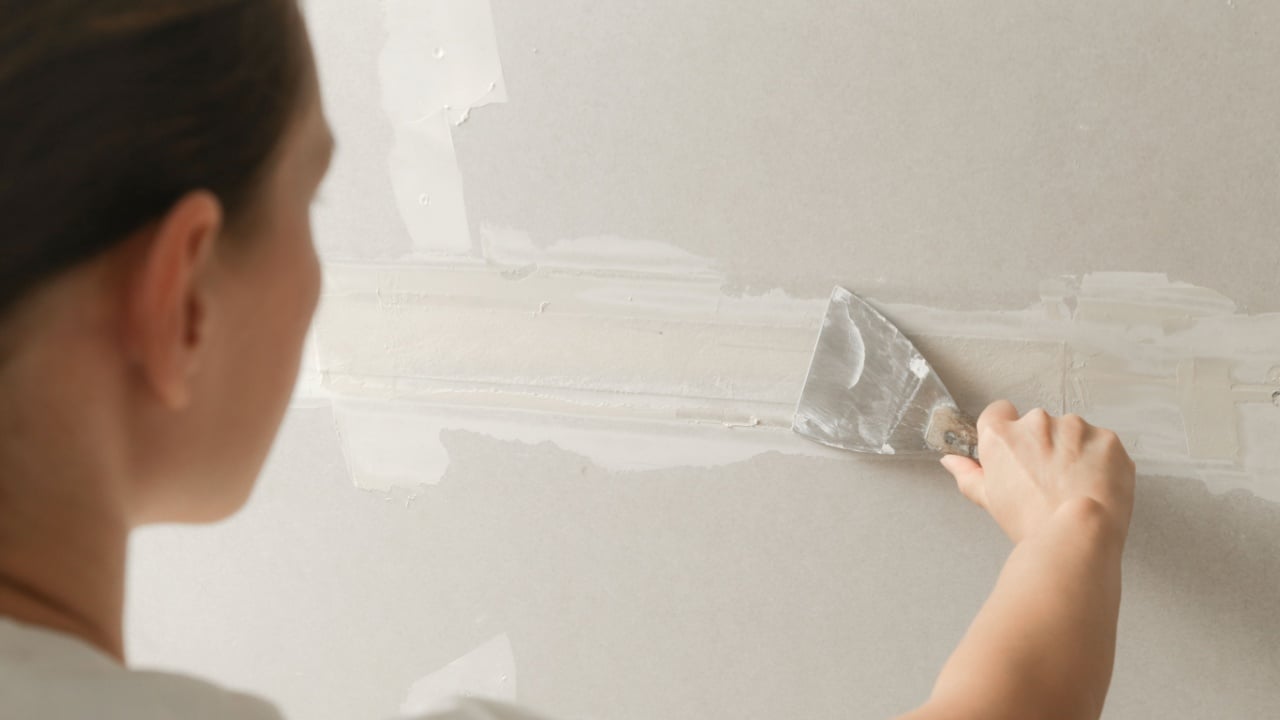
Image Credit: Shutterstock.
Smearing paste directly into a wide gouge guarantees the repair will fail completely. Wide gaps need a layer of reinforcing mesh before any paste touches the wall.
You stick this mesh directly over the opening so the paste has a solid surface to grab onto. A strong backing stops the dried paste from caving inward when someone touches the wall.
Large gaps require patches with aluminum panels for maximum strength and durability. Taking the time to add a strong base guarantees the damage stays hidden forever.
3. Utilize Premade Patch Kits
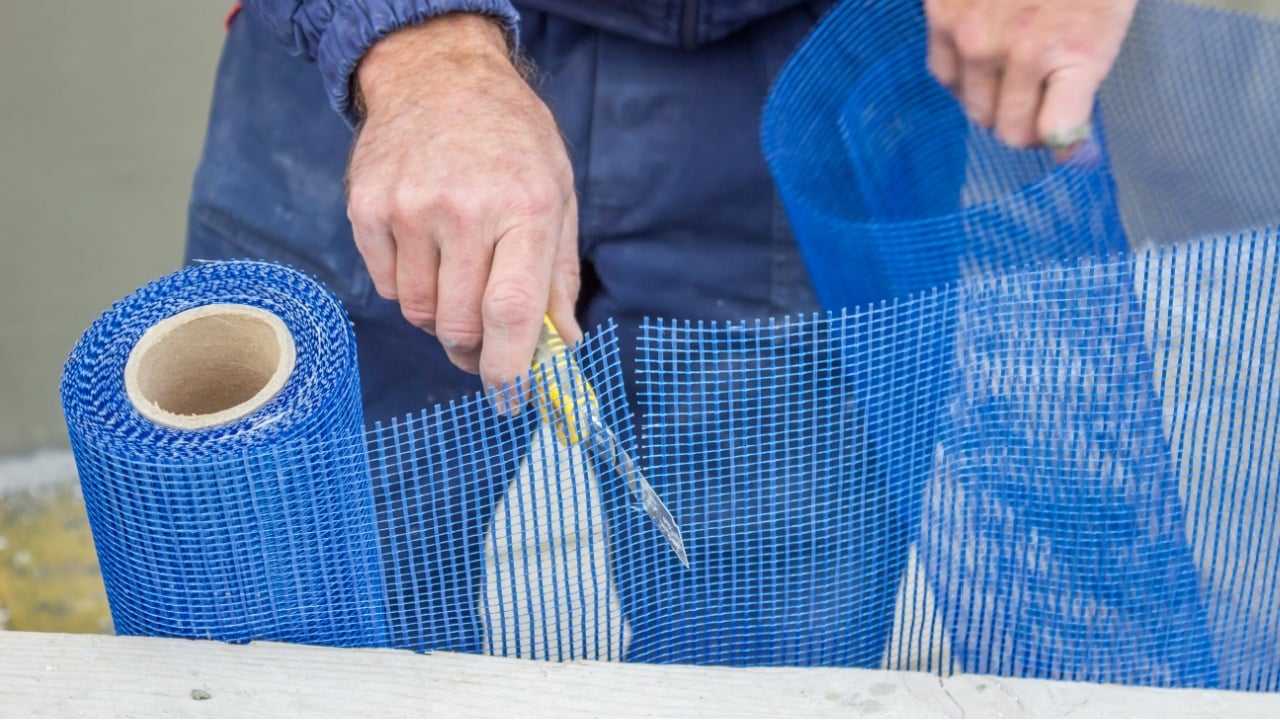
Image Credit: Shutterstock.
Premade kits make repairing walls incredibly simple for beginners who lack specialized tools. These packages usually include self-adhesive tape, reinforcing panels, and a small tub of spackle.
You peel the backing off the patch and stick it straight over the damage. These all-in-one products eliminate the guesswork of buying separate materials at the hardware store.
Certain kits even feature a mixture of paste and primer to speed up the painting process. Beginners find these ready-to-use options very helpful for getting immediate results without confusion.
4. Trim Away Frayed Edges
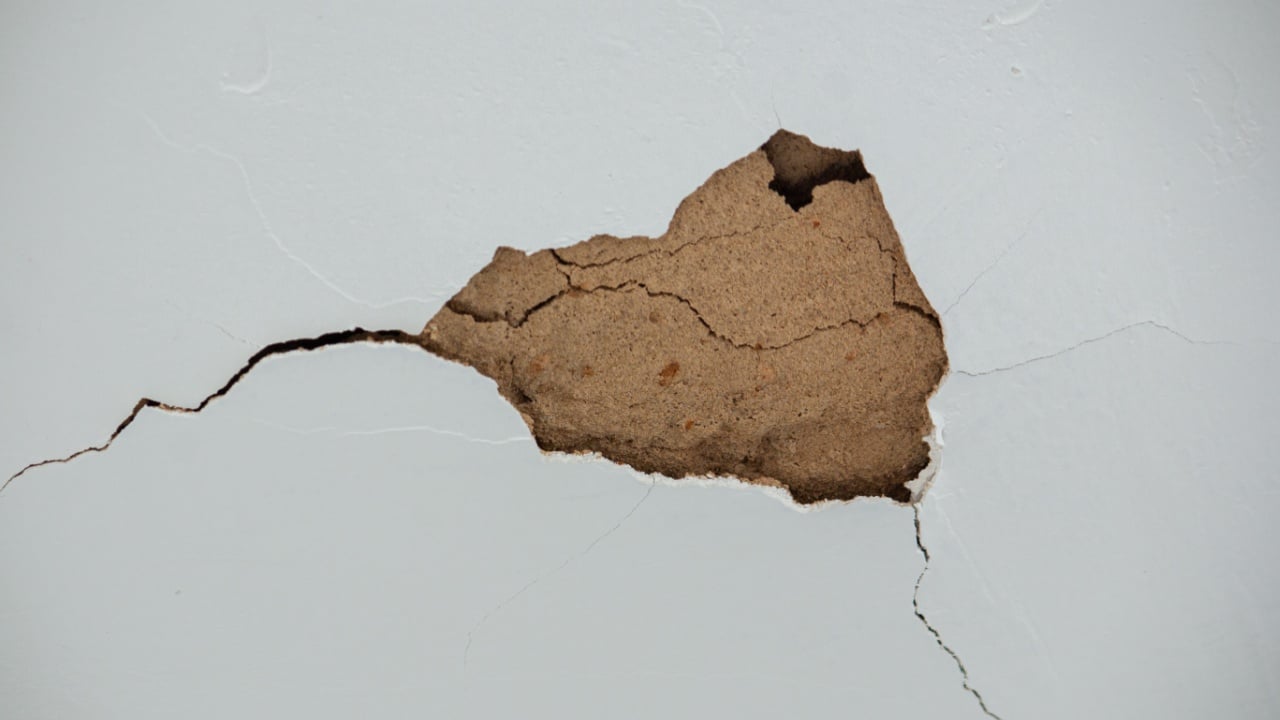
Image Credit: Shutterstock.
Torn wallboard paper around the damage creates ugly bumps under the new layer of spackle. You should cut away all loose paper and ragged pieces using a sharp utility knife.
Scraping the perimeter flat guarantees the new paste sits perfectly flush with the wall. Removing damaged material prevents the paper edges from swelling when they absorb moisture from the paste.
A clean perimeter gives the compound a solid edge to grip during the drying phase. This quick preparation step creates a beautifully smooth finish that looks incredibly professional.
5. Inspect for Hidden Hazards
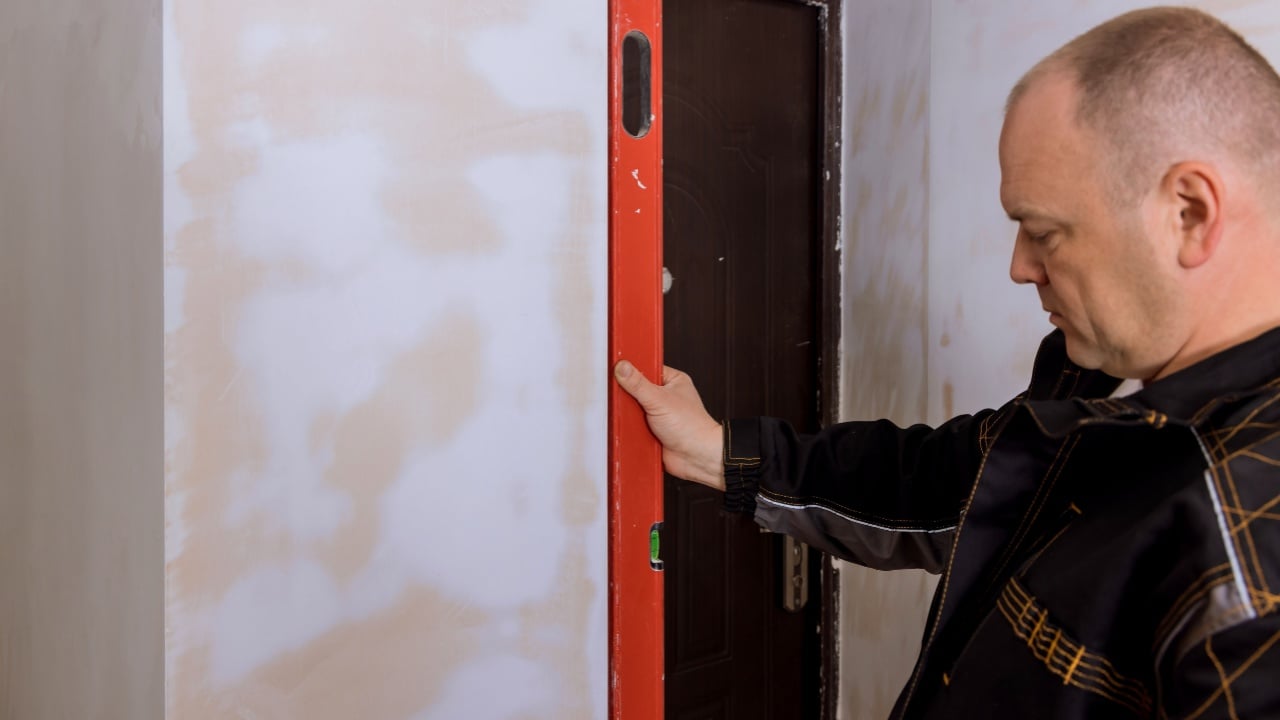
Image Credit: Shutterstock.
Cutting blindly into a wall puts you at risk of hitting electrical wires or plumbing pipes. Always inspect the opening and surrounding area with a stud finder, wall scanner, or bright flashlight before you begin sawing.
You must cut very shallowly with a proper saw to avoid piercing anything important. Accidentally slicing a wire creates a severe safety risk and a massive repair bill.
Checking the hollow space behind the drywall helps protect you from severe electric shock. Taking a few extra seconds to look inside keeps your home improvement project completely safe.
6. Apply the Compound Lightly
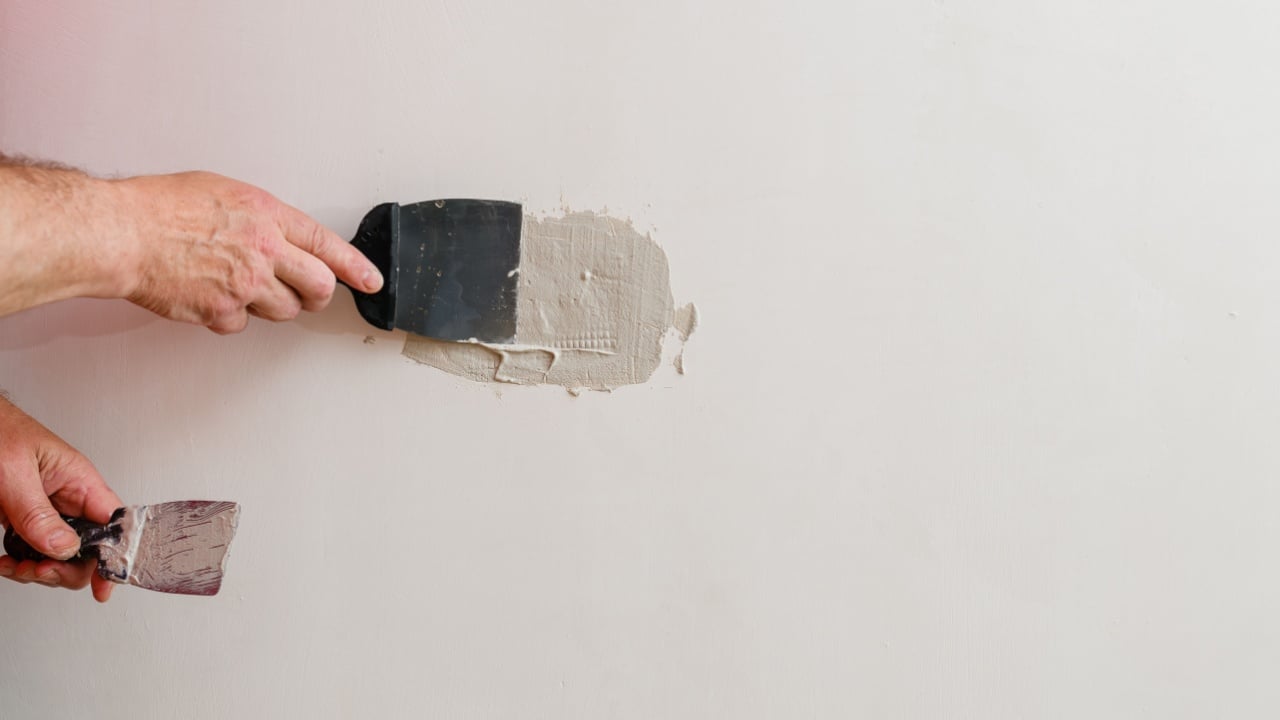
Image Credit: Shutterstock.
Spreading massive globs of paste onto the wall makes sanding later incredibly difficult. You should spread thin layers over the mesh using smooth strokes with your putty knife.
Scraping the surface flat removes excess material so the bump stays barely noticeable. Thin coats dry much harder and look significantly better than one massive lump of paste.
Adding a second thin layer covers any remaining imperfections after the first coat dries completely. Building the surface gradually gives you total control over the final texture and appearance.
Enjoy Your Perfectly Restored Walls
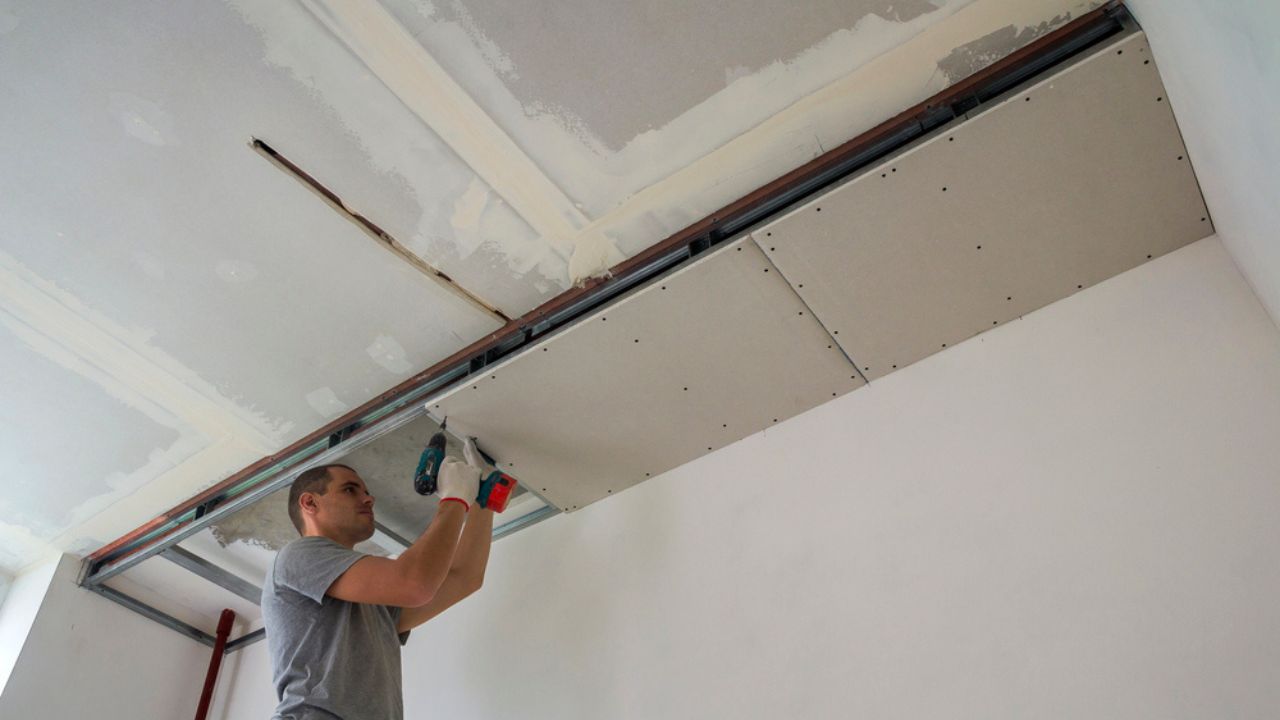
Image Credit: Deposit Photos.
Repairing walls by yourself saves a substantial amount of money and builds valuable home maintenance skills. Gathering the correct tools and applying the paste carefully results in an invisible patch.
You can completely transform a battered room into a pristine living space with basic effort. Painting over the sanded patch blends the repair seamlessly into the surrounding color. Keep a small bucket of compound in your garage to prepare you for future wall accidents.
Read More:
If You Have Any of These 10 Trees in Your Yard, Your Foundation May Already Be in Danger