A home is your personal patch of the planet; owning one is not a small achievement. It’s also a giant, needy baby that occasionally screams for attention in the form of a flooded basement or a fire-breathing dryer.
Most homeowners have that mental checklist of chores: clean the gutters, mow the lawn, pretend to understand what the circuit breaker does. Some tasks quietly fly under the radar while you’re shaking the bushes and becoming a good citizen.
These are the important little things that, if forgotten, can lead to big, expensive, hair-pulling headaches. I learned this the hard way after a torrential downpour turned my beautiful window well into an impromptu, and very muddy, aquarium. The result was a cracked basement window and a very damp lesson in preventative maintenance.
To save you from a similar fate, I’ve compiled a list of crucial tasks that are easy to overlook.
1. Clean Your Refrigerator Coils

Image Credit: Shutterstock.
Your refrigerator is one of the hardest-working appliances in your home, and its condenser coils are its lungs. Located either on the back or underneath, these coils are magnets for dust, pet hair, and mystery fuzz. When they get clogged, the fridge can’t release heat efficiently. This forces the compressor to work harder, which uses more energy and shortens the appliance’s lifespan, leading to a premature and costly replacement.
Cleaning them is surprisingly simple. Pull the fridge away from the wall (a great opportunity to discover what’s been hiding back there), unplug it, and use a coil-cleaning brush and a vacuum to clear away the debris. You’ll be shocked at what you find. Doing this once or twice a year helps your fridge run better and could save you from an untimely appliance meltdown.
Quick Guide:
- Frequency: Annually or semi-annually.
- Why: Improves energy efficiency and extends the life of your refrigerator.
- Tools: Vacuum with a brush attachment, coil-cleaning brush.
2. Test Your Sump Pump
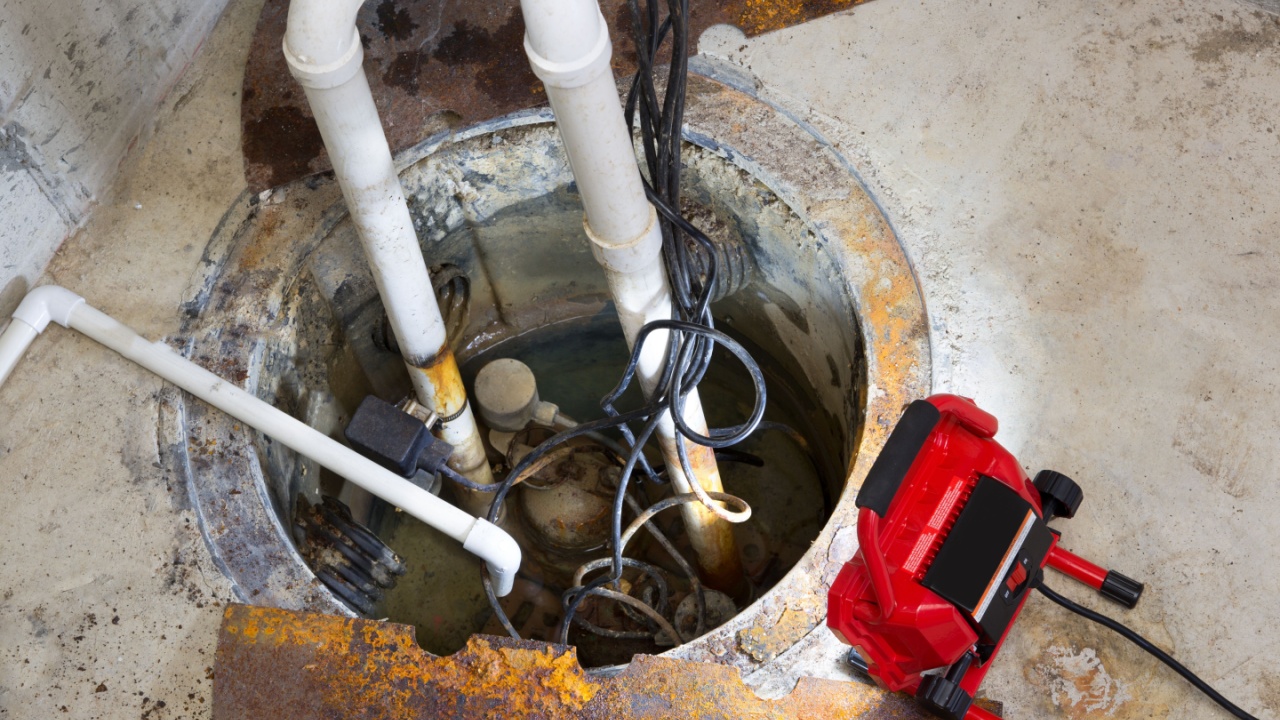
Image Credit: Shutterstock.
Tucked away in a corner of your basement, the sump pump is a quiet sentinel. It stands guard against rising groundwater and heavy rains, ready to spring into action when water levels threaten your home. Yet, because it’s out of sight, it’s often out of mind, often until it’s too late.
To avoid the headache of a flooded basement, make a habit of testing your sump pump a few times a year, especially before the rainy season rolls in. Pour a bucket of water into the sump pit. The pump should activate, drain the water efficiently, and then shut off. If it hesitates, fails to start, or doesn’t shut off properly, that’s your cue to investigate and fix the issue before the next storm arrives.
Quick Guide:
- Frequency: A few times per year.
- Why: Prevents a flooded basement and catastrophic water damage.
- How: Pour a bucket of water into the sump pit to ensure the pump activates.
3. Clear Out Window Weep Holes

Image Credit: Shutterstock.
Many modern windows have tiny slots on the bottom of the exterior frame called weep holes. Their job is to drain rainwater that collects in the window track, preventing it from spilling into your house. These little channels are easily clogged by dirt, debris, and insects. When blocked, water has nowhere to go but inside, potentially damaging your walls, sills, and floors.
Check your weep holes by pouring a small amount of water into the interior track. You should see it drain out through the exterior hole. If it doesn’t, a piece of wire or a blast of compressed air can usually clear the blockage. It’s a five-minute task that can prevent some serious water-related woes.
Quick Guide:
- Frequency: Annually.
- Why: Prevents rainwater from seeping into your home and causing water damage.
- Tools: A thin wire, a can of compressed air.
4. Deep Clean Your Dryer Vent

Image Credit: Shutterstock.
You clean the lint trap after every load, right? Good. But what about the vent hose that runs from the back of your dryer to the outside? Lint can build up in that duct, creating a serious fire hazard and making your dryer work inefficiently. If your clothes are taking longer to dry or the dryer feels hotter than usual, a clogged vent is a likely suspect.
At least once a year, disconnect the duct from the dryer and clean it out thoroughly. A vacuum can remove a lot of the lint, but for longer ducts, a special dryer vent cleaning kit with a brush on a flexible rod is a great investment. While you’re at it, check the exterior vent cap to make sure the flapper isn’t stuck.
Quick Guide:
- Frequency: At least once a year.
- Why: Reduces fire risk and improves dryer efficiency, saving energy.
- Tools: Vacuum, dryer vent cleaning kit.
5. Drain Sediment from Your Water Heater
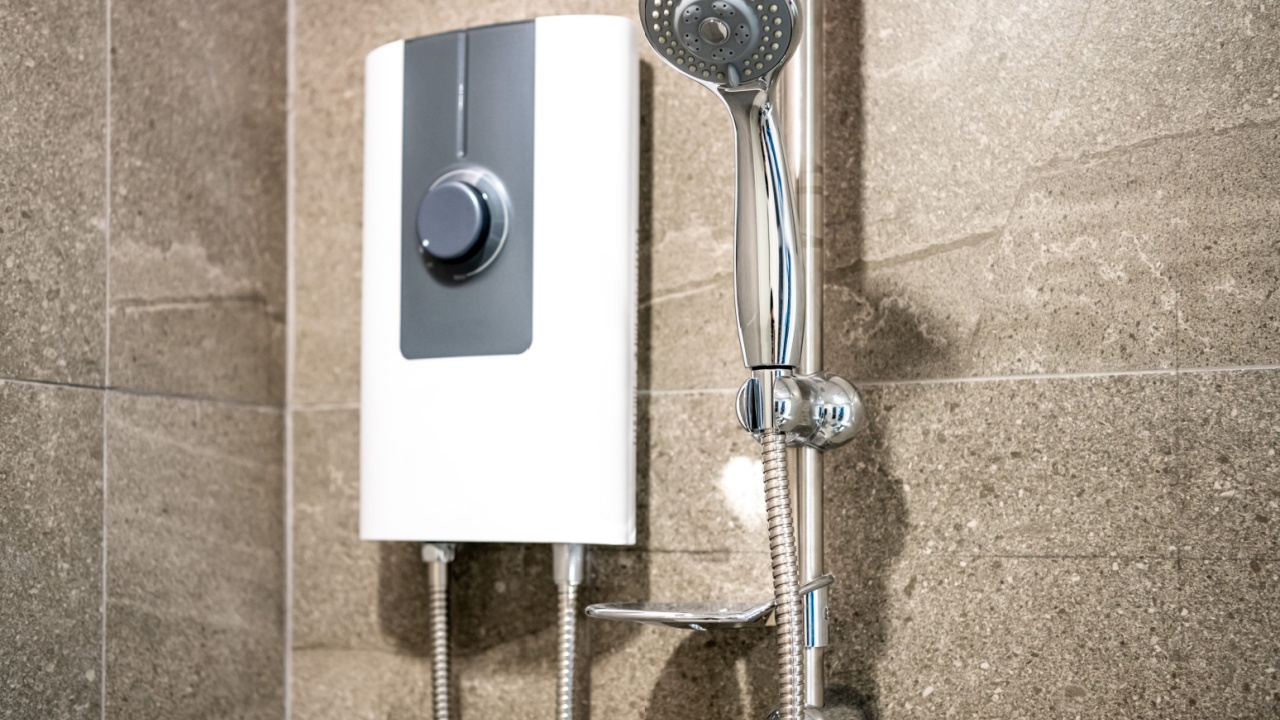
Image Credit: Shutterstock.
Over its life, your water heater accumulates mineral sediment at the bottom of the tank. This layer of gunk can cause a world of problems. For gas heaters, it creates hot spots that can damage the tank. For electric heaters, it can bury and burn out the lower heating element. Either way, sediment buildup reduces efficiency and can lead to premature failure.
Draining a few gallons of water from the tank once a year helps flush out this sediment. Just connect a garden hose to the drain valve at the bottom and let it run until the water is clear. This simple step helps your water heater run more efficiently and can significantly extend its life.
Quick Guide:
- Frequency: Annually.
- Why: Extends the life of your water heater and improves its efficiency.
- Tools: Garden hose, bucket.
6. Lubricate Your Garage Door Springs

Image Credit: Shutterstock.
Your garage door is heavy, and the powerful springs that help lift it are under constant tension. These springs will eventually break from metal fatigue, but you can prolong their life with a little lubrication. A noisy, grinding garage door is often just crying out for some grease.
Once a year, spray the torsion springs above the door with a garage door lubricant. Use a piece of cardboard to shield the wall behind them from overspray. While you’re there, hit the hinges, rollers, and tracks too. This will keep the door operating smoothly and quietly, and may delay the day you need to call a professional for a spring replacement.
Quick Guide:
- Frequency: Annually.
- Why: Extends the life of garage door springs and ensures smooth, quiet operation.
- Tools: Garage door lubricant spray.
7. Check Your Water Pressure
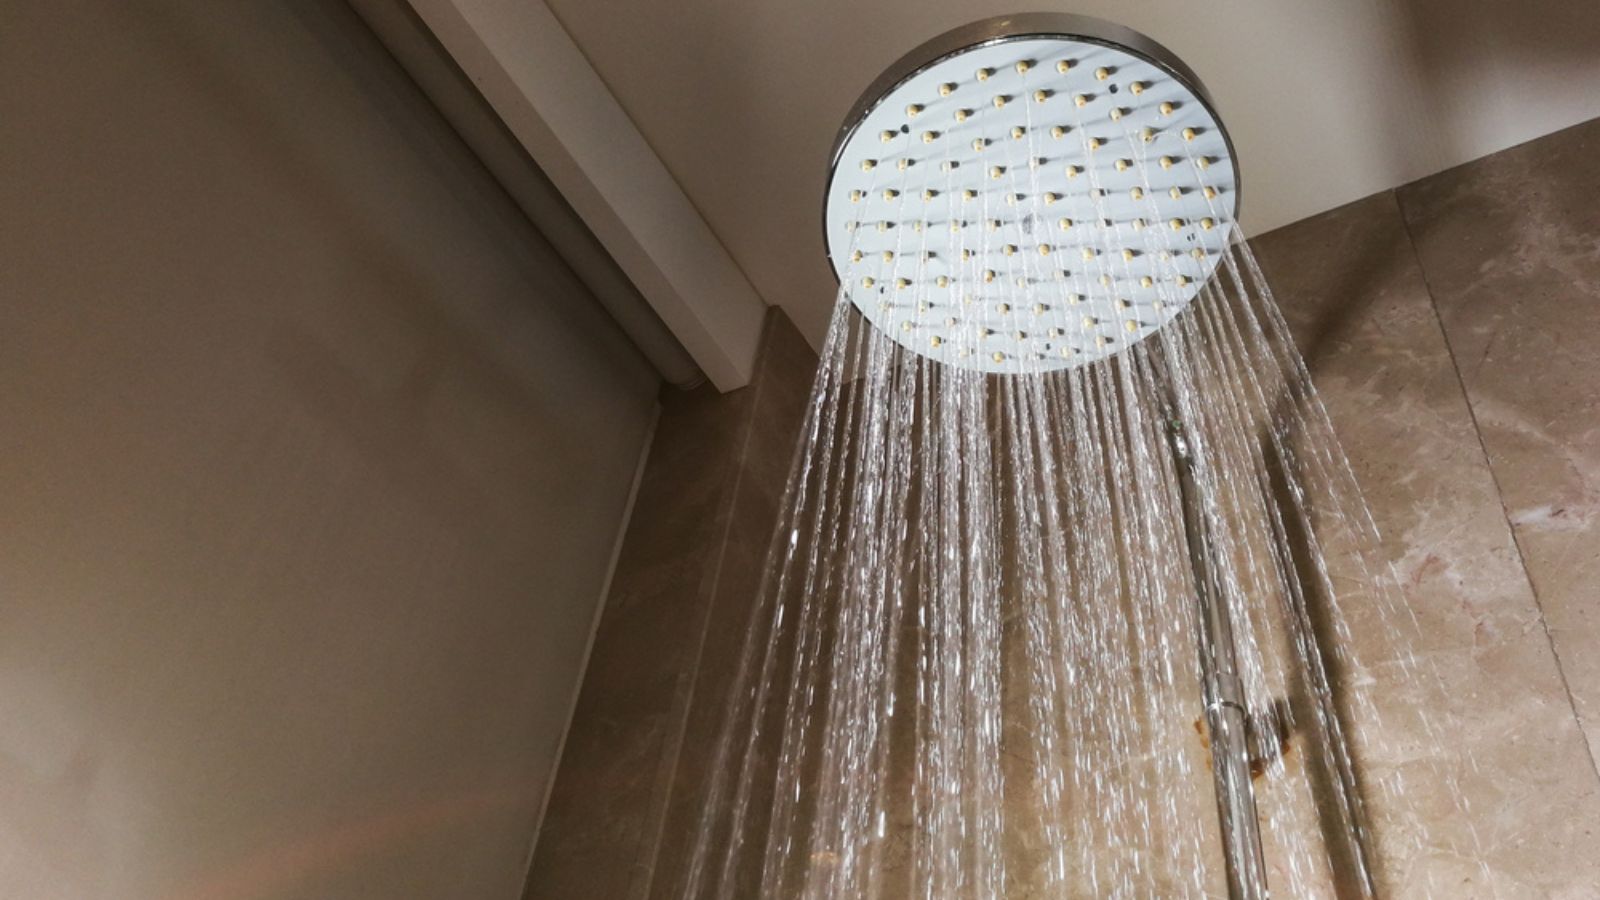
Photo Credit: Depositphotos.com.
Extremely high water pressure might feel nice in the shower, but it’s silently waging war on your entire plumbing system. It can cause pipes to burst, damage fixtures, and shorten the life of appliances like your washing machine and dishwasher. Most homes have a pressure-reducing valve where the main water line enters the house, but these can fail.
You can check your water pressure yourself with a simple pressure gauge that screws onto an outdoor spigot. The ideal range is between 40 and 80 psi. If your reading is higher, it’s time to have a plumber adjust or replace your pressure-reducing valve.
Quick Guide:
- Frequency: Check every year or two.
- Why: Protects pipes, fixtures, and appliances from damage caused by high pressure.
- Tools: Water pressure gauge.
8. Keep Window Wells Clear

Image Credit: Shutterstock.
If you have basement windows, you likely have window wells. These corrugated metal barriers are great at letting in light, but they are also perfect collectors for leaves, dirt, and other yard debris. If a well gets clogged, it can’t drain properly during heavy rain. The water level can rise, and the pressure can become strong enough to break the window, leading to a basement flood.
Keep your window wells clear of debris year-round. Scooping them out by hand is one option. You can also install window well covers to prevent leaves and critters from getting in there in the first place.
Quick Guide:
- Frequency: Seasonally, especially in the fall.
- Why: Prevents basement flooding from rainwater buildup.
- Tools: Your hands, a shovel, or window well covers.
9. Inspect for Pest Nests

Image Credit: Shutterstock.com.
Small creatures love to make homes in quiet, protected spaces. This includes your outdoor A/C unit, your lawnmower engine, and even under the hood of a car that’s been sitting for a while. Mice, birds, and insects can build nests that block airflow, chew through wires, and generally cause chaos when you try to start up the equipment.
Before you fire up a piece of seasonal equipment for the first time, give it a once-over. Pop the hood or remove the cover and check for any signs of nesting. Clearing out a nest before it causes damage is much easier than dealing with a chewed-up wiring harness.
Quick Guide:
- Frequency: Before using seasonal equipment.
- Why: Prevents equipment damage from nests and chewed wires.
- How: Visually inspect engine compartments and enclosed areas.
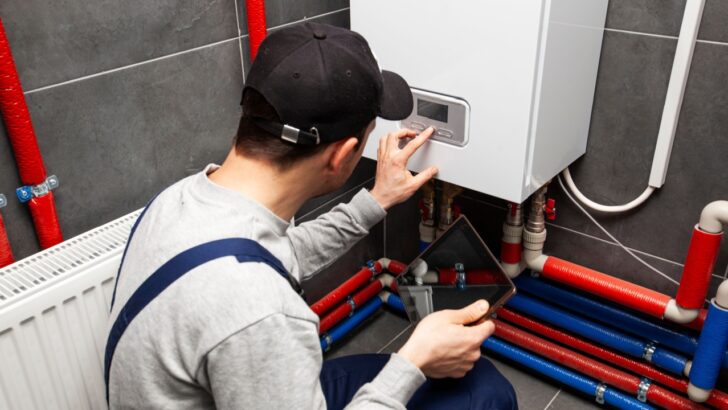
10. Service Your HVAC Filters and System
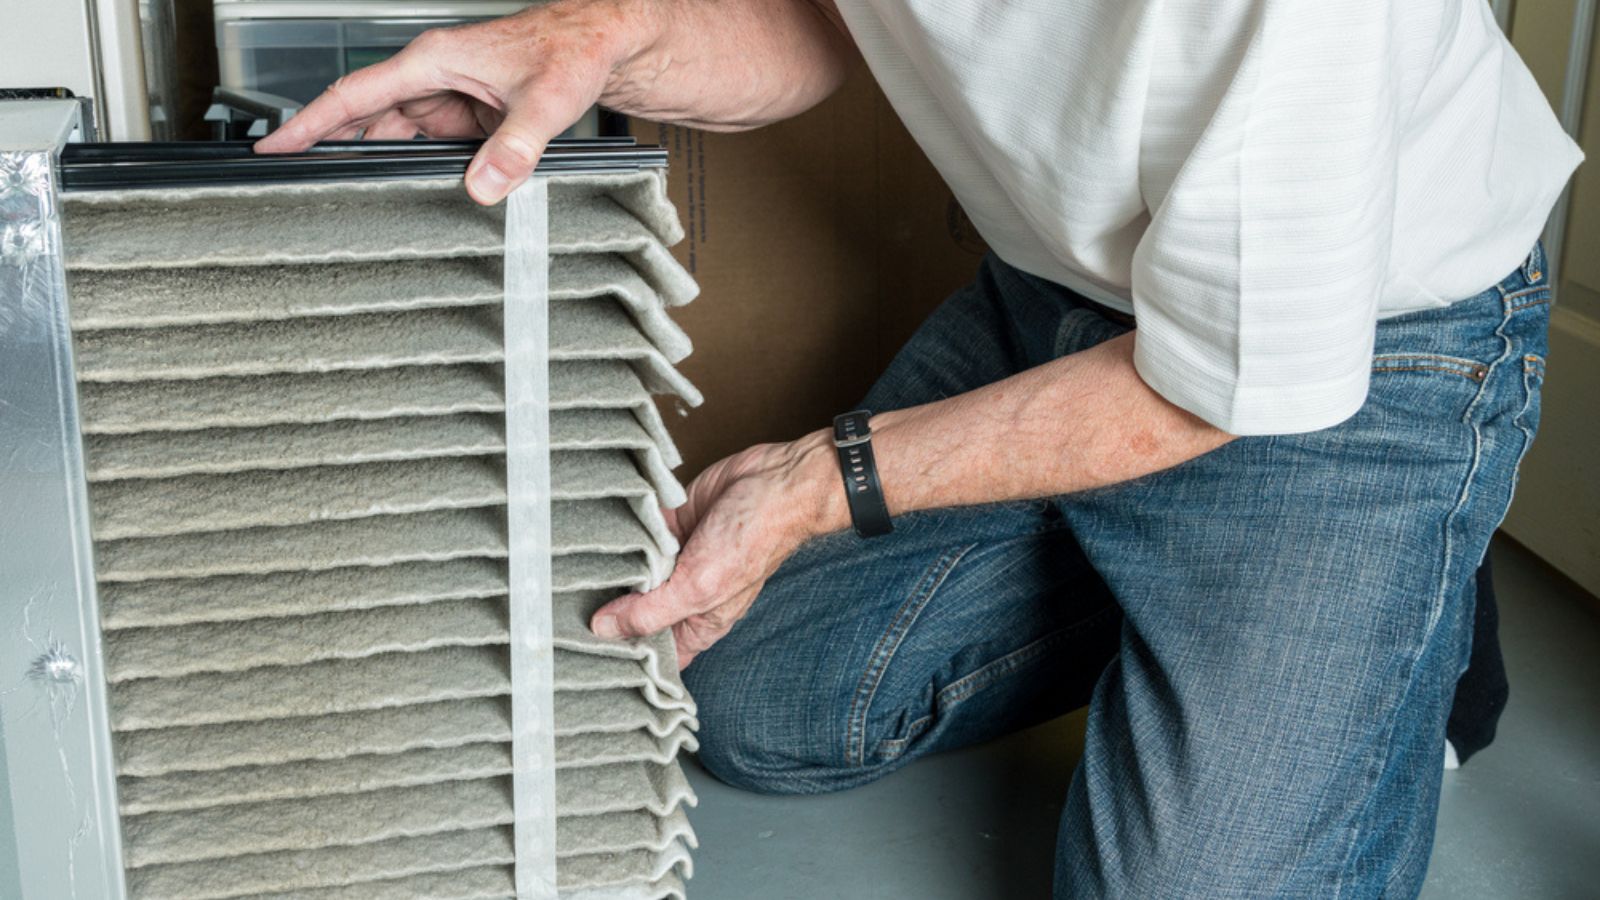
Image Credit: Depositphotos.com.
Your heating and cooling system is working quietly behind the scenes, keeping your castle comfortable year-round. Clogged or old filters force your system to work harder, leading to higher bills, poor air quality, and maybe even a furnace breakdown during the coldest snap of the year.
Swapping out HVAC filters every few months, more often if you have pets or allergies, helps keep things humming. Professional servicing, ideally performed once a year before extreme weather strikes, extends the life of your system and prevents expensive emergency repairs.
Quick Guide:
- Frequency: Change filters every 1–3 months; schedule yearly professional servicing.
- Why: Keeps air clean, lowers energy use, and helps avoid costly breakdowns.
- Tools: Replacement filters; phone for booking your favorite HVAC pro. Check Your Water Pressure
11. Inspect Exterior Caulk and Sealants

Image Credit: Depositphotos.com.
The caulk around your windows, doors, and any place where different materials meet (like siding and trim) is your first line of defense against water and air leaks. It cracks and deteriorates, creating gaps where moisture and pests can enter. This can lead to water damage, rot, and higher energy bills.
Walk around your home’s exterior once a year and look for any caulk that is cracked, peeling, or missing. Use a utility knife to cut away the old stuff, clean the surface, and apply a fresh bead of high-quality exterior caulk. It’s a detailed job, but it seals your home’s envelope, protecting it from the elements.
Quick Guide:
- Frequency: Annually.
- Why: Prevents water intrusion, air leaks, and pest entry.
- Tools: Utility knife, caulk gun, exterior-grade caulk.
12. Flush Outdoor Faucets and Winterize Spigots

Image Credit: Shutterstock.com.
As temperatures drop, outdoor faucets can become hidden hazards. Any water left inside the line may freeze and expand, leading to cracked pipes and costly leaks that often go unnoticed until spring, along with a surprise water bill and a soggy yard.
To prevent this, shut off the indoor valve that controls the outdoor spigot before the first freeze. Then open the faucet to drain any remaining water and disconnect your hose, even if it’s tempting to leave it “just one more week.” For added protection, consider installing a frost-proof spigot or using an insulated faucet cover.
Quick Guide:
- Frequency: Annually, before winter
- Why: Prevents frozen pipes and expensive plumbing repairs
- How: Shut off the indoor valve, drain the outdoor spigot, disconnect the hoses, and use faucet covers if needed
Keeping Your Home Happy

Image Credit: Shutterstock.
Tackling this DIY list can feel like a lot, but weaving these tasks into your yearly routine will pay off. You can add them to your calendar or tie them to seasonal changes, like testing the sump pump before spring rains or cleaning the dryer vent when you put away your summer clothes.
Consistent, small efforts are what keep a house from turning into a money pit. Now that your home is in good shape, you can turn your attention back to the garden, where the weeds are probably plotting their next move.
Read more:
16 Home Maintenance You Can Do in Minutes to Avoid Major Problems Later
14 Home Fixtures That Are More High Maintenance Than Expected