
Maintaining a home can feel like a task that never quite ends. There is always something that needs attention, and it often seems easier to ignore small issues until they become impossible to overlook. Many homeowners fall into the habit of waiting for something to break before taking action.
In reality, most major repairs begin as minor problems that were left unattended. A loose screw, a clogged drain, or a dry hinge may not seem urgent at first, but over time, these small faults can lead to costly damage. Taking a few minutes to fix them early keeps everything running as it should.
Regular upkeep does not require advanced skills or expensive tools. With a bit of awareness and a few basic supplies, these everyday fixes become simple routines. The tasks below are practical, quick, and designed to keep your home in good working condition without added stress.
1. Silencing Squeaky Door Hinges
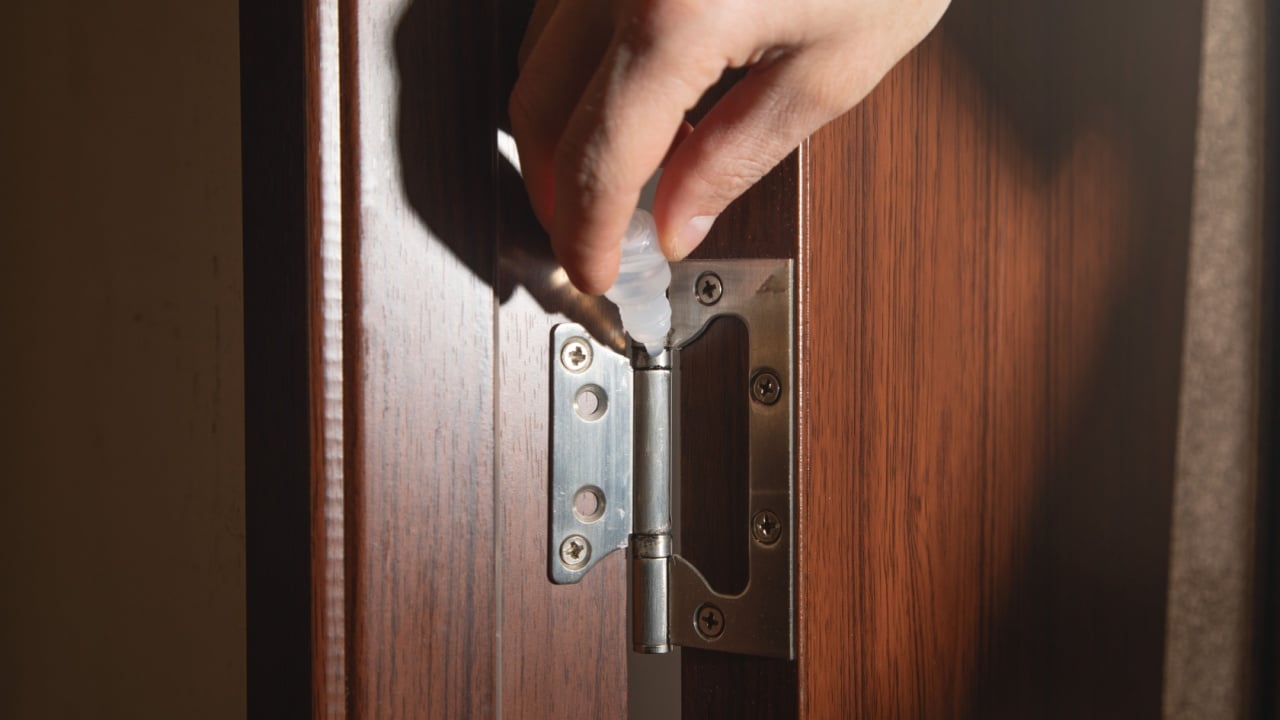
Image Credit: Shutterstock.
A noisy hinge occurs when metal rubs against metal without lubrication. To fix this, apply a small amount of silicone spray or a dab of petroleum jelly to the hinge pin. Move the door back and forth to distribute the lubricant deep into the mechanism for immediate results.
Wiping away excess liquid prevents dust from sticking to the hinge later. If the noise persists, pull the pin out halfway, coat it thoroughly, and tap it back into place. Checking your hinges twice a year keeps entryways silent and prevents long-term wear on the metal components.
2. Fixing Stripped Screw Holes

Image Credit: Shutterstock.
Wooden doors and cabinets often develop loose screws when the internal wood fibers strip away. A simple fix involves inserting a few toothpicks or a matchstick coated in wood glue into the hole. Snap off the excess wood so it sits flush, then drive the screw back into the newly reinforced space.
The added wood provides fresh material for the screw threads to grip tightly. This method is perfect for strike plates and high-use cabinet hinges. For larger holes, a small wooden dowel can serve as a more robust and permanent replacement.
3. Unsticking a Sliding Window

Image Credit: Shutterstock.
Dirt and grime build up in window tracks, causing them to stutter or jam. Clean the debris with a vacuum attachment and a damp cloth. Once the track is clear, rub a block of paraffin wax or spray a dry PTFE lubricant along the path to allow the window to glide without resistance.
Avoid oil-based lubricants, as they attract dirt and create a residue buildup over time. Test the window several times to ensure the movement is smooth. Regular cleaning of these tracks every season prevents permanent damage to the window frame.
4. Removing Hard Water Buildup
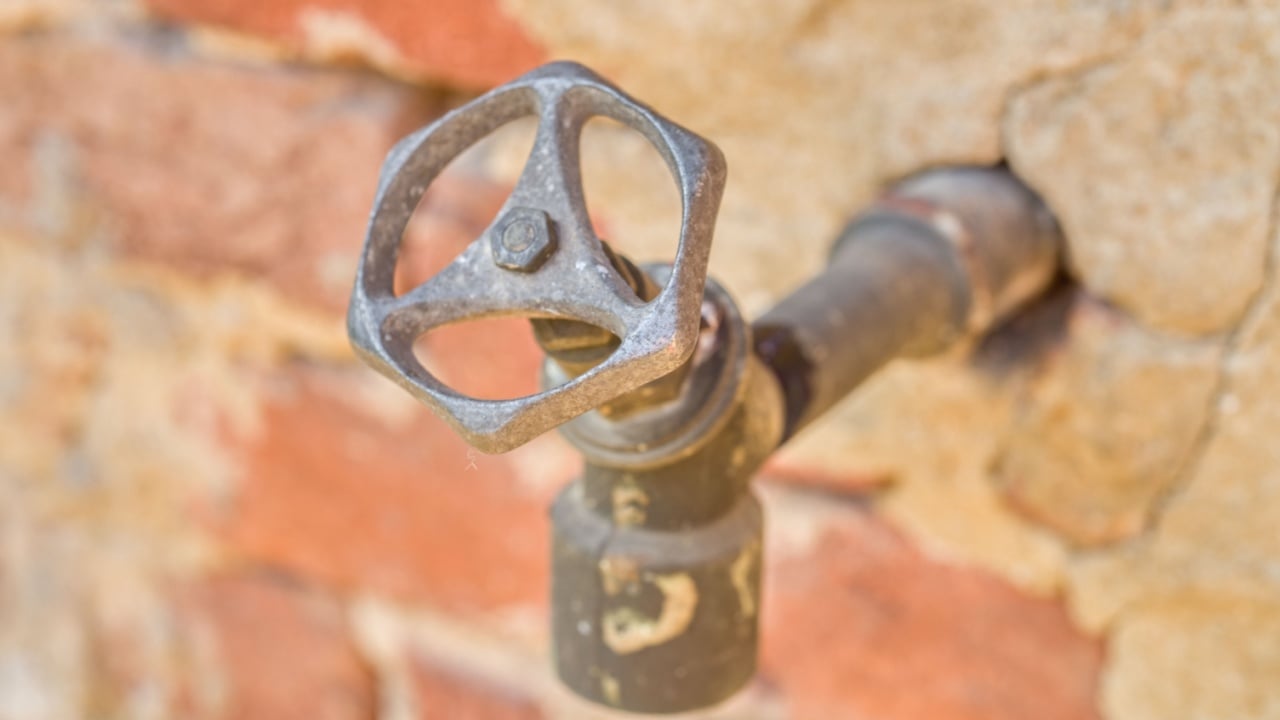
Image Credit: Shutterstock.
White crusty deposits on faucets are mineral scales that restrict water flow. Instead of harsh chemicals, fill a plastic bag with white vinegar and secure it over the faucet head with a rubber band. Let it sit for 30 minutes to allow the calcium and magnesium bonds to dissolve.
After removing the bag, the buildup should wipe away easily with a sponge. For stubborn spots, use an old toothbrush to reach into the crevices. This process enhances water pressure and maintains fixtures’ appearance without compromising the finish.
5. Tightening Loose Cabinet Knobs

Image Credit: Shutterstock.
Hardware frequently loosens after heavy use, leading to wobbly handles. While a screwdriver solves this temporarily, the screw often backs out again due to vibration. Applying a single drop of thread-locking fluid to the screw threads before tightening creates a secure bond that resists loosening.
If the hole in the cabinet has become too large, use the toothpick method to create a snug fit. Checking all kitchen and bathroom hardware simultaneously saves time and prevents unnecessary stress on the cabinet doors.
6. Clearing a Slow Shower Drain
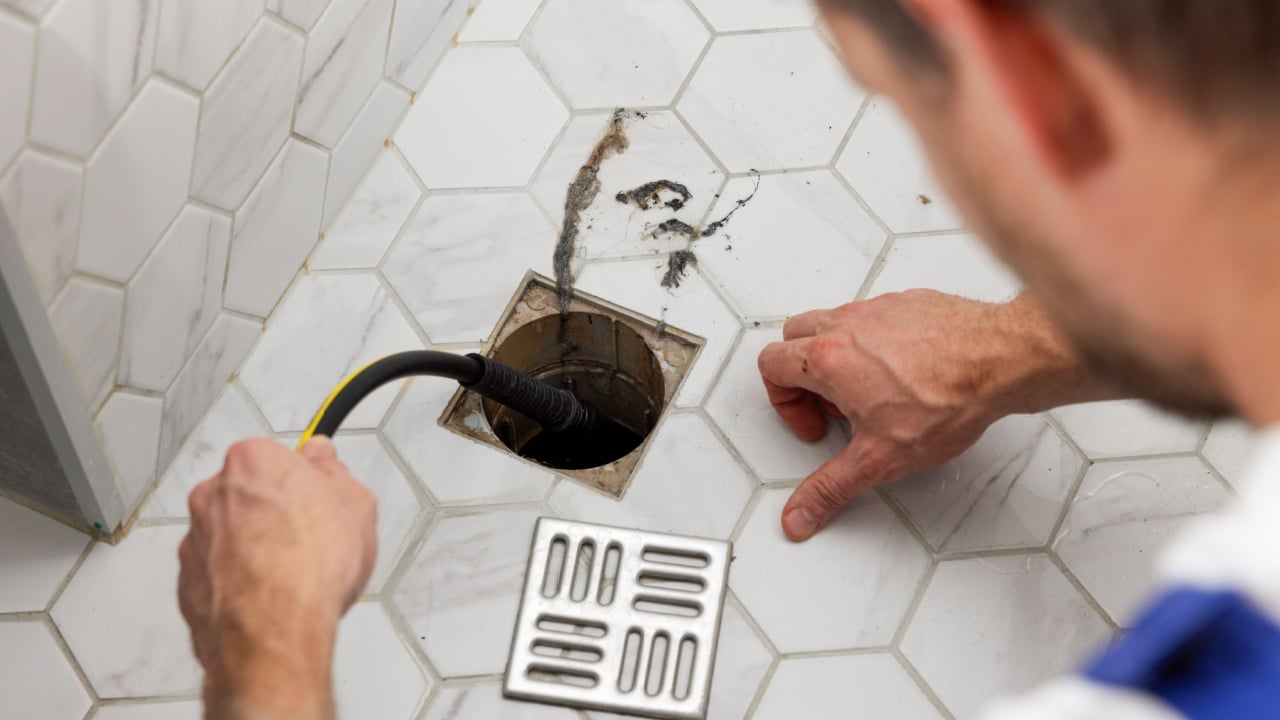
Image Credit: Shutterstock.
Hair and soap scum often form clogs just below the drain cover. A plastic drain snake (zip tool) can reach into the pipe to hook and pull out the obstruction. This mechanical solution is safer for your plumbing than caustic liquid cleaners.
Flushing the drain with boiling water afterward helps dissolve any remaining soap residue. To prevent future issues, install a mesh drain protector to catch hair before it enters the plumbing, performing a quick sweep every few months.
7. Patching Small Nail Holes
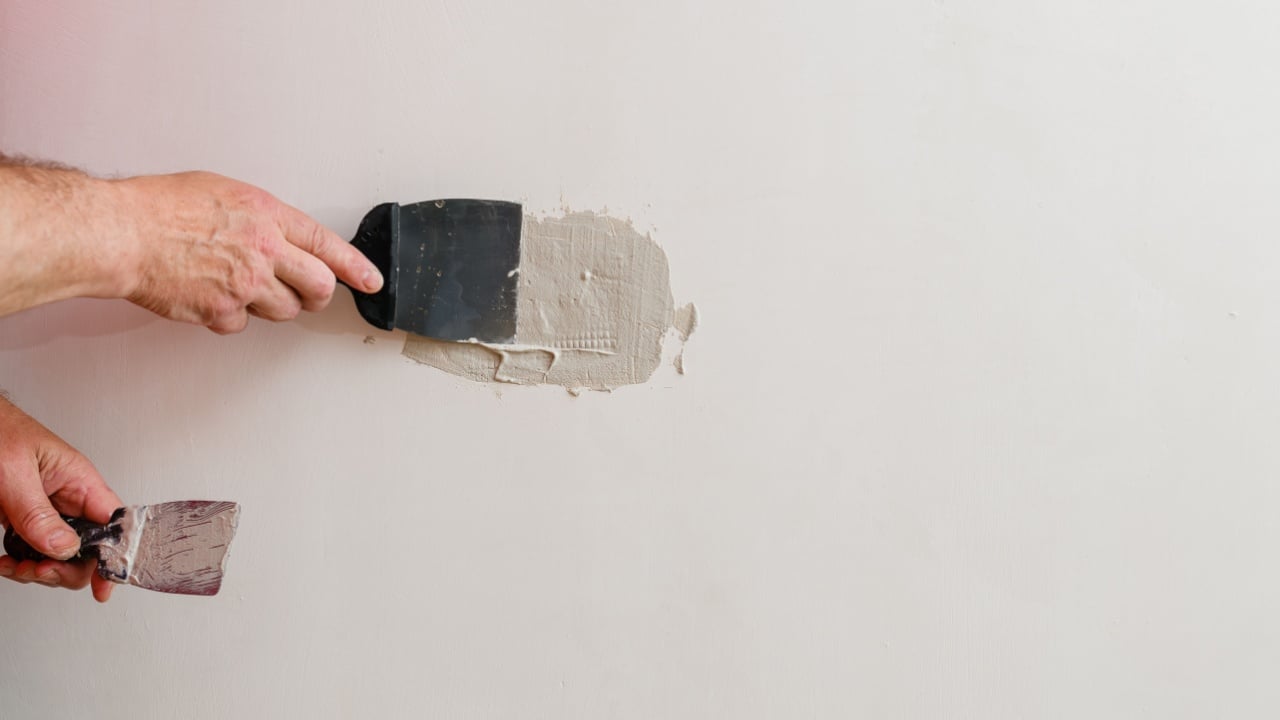
Image Credit: Shutterstock.
Small holes from picture hooks can leave walls looking tattered. Use a putty knife to apply lightweight spackling compound into the hole, pressing firmly to fill the void. Wipe the area with a damp cloth to level the patch, which eliminates the need for messy sanding.
Once the compound dries, a tiny dab of matching paint hides the repair completely. Keeping a small container of pre-mixed spackle on hand makes this a five-minute task that significantly improves the appearance of your walls.
8. Lubricating a Sticky Deadbolt

Image Credit: Shutterstock.
Keys that struggle to turn are often a sign of dry internal tumblers. Graphite lubricant is the best choice for lock cylinders because it stays dry and does not gum up. Squirt a small amount into the keyway and insert the key several times to spread the powder.
This prevents the key from snapping off inside the lock due to excessive force. If the bolt itself is hitting the strike plate, check the door alignment for sagging hinges, as functional locks are fundamental to home security.
9. Stopping a Running Toilet
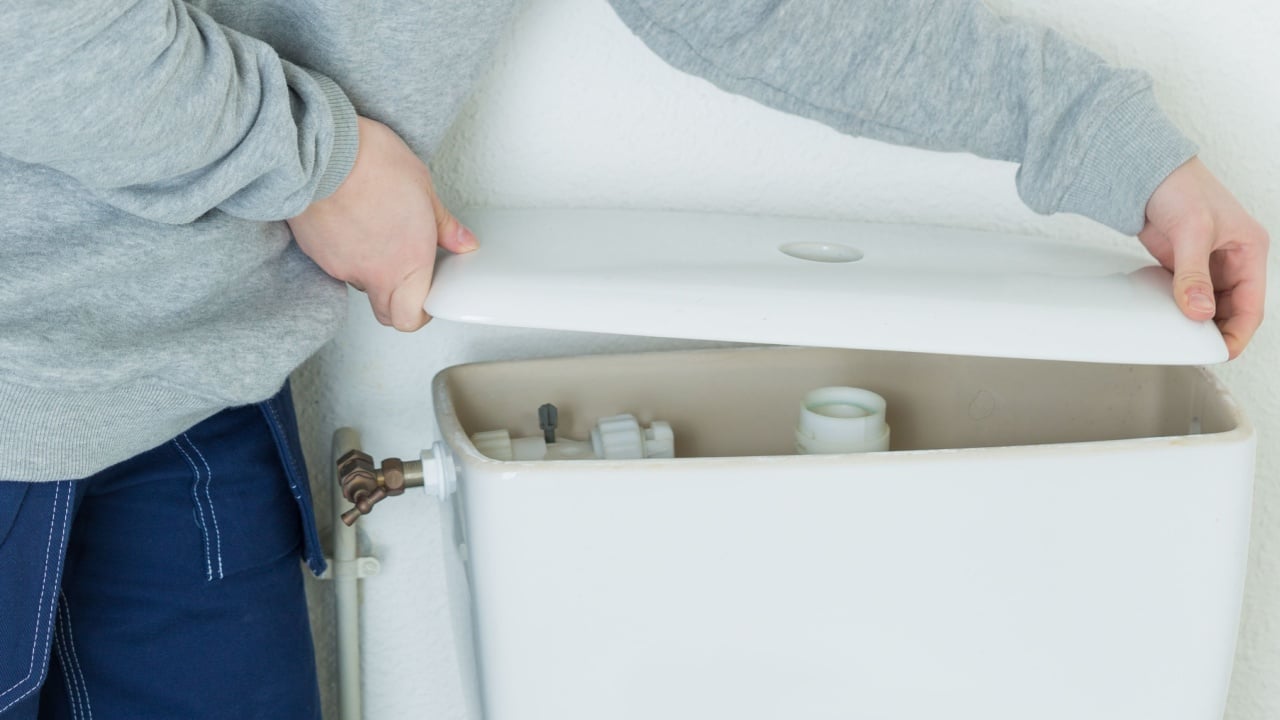
Image Credit: Shutterstock.
A running toilet wastes hundreds of gallons of water. Usually, the flapper valve at the bottom of the tank isn’t seating correctly, or the chain is too long. Adjust the chain length so it has a little slack, and clean the rim of the flush valve to ensure a tight seal.
Replacing a worn-out flapper is a tool-free job that takes less than two minutes. If the water level is too high, adjust the float arm to shut off the fill valve earlier, saving you money on your next utility bill.
10. Fixing Gaps in Window Caulking
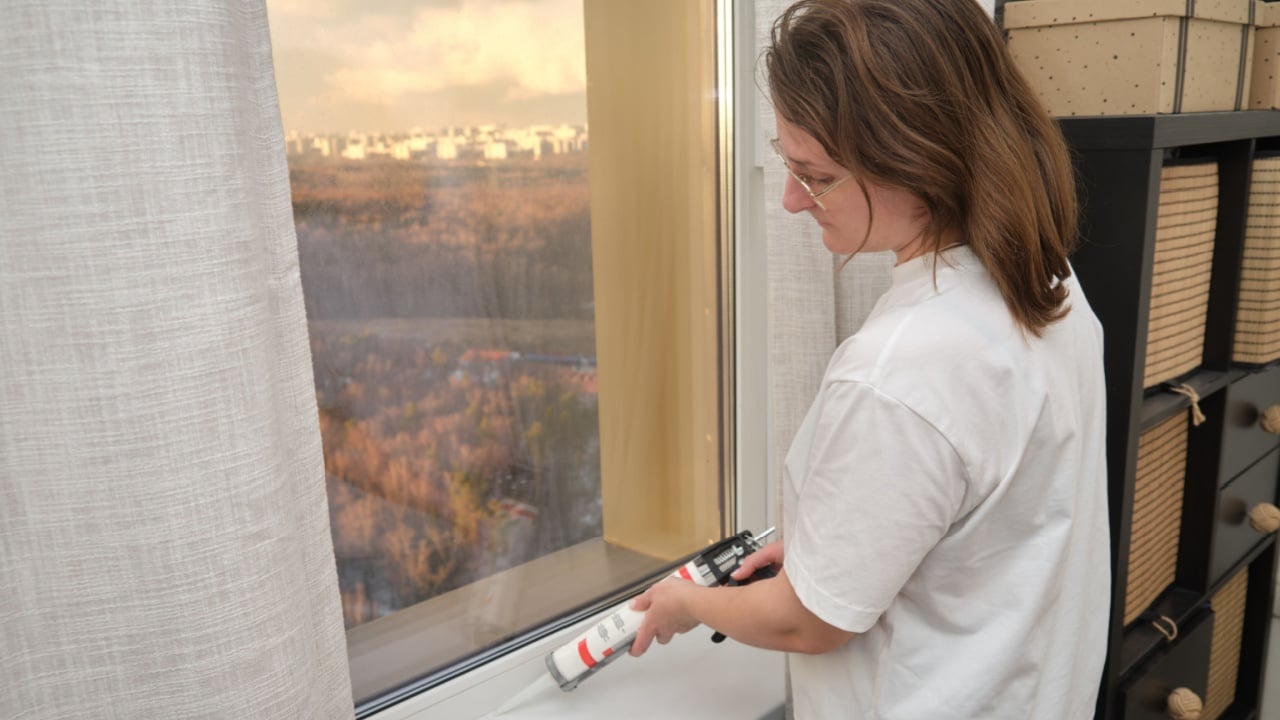
Image Credit: Shutterstock.
Cracked caulk around window frames lets in drafts and moisture. Use a caulk gun to apply a thin bead of exterior-grade silicone or acrylic caulk over the gap. Smooth the bead with a wet finger to create a clean, waterproof seal that blends with the trim.
This simple barrier prevents wood rot and reduces energy loss during extreme weather. Check the perimeter of all windows annually to catch these cracks before they expand and allow insects to enter.
11. Repairing a Torn Window Screen
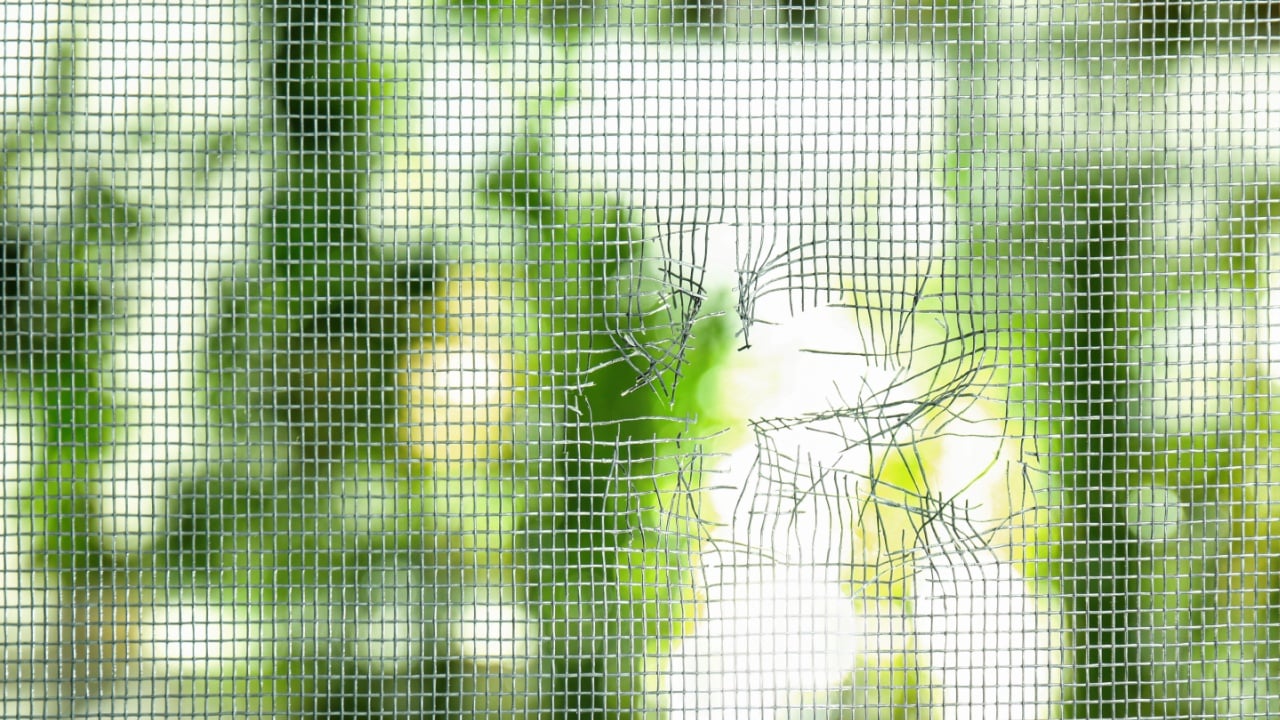
Image Credit: Shutterstock.
Small tears in a mesh screen allow pests to enter the home. A screen repair kit or a small dab of clear nail polish can bridge a tiny hole. For slightly larger rips, use a piece of adhesive-backed screen patch that blends with the existing material.
If the damage is extensive, replacing the entire mesh sheet is a straightforward task using a spline tool. Keeping screens intact allows for natural ventilation while keeping the interior of your home insect-free.
12. Leveling a Wobbly Appliance
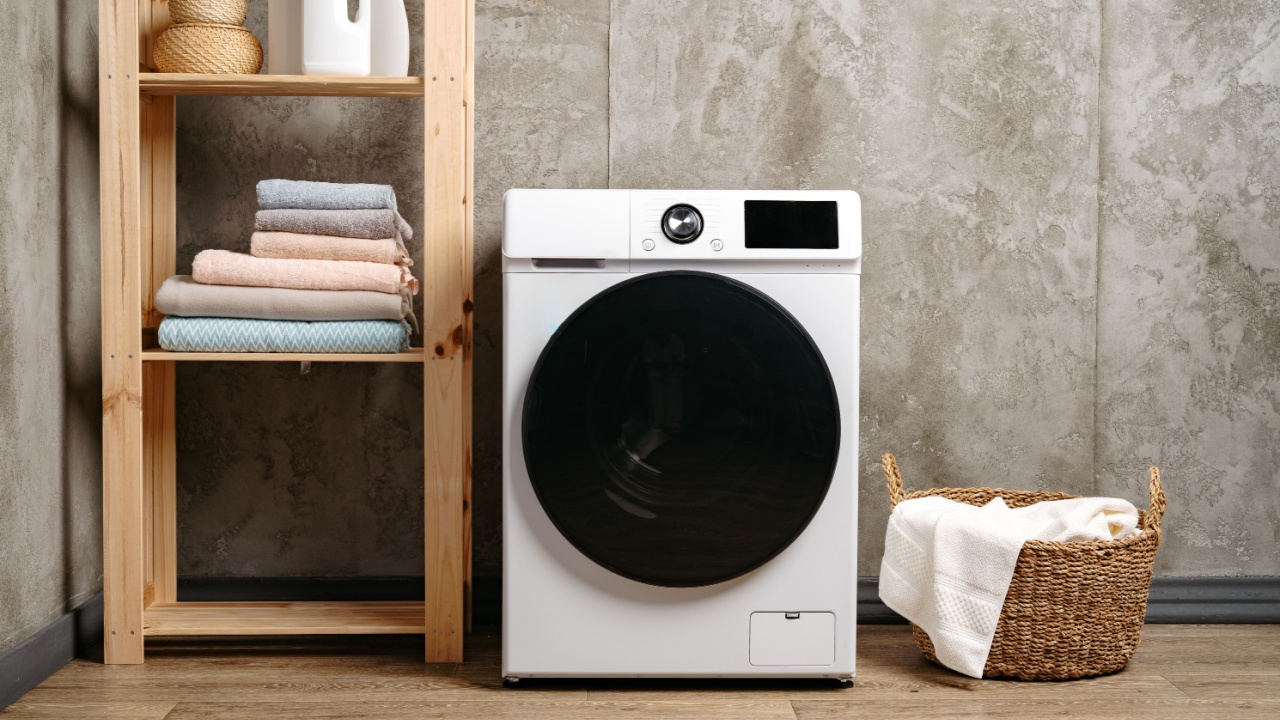
Image Credit: Shutterstock.
An unstable washing machine can damage flooring and cause mechanical stress. Most appliances have threaded leveling feet that can be turned by hand. Rotate the feet clockwise to lower a corner or counter-clockwise to raise it until the unit is stable.
Use a carpenter’s level on top of the machine to confirm it sits perfectly flat. This reduces noise and prevents the appliance from “walking” across the room during high-speed cycles, extending the life of the motor.
13. Deep Cleaning the Dishwasher Filter

Image Credit: Shutterstock.
If your dishwasher leaves spots on glasses, a clogged filter is likely the culprit. Most units have a cylindrical filter at the bottom that twists out easily. Rinse it under hot water and use a soft brush to remove trapped food and grease.
Cleaning this filter once a month ensures the machine circulates clean water and prevents the drain pump from overworking. It is the most effective first step in troubleshooting poor cleaning performance.
14. Testing Safety Detectors

Image Credit: Shutterstock.
Functional smoke and carbon monoxide detectors are critical for safety. Press and hold the test button on each unit to confirm the alarm sounds at full volume. If the sound is weak, replace the batteries immediately.
Vacuuming the exterior of the units removes dust that can interfere with the sensors. Remember to replace any detector that is more than ten years old, regardless of whether it passes the button test.
15. Renewing Grout Lines
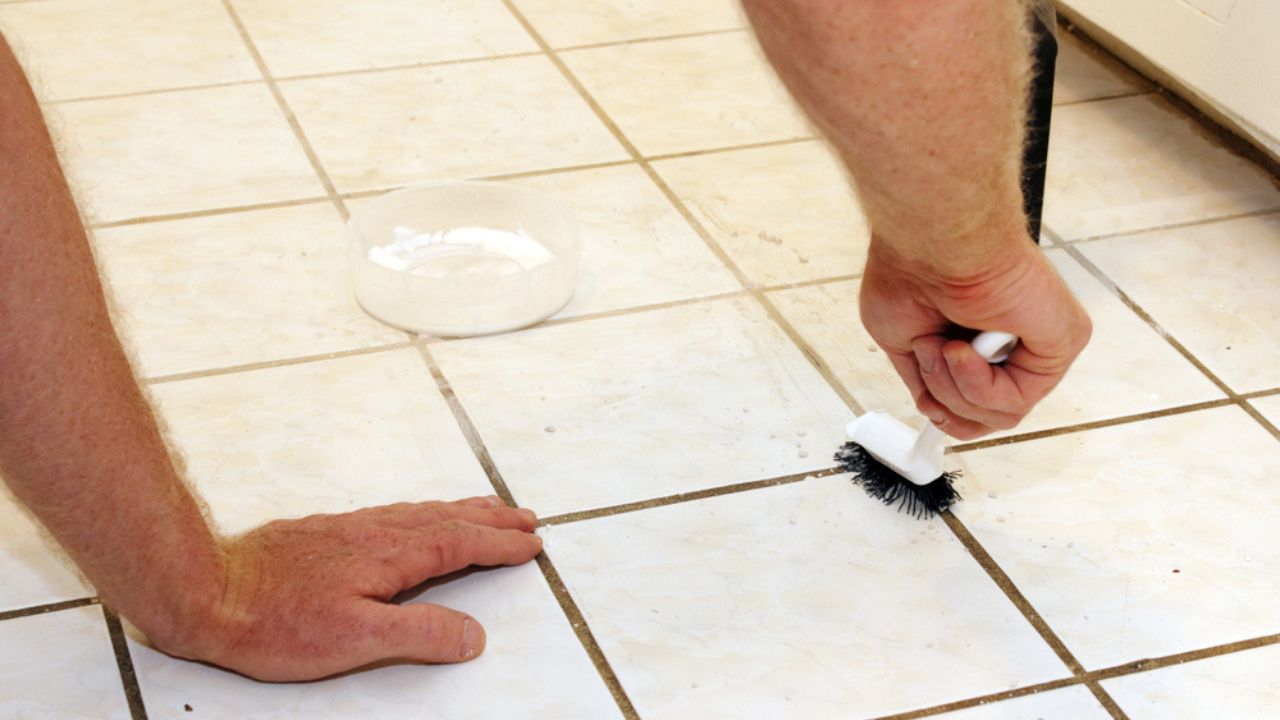
Image Credit: Deposit Photos.
Grout in showers or kitchens can become stained over time. A mixture of baking soda and water applied with a stiff brush lifts most surface stains. For a permanent visual fix, use a grout pen to restore a uniform color across the lines.
Sealing the grout after cleaning prevents future moisture penetration and mold growth. This simple maintenance task brightens the look of a bathroom and protects the integrity of the walls behind the tile.
16. Cleaning Refrigerator Coils

Image Credit: Shutterstock.
Dust buildup on coils forces the refrigerator compressor to work harder, increasing electricity usage. Use a coil brush or a vacuum crevice tool to remove debris from behind or beneath the unit. This allows heat to dissipate more efficiently.
Performing this task every six months can lower energy costs and extend the life of the appliance. Simple airflow management is a vital part of long-term appliance care and prevents overheating during the summer months.
A Little Care Today, Fewer Repairs Tomorrow

Image Credit: Deposit Photos.
Handling small fixes on time keeps problems from building into costly repairs. A simple seasonal checklist makes it easier to stay on track without feeling burdened. Regular checks help catch issues early, when they are still quick and inexpensive to fix. These steady habits protect both the comfort and long-term value of your home.
Read More: