Every time you water a container with exhausted potting mix, you’re not nourishing your plants — you’re rinsing the last traces of nutrition right out through the drainage hole. March is the exact window to fix this, before your plants push their first flush of new growth and discover there’s nothing to grow into.
Most container gardeners know how to water. Far fewer know that the potting mix they’re watering into may have been nutritionally spent since midsummer of last year. The good news is that refreshing it doesn’t require hauling pots off the deck, buying a cartload of new supplies, or disturbing a single root. A method called topdressing takes about ten minutes per pot and will visibly transform how your containers perform this season.
The Moment Potting Soil Stops Working (And the Signs You’re Missing)

Image Credit: jadimages / Shutterstock.com.
According to Gardening Know How, most bagged potting mixes carry enough fertilizer for approximately six weeks of active growth. After that, the mix is running on fumes; whatever slow-release charge it started with is gone, and nothing is replacing it. By the end of a full outdoor season, the organic matter that created that light, fluffy structure has broken down, perlite has migrated to the bottom of the pot or collapsed into dust, and repeated watering has pressed everything into a dense, airless block.
The visual signs are unmistakable once you know what you’re looking for. Soil pulling away from the sides of the pot is a classic indicator of compaction and moisture loss. A white or tan crust forming on the surface signals fertilizer salt buildup. A soil level that has dropped an inch or more below the rim means organic material has decomposed and isn’t coming back on its own.
The trickiest sign to catch is one that masquerades as good drainage: water running freely out of the drainage hole immediately after watering does not mean the soil is healthy. According to Better Homes & Gardens, when peat-based potting mix dries out completely, it becomes hydrophobic and actually repels water. The water you’re pouring in runs straight down the gap between the shrunken soil block and the pot wall, exits through the drainage hole, and bypasses the root zone entirely. You can water faithfully for weeks without your plant receiving a meaningful drop of moisture.
A quick squeeze of a handful of mix tells you most of what you need to know. As Mark Highland, founder of Organic Mechanics Soil Company, explained to Family Handyman, good potting soil should feel light and spring back when squeezed. If it stays compressed, the structure is gone.
When to Refresh vs. When to Start Over
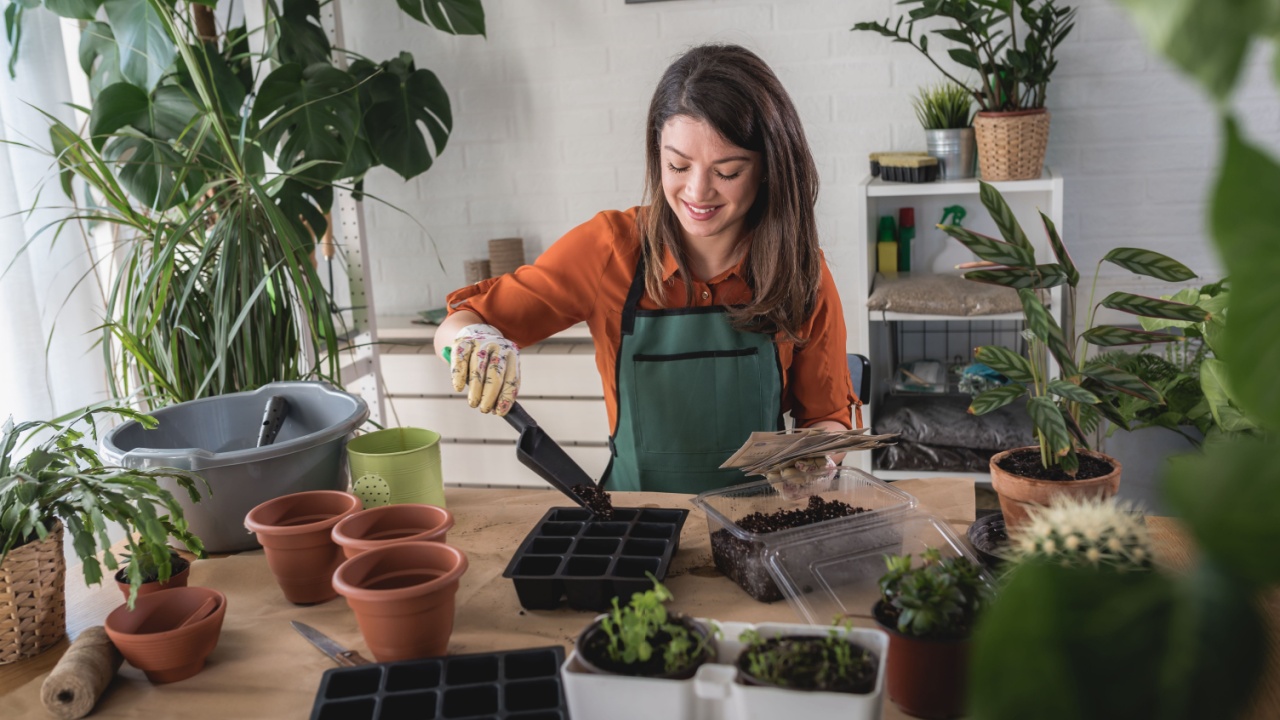
Image Credit: Shutterstock.
If last season’s plants were healthy and showed no signs of disease, a refresh is almost always sufficient. However, if plants die without a clear reason, show signs of root rot, or are plagued by persistent pests, those pathogens can survive in the mix for years and will reinfect whatever you plant next. In those cases, starting fresh is the only reliable option.
There’s one other scenario worth noting. Peat-based potting mixes can become increasingly acidic over time as the peat ages. Most plants do best in a slightly acidic to neutral pH. If your containers have been running on the same peat-heavy mix for several seasons, a simple soil pH test from any garden center can reveal whether acidity has shifted enough to limit nutrient uptake regardless of what amendments you add.
Topdressing is also not a cure for root-bound plants. If you see a dense tangle of roots matted across the soil surface, or thick roots growing out through the drainage holes, the plant has outgrown its home and needs a larger pot — no amount of fresh topdressing will compensate for the lack of physical space.
How to Refresh Your Potting Soil Without Emptying the Pot
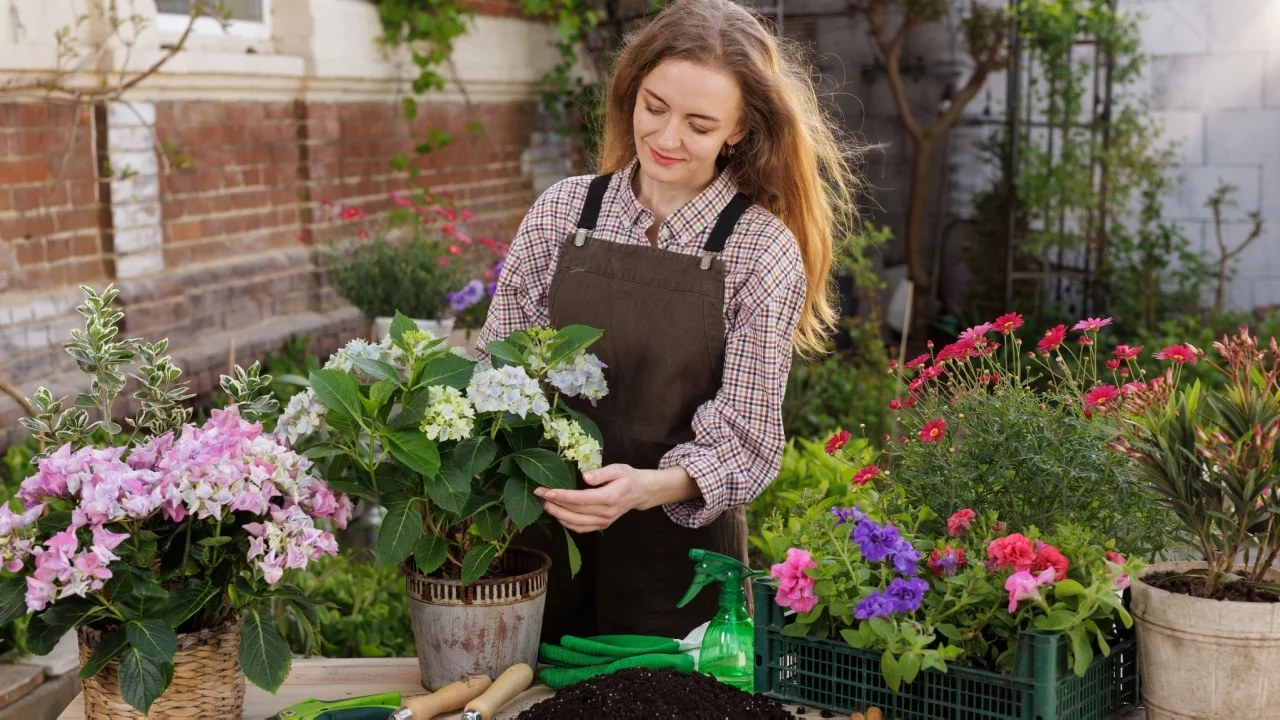
Image Credit: Shutterstock.
This is the part most gardeners are relieved to learn is genuinely simple. As Gardening Know How describes the process, use a hand fork or an old spoon to loosen the top inch of soil, working carefully around stems. Then, scoop out the top two to four inches of compacted material and set it aside for the compost pile. What you remove is not worth saving; it has done its job.
Before you fill the space, mix your topdressing blend in a separate container rather than layering each ingredient directly into the pot. Combining everything first ensures even distribution instead of hot spots of concentrated fertilizer near the surface.
The standard topdressing blend covers almost every container situation: finished, dark crumbly compost as the base; worm castings at roughly one part per two parts compost; and a granular slow-release fertilizer worked into the mix. Press the fresh material gently into the space to close air pockets, but avoid compacting it. Leave at least a half-inch of headspace at the rim of the pot — this critical gap ensures that the first watering soaks into the new material rather than cascading over the edge.
Succulents are the exception here. Because they prefer lean, fast-draining conditions, skip the compost and worm castings for your succulent pots entirely. Instead, refresh with a mix of coarse horticultural sand and cactus potting mix. For heavy-feeding annual vegetables like tomatoes, peppers, and cucumbers, the Royal Horticultural Society‘s container care guidance notes that these plants benefit from an entirely fresh mix each season rather than a topdress.
What Goes Into the Refresh Mix
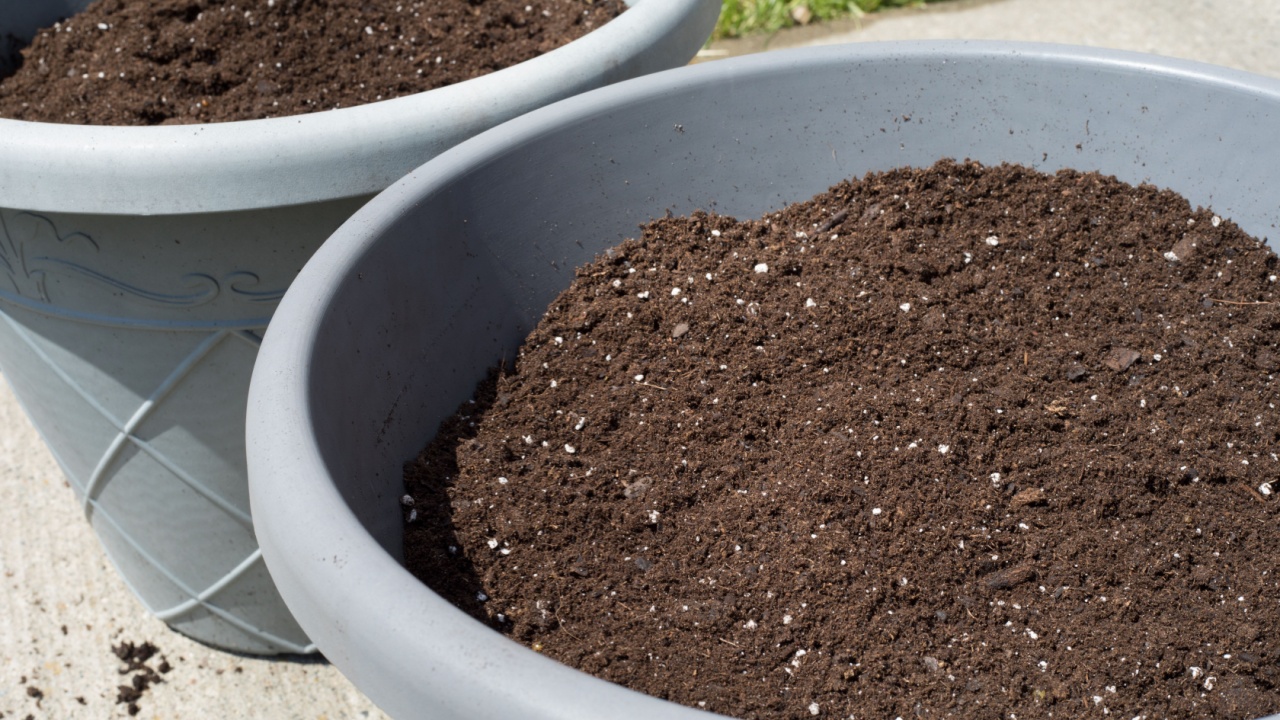
Image Credit: Shutterstock.
The amendment aisle at a garden center can feel overwhelming, but three ingredients handle the vast majority of container refreshing: compost, worm castings, and slow-release fertilizer. Each does a distinct job. Compost restores organic structure and introduces slow background biological activity. Worm castings, as Gardening Know How notes, act as a gentle fertilizer and soil conditioner that introduces beneficial microbes immediately. Slow-release fertilizer provides a consistent, predictable nutrient drip over months rather than a single flush that leaches out in the next rain.
Compost should stay below roughly 30 percent of the total mix volume. Beyond that threshold, aeration suffers, and the mix can go anaerobic when wet, particularly in solid-walled containers that can’t breathe from the sides.
What Happens After You Topdress (And When to Expect Results)
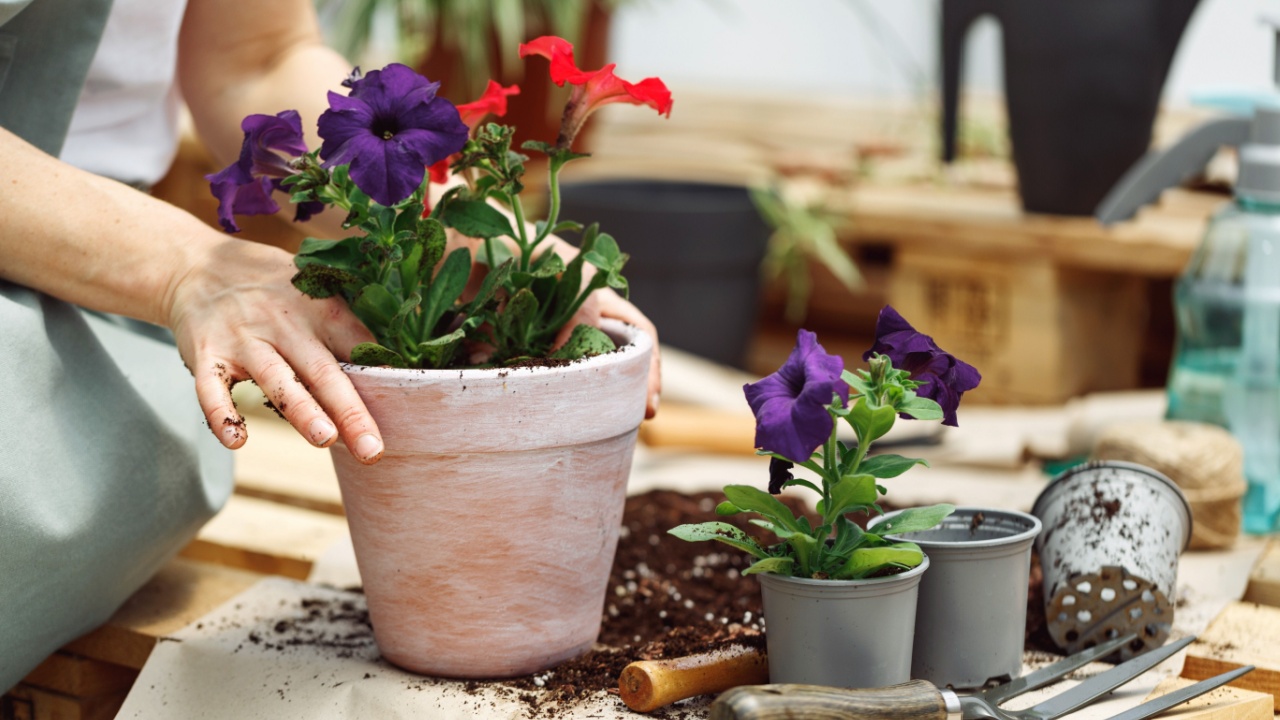
Image Credit: Shutterstock.
Gardening Know How notes that results from topdressing take two to three weeks to fully appear, as nutrients from the fresh layer migrate downward through watering. What you will notice first is a steadying of the plant’s condition, followed by new growth that comes in larger and with richer color than before. The underlying biology is doing its work even when you can’t see it.
After your topdressing is settled and actively watered in, you should begin a routine of diluted liquid fertilizer every two to four weeks through the growing season. This keeps the nutritional momentum going without overtaxing the refreshed mix.
Keep fresh topdressing soil pulled back slightly from the base of the plant stem, as mounding soil against the stem traps moisture against the bark and can cause rot. If your containers sit directly on a hard surface, consider setting them on pot feet to improve drainage and air circulation at the base, which slows the bottom-up compaction that can develop over a full season.
For containers with established perennials, small shrubs, or dwarf trees, spring topdressing every year is sufficient, with a deeper partial repot only every three to five years when drainage becomes visibly compromised. Annual container plants can be assessed fresh each spring.
Refreshing your potting soil before the growing season begins is less of a chore than a ten-minute reset. Your plants don’t need a perfect growing medium; they need a functional one. Give them that before April, and they will spend the entire season showing you the difference.
Read More
Do these 12 raised garden bed tasks before March ends, or lose your head start
12 vegetables to direct sow in the garden right now in March