
A couch holds a special place of honor in any home. It’s where movie marathons turn into cherished traditions, where lazy Sunday afternoon naps are perfected, and where countless late-night talks unfold with family or friends. But as much as it’s a hub for comfort and connection, it also bears the brunt of daily life. It becomes ground zero for popcorn casualties during movie nights, spilled drinks during lively conversations, and a mysterious yet inevitable buildup of crumbs from countless snack breaks. A well-loved couch tells a story of its users’ everyday lives, showing its unique history through wear and tear.
However, even the most beloved couch can benefit from a good deep cleaning every now and then. A proper clean restores its appearance and makes it a more pleasant, inviting place to relax. While the idea of tackling such a cleaning job might feel overwhelming, approaching it step by step makes the process much more manageable and rewarding. A clean couch means a more enjoyable space to create even more memories.
Here are five tips to deep clean a couch.
1. Decode the Care Label Before Starting
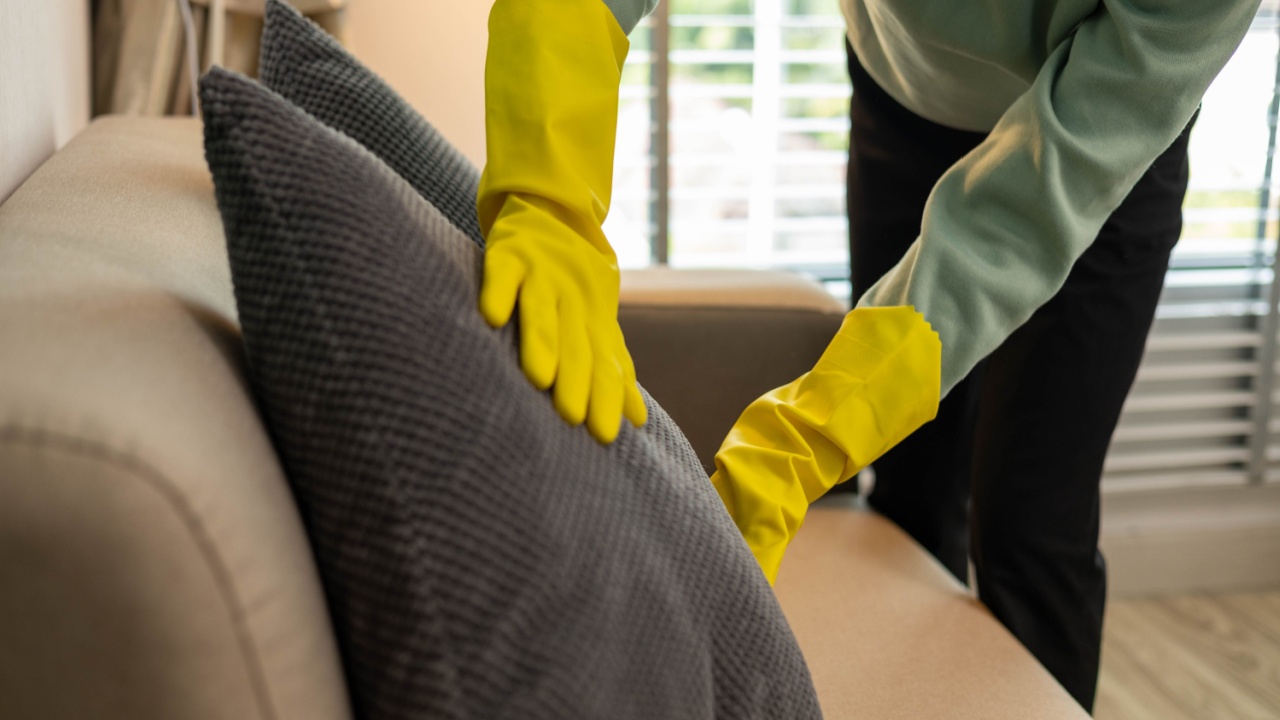
Image Credit: Shutterstock.
Before any cleaning product comes near your upholstery, the first step is to locate and understand the care tag. This small label is the instruction manual for your couch, and ignoring it can lead to unfortunate outcomes like discoloration or fabric damage. Couches come with a specific code that tells you exactly what kind of cleaning agents are safe to use.
These codes are typically straightforward:
- W: This means a water-based cleaner is safe to use. You have a wider range of options, including mild soap solutions and many commercial upholstery cleaners.
- S: This code indicates that only a solvent-based, water-free cleaner should be used. Using water on this type of fabric could leave a permanent ring or mark.
- W/S: You have some flexibility here. Both water-based and solvent-based cleaners are generally acceptable. Still, it is always a good idea to test a small spot first.
- X: This code means liquids are off-limits. Cleaning should be restricted to vacuuming or brushing only. Any attempt to use a liquid cleaner could result in shrinking or staining.
Understanding this code from the start prevents a simple cleaning job from turning into a costly mistake. It dictates every subsequent step you take.
Quick Guide:
- Locate the Tag: Check under cushions or on the frame.
- Identify the Code: Look for W, S, W/S, or X.
- Select Your Cleaner: Purchase a product that matches your code.
- When in Doubt: If you can’t find a tag, proceed with extreme caution. Test any cleaner on a completely hidden area, like the back of a skirt or a small patch under the frame.
2. Prepare the Surface with a Thorough Vacuum
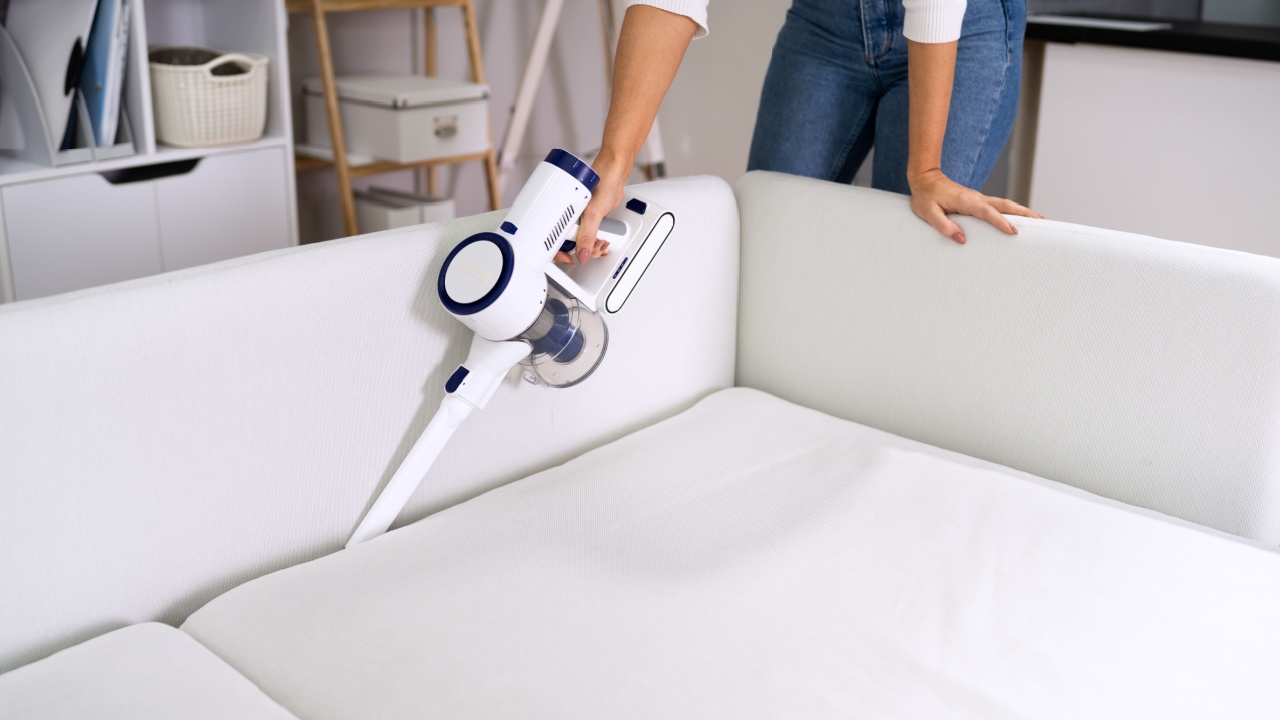
Image Credit: Shutterstock.
Jumping straight to stain removal is a common error. A couch’s surface is covered in dust, pet hair, crumbs, and other small debris. Attempting to clean with liquids before removing this layer will turn the dry dirt into mud, spreading it around and making the job harder. A comprehensive vacuuming is a non-negotiable first step.
Beneath the cushions is another spot that may be surprisingly dirty. Start by removing all cushions, pillows, and throws. Use a vacuum with an upholstery attachment to go over every visible surface. Pay special attention to the nooks and crannies where debris loves to hide. Use a crevice tool to get deep into the seams, around buttons, and along the trim. Don’t forget the frame beneath the cushions, the back of the couch, and even the underside. This initial pass removes the majority of the loose soil, setting you up for a more effective deep clean.
Quick Guide:
- Remove Cushions: Get all loose items off the couch.
- Vacuum Everything: Use an upholstery attachment for broad surfaces.
- Use a Crevice Tool: Target seams, corners, and button tufts.
- Optional Steam: Lightly steam the fabric to loosen deep-down dirt, then vacuum again.
- Address Pet Hair: Use a lint roller or a rubber glove to wipe over the surface to ball up stubborn pet hair.
3. Tackle Stains and High-Traffic Areas
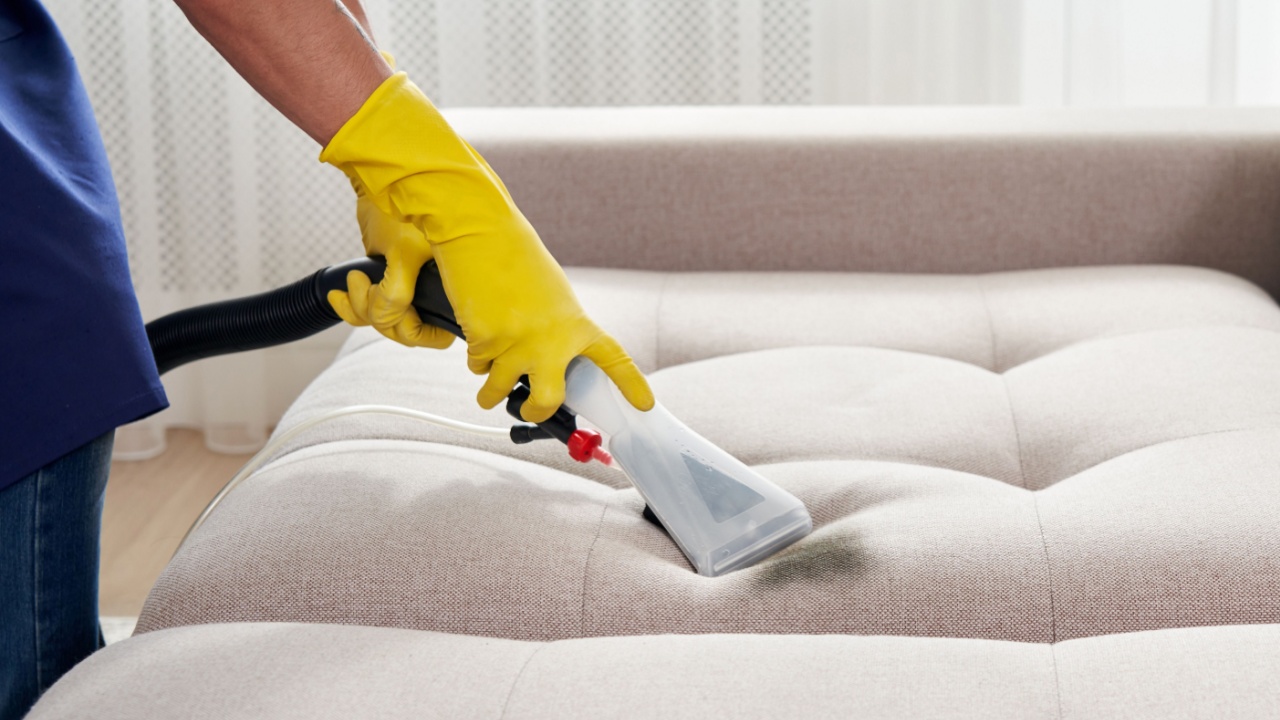
Image Credit: Shutterstock.
With the surface prepped, it’s time to focus on specific spots and heavily used areas. The arms and headrests often accumulate body oils and dirt, appearing darker than the rest of the fabric. Spot treatment requires precision and the right product for your fabric type.
Always test your chosen cleaner on an inconspicuous area first. Apply a small amount and let it sit for a few minutes, then blot it and allow it to dry completely. If there is no discoloration or texture change, you can proceed.
For couches with a “W” or “W/S” code, an enzyme-based cleaner is effective for organic stains like food or pet accidents. Alternatively, a simple solution of clear dish soap and water can work. Apply the cleaner to a cloth, not directly to the stain. Gently blot the stain from the outside edge inward to prevent it from spreading. Once the stain is lifted, use a separate cloth dampened with plain water to “rinse” the area by blotting, then blot dry with a clean towel. For couches with an “S” code, use a dry-cleaning solvent according to the product directions, again applying it to a cloth first and blotting carefully.
Quick Guide:
- Always Test First: Apply cleaner to a hidden spot to check for a reaction.
- Water-Safe Fabrics (W, W/S): Use an enzyme cleaner or a mild soap solution. Blot, don’t rub.
- Solvent-Only Fabrics (S): Use a water-free solvent cleaner, following label instructions carefully.
- Tackle High-Traffic Zones: Pay extra attention to arms and headrests where dirt builds up.
- Blot, Don’t Scrub: Scrubbing can damage fabric fibers and push the stain deeper.
4. Deodorize to Remove Lingering Odors
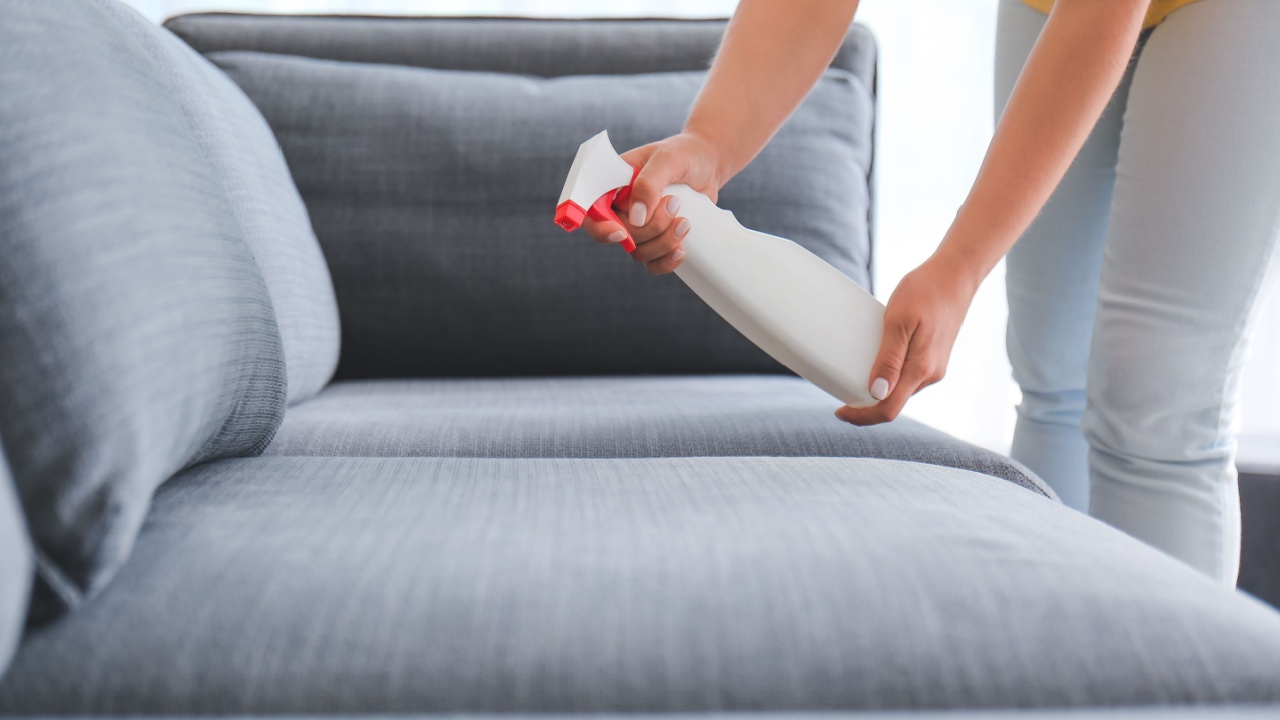
Image Credit: Shutterstock.
Even a visually clean couch can hold onto unwanted smells from pets, food, or general use. Masking these odors with air fresheners is a temporary fix; true freshness comes from neutralizing the source. Baking soda is a simple, effective, and inexpensive deodorizer for most fabric couches.
Sprinkle a generous layer of baking soda over the entire surface of the couch, including the cushions. Let it sit for at least an hour, though leaving it for several hours or even overnight will produce better results. The baking soda works by absorbing the acidic molecules that cause bad odors. Once it has had time to work, vacuum it up thoroughly using an upholstery brush attachment. Make sure you remove all the powder, especially from seams and crevices.
If you prefer a commercial product, look for a fabric spray specifically designed to eliminate odors rather than just cover them up. These products contain compounds that neutralize odor molecules on contact. Spray the fabric lightly and evenly, allowing it to dry completely.
Quick Guide:
- Use Baking Soda: Sprinkle it liberally over all fabric surfaces.
- Let It Sit: Allow at least one hour for the baking soda to absorb odors.
- Vacuum Thoroughly: Remove all traces of the baking soda powder.
- Consider an Odor Eliminator: If using a spray, choose one that neutralizes instead of masks.
5. Condition and Protect Your Work
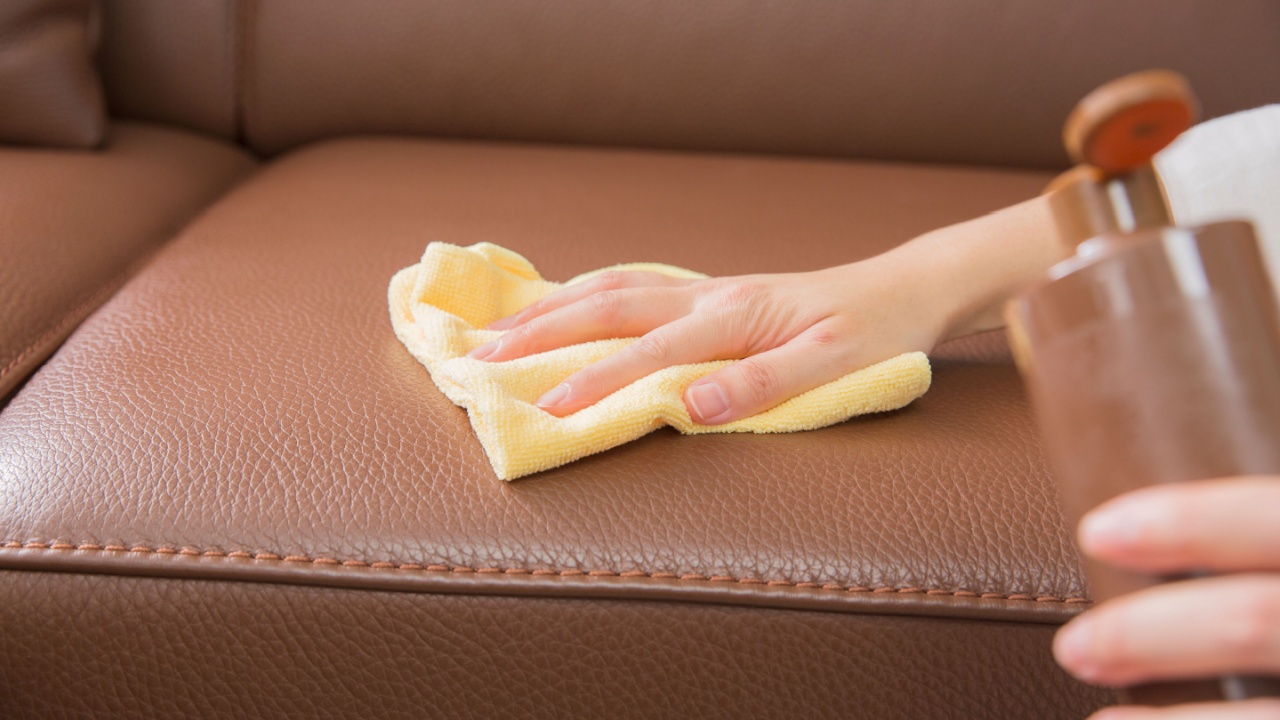
Image Credit: Shutterstock.
After all that cleaning, the final step is to protect the couch from future messes. This step is different for fabric versus leather, but the goal is the same: to create a barrier that makes future cleanups easier.
For fabric couches, once the upholstery is completely clean and dry, you can apply a fabric-protecting spray. These products work by creating an invisible shield on the fibers that helps repel liquids and prevent stains from setting in. This allows you to blot up spills before they have a chance to soak into the material. Apply the spray in a well-ventilated area, following the manufacturer’s instructions for application and drying time.
For finished leather couches, the process involves conditioning. After cleaning with a dedicated leather cleaner, apply a leather conditioner or protectant. This product restores moisture to the leather, keeping it supple and preventing it from cracking. It also adds a protective layer that helps resist stains and makes dusting easier. Apply the conditioner with a soft cloth, working in small, circular motions, and then buff it gently with a clean, dry cloth.
Quick Guide:
- Fabric Couches: Apply a fabric protector spray to repel future stains.
- Leather Couches: Use a leather conditioner to moisturize and protect the material.
- Follow Directions: Always adhere to the product instructions for best results.
- Ventilate the Room: Open windows when applying protector sprays or conditioners.
A Fresh Start for Your Favorite Seat
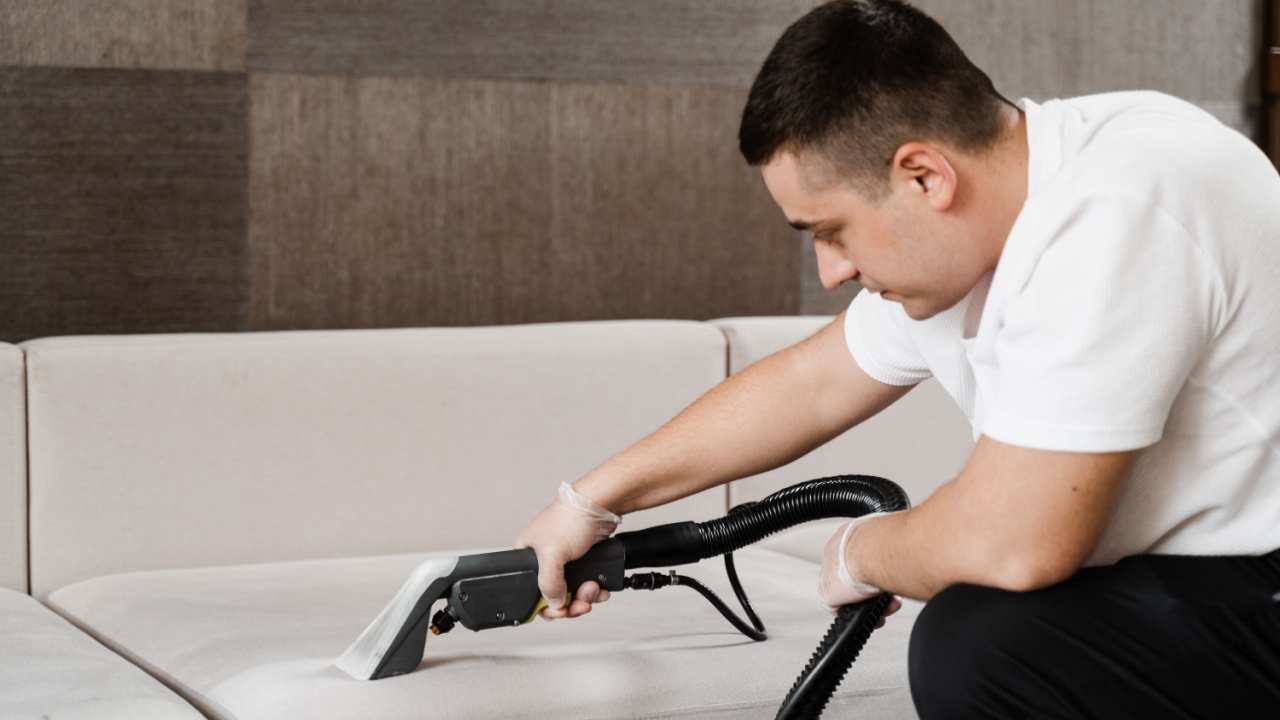
Image Credit: Shutterstock.
With your couch now clean and fresh, the final piece of advice is to maintain it and protect it from pets. Regular maintenance can significantly extend the time between deep cleans. Try to vacuum the couch weekly, using the crevice tool to get into the seams. Rotate and flip the cushions every few weeks to promote even wear. Address spills immediately when they happen, blotting them up before they have time to set. A little consistent care goes a long way in keeping your couch looking and feeling its best, ensuring it remains a comfortable centerpiece in your home for years to come.