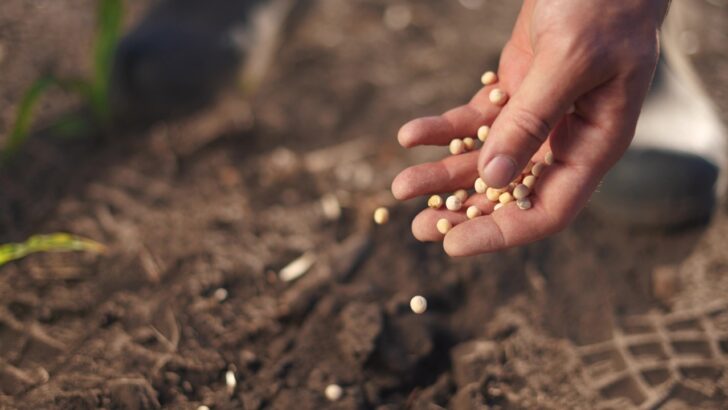
If you’ve ever planted seeds and waited forever for them to sprout, only to be met with disappointing results, you’re not alone. Some seeds, especially ones with tough outer shells, struggle to absorb water and break through their own protective coats. That’s where seed scarification comes in — a fancy word for a simple trick: gently nicking or scratching the seed before planting to help it germinate faster.
Kevin Espiritu from Epic Gardening teaches a simple way to do this.
What Is Seed Scarification?
In nature, seeds go through a lot before they sprout. Some are worn down by the elements, others get scratched up in the soil, and some even pass through the digestive tracts of animals (yes, really) before they’re ready to grow. Scarification mimics this natural process by manually weakening the seed coat, making it easier for water and oxygen to get inside and kickstart germination.
This technique is especially helpful for seeds with thick, hard shells — things like morning glory, sweet peas, and some beans. Without a little help, these seeds can sit in the soil for weeks before sprouting, if they sprout at all.
Why Bother Cutting Seeds?
If you want faster and more reliable germination, scarification is a simple way to give your seeds a head start. By helping the seed take in moisture more easily, you can:
- Speed up germination — seeds sprout days or even weeks earlier.
- Ensure more even growth — instead of having some plants pop up early, and others lag behind.
- Improve success rates — fewer seeds fail to sprout, meaning less waste and better results.
Not all seeds need scarification, but for the ones that do, it can make a huge difference.
How to Scarify Seeds (Without Ruining Them)
Scarification is easy, but you’ll want to be careful. If you cut too deep, you can damage the seed inside. Here’s how to do it safely:
- Choose the Right Seeds – Not all seeds need scarification! Check if yours have thick coats (morning glories, sweet peas, nasturtiums, and some vegetables like beets often benefit).
- Grab Your Tools – A small knife, nail clippers, or even a bit of sandpaper will do the job.
- Make a Small Nick or Scratch – Gently file or cut just enough to weaken the outer shell but not so deep that you reach the inside.
- Soak the Seeds – After scarifying, soak them in warm water for a few hours or overnight. This softens them up even more.
- Plant Right Away – Once soaked, plant them immediately before they dry out.
A Few Words of Caution
Scarification isn’t for every seed. Some seeds have soft coats and don’t need any help sprouting. Others — like lettuce, carrots, and tomatoes — can actually be damaged by this method. If you’re unsure, do a quick search on whether your seeds benefit from scarification before grabbing the sandpaper.
Also, don’t overdo it. You’re just trying to weaken the shell, not split the seed in half! A small nick is all you need.
Scarifying seeds is one of those little gardening tricks that can make a world of difference. If you’ve struggled with slow or stubborn germination, this simple technique might be exactly what your garden needs. Give it a try, and you may never go back to planting unscarified seeds again!
