Most lemon trees don’t die from neglect.
They die from decisions made before the first drop of water ever hits the soil. The wrong pot, the wrong soil mix, and a plant that was never going to fruit to begin with — these are the mistakes that doom a lemon tree quietly, long before anyone realizes what went wrong.
The good news is that none of this is complicated once you know what you’re doing. Container lemon trees are genuinely one of the most rewarding plants a home gardener can grow; fragrant enough to perfume a room in January, productive enough to yield fruit year-round with the right variety, and flexible enough to thrive anywhere with a sunny window.
Here is exactly how to do it right.
Step 1: Buy a Grafted Tree (This Is Non-Negotiable)
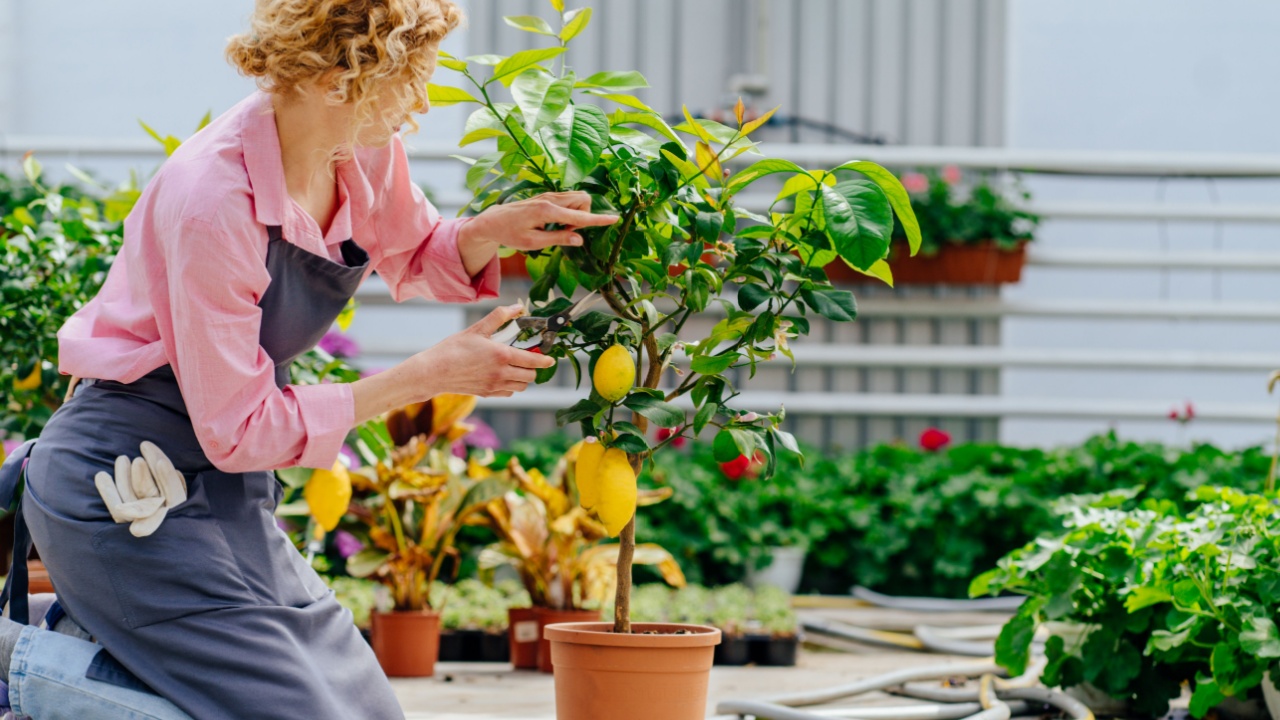
Image Credit: Shutterstock.
Before you touch a pot or a bag of soil, you need to make the single most important decision in container lemon growing: buy a grafted tree.
Every commercial citrus nursery in the world grafts its trees. A grafted lemon tree — one where the fruiting variety has been joined onto a hardy rootstock — will begin producing fruit within one to three years. A tree grown from a lemon seed, on the other hand, can take five to seven years to fruit, and may never produce reliably at all. As the team at US Citrus Nursery, which has grown over 250,000 citrus trees, notes, starting with a grafted tree saves three to five years compared to growing from seed.
At the nursery, look for a small bump or ridge near the base of the trunk — that’s the graft union. Better still, choose a tree that already has flowers or small fruit on it for proof that it’s a mature, productive grafted variety.
Step 2: Pick the Right Variety for a Pot

Image Credit: Shutterstock.
Not every lemon is suited for container life. Standard trees can reach 20 feet tall; you want a dwarf variety, which tops out at 4–10 feet while still producing full-size fruit.
The Meyer lemon is the standout choice for most container gardeners. It’s a hybrid of lemon and mandarin orange, sweeter and less tart than a classic lemon, and it blooms and sets fruit year-round rather than once a season. It’s also the most cold-tolerant of the common varieties, which matters enormously if you plan to move the tree indoors in winter.
The Eureka Dwarf delivers that classic sharp lemon flavor and adapts well to container life, but it’s more sensitive to cold. The Ponderosa Dwarf produces large, intensely flavored fruit but is similarly frost-averse. For most gardeners who are new to container citrus, the Meyer is the low-risk, high-reward starting point.
Step 3: Don’t Over-Pot (The Most Common Beginner Error)
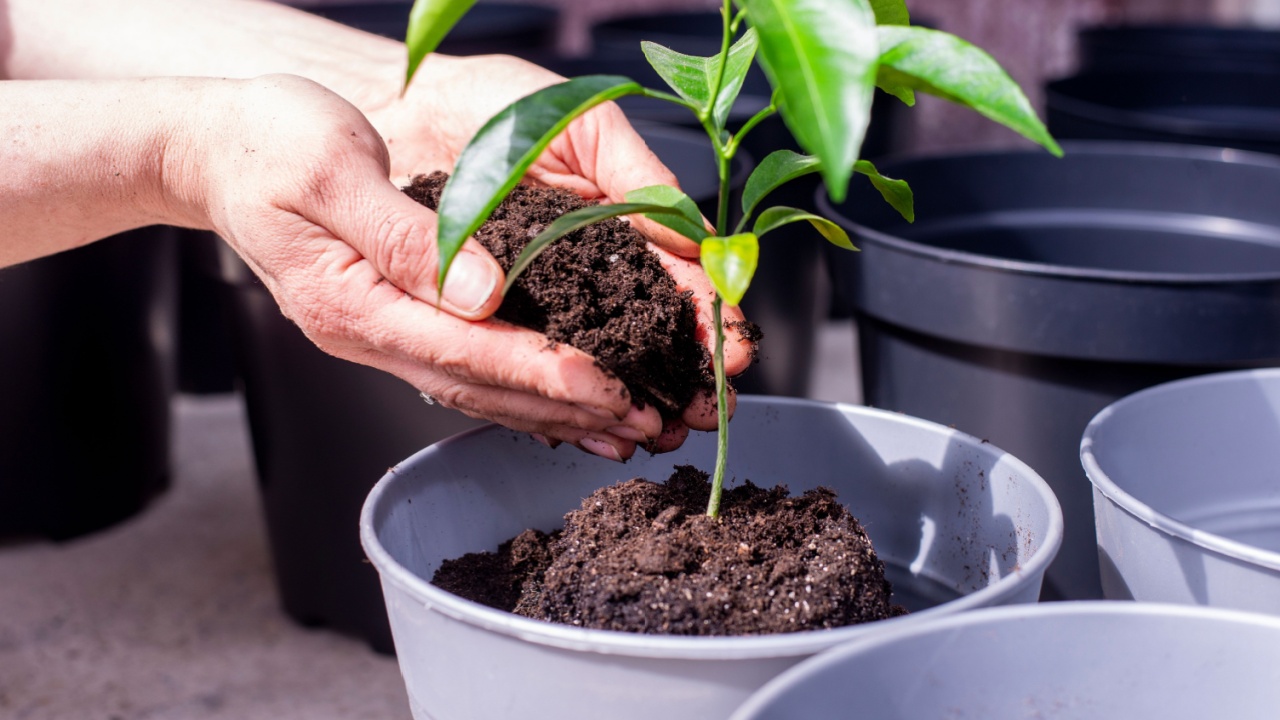
Image Credit: Shutterstock.
This is where most enthusiastic beginners go wrong: they buy a beautiful, large planter, fill it with soil, and plant their small tree inside it, giving it “room to grow.” The tree responds by developing root rot.
The problem is physics. A large volume of soil surrounding a small root ball stays wet for much longer than a properly sized container. Lemon tree roots sitting in soggy soil develop rot quickly, and by the time the leaves start yellowing, the damage is often already done.
Matthew Fleming, lead horticulturist for tropical plants at the Smithsonian Gardens, offers a clear rule in Better Homes and Gardens: choose a pot that is about 15% larger in volume than the tree’s current root system. A 2–3 gallon nursery tree goes into a 7–10 gallon container. A mature tree eventually moves into an 18–25 gallon pot, but not all at once.
As for pot material, Fleming recommends terra-cotta because it breathes and wicks excess moisture. Growers in hot, dry climates sometimes prefer glazed ceramic, which retains moisture better during hot summers. Either works; what matters most is that the pot has excellent drainage. If it has only one center hole, drill more.
Step 4: Use the Right Soil (Regular Potting Mix Will Fail)
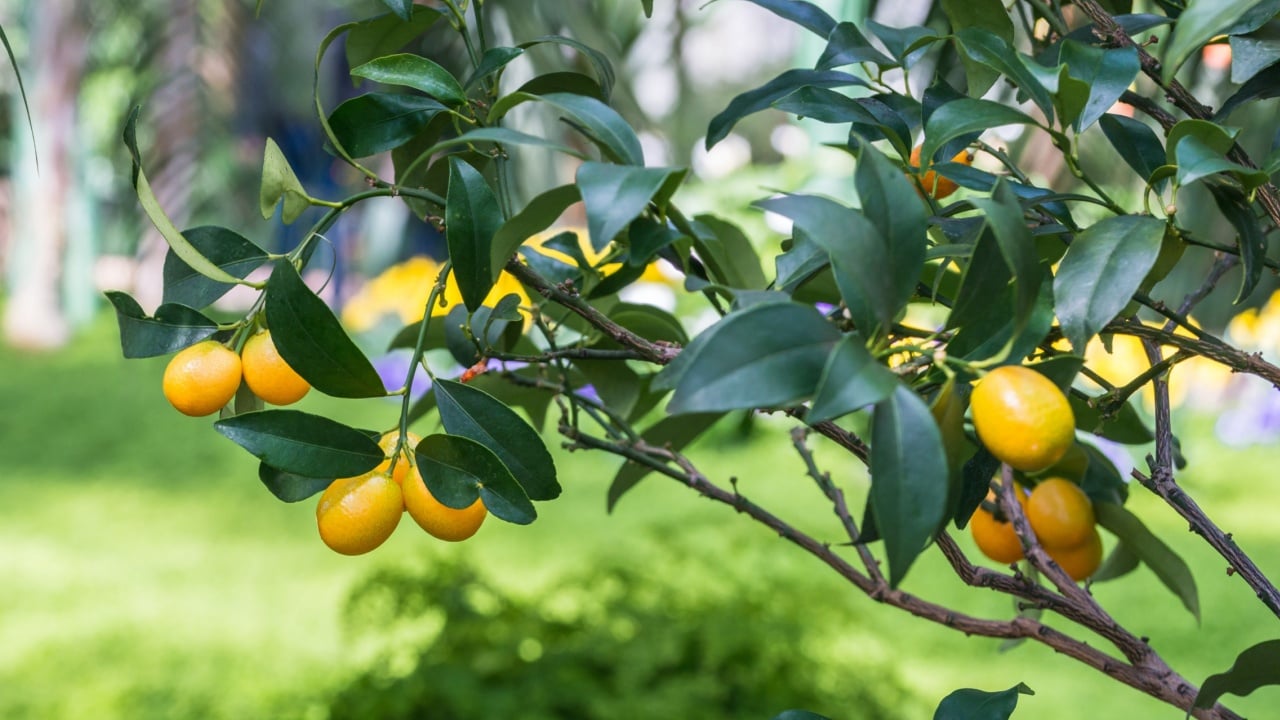
Image Credit: Shutterstock.
Standard potting mix is engineered to retain moisture, which is exactly the wrong quality for a lemon tree. Lemon roots need soil that drains quickly and dries out between waterings.
Reach for a citrus or cactus potting mix with a pH between 5.5 and 6.5. As Fleming explains in Better Homes and Gardens, if the soil pH is off, the lemon tree will not be able to absorb the nutrients it needs from the soil, no matter how faithfully you fertilize. If your citrus mix seems dense, add perlite or vermiculite to improve drainage. Never use native yard soil in a container; it compacts, suffocates roots, and drains poorly.
Step 5: Find the Sunniest Spot You Have
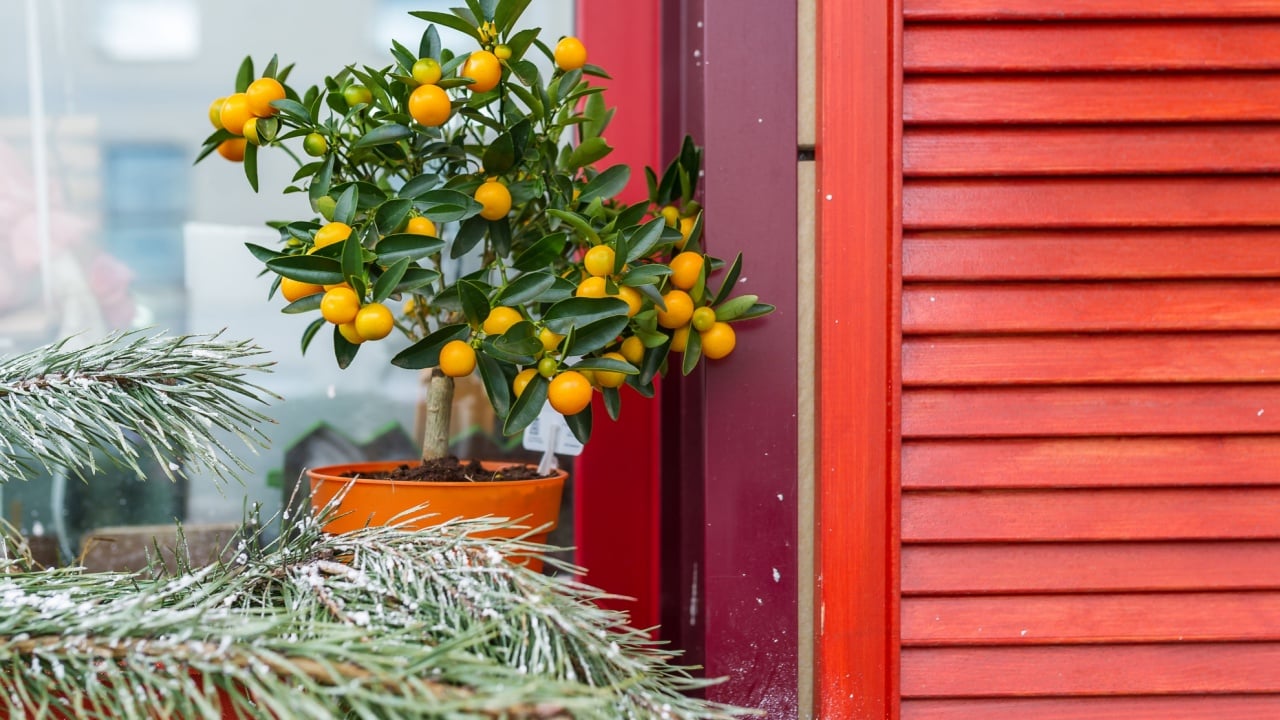
Image Credit: Shutterstock.
Lemon trees are light-hungry in a way that surprises people. Eight hours of direct sunlight per day is the minimum for healthy growth; 8–12 hours is optimal if you want reliable fruiting. A south-facing window is your best indoor option. Outdoors, a south- or west-facing spot with some wind protection is ideal.
One nuance worth knowing: while the canopy needs sun, the pot itself should not bake in full afternoon heat. An unshielded dark pot in direct summer sun can push soil temperatures past 120°F, which shocks and damages roots. If your pot is sitting on a hot patio in full afternoon exposure, consider shielding it or nesting it inside a slightly larger decorative container for insulation.
If you’re growing primarily indoors and light is limited, a full-spectrum LED grow light at around 6,000 Kelvin, running for 10–14 hours a day, will compensate, as noted by the University of Maryland Extension.
Step 6: Water Deeply, Not Often

Image Credit: Shutterstock.
The finger test beats any watering schedule: push your finger two inches into the soil. If the top inch or two is dry, water thoroughly until it drains freely from the bottom of the pot, then empty the saucer. If the soil still feels damp, wait.
Get your watering right, and half your problems disappear. Overwatering produces yellowing leaves, flower drop, and eventually root rot; the roots turn brown, black, or slimy rather than white and firm. Underwatering produces curling leaves and, if severe, leaf drop. Both symptoms look like stress; the soil is your diagnostic tool, not the leaves.
In summer, mulching the top two inches of the pot with leaves or bark chips reduces moisture loss significantly between waterings, as recommended by the gardening team at White on Rice Couple, who added a drip irrigation line to their potted Eureka after inconsistent hand-watering caused the fruit to dehydrate.
Step 7: Feed with Citrus-Specific Fertilizer
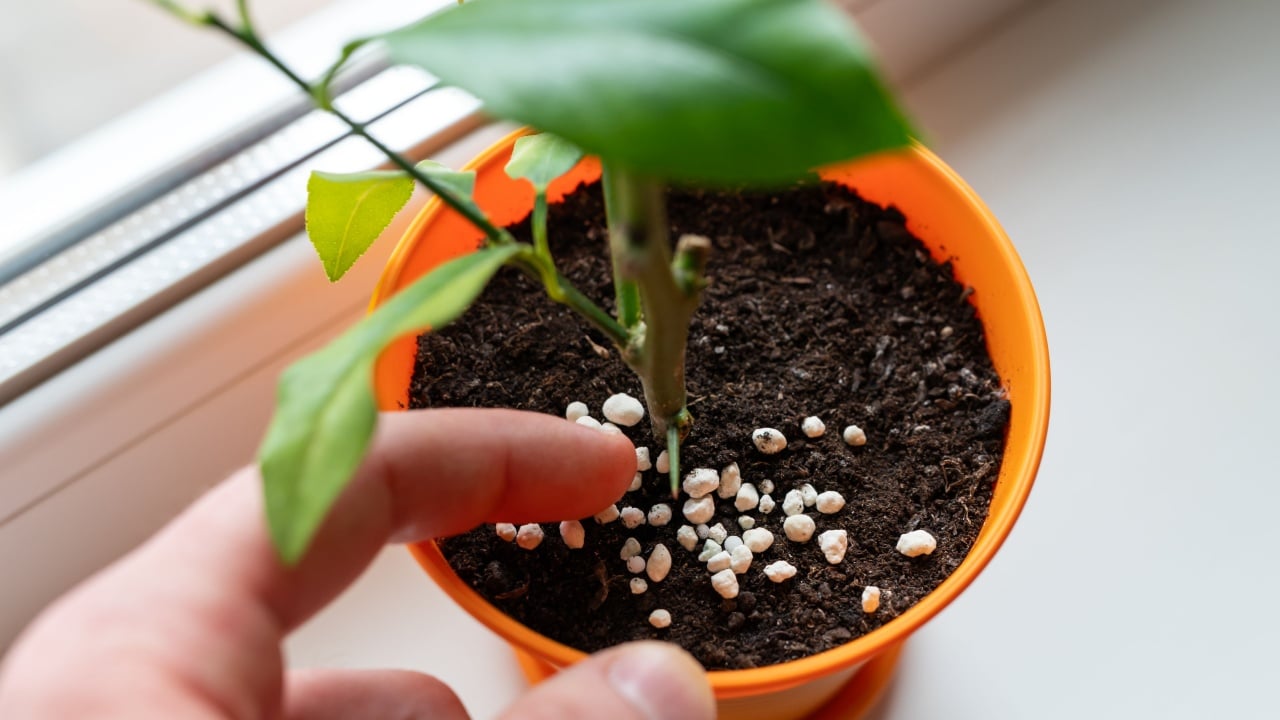
Image Credit: Shutterstock.
Lemon trees are heavy feeders, and a pot offers only a limited bank of nutrients that deplete steadily. A general-purpose houseplant fertilizer won’t cut it. Citrus trees require micronutrients, particularly zinc, iron, and manganese, that most standard fertilizers don’t include.
The team at White on Rice Couple spent months chasing unexplained yellowing between leaf veins on their potted Eureka before discovering, through university research, that citrus cannot absorb zinc and phosphate simultaneously, and their fertilizer contained both. Switching to a citrus blend that included zinc and manganese, without competing phosphate, resolved the problem quickly.
Feed three times during the growing season: early spring, early summer, and late summer. Stop fertilizing in fall and winter when the tree is semi-dormant. Over-fertilizing with acidifying products can push soil pH so low that nutrient lockout occurs, causing the exact deficiency symptoms you were trying to prevent.
Step 8: Bring It In Before Frost (And Do It Gradually)

Image Credit: Shutterstock.
A potted lemon tree is effectively one hardiness zone less cold-tolerant than the same variety growing in the ground. The container provides no insulating soil buffer. Even a Meyer lemon, the most cold-hardy of the bunch, cannot survive a hard freeze in a pot.
Move the tree indoors before temperatures drop below 50°F, and do it gradually. The University of Maryland Extension recommends transitioning over two weeks: start in a shaded spot outdoors, then move to partial indoor light, then to your brightest window. Skipping this step causes cold shock, which triggers leaf, flower, and fruit drop.
Indoors, the tree needs a south-facing window, temperatures above 65°F, and humidity at 50% or higher. Central heating dries indoor air dramatically; a small humidifier nearby makes a real difference. If your tree blooms indoors, and a Meyer lemon very likely will, filling the room with a jasmine-like fragrance, hand-pollinate the flowers with a small paintbrush. Without bees and wind, indoor flowers often fail to set fruit without a little help.
Step 9: Repot or Root-Prune Every 2–3 Years
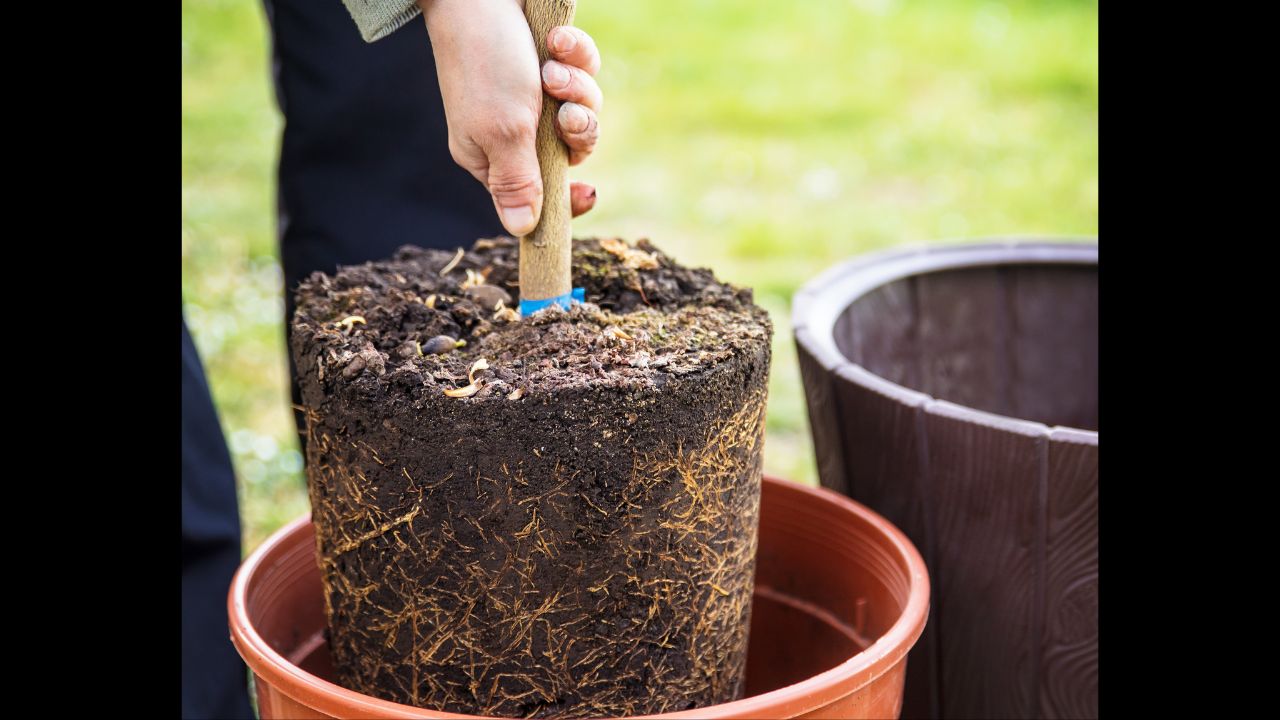
Image Credit: Shutterstock.
A lemon tree will grow to fill its pot, then stall. The signs it’s time to act: roots visible through the drainage holes, or a canopy that has clearly outgrown the container.
You have two options. Repot into a container about 15% larger — no more. Or, if you want to keep the tree compact and easy to move, try what expert Steve Biggs recommends via Orchard People: every three to four years, remove the tree from its pot, trim the root ball gently with hand pruners, and replant it in the same container. This keeps the tree small and mobile without sacrificing fruit production.
While you’re tending the roots, scan the base of the trunk for sucker branches — shoots growing from the rootstock below the graft union. These suckers will overtake the tree if left alone and revert it to a non-fruiting rootstock variety. Prune them immediately at the base.
The Lemon Tree That Lasts
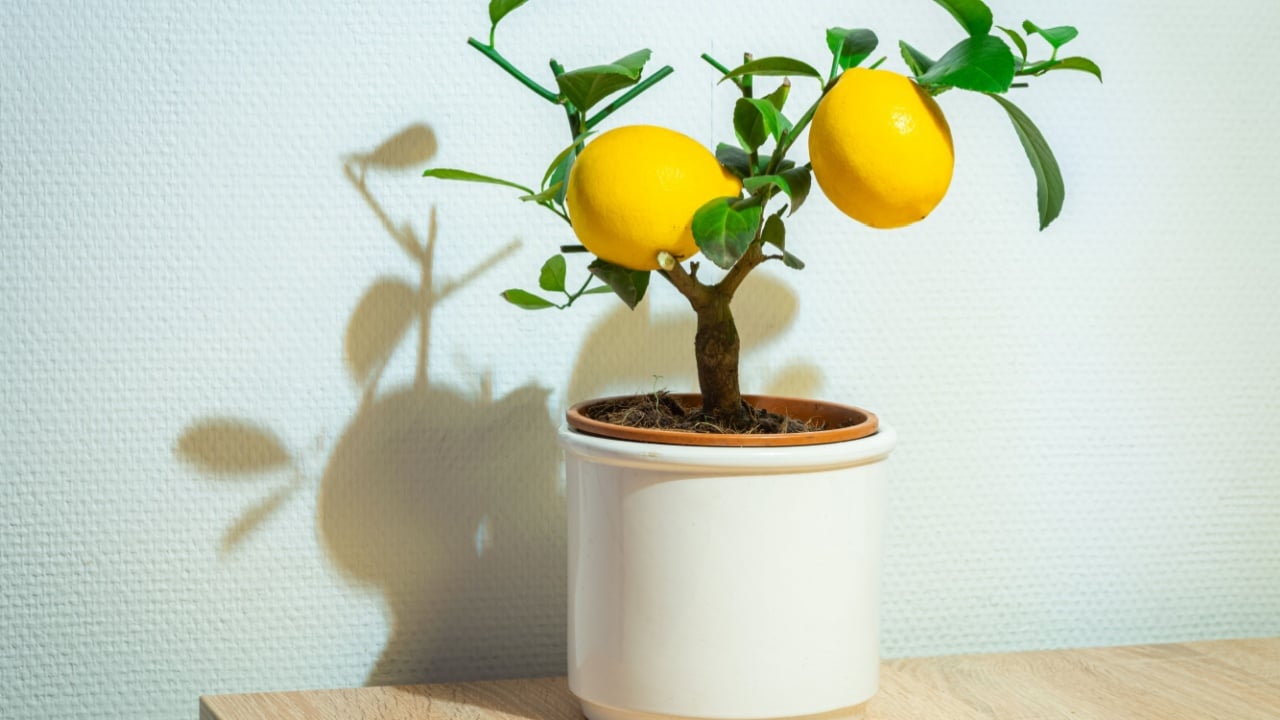
Image Credit: Shutterstock.
Lemon trees in containers aren’t fussy, but they are specific. They want fast-draining soil, consistent but not excessive water, a citrus-tailored diet, and more sun than most houseplants. Give them those things, start with a grafted dwarf variety, and don’t rush the pot size. In return, you get a tree that blooms in the dead of winter with a scent that makes February feel warmer, and delivers lemons on a plant you can move anywhere your life takes you.
Read more:
Do these 12 raised garden bed tasks before March ends, or lose your head start
12 vegetables to direct sow in the garden right now in March