
Every Easter, millions of perfectly good perennial bulbs go straight into the trash. If you’ve been tossing your potted Easter lily once the blooms fade, you’ve been making one of the most common and easily fixed mistakes in the spring garden.
That $10 or $12 plant from the grocery store isn’t a temporary decoration. It’s a living bulb that, with five minutes of effort, can bloom in your garden every summer for a decade.
The window to act is right now. Easter falls in early April this year, and the few weeks after your lily finishes blooming are exactly when you need to make the move. Wait too long, and you’ll lose momentum; act now, and you’ll have one of the most fragrant, reliable perennials in your yard by midsummer.
What Most People Don’t Know About Easter Lilies
Image Credit: Shutterstock.
The Easter lily, known botanically as Lilium longiflorum, is not a spring plant. Left to its own devices in the garden, it blooms in June or July — sometimes as late as mid-summer. The pristine, trumpet-shaped flowers you see in stores every March exist only because greenhouse growers spend months carefully manipulating temperature and light to coax the bulb into blooming at just the right moment.
According to the University of Nebraska-Lincoln Extension, that manipulation is extraordinarily precise: greenhouses receive dormant bulbs in January. They must time their growing conditions to align with Easter’s moving target, which can fall anywhere between March 22 and April 25. The bulbs themselves take two to four years in the field before they’re even large enough to force for the holiday market. 95 percent of all Easter lily bulbs sold in the United States are grown in a single narrow corridor along the California-Oregon border, a region growers call the Easter Lily Capital of the World.
Once you understand that these are field-grown, long-lived perennial bulbs that have simply been rushed into bloom for your benefit, throwing one away feels very different.
Don’t Toss It When It Looks Like This
Image Credit: Shutterstock.
After the last flower fades, your Easter lily will start to look rough. The blooms wither, the stalk may begin to yellow or brown at the tips, and the whole plant takes on the appearance of something that’s given up. This is where most people make the mistake.
Do not cut back the stalk, and do not throw away the plant.
As the Old Farmer’s Almanac explains, the foliage continuing to die back naturally is doing critical work: the leaves and stem are channeling energy back into the bulb, building the reserves it needs to bloom again next year. Cutting the stalk too early is one of the surest ways to end up with a bulb that never performs outdoors.
Instead, snap off the spent flowers at their base, remove any browning leaves, and keep watering the plant as you normally would. Keep it in bright, indirect light near a window until the outdoor conditions are right for planting.
Here are the steps that you need to take to plant your easter lily successfully outside for years of blooms to come.
1. Remove the foil wrapper immediately
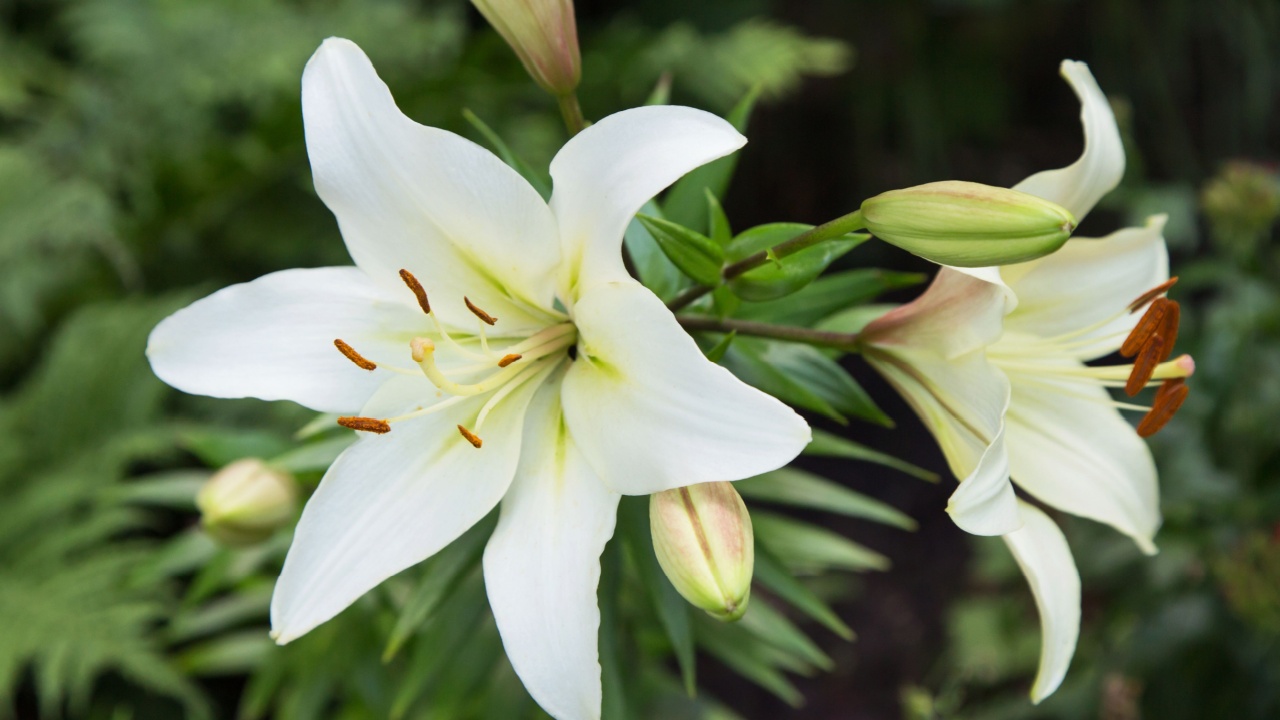
Image Credit: Shutterstock.
Most potted Easter lilies come wrapped in decorative foil or plastic. Take it off as soon as you get the plant home. That wrapping traps water around the roots and is a fast path to bulb rot. You need to let the plant breathe.
2. Keep watering while it’s still indoors

Image Credit: Shutterstock.
Water the lily when the top inch of soil feels dry. Don’t fertilize while the plant is still blooming, but once the last flower is gone, a diluted balanced fertilizer every two weeks will help the bulb prepare for outdoor life. Pinch off spent blooms to prevent the plant from putting energy into seed production. You can toss these into the compost, if you have one. Leave everything else on the plant that is green intact.
3. Harden off the plant before planting
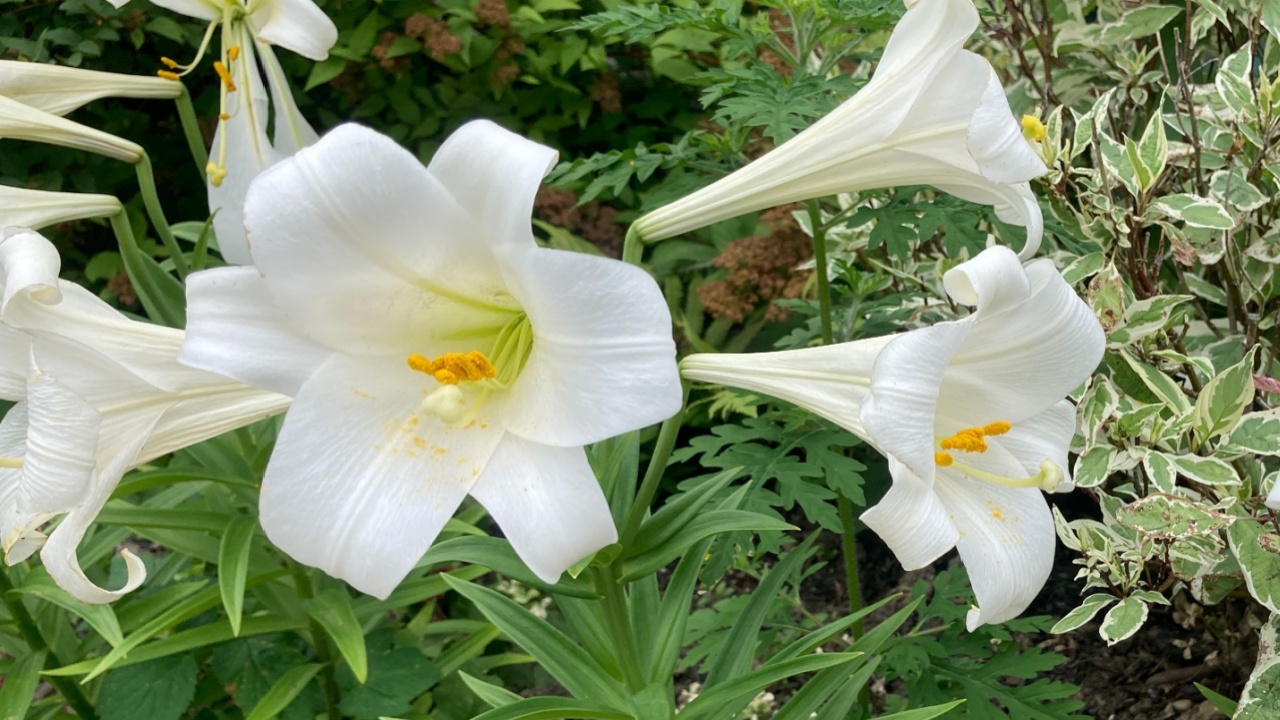
Image Credit: Shutterstock.
Don’t rush your lily from a warm windowsill straight into the ground. If you do, the lily can go into transplant shock, which can stunt its growth or possibly kill it. Instead, set it outside in a shaded spot for a few days first, and then gradually introduce it to more direct sunlight over about a week. This method prevents transplant shock and sun scald on the leaves. Patience is rewarded here!
4. Wait until after your last frost
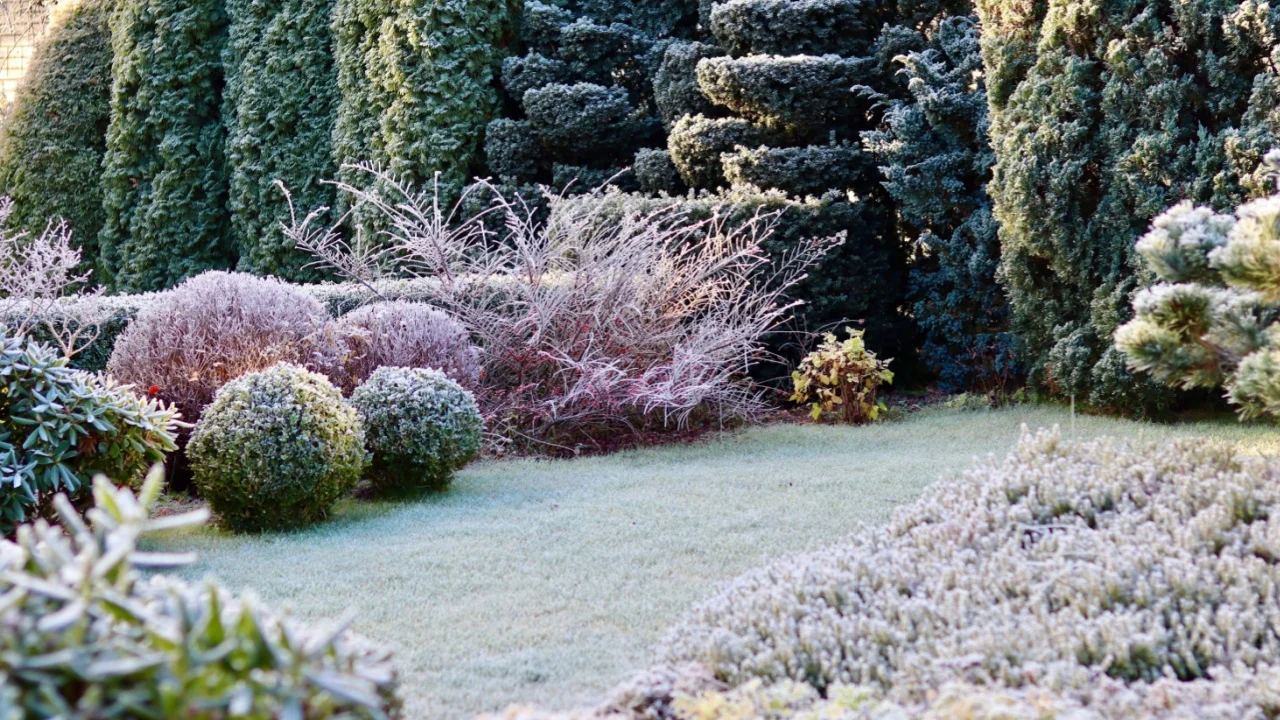
Image Credit: Shutterstock.
In most of the US, that means late April through mid-May. If you’re in a warmer zone, you may be able to plant as soon as mid-April. Watch the forecast, and when nighttime temperatures are consistently above freezing, you can begin to adjust the lily to life outside.
5. Choose the right spot, and amend the soil if needed

Image Credit: Shutterstock.
Easter lilies thrive in a location with morning sun and some afternoon shade, especially in warmer climates. Good drainage is non-negotiable; they’ll rot in soggy soil. If your garden bed has heavy clay, mix in compost to improve drainage and add nutrients. Easter lilies prefer a slightly acidic to neutral soil pH (around 6.5 to 7.0).
To plant, it’s easiest if you slide the plant out of its pot carefully, keeping the roots and soil together as much as possible. Set it so the top of the bulb sits four to six inches below the soil surface. Water thoroughly after planting to help the soil settle around the roots.
6. Mulch the surface and mark the planting spot
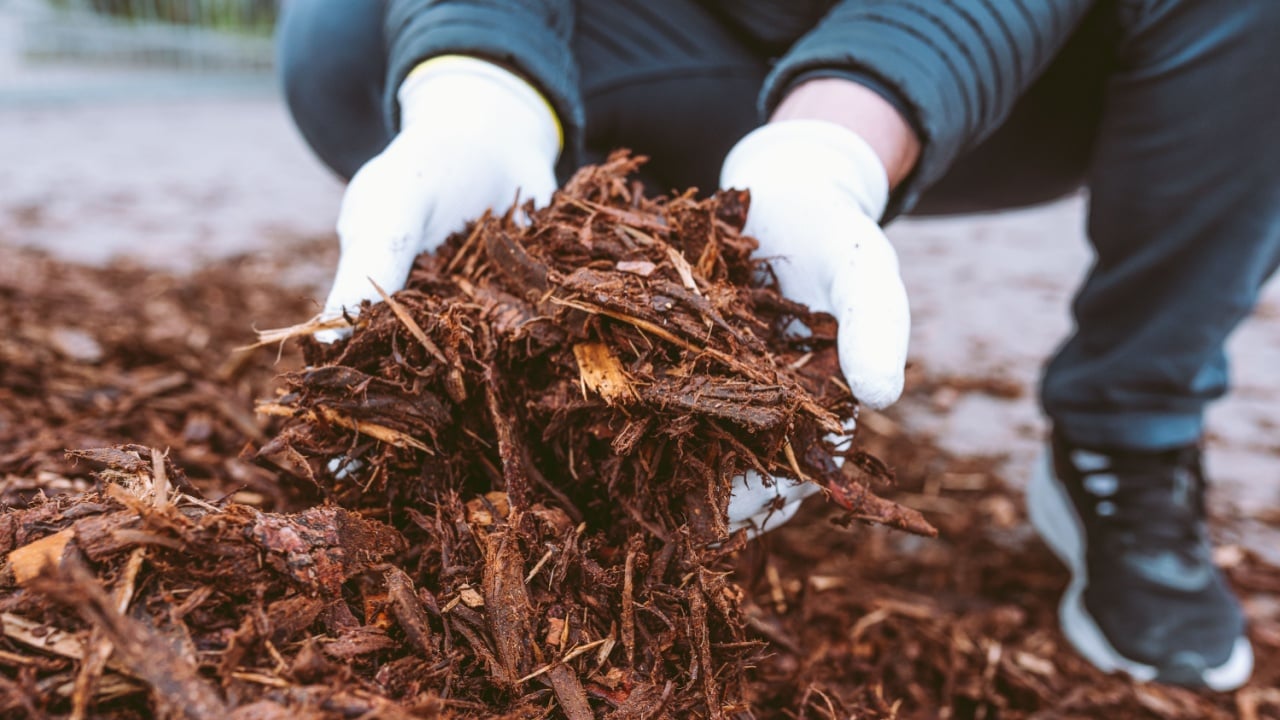
Image Credit: Shutterstock.
Apply about two inches of mulch over the planting area. This keeps roots cool during summer heat, retains moisture, and suppresses weeds. Shredded leaves, bark chips, or straw all work well.
Easter lily foliage will yellow and disappear by midsummer as the plant goes dormant — and you will absolutely dig up the bulb by accident if you haven’t marked where it is. A small stake or plant marker is worth the extra ten seconds.
One Warning Worth Knowing

Image Credit: Shutterstock.
If you have cats, keep them well away from Easter lilies. According to SDSU Extension, all parts of the plant, including the pollen, are toxic to cats and can cause severe kidney failure even in small amounts. If you suspect your cat has ingested any part of the plant, contact your veterinarian immediately. The plant is far less dangerous to dogs, but it’s still best to keep curious pets from chewing the foliage.
One additional note for serious lily gardeners: avoid planting forced Easter lilies directly next to established hybrid lily varieties in your beds. Greenhouse-forced plants can carry viral diseases that may spread to other lilies in your collection.
What Happens Next — and Why It’s Worth the Wait
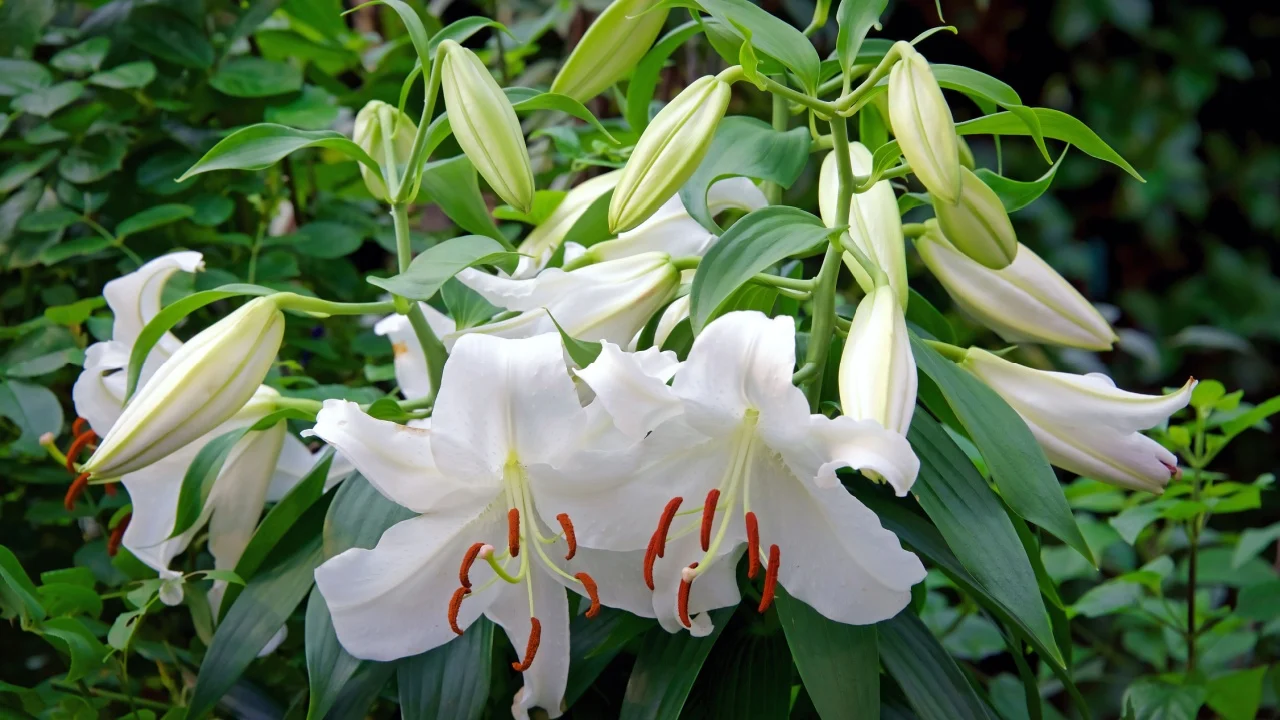
Image Credit: Shutterstock.
Here is the part that requires the most patience and the most reward.
In the first summer after outdoor planting, your Easter lily may seem to do almost nothing. The stalk will die back, the spot will look bare, and you may wonder if it worked at all. It did. The bulb is establishing itself underground, growing its root system, and preparing for its natural summer bloom cycle.
By the second year, you should see the lily emerge in spring and bloom in June or July — on its own schedule this time, not the greenhouse’s. And according to the Old Farmer’s Almanac, each year after that, the bulb grows larger, producing more flowers over a longer period. Eventually, small bulblets form around the main bulb. In the fall, you can separate them and replant them throughout your garden, or pass them along to a neighbor. Those divisions take two to three years to reach blooming size, but the math works out beautifully: one $12 potted plant, given five or ten years, can fill a garden bed.
One final tip for right now, while it’s still relevant: once Easter has passed, keep an eye on grocery stores and garden centers. Post-holiday Easter lilies are often marked down to a few dollars each. Dan Gill, the longtime garden columnist for NOLA.com, has called them “an excellent bargain to obtain plants for your gardens.” He’s right. Buy a few while they last, plant them all, and let the multiplying begin.
The Easter lily was never meant to last just two weeks. It was meant to last years.
Read More
Plant these 10 companion plants with your tomatoes — and stop planting these 4
13 Plants That Grow Better (and Faster) Hydroponically — and Why March Is the Perfect Time to Start