Every summer, American gardeners collectively pour billions of gallons of water onto their soil, only to lose 30–50% of it to evaporation before it ever touches a root.
The answer to this problem was solved over 4,000 years ago.
The technique is called olla irrigation, and it is arguably the most water-efficient gardening method ever devised. If you have not heard of it, you are not alone. But if you have a bag of potting soil, a terracotta pot, and about five dollars, you can set it up in your garden this spring before summer heat makes every drop count.
What Is an Olla, and Why Did We Ever Stop Using It?
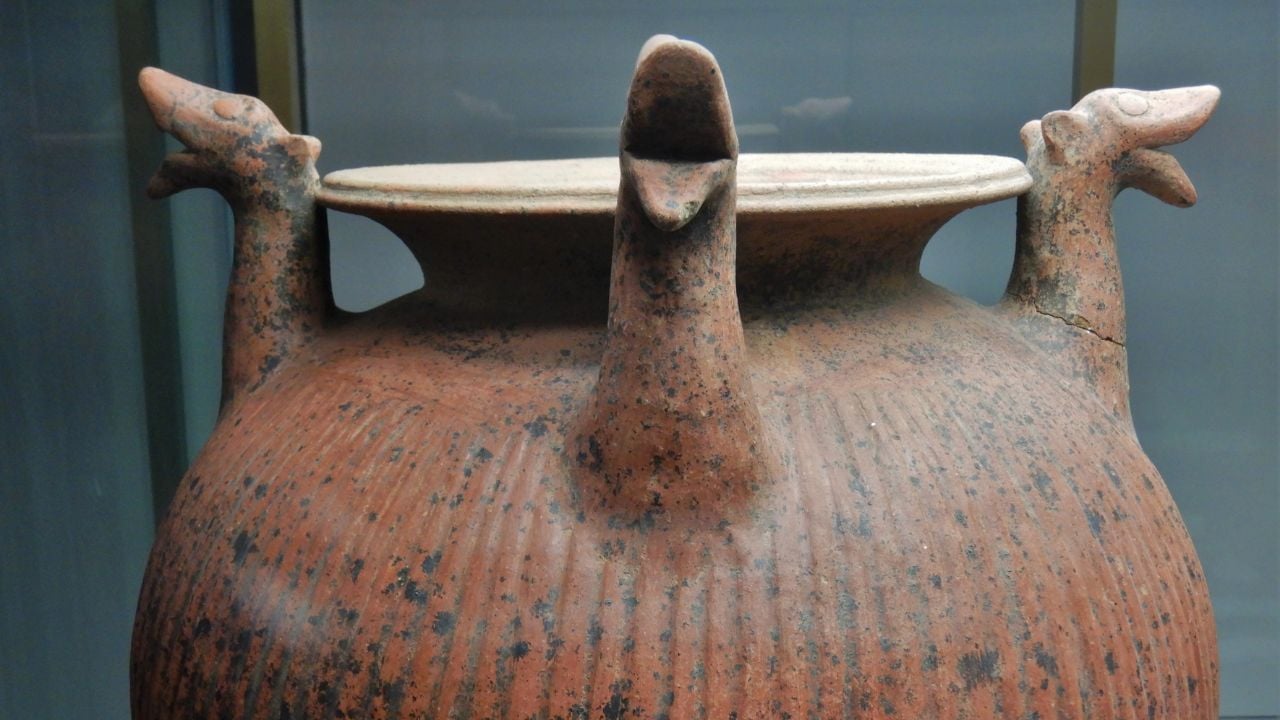
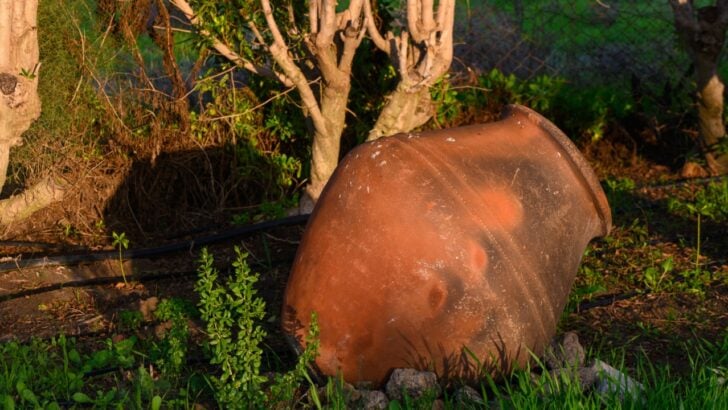
Image Credit: Albarubescens – Own work – CC BY-SA 4.0/Wiki Commons.
An olla (pronounced “oh-ya”) is an unglazed clay pot buried in garden soil with only its neck exposed. You fill it with water, cover the opening, and walk away. The porous terracotta walls slowly release moisture directly into the surrounding soil, driven entirely by the roots of nearby plants. No timer, no electricity, and no guesswork.
According to Native Seeds, the technique originated in China and North Africa more than 4,000 years ago and eventually spread through arid regions across the globe, reaching ancient Rome and pre-Columbian South America. Ollas were documented in the Fan Sheng-Chih Shu, widely cited as China’s oldest agricultural science textbook, over 2,000 years ago. In ancient Roman culture, the vessel was called aula in archaic Latin and chytra in Greek.
The technique never disappeared entirely. Gardeners in India, Latin America, and other dry-climate regions never stopped using it. In the American Southwest, it is still actively taught and promoted by organizations like Native Seeds in Tucson. The rest of the world simply moved on to sprinklers, then drip lines, then automated timers, and forgot that something simpler had already worked for millennia.
How Ollas Outperform Every Modern System
Image Credit: Eric Polk – Own work – CC BY-SA 4.0/Wiki Commons.
The science behind ollas is elegant. When soil dries out, it creates suction tension that pulls moisture through the microscopic pores of unglazed clay. As the surrounding soil reaches the right moisture level, that tension eases, and the water flow slows or stops on its own. The plant’s roots, in other words, regulate their own water supply.
According to the University of Arizona Cooperative Extension, olla irrigation can save between 60 and 70 percent of water compared to conventional watering methods. Research cited through UC Cooperative Extension similarly documents reductions of 50 to 70 percent compared to surface irrigation.
Consider what that means in practice. Sprinklers lose an average of 30 to 50 percent of all water to evaporation before it even contacts the soil, according to Water Use It Wisely, a conservation resource. Much of what reaches the surface evaporates before roots can use it. Drip irrigation is better, but water delivered above the root zone is still subject to gravity losses and surface evaporation. Ollas deliver moisture below the surface, exactly where roots live, at exactly the rate the plant demands.
7 Reasons Gardeners Are Switching to Ollas This Spring

Image Credit: Shutterstock.
Spring is the ideal time to bury ollas alongside plant transplants, while the soil is workable and before the heat of summer turns daily watering into a physical grind. Here is why so many gardeners are making the switch right now.
- No more daily watering. Once installed, a standard olla needs refilling only once or twice a week. For anyone managing joint pain, mobility challenges, or a simply busy schedule, eliminating the daily hose-dragging routine is a meaningful quality-of-life improvement.
- Plants never stress between waterings. Conventional watering creates boom-and-bust cycles, flooding roots one day and leaving them parched the next. Ollas deliver a steady trickle, keeping moisture in the root zone continuously. According to Native Seeds, plants watered this way do not undergo stress cycles and can live and produce longer.
- Fewer weeds, guaranteed. Because ollas keep the soil surface dry while moistening the root zone below, weed seeds in the top layer of soil have nothing to germinate with. Experienced gardeners consistently report a dramatic reduction in weeding time after switching from overhead irrigation.
- Less fungal diseases. Overhead watering wets plant leaves, creating the exact conditions that fungal diseases like downy mildew and late blight require to spread. Olla irrigation keeps foliage dry entirely, cutting off that disease pathway at the source.
- Stronger, deeper roots. Plants in olla-irrigated beds develop dense, reaching root systems as they grow toward the consistent moisture source underground. Dig up an olla at season’s end, and you will find a thick mat of roots pressed against the outside of the clay wall. The same plants in non-olla beds show noticeably thinner root systems.
- You cannot overwater. Because the clay only releases water in response to soil moisture tension, it is physically impossible for an olla to flood the root zone. The self-regulating mechanism eliminates one of the most common and damaging beginner mistakes in vegetable gardening.
- Your garden waters itself on vacation. A 2-gallon olla can maintain steady moisture in a raised bed for up to a week in moderate weather. Connect the system to a gravity-fed rain barrel, and your garden becomes essentially self-sustaining for the season.
Caution: Never Use These Plants or Soil Types with Ollas
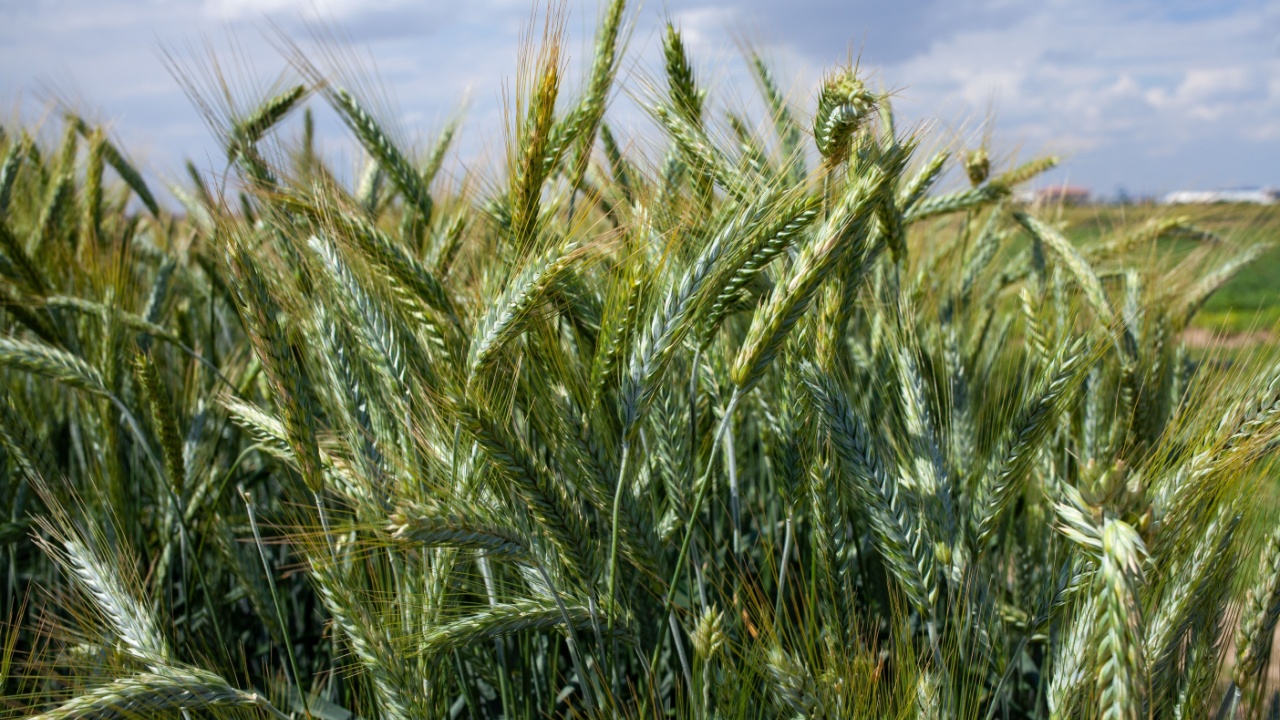
Image Credit: Shutterstock.
Ollas are not universal. A few situations call for a different approach.
- Glazed pots. This is the single most common mistake beginners make: purchasing a decorative terracotta pot that has been sealed, painted, or glazed, then burying it and wondering why nothing happens. The porosity of unglazed clay is the entire mechanism. A glazed surface blocks the pores entirely. Only true, matte-finish, unglazed terracotta works.
- Grains and legumes. Native Seeds notes that olla irrigation is not efficient for grains and legumes because of the wide-area coverage each plant requires. These crops are better served by drip irrigation or surface watering across larger garden footprints.
- Freeze-prone climates without a winterizing plan. If you garden in a region that experiences hard freezes, ollas buried in the ground will crack as the soil expands and contracts. Dig them up each fall before the first hard freeze, clean them, and store them indoors. This is a simple step that many first-year olla users learn the hard way.
How to Build Your Own Olla for Under $5 in One Afternoon
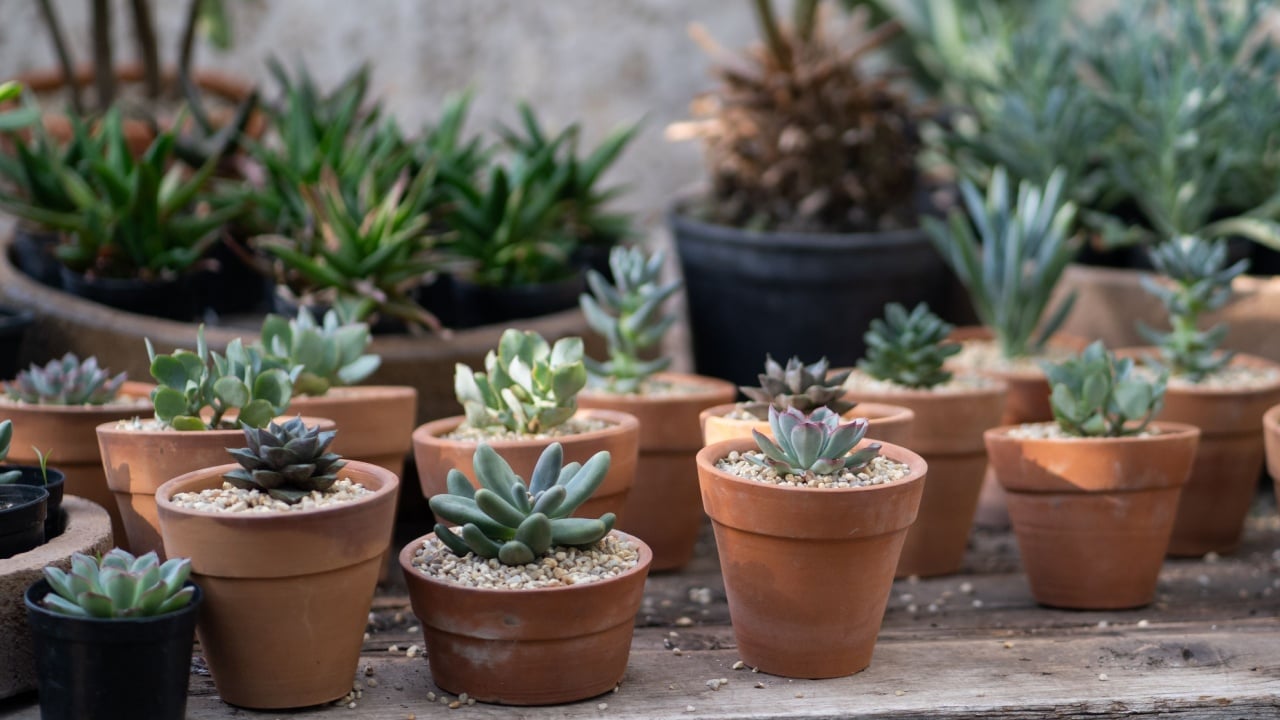
Image Credit: Shutterstock.
Your grandmother’s generation would have purchased a proper fired clay olla from a local potter. Today, the easiest and most affordable approach is a simple DIY build using materials from any garden center.
What you need: two unglazed terracotta pots of equal size (6–10 inches is ideal for raised beds); waterproof food-grade silicone sealant; a terracotta saucer sized to cover the top opening.
Seal the drainage hole in the bottom of one pot completely, inside and out, using the food-grade silicone sealant. Let it cure for 24 hours. Apply silicone around the rim of that sealed pot and press the open rim of the second pot firmly against it, creating a joined chamber. Let the seal cure overnight, fill with water, and test for leaks before burying. Bury the sealed end down in a hole, leaving the opening 1–2 inches above the soil surface. Pack soil firmly around the olla to eliminate air pockets. Fill with water and cover with the terracotta saucer.
HGTV has featured three variations of this build, including a single-pot version for smaller containers, confirming it as a mainstream, beginner-accessible project. A dozen DIY ollas can be built for around $24 total, as one gardener documented at World of Garden Plants, and a single tube of silicone sealant handles the entire batch.
How to Use Ollas Correctly So You Don’t Waste Them
Even a well-built olla underperforms if placement and technique are off. The UC Cooperative Extension Coastal Gardener program and the University of Arizona Cooperative Extension offer these practical guidelines:
- Space ollas every 2–3 feet for standard coverage, or 3–4 feet apart if using larger 2-gallon vessels. For a 4’x8’ raised bed, two to three medium ollas placed evenly along the center provide full coverage. Plant transplants within 18–24 inches of the olla wall; seeds should be planted within 6 inches of the opening and surface-watered until established.
- Always cover the opening with a terracotta saucer, flat rock, or fitted lid to prevent evaporation and eliminate any mosquito-breeding risk. Layer bark mulch or straw over the bed surface to further reduce evaporation and extend refill intervals. Any true liquid fertilizer can be added directly to the olla and released slowly into the root zone along with the moisture.
- Refill when needed rather than on a fixed schedule. Hot, dry weeks may call for refilling every two days; mild spring weeks may stretch to 10 days or more. Check the water level and let the plants’ demand guide you.
Give Ollas a Try This Year
This spring, before summer arrives and the hose becomes a daily obligation, bury a few ollas alongside your tomatoes, squash, and peppers. The ancient farmers who invented this technique did not have sprinkler systems or water bills. What they had was an understanding of how roots and soil actually work together, and they turned it into a method so effective it has outlasted every empire that ever tried to improve on it.
Read more:
Why wildlife experts are telling people to take down their bird feeders
Plant these 10 companion plants with your tomatoes — and stop planting these 4