
Does your oven need a cleaning rest after all the holiday baking and cooking?
Baking with a grimy oven can feel like chewing a rock in your rice. Splatters from a bubbling casserole or drips from a fruit pie build up, and soon your food may start smelling or even tasting a little like your toddler added a suspicious secret ingredient. If it gets bad enough, your oven’s performance might even be affected.
A dirty oven can smoke, smell, and cook unevenly, leaving you shaking your head in regret as you lean over the trash can with your latest “delicacy”. Keeping your oven sparkling clean helps you maintain a functional, efficient, and pleasant kitchen environment. This guide breaks down the process into eight simple steps, using everyday ingredients to tackle even the most stubborn, baked-on grime.
1. Prepare Your Workspace and Oven
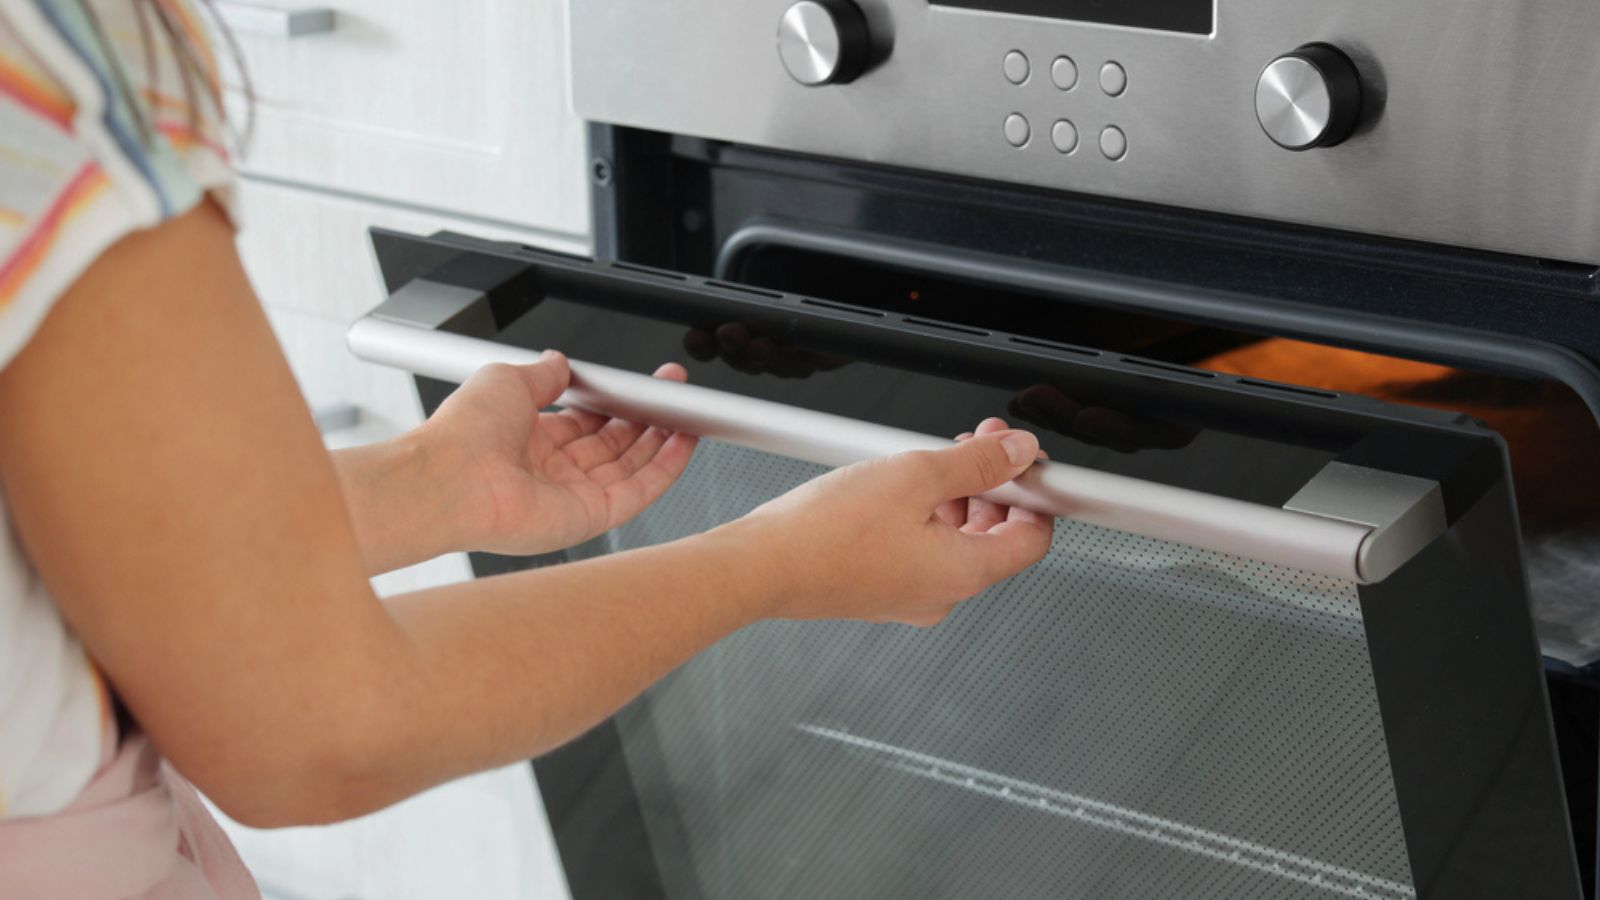
Image Credit: Depositphotos.com.
Before you start any cleaning, safety and preparation are key. A cool oven and a protected workspace will make the entire process smoother and safer. This initial step prevents burns and protects your kitchen floors from spills and drips.
First, ensure your oven is completely cool to the touch. Remove all the contents, including oven racks, pizza stones, and any thermometers. Place the racks aside for now; we’ll clean them in a separate step. To protect your floor, lay down old newspapers or paper towels in front of the oven to catch any cleaning solution or debris that might fall out. Finally, put on a pair of rubber gloves to protect your hands from grime and cleaning agents.
Quick Guide:
- Action: Ensure the oven is off and completely cool.
- Why: Prevents burns and allows cleaning solutions to work without evaporating too quickly.
- Next Step: Remove racks and line the floor below the oven with newspaper.
2. Mix Your Natural Cleaning Paste
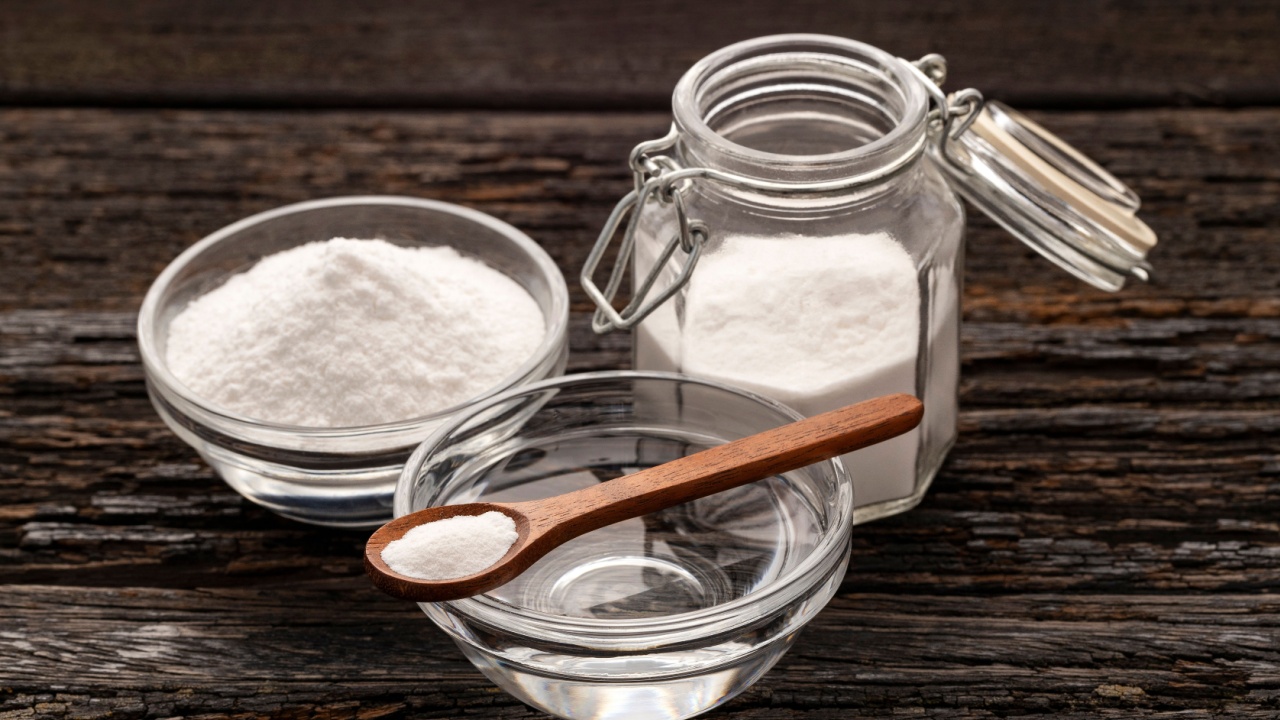
Image Credit: Shutterstock.com.
Your kitchen doesn’t need to be emitting industrial-grade fumes to be clean. A simple paste made from baking soda and water is highly effective at breaking down grease and burnt-on food. This natural solution is non-toxic, food-safe, and incredibly affordable.
In a small bowl, mix about a half-cup of baking soda with three tablespoons of water. Stir until you have a thick, spreadable paste, similar to the consistency of frosting. Adjust the amount of water or baking soda as needed. You want it to be thick enough to cling to the oven walls without dripping. For an extra grease-cutting boost, you can add a tablespoon of dish soap to the mixture.
Quick Guide:
- Action: Combine 1/2 cup of baking soda with 3 tablespoons of water to form a paste.
- Why: Baking soda is a mild alkali that effectively dissolves dirt and grease without scratching surfaces.
- Next Step: Prepare to apply the paste to the oven’s interior.
3. Apply the Paste Inside the Oven
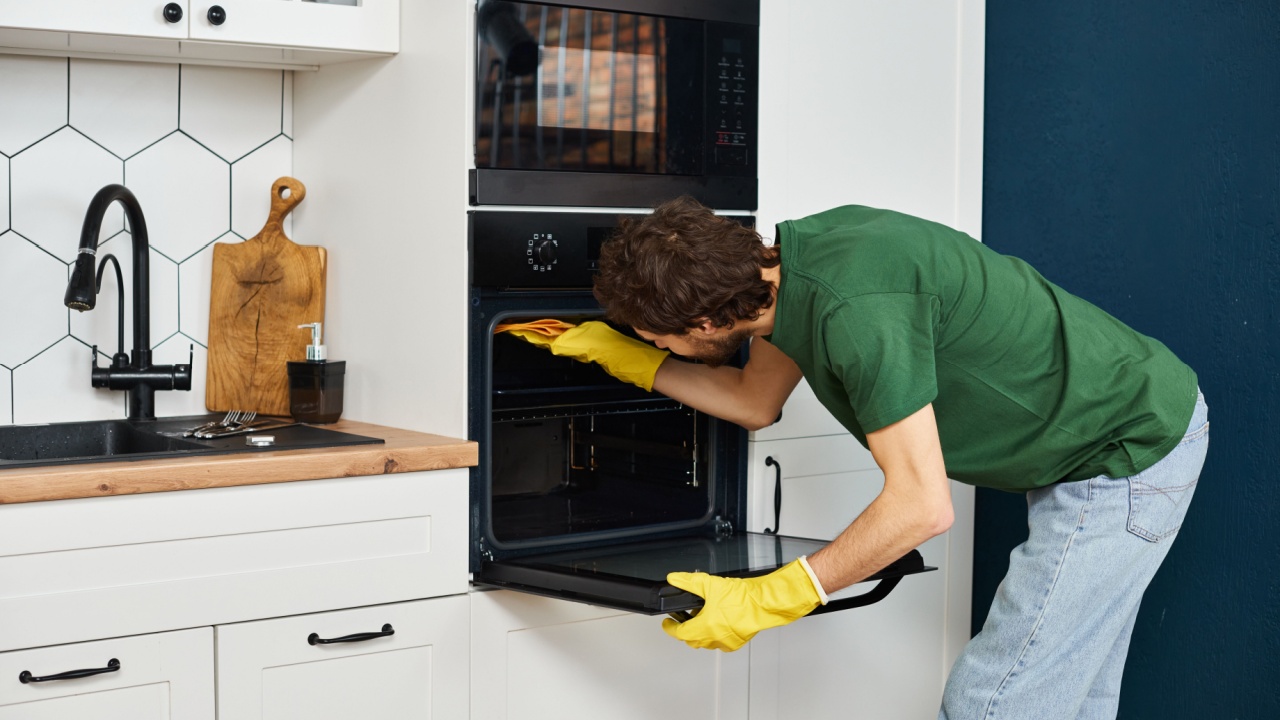
Image Credit: Shutterstock.com.
With your paste ready, it’s time to coat the inside of your oven. Applying a thick, even layer ensures that the baking soda can penetrate and loosen all the grime. Wearing your gloves, use your hands or a spatula to spread the baking soda paste over all interior surfaces of the oven.
Focus on the areas with the most buildup, but be sure to cover the bottom, sides, and back wall. Avoid applying the paste directly onto the heating elements (in electric ovens) or the gas valve (in gas ovens) to prevent damage. Don’t worry if the paste turns brown as you apply it; that just means it’s already starting to work.
Quick Guide:
- Action: Spread the baking soda paste evenly inside the oven, avoiding heating elements.
- Why: A thick coat allows the paste to sit and break down tough, baked-on residue effectively.
- Next Step: Let the paste sit for at least 12 hours or overnight.
4. Let the Paste Work Its Magic
Image Credit: Shutterstock.com.
This is the step that requires you to do nothing for a short while. A home-made cleaning paste is great for you and the environment, but it also requires some patience. You need to give the baking soda paste ample time to break down the grease and charred food. Rushing this step will mean more scrubbing for you later on.
Close the oven door and let the paste sit for at least 12 hours, or overnight. This extended time allows the baking soda’s natural chemical properties to break down grease and loosen baked-on residue. As it works, the paste will soften even the most stubborn grime, making it much easier to wipe away.
Quick Guide:
- Action: Close the oven and let the paste sit for a minimum of 12 hours.
- Why: Time allows the chemical reaction to fully dissolve grease and food particles, minimizing the need for heavy scrubbing.
- Next Step: While you wait, you can start cleaning the oven racks.
5. Clean the Oven Racks
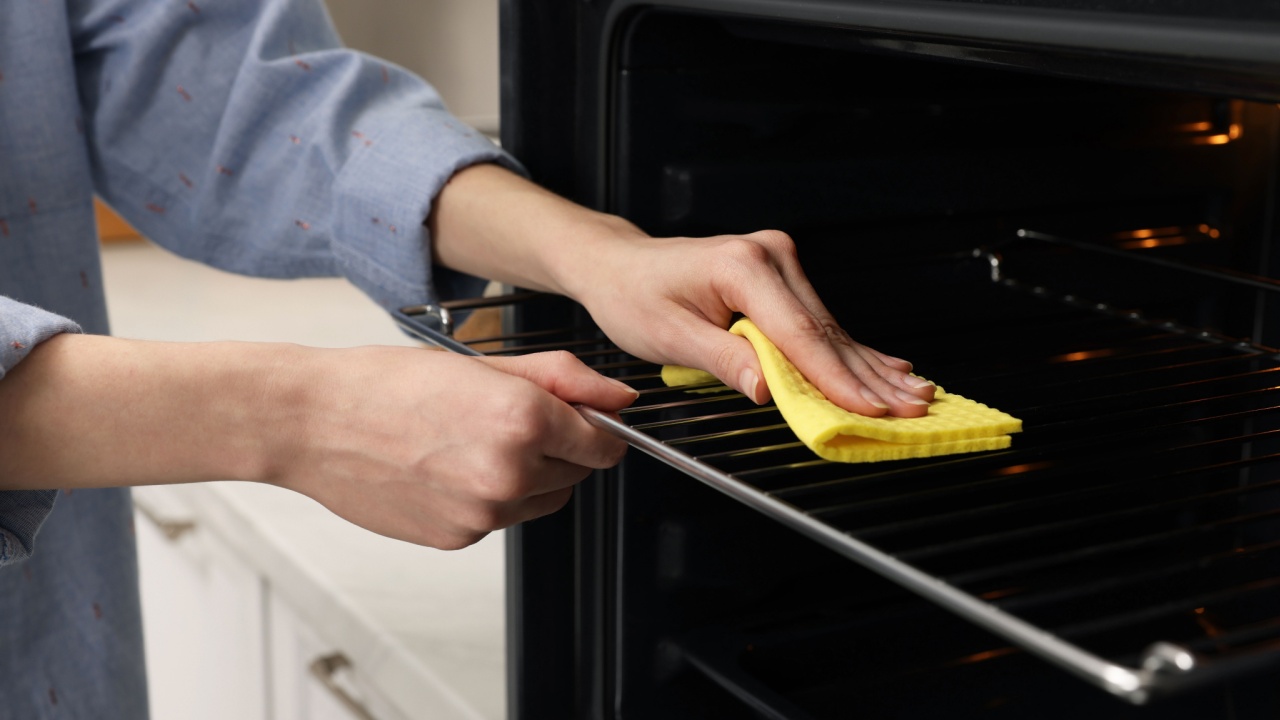
Image Credit: Shutterstock.com.
While the paste works inside your oven, you can tackle the racks. These often accumulate a sticky, burnt-on residue that can be difficult to remove. Soaking them is the most effective method for a deep clean. Place the racks in an empty bathtub on top of an old towel to prevent scratching. Sprinkle them generously with baking soda, then pour white vinegar over them.
You’ll see a satisfying foaming reaction. Once the foaming subsides, fill the tub with enough hot water to completely submerge the racks. Add a half-cup of dish soap, swish it around, and let the racks soak overnight. The next day, use a non-abrasive scrub brush to remove any remaining grime, then rinse and dry them thoroughly.
Quick Guide:
- Action: Soak racks in a bathtub with baking soda, vinegar, hot water, and dish soap.
- Why: This combination powerfully dissolves baked-on grease without requiring intense scrubbing.
- Next Step: Scrub, rinse, and dry the racks completely.
6. Wipe Out the Oven Interior
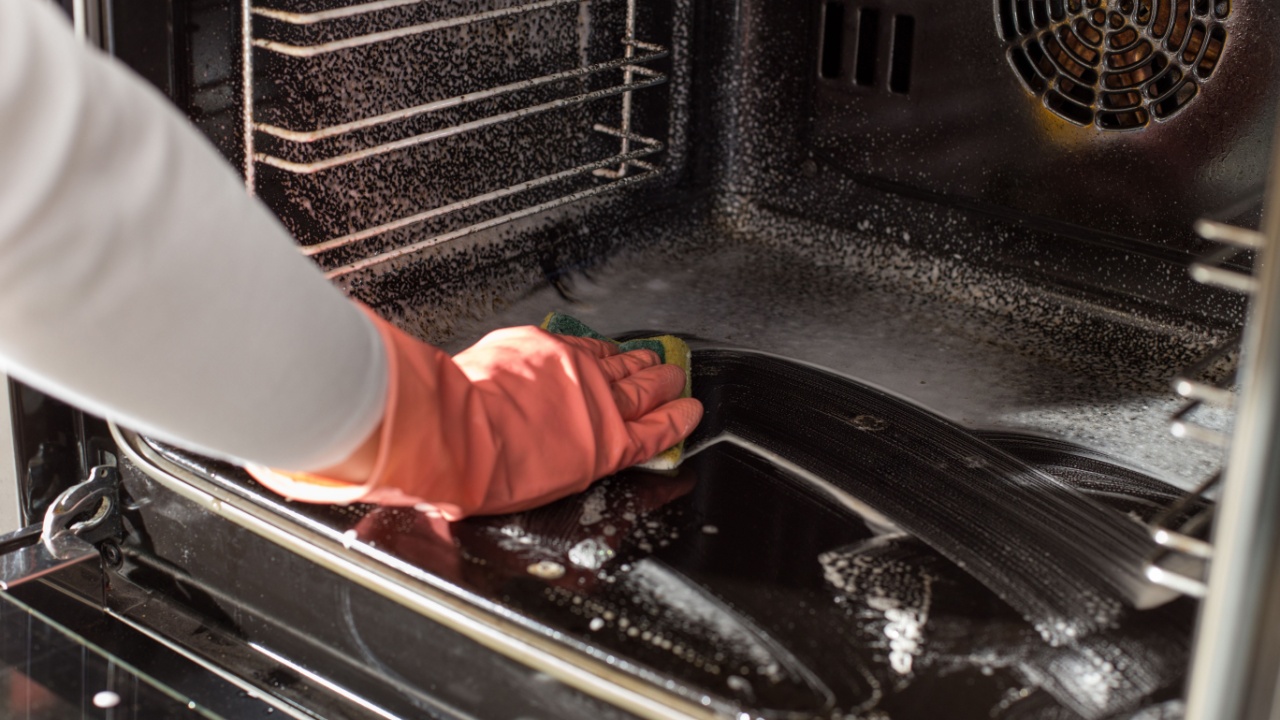
Image Credit: Shutterstock.com.
After at least 12 hours, it’s time to reveal your clean oven. This step involves removing the baking soda paste and all the grime it has loosened. Take a damp cloth and begin wiping out the paste. Rinse the cloth frequently in warm water to keep it clean.
You’ll be amazed at how easily most of the grime comes off. For any stubborn spots, spray a little white vinegar directly onto the area. The vinegar will react with the baking soda, creating a fizzing action that helps lift the remaining residue. You can then use the abrasive side of a sponge or a plastic scraper for a final scrub.
Quick Guide:
- Action: Use a damp cloth to wipe out the baking soda paste. Use vinegar on stubborn spots.
- Why: The loosened grime is now soft and easy to remove. Vinegar helps lift the final stubborn bits.
- Next Step: Focus on getting the oven door glass crystal clear.
7. Tackle the Oven Door Glass
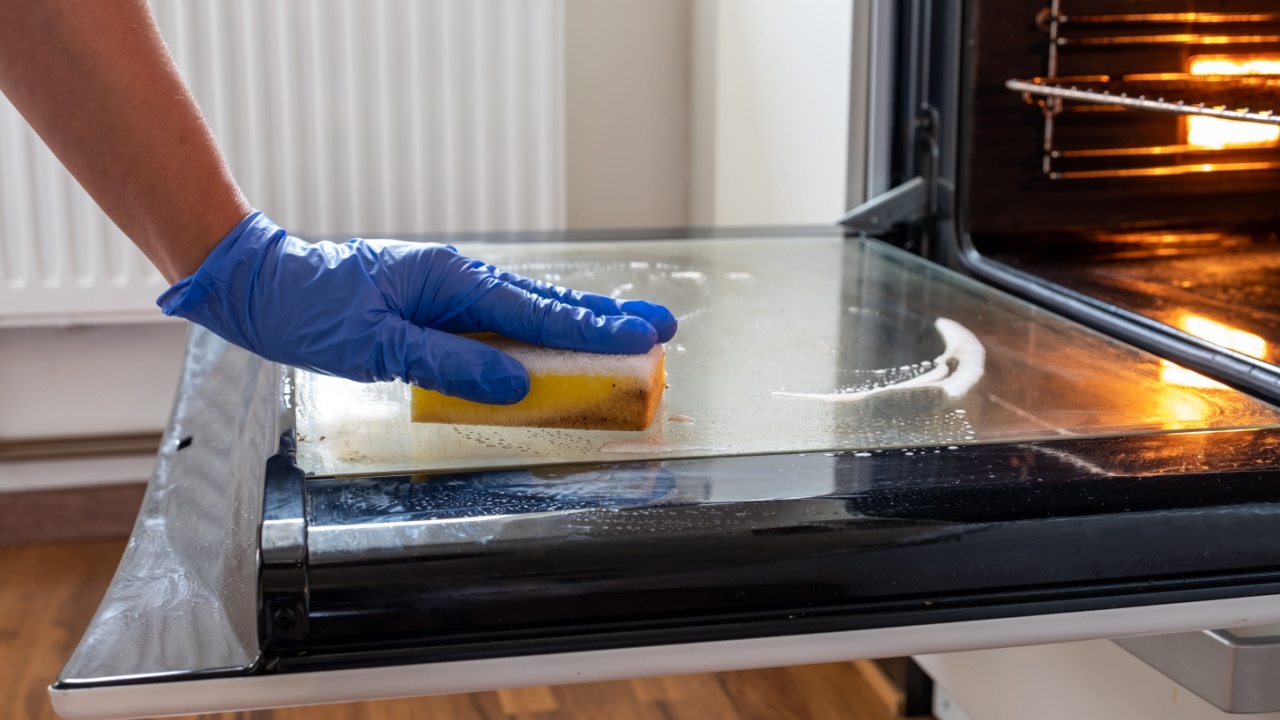
Image Credit: Shutterstock.com.
A clean oven isn’t complete until the glass door is sparkling and transparent. The oven door often has baked-on grease drips that obstruct the view of your food. You can use the same baking soda paste for this task.
Apply a layer of the baking soda paste to the inside of the oven door glass and let it sit for about 30 minutes. The shorter time is usually sufficient for the glass. After 30 minutes, use a damp microfiber cloth to wipe it clean in a circular motion. For any tough spots, a non-scratch scrub sponge will work wonders. Finish by buffing the glass with a clean, dry cloth for a streak-free shine.
Quick Guide:
- Action: Apply baking soda paste to the interior glass, let sit for 30 minutes, then wipe and buff clean.
- Why: This method safely removes baked-on grease without scratching the glass.
- Next Step: Perform a final wipe-down and reassemble your oven.
8. Final Wipe-Down and Reassembly

Image Credit: Shutterstock.com.
The final step is to certify that every last bit of cleaning residue is gone and your oven is ready for use. Give the entire oven interior one last wipe-down with a damp cloth to remove any lingering baking soda. Then, use a dry cloth to wipe everything down.
Slide your clean, dry oven racks back into place. To get rid of any faint vinegar smell, you can leave the oven door open for an hour or turn it on to a low temperature for 15 minutes to burn off any remaining odors before you cook.
Quick Guide:
- Action: Do a final wipe with a damp cloth, dry the interior, and replace the racks.
- Why: This removes any cleaning residue and ensures your oven is ready for cooking.
- Next Step: Admire your sparkling clean oven and plan your next baking project!
What’s Next for Your Clean Home?

Image Credit: Shutterstock.
Now that your oven is sparkling, you can finally tick the quarterly resolution you made to change your life for the better. Seeing through the sparkling oven glass will definitely give you a renewed sense of pride in your kitchen. Maintaining it is simple: wipe up spills as soon as the oven cools down to prevent them from baking on.
With a clean oven ready to go, perhaps it’s time to tackle another project. Consider organizing your pantry to make finding ingredients easier, or start planning that container herb garden on your patio to bring fresh flavors right to your fingertips.