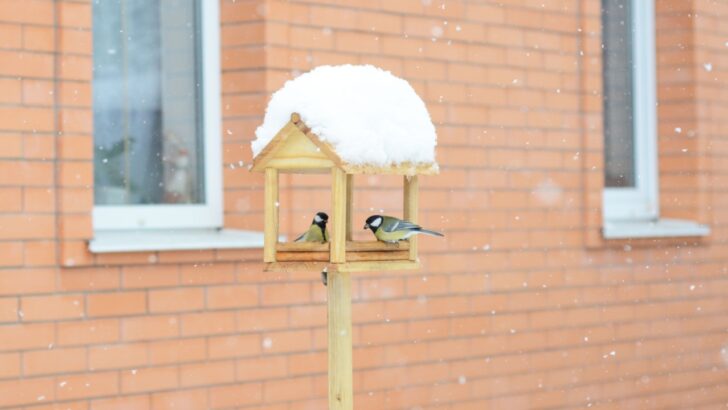
When the temperature drops, many of us retreat indoors to the comfort of a warm home. For the various creatures that call your garden home, finding a safe haven from the cold is a matter of survival. Your backyard can become a critical refuge for insects, birds, and small mammals looking for a place to wait out the winter.
Providing shelter doesn’t require a degree in zoology or a massive construction project. With a few simple materials, many of which are already scattered around your garden, you can create life-saving sanctuaries that support your local ecosystem. These small acts of kindness help maintain the delicate balance of your garden’s environment, preparing it for a vibrant return in the spring. Here are four simple wildlife shelters that can help animals hide from the cold. Brace for the Cold
1. Build a Bug Hotel from a Tin Can
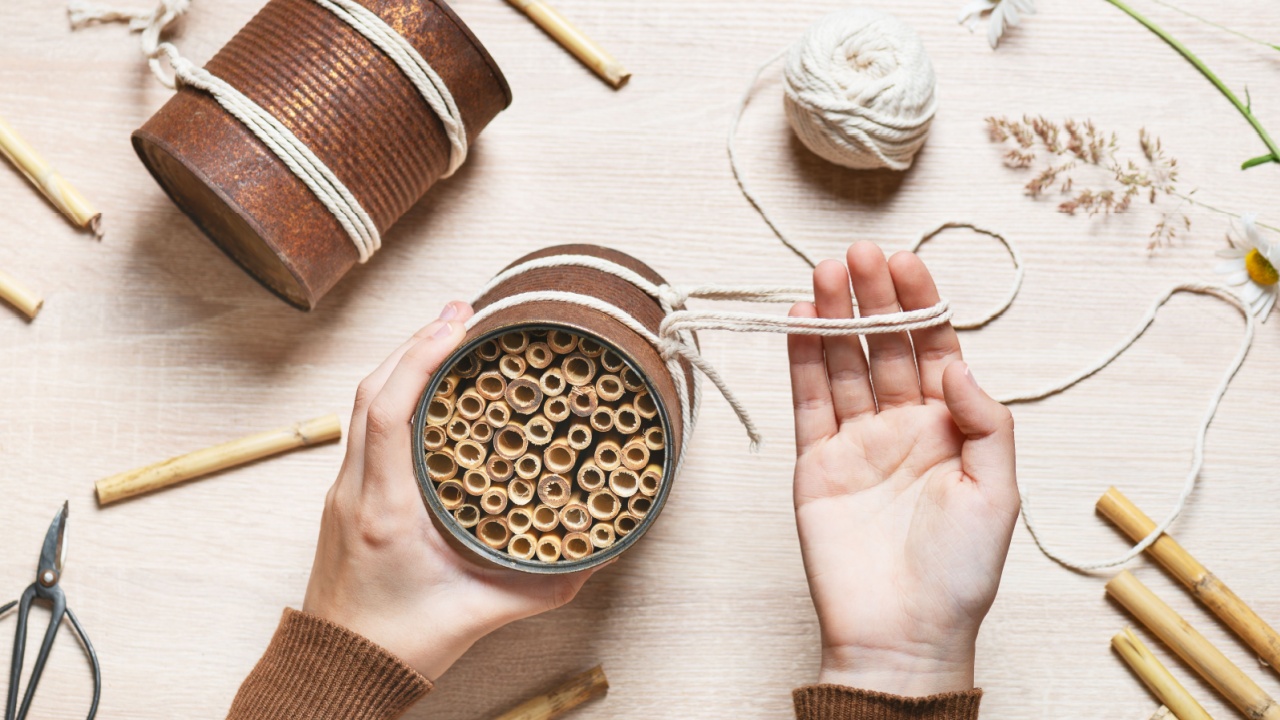
Image Credit: Shutterstock.
Pollinators and other beneficial insects need a place to hibernate through the winter. A simple bug hotel provides the perfect multi-unit accommodation for solitary bees, ladybugs, lacewings, and other garden helpers. Creating one is a straightforward project that repurposes common household items. You will need a clean, empty tin can, a collection of hollow bamboo canes, and some plasticine or non-toxic modeling clay. The idea is to create a bundle of tubes that insects can crawl into for protection from wind, rain, and predators.
To start, gather your bamboo canes and cut them to be just slightly shorter than the depth of your tin can. This prevents them from sticking out and collecting rainwater, which could harm the insects inside. Pack the canes tightly into the can, and make sure there are no large gaps. Use the plasticine or clay to secure the bundle at the back of the can, holding everything firmly in place. You can also add some moss or dried leaves to fill smaller spaces and offer extra insulation. Place your finished bug hotel in a sunny, sheltered spot, about three to five feet off the ground, with the entrance facing away from prevailing winds.
Quick Tips:
- Location is Everything: Place it in a south-facing spot to catch the winter sun.
- Keep it Dry: Angle the can slightly downwards to prevent water from pooling inside.
- Vary the Tubes: Use bamboo canes with different hole diameters to attract a wider variety of insect species.
- Annual Maintenance: Clean out your bug hotel in the early fall of the next year, after the new generation of insects has emerged, to prevent the buildup of parasites.
2. Create a Dead Hedge for Birds and Mammals
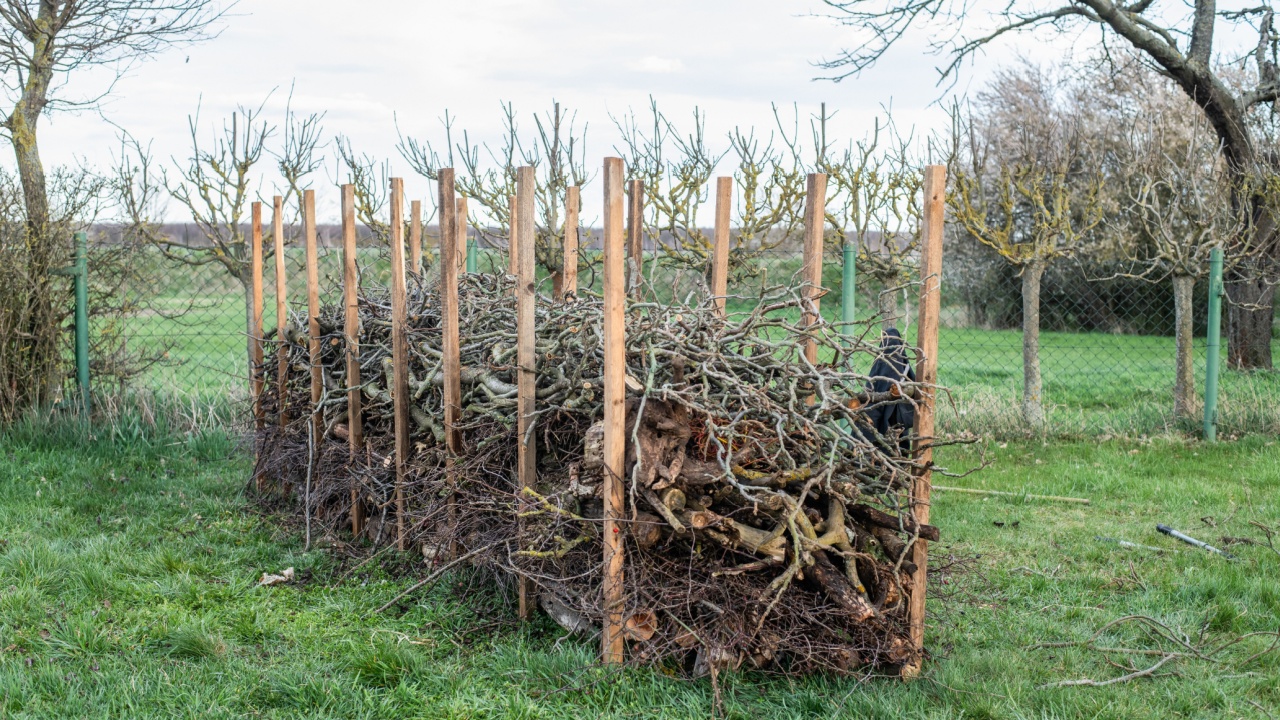
Image Credit: Shutterstock.
One of the most effective and natural-looking shelters you can build is a dead hedge. This structure is essentially a woven wall of garden prunings, branches, and twigs that offers a fantastic habitat for a wide range of wildlife. Birds like wrens and robins will use it for roosting and foraging, while small mammals such as hedgehogs and shrews can find protection from predators and the elements within its dense structure. It also serves as a home for countless insects, which in turn provide a food source for other animals. A dead hedge is a wonderful way to recycle garden waste that might otherwise be discarded.
The construction is simple. Begin by driving two parallel rows of sturdy wooden stakes or thick branches into the ground. The distance between the rows can be anywhere from one to three feet, depending on how substantial you want your hedge to be. The space between the stakes in each row should be about two to three feet apart. Once your stakes are secure, start filling the gap between them with your garden prunings. Layer in twigs, small branches, leaves, and even grass clippings. As you add material, weave longer branches between the upright stakes to create a stable, interlaced structure. The hedge will naturally compress and settle, so you can continue adding to it throughout the seasons.
Quick Tips:
- Size and Scale: It doesn’t need to be huge. Even a small six-foot section can provide significant benefits for wildlife.
- Location Matters: Position it along a boundary or in a quiet corner of the garden where it is less likely to be disturbed.
- Leave it Loose: Avoid packing the materials too tightly. The gaps and crevices are what make it an attractive home for creatures.
- Long-Term Project: Think of it as an ongoing creation. You can add new material from garden cleanups year after year.
3. Repurpose Perennials and Pots for Insects

Image Credit: Shutterstock.
Sometimes, the simplest solutions are already present in your garden. Your existing perennials and empty garden pots can be quickly transformed into vital overwintering spots for insects. Many beneficial insects, including some species of bees and ladybugs, seek refuge in hollow stems or insulated cavities during the cold months. Instead of clearing away all your perennial stalks in the fall, consider leaving some standing. The hollow stems of plants like angelica, sunflowers, and ornamental grasses provide ready-made tunnels for insects to hide in.
Another easy option involves using small terracotta pots. Turn a few pots on their sides and stuff them with natural materials like straw, hay, dried leaves, or moss. This creates a dry, insulated space that is irresistible to solitary bees, spiders, and other invertebrates. Place these pots in a sheltered, dry location, such as under a hedge, at the base of a wall, or tucked away in a quiet corner of a garden bed. This method requires minimal effort but offers substantial rewards by helping to sustain the population of beneficial insects that will pollinate your plants and control pests next spring.
Quick Tips:
- Stem Selection: Leave perennials with hollow or pithy stems standing until spring. Cut them back once the weather warms, and you see insects emerging.
- Pot Placement: Group several stuffed pots together in a secluded area to create a larger insect community hub.
- Material Choice: Use dry, natural materials for filling. Avoid anything that might rot or grow mold when damp.
- Raise Them Up: Place pots on a couple of stones or “pot feet” to keep them from sitting directly on wet ground.
4. Fashion a Hanging Basket Roost for Birds
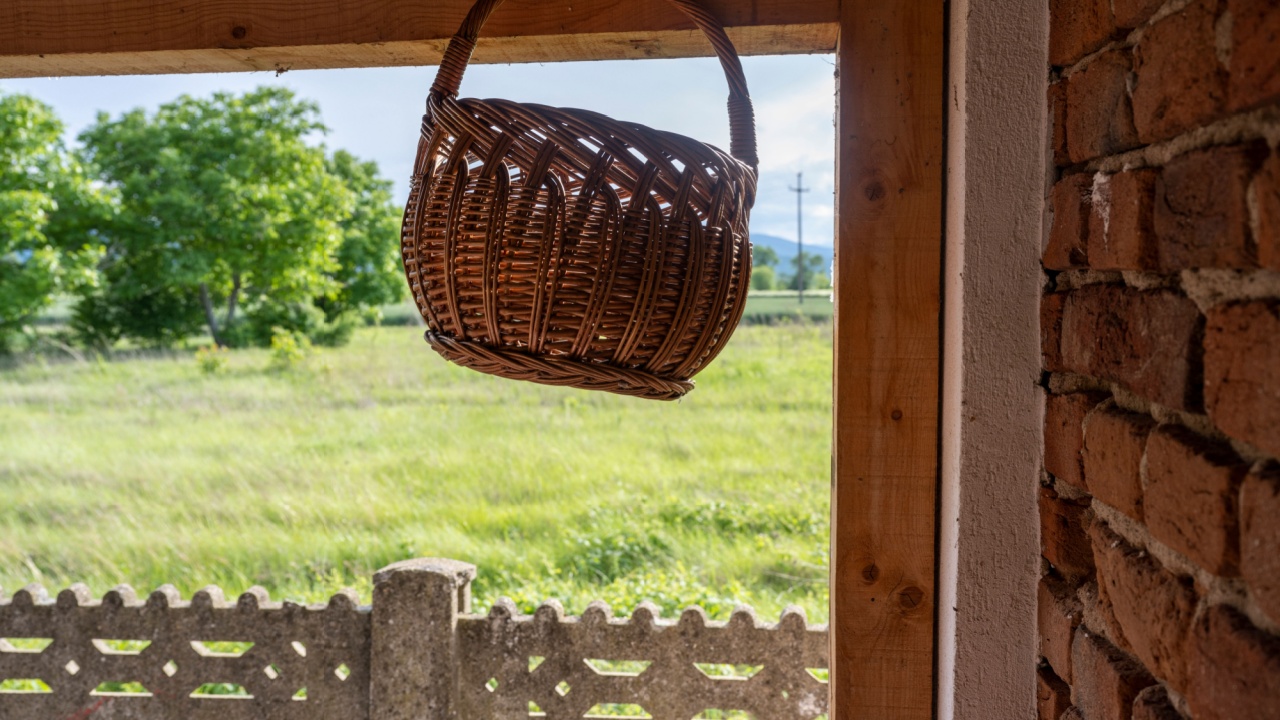
Image Credit: Shutterstock.
An old wicker hanging basket can find a new purpose as a snug roosting spot for small garden birds. During cold winter nights, birds need a sheltered place to huddle together and conserve body heat. A repurposed basket provides an ideal structure for this. With a few modifications, you can create a safe and warm haven that birds like wrens, finches, and tits will appreciate. The natural wicker material offers good insulation, and its shape provides a solid base for a protective shelter.
To begin, choose a sturdy basket and cut a hole, about two inches in diameter, into one side. This will be the entrance. To protect the opening from rain and snow, create a small “roof” or porch over it. You can do this by weaving thatch, straw, or even stiff evergreen clippings into the wicker above the hole. Next, fill the bottom of the basket with soft, natural nesting materials. Moss, dried grass, wool, and feathers are all excellent choices. Hang your completed bird shelter in a protected area, such as under the eaves of your house or shed, or in a dense, sheltered tree. The height will protect it from ground predators, and the location will shield it from the worst of the winter wind and rain.
Quick Tips:
- Entrance Size: Keep the entrance hole small to deter larger birds and predators.
- Secure Hanging: Use a strong wire or chain to hang the basket securely so it doesn’t swing excessively in high winds.
- Lining is Key: Provide a deep, generous layer of soft materials inside for insulation.
- Clean Annually: In the late spring, after roosting season is over, clean out the old materials to prepare it for the next winter.
Helping Your Backyard Ecosystem
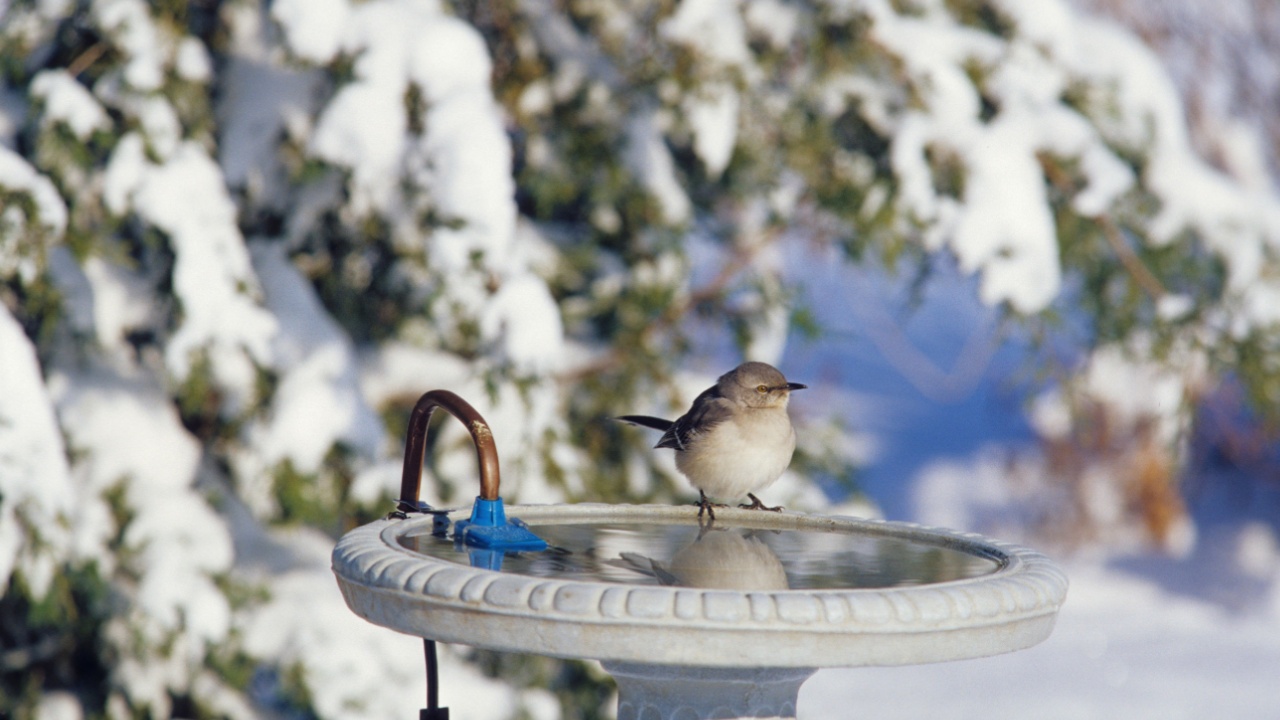
Image Credit: Shutterstock.
Creating these simple shelters is a rewarding way to support the wildlife that shares your outdoor space. By offering protection during the harshest months, you are not just helping individual animals survive; you are contributing to the health and vitality of your entire garden ecosystem.
When spring arrives, you will be greeted by a thriving community of birds and beneficial insects, ready to bring your garden back to life with wildlife. Add a source of fresh water, like a simple bird bath with a de-icer, or plant native species that provide food and habitat year-round.