While tilling is a quick and relatively easy way to prepare the garden for planting, it also destroys the soil structure, disrupts beneficial organisms, increases erosion, and brings weed seeds to the surface. No-till practices, on the other hand, nurture the soil and its microorganisms, working with natural systems for healthier plants. The no-till method I like to use, called occultation, requires just four easy steps and very little effort. It’s great for raised bed gardens, small-scale vegetable farms, and everything in between.

What Is Occultation?
Despite the fancy name, occultation is actually quite simple and, when done properly, extremely effective. This French technique, also called “tarping,” uses black tarps to smother weeds and prepare garden beds for growing. The tarps trap in heat and moisture, encouraging weed seeds to germinate and drawing earthworms and other soil organisms toward the surface. But they also block out sunlight, so the newly sprouted weeds then whither and die.
Although occultation in gardening won’t eliminate weeds in a single growing season, when used consistently over several years, it will greatly diminish the amount of weeds in the garden.
How To Prepare Beds With Occultation
Use occultation to prepare beds before the growing season as well as to kill weeds when you have at least three weeks between harvesting one crop and planting the next.
Occultation can be as simple as spreading out a tarp and waiting a few weeks, but that won’t guarantee the full decomposition of plant residue. Instead, follow these simple steps for the greatest chance of success: trim any weeds or cover crops, spread compost and water the area, lay out tarps, and wait.
1. Trim the weeds
You want your tarp close to the soil, so start by trimming any weeds or cover crop as short as possible. If you haven’t removed crop residue from last year, that should happen before the trimming. This step also reduces large pieces of organic matter, which are less likely to fully decompose during this process.
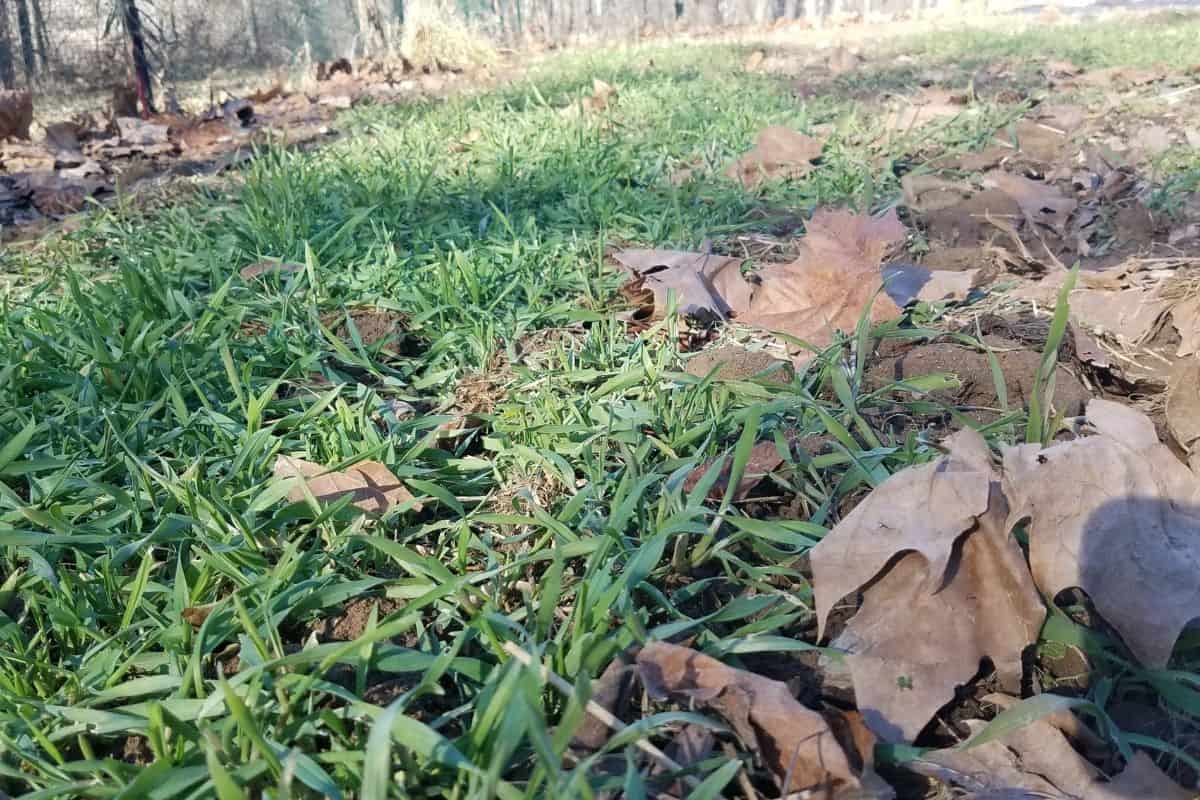
Occultation works great for starting a garden from scratch. To begin turning lawn into gardening space, set the mower to the lowest level and mow over your future garden plot. You may choose to till the soil this first season, especially if the ground is compacted, or simply add a good layer of compost.
2. Feed the worms
All I do for this second step is spread a thin layer of compost and, unless the soil is already wet, give the bed a good soaking.
It’s important to note, though, that disturbing the soil after occultation can bring more weed seeds to the surface and undo all your (or rather, the tarp’s and microorganisms’) work, so make sure to complete any other bed preparations now.
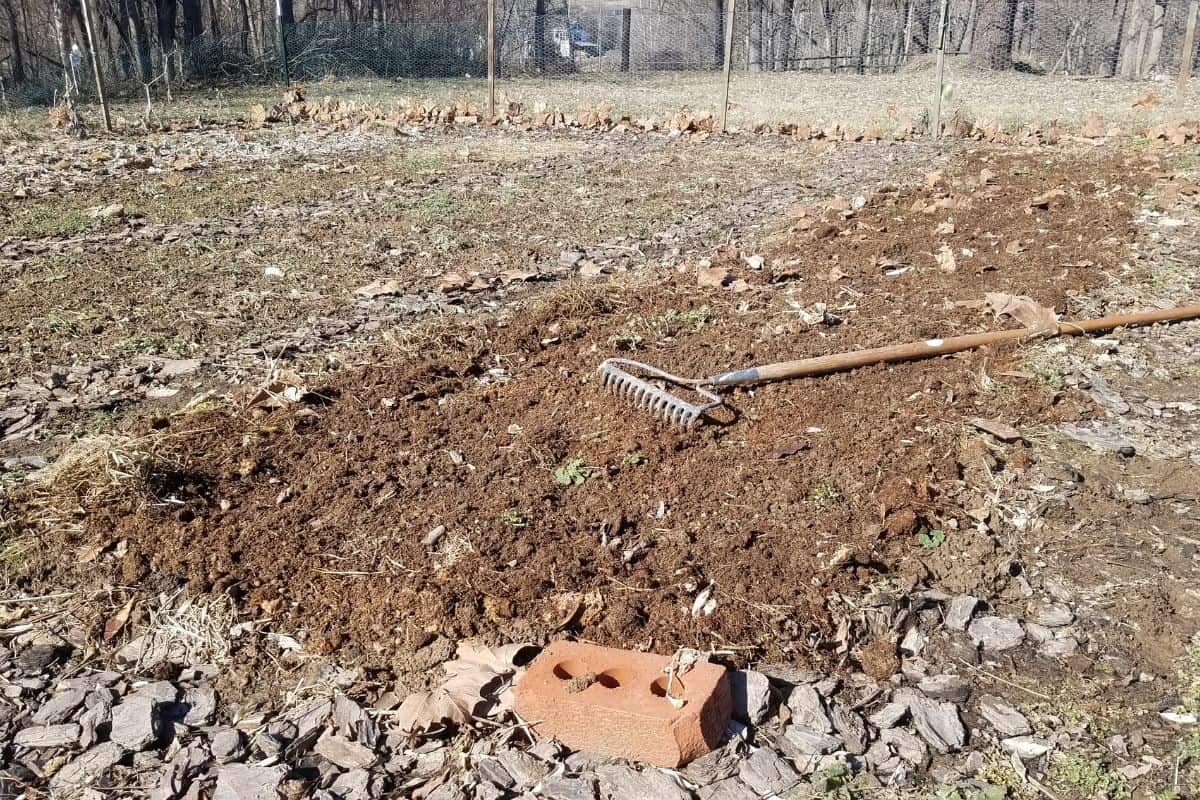
Aerate the soil, if desired, using a broadfork or pitchfork. Then rake a layer of compost over the bed and thoroughly water the area. This encourages microbial activity and weed seed germination. If your soil needs other amendments, incorporate those along with the compost.
At this stage, the bed will likely not look very pretty. It should be mostly level, of course, but other than that it might appear a bit lumpy and rather unkempt, as there will be stubble, small weeds, and other plant debris scattered everywhere. Take a “before” picture if you like, because an almost magical transformation is about to take place.
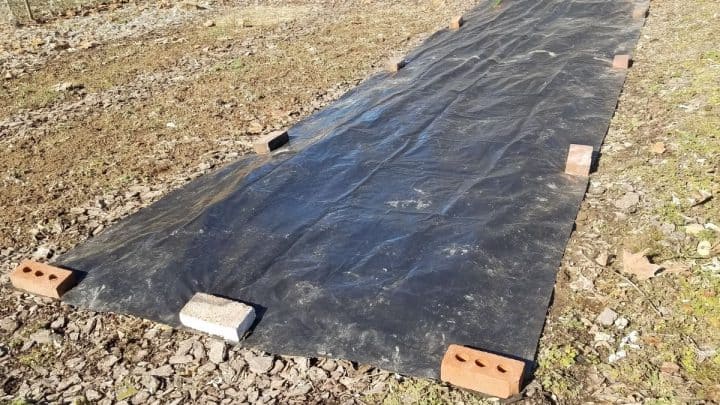
3. Cover the bed
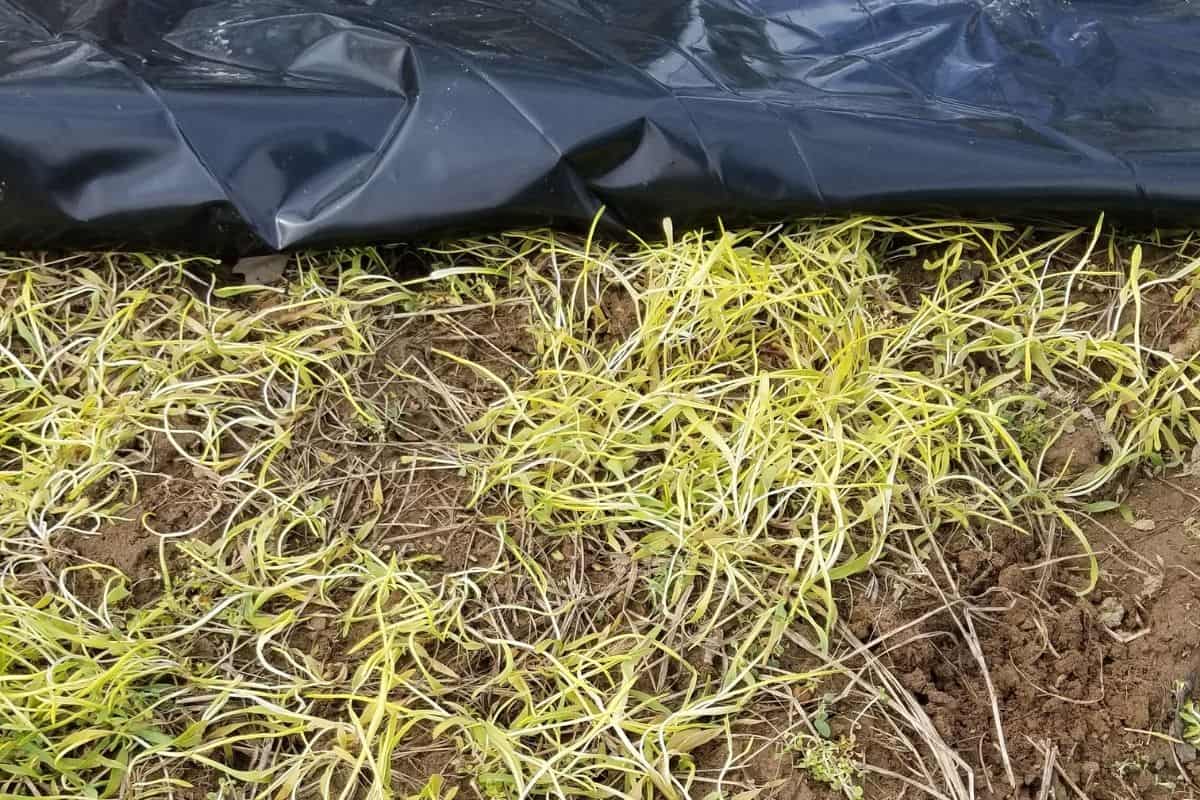
Now it’s time to lay out the tarp. For best results, choose black plastic sheeting or silage tarps at least 6mm thick and, ideally, UV treated. Anything too thin or holey will let light through, defeating the purpose of tarping. Once the plastic is in place, weigh down the edges with bricks, sandbags, or other heavy objects to keep it from blowing away. For exceptionally large sheets, consider adding a few weights to the middle as well.
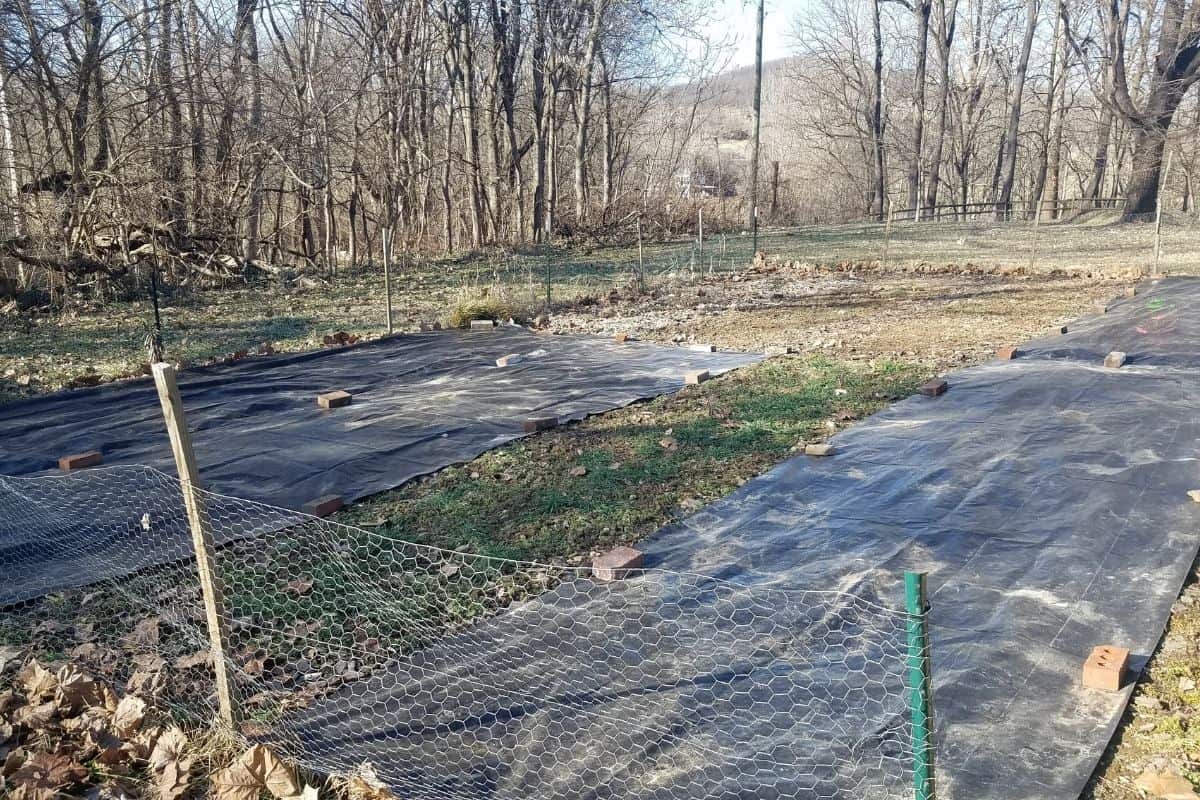
For my 4 x 20′ beds, I purchased 6 x 100′ black plastic sheeting and cut it into 25-foot lengths, so one piece completely covers a bed and some of the paths around it.
When I’m tarping two or more neighboring beds at once, I make sure to overlap the plastic by a few inches to make sure no sunlight gets between the edges. I have more than twice as many beds as I do sheets of plastic, but with proper planning, I can rotate the plastic to get all of the beds fully prepared as I need them.
4. Wait
Your role in preparing the garden beds is now over, so you can move on to other spring tasks (like indoor seed starting!) while the microorganisms finish the work of occultation. Leave the tarps on for a minimum of three weeks and no longer than six weeks. The longer you wait, the more decomposition will happen, so I recommend at least four weeks.
When you remove the plastic, take a moment to admire the rich, weed-free soil beneath! Then carefully fold or roll the tarp and store it in a shed or other sheltered location for later use. You may find condensation on the underside of the plastic, in which case you’ll want to lay it upside down in the sun for an hour or so to dry before putting it away. When treated with care, a tarp can be used for many seasons.
Occultation is an easy and effective way to prepare garden beds without damaging the soil structure through tilling or plowing. It requires little effort from the gardener, instead, relying on natural systems to improve the soil and reduce weeds for healthier plants. Give it a try, and discover the almost magical process of occultation in the garden.