
Whether you’re bringing in a fresh harvest from your garden or preparing a cozy family meal, the kitchen is the heart of the home. It’s where your hard work transforms into delicious food. But let’s be honest, kitchen tasks can sometimes feel repetitive and time-consuming. From peeling endless garlic cloves to keeping your herbs from wilting, these little chores can add up.
What if you could reclaim some of that time and make your kitchen experience more efficient and enjoyable? These 21 ingenious kitchen hacks are designed to do just that, helping you work smarter, reduce waste, and get the most out of your ingredients.
1. Peel Garlic Instantly with the Microwave

Image Credit: Shutterstock.
Peeling garlic can be a sticky, tedious job, especially when a recipe calls for a whole head. Instead of struggling with paper-thin skins, let your microwave do the work. Simply slice the top off a head of garlic, exposing the cloves, and pop it in the microwave for about 20-30 seconds. The steam generated inside the skins will cause them to loosen, allowing you to pop the cloves out with minimal effort. This trick is a game-changer for making homemade sauces, roasts, or any dish that requires a lot of garlic.
- Why It Works: The moisture within the garlic heats up, creating steam that separates the skin from the clove.
- Pro-Tip: This method slightly softens the garlic, which is perfect for recipes where it will be mashed or puréed
- Next Steps: Try this hack the next time you make a big batch of tomato sauce using fresh tomatoes from your garden.
2. Dice Eggs and Avocados with a Cooling Rack
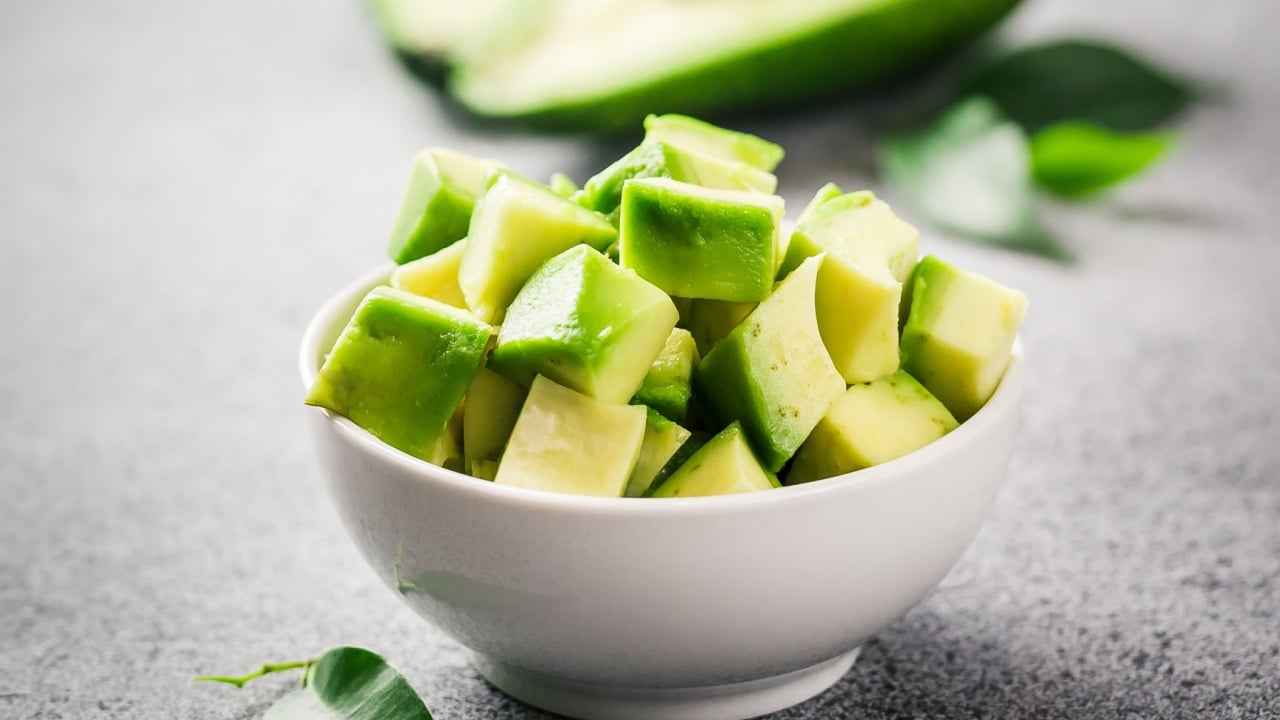
Image Credit: Shutterstock.
Achieving a uniform dice on soft foods like hard-boiled eggs or ripe avocados can be tricky with a knife. For a quick and consistent result, use a wire cooling rack. Place the peeled hard-boiled egg or avocado half on a cutting board and press the cooling rack firmly through it. The grid will create perfectly diced pieces in one swift motion, ideal for egg salads, avocado toast, or garnishes.
- Why It Works: The thin wires of the rack slice cleanly through soft foods without mashing them.
- Pro-Tip: Ensure your cooling rack is made of sturdy metal for the best results. This also works well for soft cheeses like mozzarella.
- Next Steps: Clean the rack immediately after use to prevent food from drying and sticking to the wires.
3. Keep Brown Sugar Soft with Marshmallows
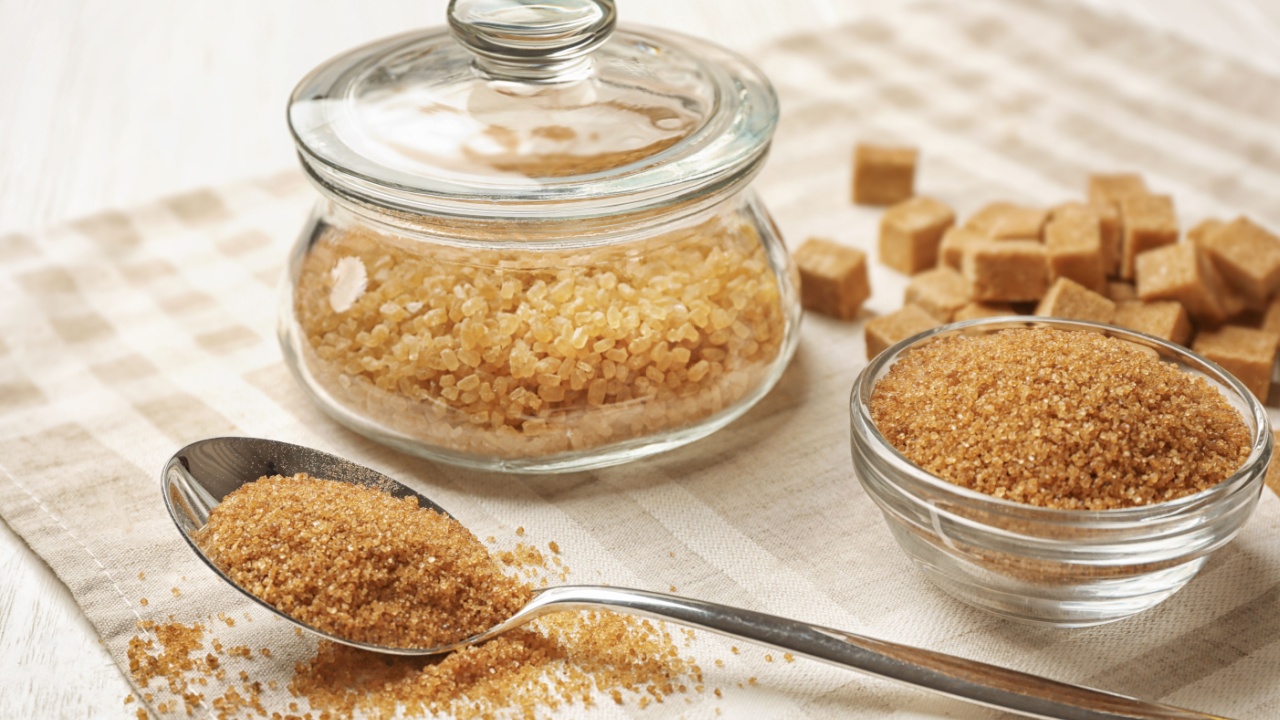
Image Credit: Shutterstock.
Clumpy, rock-hard brown sugar is a common frustration for any baker. To keep it soft and scoopable, add a few marshmallows to your airtight container of brown sugar. The marshmallows release a tiny amount of moisture, which is absorbed by the sugar, preventing it from hardening. It’s a simple, set-and-forget solution that ensures your brown sugar is ready whenever you need it.
- Why It Works: Marshmallows provide just enough moisture to maintain the sugar’s original texture without dissolving it.
- Pro-Tip: Replace the marshmallows every few weeks to keep them fresh. You can also use a slice of bread or a piece of terra cotta sugar saver.
- Next Steps: Check your pantry now and add a couple of marshmallows to your brown sugar container to prevent future hardening.
4. Extend the Life of Fresh Herbs

Image Credit: Shutterstock.
There’s nothing more disappointing than buying (or picking) a beautiful bunch of fresh herbs only to have them wilt the next day. To keep delicate herbs like cilantro, parsley, and mint fresh for up to two weeks, treat them like a bouquet. Trim the stems, place them in a jar with about an inch of water, and cover the leaves loosely with a plastic bag. Store them in the refrigerator, changing the water every few days.
- Why It Works: This method provides consistent hydration while the bag creates a humid environment, preventing the leaves from drying out.
- Pro-Tip: For woody herbs like rosemary and thyme, wrap them in a damp paper towel and store them in a resealable bag in the fridge.
- Next Steps: Harvest herbs from your garden in the morning and immediately place them in water to preserve their freshness and flavor.
5. Cut Perfect Potato Wedges with an Apple Slicer
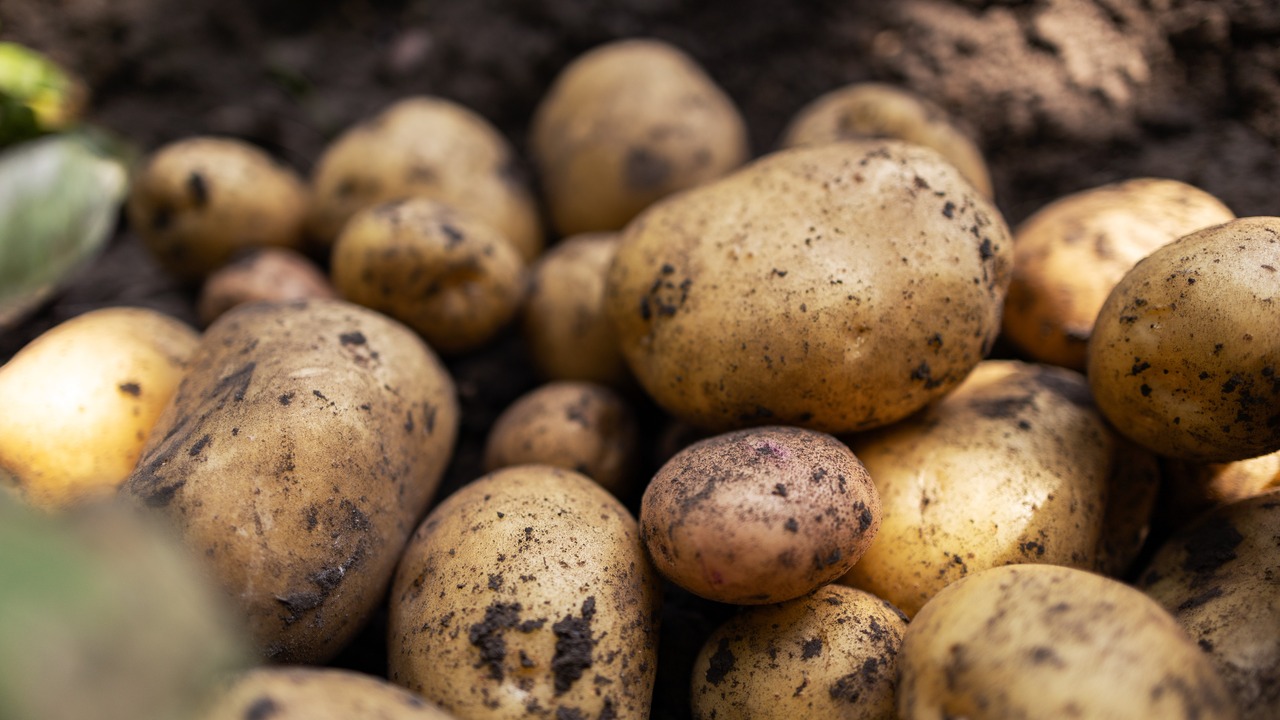
Image Credit: Shutterstock.
Craving thick-cut steak fries but dread the uneven cuts? Your apple slicer is the secret weapon. Simply slice a small piece off one end of a potato to create a stable, flat base. Place the potato on your cutting board and press the apple slicer down firmly. You’ll get uniform wedges in seconds, ready for seasoning and baking.
- Why It Works: The apple slicer’s blades are designed for even slicing, which translates perfectly to potatoes.
- Pro-Tip: This hack works beautifully with sweet potatoes, onions, and even pears. Just make sure your slicer is sharp and sturdy.
- Next Steps: Try making a batch of seasoned potato wedges for your next barbecue. Toss them with olive oil, paprika, and garlic powder before baking.
6. Freeze Sauces and Herbs in Ice Cube Trays
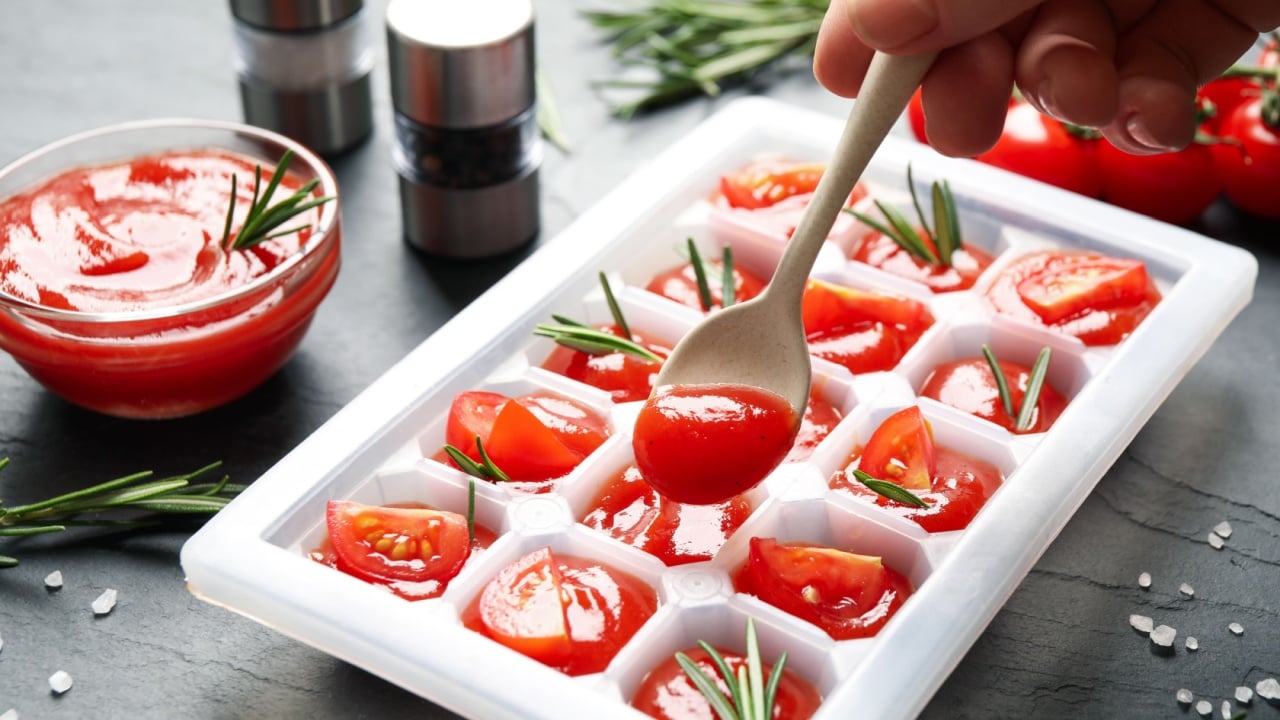
Image Credit: Shutterstock.
Preserve small portions of pesto, tomato sauce, or leftover fresh herbs by freezing them in ice cube trays. Once frozen, transfer the cubes to a labeled freezer bag. This allows you to use exactly what you need without defrosting a large container. It’s an excellent way to save the flavors of summer from your garden, like basil pesto or blended herbs.
- Why It Works: Freezing in small portions prevents waste and makes it easy to add a flavor boost to any meal.
- Pro-Tip: An egg carton can also be used for freezing larger portions of sauce. For herbs, chop them and freeze them in water or olive oil to prevent freezer burn.
- Next Steps: The next time you have leftover wine, freeze it in an ice cube tray to add depth to future pan sauces or stews.
7. Stop Mixing Bowls from Sliding

Image Credit: Shutterstock.
When you’re whisking vigorously, the last thing you want is your bowl sliding all over the counter. To get a secure grip, place a damp dish towel or a piece of rubber shelf liner under your mixing bowl. The moisture and texture create friction, holding the bowl steady so you can mix with both hands and put your full force into the task.
- Why It Works: The damp towel creates a non-slip surface, anchoring the bowl to your countertop.
- Pro-Tip: This is a classic chef’s trick that also works wonders for keeping a cutting board in place while you chop.
- Next Steps: Keep a designated “mixing towel” handy in your kitchen drawer for easy access during food prep.
8. Store Natural Peanut Butter Upside-Down
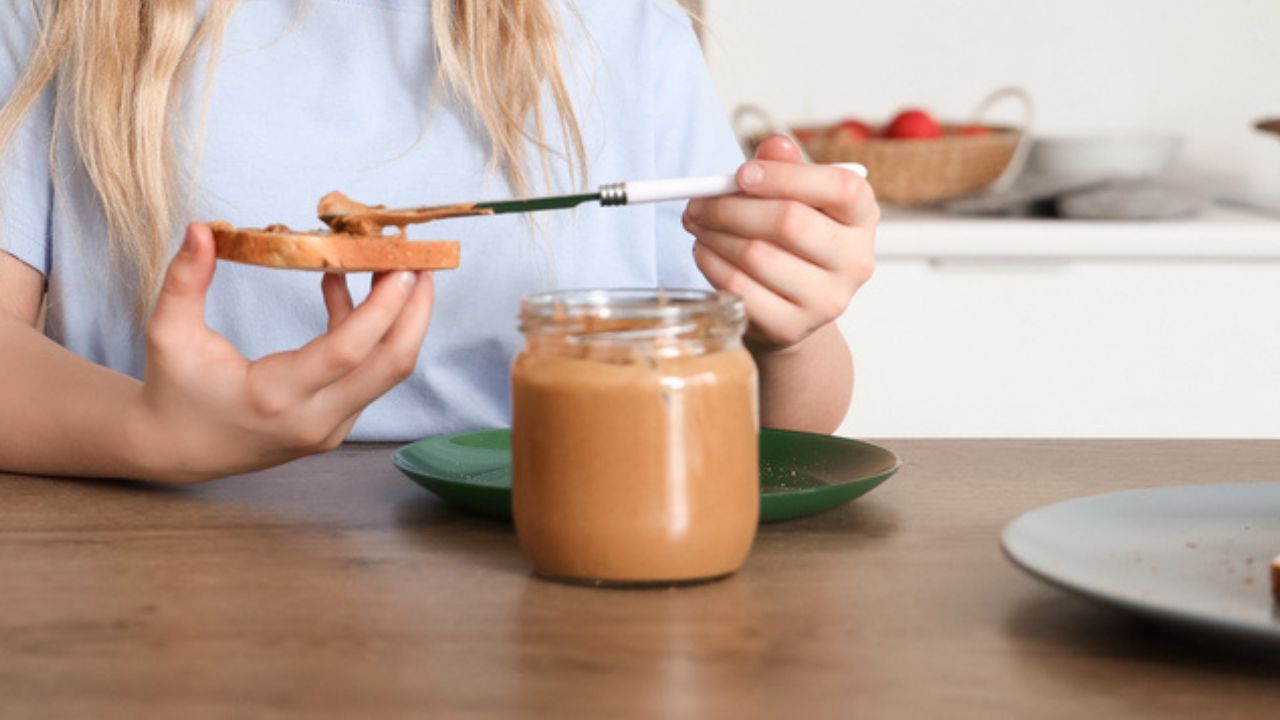
Image Credit: Depositphotos.com.
If you love natural peanut butter but hate stirring the separated oil back in, this simple storage hack will change your life. Store the jar upside-down in your pantry. When you’re ready to use it, the oil that has risen to the “bottom” (now the top) will naturally start to mix back through the peanut butter as it makes its way up again. This results in a much smoother consistency with far less effort.
- Why It Works: Gravity does the hard work for you, distributing the oil more evenly throughout the jar.
- Pro-Tip: Be sure the lid is screwed on tightly to prevent any leaks. Give the jar a gentle shake before opening.
- Next Steps: Flip your jar of natural peanut butter or tahini right now for easier spreading tomorrow.
9. Shred Chicken with Your Stand Mixer

Image Credit: Shutterstock.
Shredding chicken with two forks can be a slow and messy process. If you have a stand mixer, you can shred a large amount of cooked, boneless chicken in under a minute. Place the warm chicken breasts in the bowl and use the paddle attachment on a low speed. The mixer will do all the work, leaving you with perfectly shredded chicken for tacos, salads, or casseroles.
- Why It Works: The paddle attachment effectively pulls the meat apart, mimicking the action of shredding by hand but much faster.
- Pro-Tip: This works best when the chicken is still warm, as the muscle fibers are more relaxed and easier to separate.
- Next Steps: Cook a batch of chicken breasts in your slow cooker, then transfer them to the stand mixer for effortless shredding.
10. Microwave Lemons for More Juice

Image Credit: Shutterstock.
To get the maximum amount of juice from a lemon or lime, pop it in the microwave for 10-15 seconds before squeezing. The gentle heat helps break down the fruit’s membranes, releasing more juice. After microwaving, roll the lemon firmly on the counter under your palm to further loosen things up before cutting and juicing.
- Why It Works: Warming the citrus fruit softens the cell walls, making it easier to extract every last drop of juice.
- Pro-Tip: This is especially useful for citrus that feels a bit hard or is past its prime.
- Next Steps: Use this trick when making fresh lemonade or a citrus vinaigrette for your garden salad.
11. Hull Strawberries with a Straw

Image Credit: Shutterstock.
Removing the green tops from strawberries, or “hulling,” can be time-consuming, and you often lose a good bit of fruit with a knife. For a faster, no-waste method, use a sturdy drinking straw. Push the straw up from the bottom tip of the strawberry until it pokes out the top, taking the hull and core with it.
- Why It Works: The straw is the perfect size to remove the core and stem in one clean motion without taking excess fruit.
- Pro-Tip: A reusable metal or hard plastic straw works best for this task.
- Next Steps: Get the kids involved in this fun and easy hack the next time you prepare strawberries for a fruit salad or shortcake.
12. Use a Pizza Cutter to Chop Fresh Herbs
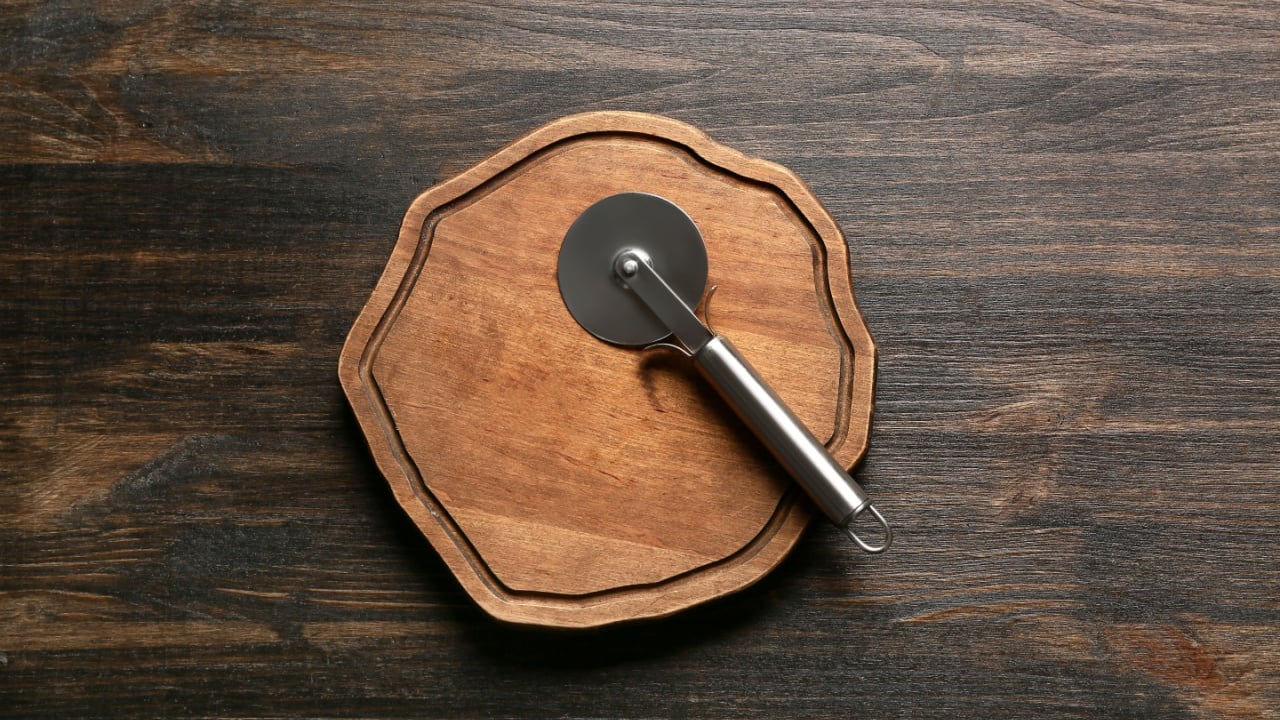
Image Credit: Shutterstock.
A pizza cutter isn’t just for slicing pizza. Its rolling blade is perfect for quickly chopping a pile of fresh herbs. Gather herbs like parsley, cilantro, or basil into a tight bunch on your cutting board and roll the pizza cutter back and forth over them. You’ll have finely chopped herbs in a fraction of the time it takes with a knife.
- Why It Works: The wheel can move in any direction, allowing you to chop quickly without having to constantly regather the herbs.
- Pro-Tip: This is also great for cutting kids’ food into bite-sized pieces, like pancakes or sandwiches.
- Next Steps: Try this method for mincing herbs to make your own flavored butters or salad dressings.
13. Rescue Salty Soup with a Potato or Apple

Image Credit: Shutterstock.
Accidentally added too much salt to your soup or stew? Don’t throw it out. Add a few wedges of a raw, peeled potato or apple to the pot and let it simmer for about 10-15 minutes. The potato or apple will absorb some of the excess salt. Simply remove and discard the pieces before serving.
- Why It Works: The starchy composition of the potato or the porous nature of the apple helps them absorb the salty liquid.
- Pro-Tip: This works best for mild cases of over-salting. If the dish is extremely salty, you may need to dilute it by adding more liquid, like unsalted broth or water.
- Next Steps: Remember this trick, the next time a recipe goes slightly awry, it can save your dinner.
14. Slice Cherry Tomatoes Between Two Plates
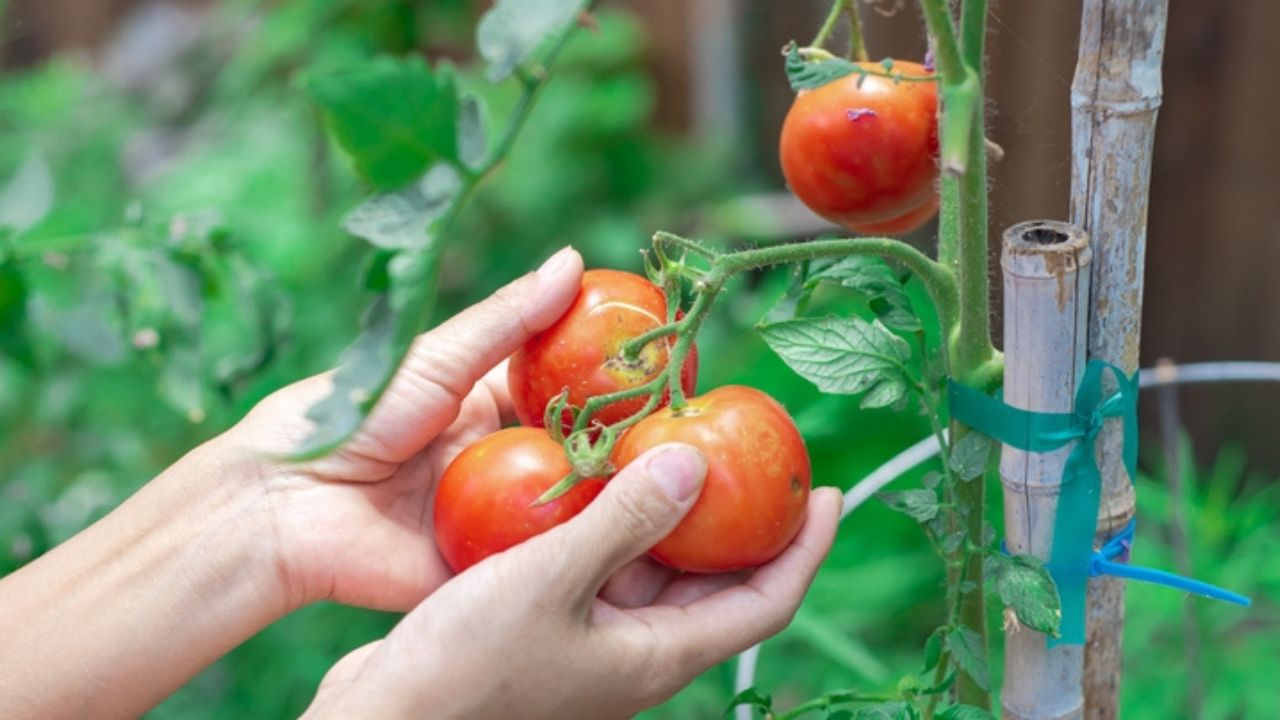
Image Credit: Shutterstock.
Slicing a container of cherry or grape tomatoes one by one is a tedious task. To do it all at once, place the tomatoes in a single layer on a small plate. Cover them with another plate of the same size, facing down. Hold the top plate firmly and carefully slide a long, sharp serrated knife between the two plates, slicing all the tomatoes in half at once.
- Why It Works: The plates hold the small, round tomatoes securely in place so you can make one clean cut.
- Pro-Tip: This also works for grapes, olives, and even small mozzarella balls. Just make sure not to overfill the plate.
- Next Steps: Use your perfectly halved tomatoes in a fresh pasta salad or a roasted tomato and feta dish.
15. Keep Ice Cream from Melting with Bubble Wrap

Image Credit: Shutterstock.
If you’re transporting ice cream from the store or to a picnic, wrap the pint in bubble wrap to keep it frozen for hours. The air-filled pockets in the bubble wrap act as an excellent insulator, preventing the cold from escaping and the heat from getting in.
- Why It Works: The trapped air in the bubbles creates an insulating barrier, significantly slowing down the melting process.
- Pro-Tip: For extra insulation, place the bubble-wrapped pint inside a cooler.
- Next Steps: Keep a sheet of bubble wrap in your car for impromptu ice cream purchases on hot days.
16. Proof Bread Dough in a Turned-Off Oven

Image Credit: Shutterstock.
If your kitchen is too cool and drafty for your bread dough to rise properly, create a perfect proofing box in your oven. Place the bowl of dough in the turned-off oven. On the rack below it, place a pan filled with simmering water. Close the oven door. The gentle heat and humidity from the water will create a warm, steamy environment ideal for yeast activity.
- Why It Works: The warm, moist air encourages the yeast to become active, resulting in a better and faster rise.
- Pro-Tip: Make sure the oven is completely off. Even the pilot light in some gas ovens can make it too hot.
- Next Steps: Try this technique for your next homemade loaf of bread or pizza dough for a light and airy result.
17. Use an Ironing Board for Extra Counter Space

Image Credit: Shutterstock.
During big cooking sessions for holidays or parties, counter space is prime real estate. If you’re running low, pull out your ironing board. When cleaned and covered with a towel or foil, it serves as a surprisingly sturdy temporary counter for holding ingredients, cooling racks, or finished dishes.
- Why It Works: Ironing boards are adjustable in height, portable, and designed to hold some weight, making them a versatile kitchen assistant.
- Pro-Tip: You can even use the metal base of an ironing board (with the cover removed) as a large cooling rack for cookies and cakes.
- Next Steps: Remember this hack during your next big baking day or when preparing for a large family gathering.
18. Simmer Tomato Sauce with a Carrot
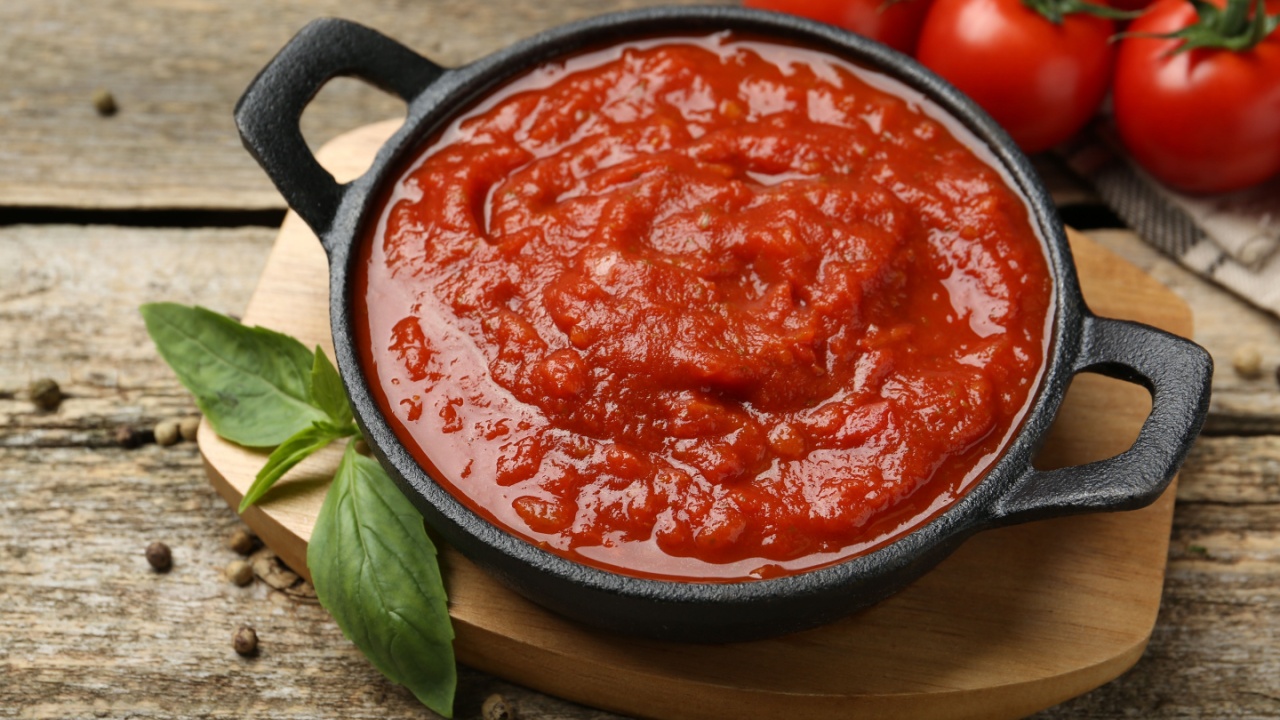
Image Credit: Shutterstock.
If your homemade tomato sauce tastes a little too acidic or sharp, there’s a natural way to balance it without adding sugar. Peel a whole carrot and let it simmer in the sauce for 15-20 minutes. The carrot will absorb some of the acidity and impart a subtle sweetness. Remove and discard the carrot before serving.
- Why It Works: Carrots contain natural sugars that neutralize the acidity of the tomatoes, creating a more balanced and mellow flavor.
- Pro-Tip: This is a fantastic way to refine the flavor of sauce made from garden tomatoes, which can vary in acidity.
- Next Steps: Taste your sauce as it simmers and use this trick to adjust the flavor profile as needed.
19. Freeze Ginger for Easy Grating
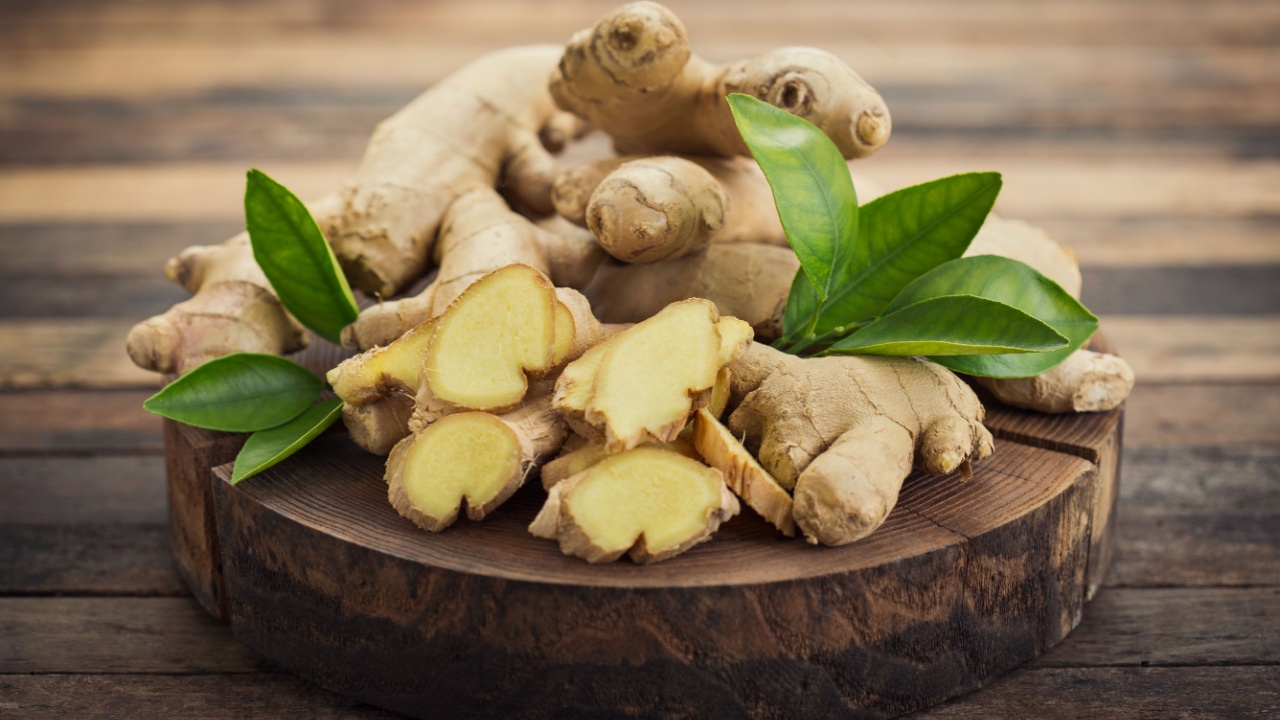
Image Credit: Shutterstock.
Fresh ginger root can become shriveled and dry in the refrigerator. To keep it fresh and make it easier to use, store it in the freezer. When a recipe calls for grated ginger, you can grate the frozen root directly with a microplane or grater no peeling required. The skin is thin and grates right along with the flesh.
- Why It Works: Freezing keeps the ginger firm, making it much easier to grate, and preserves its potent flavor for months.
- Pro-Tip: Store the ginger root in a labeled freezer bag. You can break off a piece as needed.
- Next Steps: Buy a large piece of ginger, use what you need, and toss the rest in the freezer for your next stir-fry or tea.
20. Spray Measuring Spoons for Sticky Ingredients

Image Credit: Shutterstock.
Measuring sticky ingredients like honey, molasses, or maple syrup can be a messy affair, with much of it left clinging to the spoon. To ensure it all slides out easily, lightly spray your measuring spoon with nonstick cooking spray before measuring. The sticky substance will pour out cleanly, giving you a more accurate measurement and an easier cleanup.
- Why It Works: The oil creates a nonstick barrier between the spoon and the sticky ingredient.
- Pro-Tip: If you don’t have cooking spray, you can achieve a similar effect by wiping the spoon with a little bit of vegetable oil.
- Next Steps: Use this hack for perfect measurements the next time you bake granola bars or make a honey-based marinade.
21. Use Butter Wrappers to Grease Pans
Image Credit: Shutterstock.
Don’t throw away that buttery wrapper after you finish a stick of butter. Fold it up and store it in a resealable bag in your refrigerator. The next time you need to grease a baking pan, just pull out a wrapper and use the residual butter to coat the surface. It’s a zero-waste, mess-free way to prep your pans.
- Why It Works: The wrapper holds just enough butter to grease a pan effectively without making your hands greasy.
- Pro-Tip: This is perfect for greasing muffin tins, loaf pans, and cake pans.
- Next Steps: Start a small collection of butter wrappers in your fridge so you always have one ready for your baking projects.
Your Turn in the Kitchen

Image Credit: Depositphotos.com.
Now that you’re armed with these 21 brilliant kitchen hacks, it’s time to put them into action. Start by picking one or two that resonate with you, perhaps the microwave garlic peel for tonight’s dinner or the marshmallow trick for your brown sugar.
The best way to make these habits stick is to incorporate them into your routine one at a time. As you do, you’ll find yourself saving time, reducing food waste, and making your time in the kitchen more creative and less of a chore.
Read more
Want Sharper Kitchen Knives? Quit Making These Mistakes
15 Hazardous Kitchen Items Affecting Our Daily Health
