Although we use the phrase “hydroponic seeds” here, you can use any garden seeds for your hydro garden. Our research told us that people were looking for this information using those search terms, so we used them to help guide you here. Take a look at our plants & produce section which discusses the best varieties of plants that work well in hydroponics. But there are no special seeds bred strictly for hydro.
Our Beginner’s Guide To Hydroponics is on sale for a short time. Check it out!
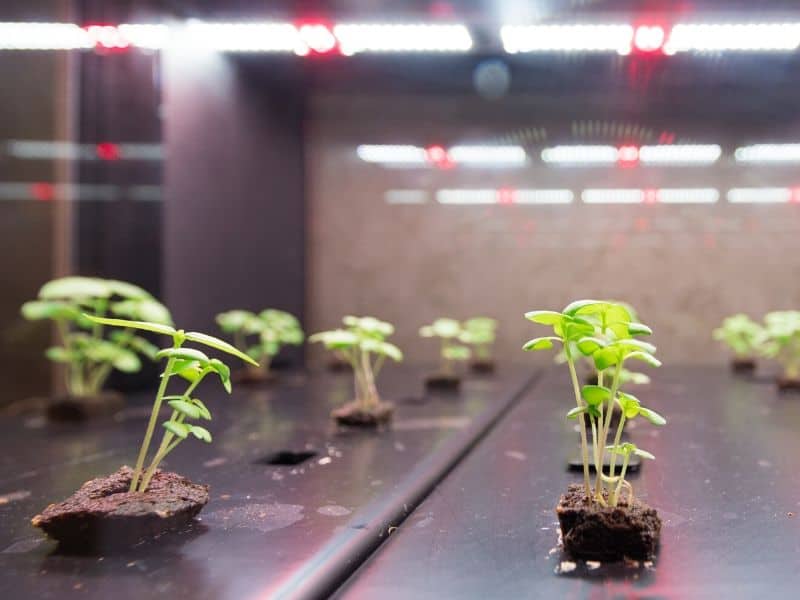
Hydroponic Seeds: Starting Seeds & Plants
Okay, you bought all the stuff. You sawed and glued and drilled and cussed. Three trips to Home Depot. But you did it! Your beautiful shiny new hydroponics unit is ready to start growing!
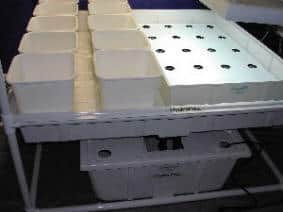
Now what? How do you get some good healthy plants for your setup? First, we’ll tell you the cheapest and best way to start plants for your new garden (hydroponic seeds). Later, we let you in on a secret method to quick-start your garden. [But there are drawbacks to doing this, as you will see].
We advocate starting from hydroponic seeds. Why? Much more variety, NO bugs or viruses brought in with the plants, and the pride factor and skills learned by starting from scratch. We recommend that you at least try the seed route first. If you try it and find it is too much work, then at least you tried… and learned.
Setting up your nursery environment
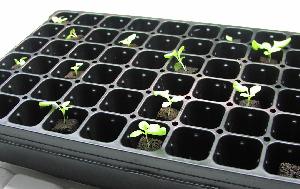
Most vegetables do best sprouted in tiny starter pots or flats prior to transplanting to the planting bed. This is especially true for hydroponics because you cannot plant little bitty seeds directly in place into the coarse hydro planting media. Hydroponic seeds get lost, wash away with the nutrient solution, or fail to get enough moisture to sprout.
So hydroponics seeds need a protected little nursery in order to sprout from a safely rooted base.
But which seedling pots?
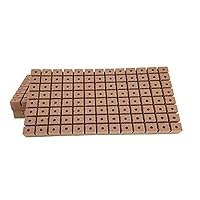
With hydroponics, it is best to start your seeds in cubes of inorganic material, not soil. When they are ready, you just place the entire plug into the hydroponic media bed. The roots grow right on
through.
We recommend that you choose one of these three starter plugs, which can be ordered from any hydroponics supplier, or use our links:
49 Rockwool Grow Cubes – Growing Medium Starter Sheets  General Hydroponics Rapid Rooter Plant Starters, 50 Plugs
 Oasis Horticube XL Multi Dibble – 104 Cell Sheets (3)
TIP: Don’t use peat pellets, jiffy pots, or potting soil in a hydroponic system, as they break down and clog the pump.
So how do I get started with hydroponic seeds?
You will want to create a little “seed nursery” in a warm, brightly lit spot. A bright kitchen window or warm space under an inexpensive fluorescent gro-light would be good. But you don’t want to bake them in direct sunlight or hot lamps. Seeds will not sprout unless it’s at least 65 degrees (70-80 is ideal).
***You MUST provide bright light close to the flat, or the babies will grow long and spindly and flop over. We’re talking only 1-2″ above the plants!
Don’t skip past this bit of advice!
Bright fluorescent lighting creates thick, short, stocky, healthy seedlings.
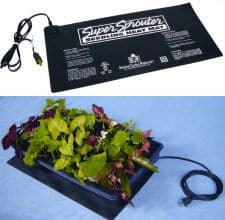 | 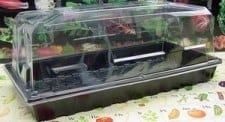 |
If you want to get fancy and indulge your new hydro habit, they sell little domed starter systems and warming “seed mats”. Convenient and fun, but not absolutely necessary: a Tupperware tray would suffice. They are not very expensive.
Hydroponic Seeds: Ladies & Gentlemen… Start Your Seeds!

How to plant hydroponic seeds
- Moisten the starter cubes with water.
- Insert seeds into the cube holes. For tomato, peppers, cukes, eggplants, basil, broccoli, and cabbage, use 2 seeds per cube. For herbs, 6-8 seeds per cube. Start a couple more cubes of each type of crop than you intend to keep, so you can select the best.
- Place in the nursery tray and keep warm (70-80 degrees). Water every day or two by adding “seedling solution” to the drain pan, not the cubes. Use 1/2 strength nutrient solution mix. If you use GH Flora Nutrients, mix up a batch of “seedling solution” in a one-gallon milk jug; using 1/4 tsp. of each of the three solution mixes (micro, gro, and bloom) to one gallon of water.
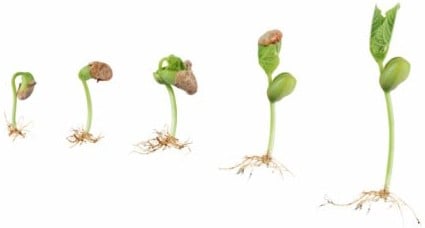
- Voila! They will start sprouting in a couple of days. Once up and running, cut off the extras and leave only the one best seedling in each cube. Thin out the weaker, spindly, slow-growers.
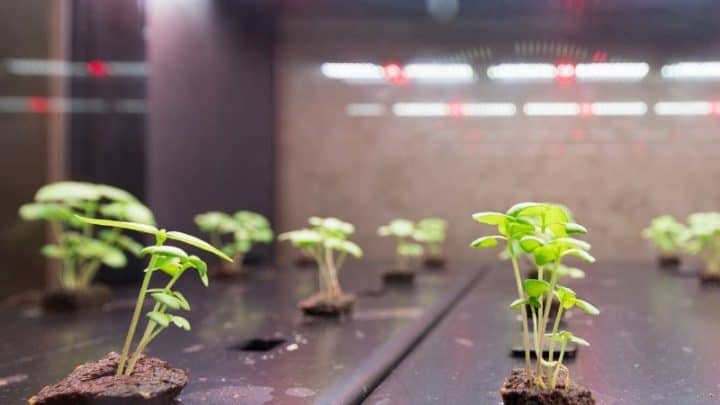
- When to transplant? When the plant is 2-3 inches tall, has 4 leaves and roots start to show through the sides of the cubes. This usually takes 1-3 weeks. Peppers and tomatoes can take up to 4 weeks.
Transplanting the hydro seedlings into the hydro unit
Once your babies are ready to graduate to the big hydroponic unit, it helps to gradually get them used to the new climate. “Harden them off” if they are going outside or to a greenhouse, to stronger light and cooler temps. If you want to “keep it simple”, just skip this step, your plants should still survive.
But if you are transplanting to an indoor hydro setup, you must break them into the warmer temp and new intense light system or you will burn them up.
Start by keeping the lamps way up high at first, then every few days you can lower it ’til you are about 18-24″ above the crops. If you start the tender babies directly under the hot lights, they will shrivel up and die. I know cause I’ve done it.
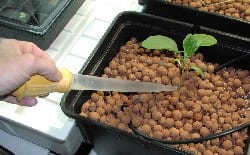
Transplant the cubes directly into the hydro unit. You do not remove from the starter plugs. Just dig a little hole in the hydro medium and plug in the cube. It’s great, you don’t disturb the roots, they grow right on through.
When you first transplant to the hydro unit, top-water them daily the first week with nutrient solution. This guarantees they won’t dry out before the roots get a chance to reach down toward the juice. A turkey baster works great for this.
 |  |
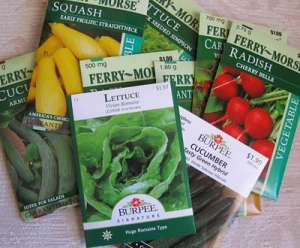
So, does starting your own plants from hydroponic seeds sound like a lot of work? Well, it is, but worth it for the wide variety of old heirloom and new hybrid varieties. More on seed varieties here: Vegetable Garden Seeds.
Still not convinced? Click here for our secret method of jumpstarting your Hydro project: Starting Seedlings for Hydroponics
K.I.S.S. (Keep It Simple, Simon)
SAVING EXTRA SEED
For your hydroponic garden, you will find that you only need a few of the seeds from each seed packet. Did you know that you can easily save the leftover seed for 3-4 years and not lose viability (ability to sprout)?
Here’s how: Keep them in the original packet, fold over and over to close the packet tightly. Place all the packets in a clean, dry mayo jar, (or triple bag them in Ziploc bags).
Place some silica gel (like you find in beef jerky) or pour a tablespoon of dry powdered milk in tissue and fold it up, this does the same thing. Close the jar tightly and store it in the refrigerator (not the freezer). Cool but dry is the key.
Easy and economical!



Best Hydroponic Plants - What To Grow
Saturday 21st of November 2020
[…] We advocate that you start your hydroponics plants from seed. We have created a great page explaining how to start seeds properly. […]