Wooden planks are a popular choice for garden beds, borders, and pathways, but moisture, soil contact, and sun exposure rapidly break down untreated wood. Within a season or two, you can end up with soft, crumbling boards that need to be replaced entirely.
Luckily, wood does not have to be treated with synthetic sealers or pressure-treated chemicals to last outdoors. Ancient techniques, some used for centuries in Japan and Europe, prove that fire and natural oils can protect wood just as well.
The method of charring wood works by changing the physical structure of the planks themselves, making them far more resistant to rot, insects, and water. Many gardeners avoid chemical preservatives for good reason. Treated lumber can leach compounds into the surrounding soil, which raises real concerns for edible gardens.
Non-chemical methods (like the one we’ll cover below) give you durable, protected wood without introducing anything harmful to your plants or the ground around them. Here is a complete, chemical-free process for preserving wooden planks before they go into your garden.
1. Set up a Safe Outdoor Workspace
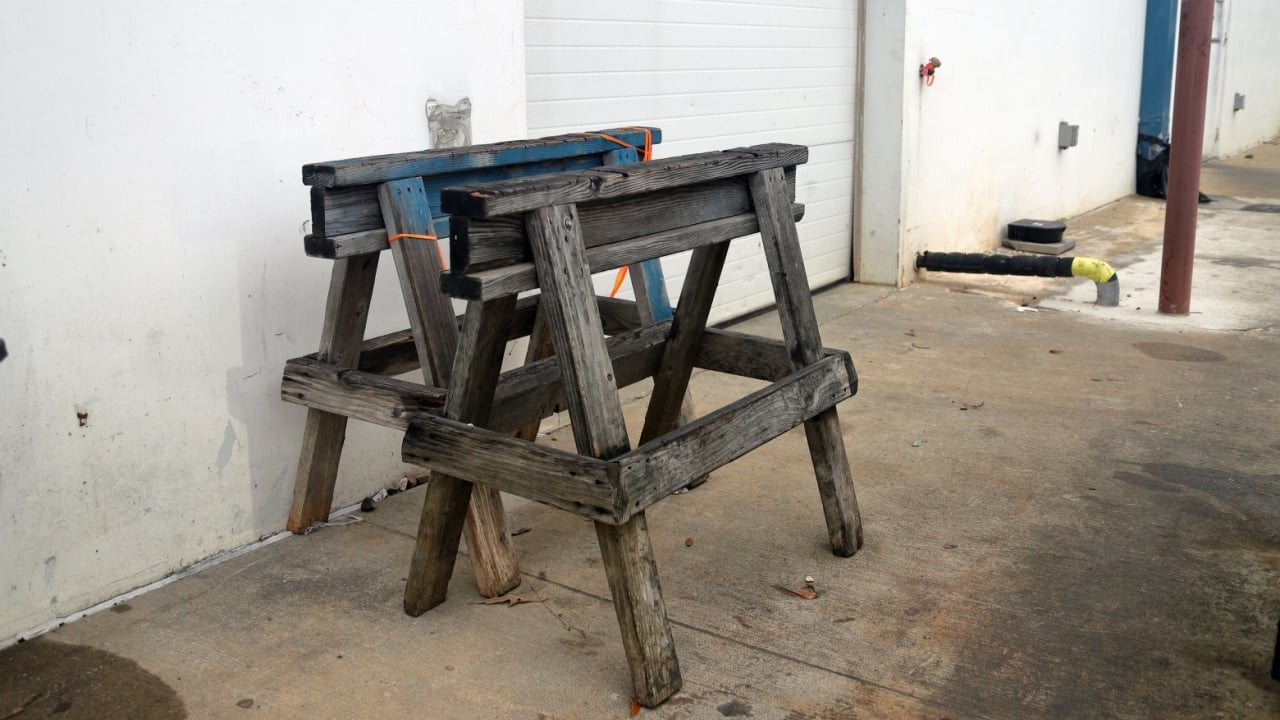
Image Credit: Shutterstock.
Before any torching begins, your workspace needs to be ready for open flame. Work outdoors on a clear, flat surface away from dry grass, fences, or anything flammable.
A pair of sturdy sawhorses is ideal for elevating your planks, since this lets you work on all sides of the wood without it touching the ground. Keep a fire extinguisher within arm’s reach and have a bucket of water nearby as a backup.
Hot work safety matters a great deal. A cluttered or poorly chosen workspace turns a simple project into a hazardous one.
Wear heat-resistant gloves and eye protection, and make sure anyone nearby knows you are working with an open flame. A good setup at the beginning protects both you and the wood throughout every step that follows.
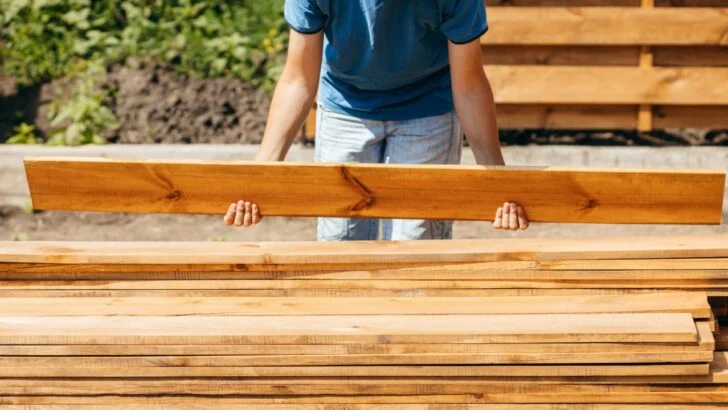
2. Choose the Right Wood for Charring
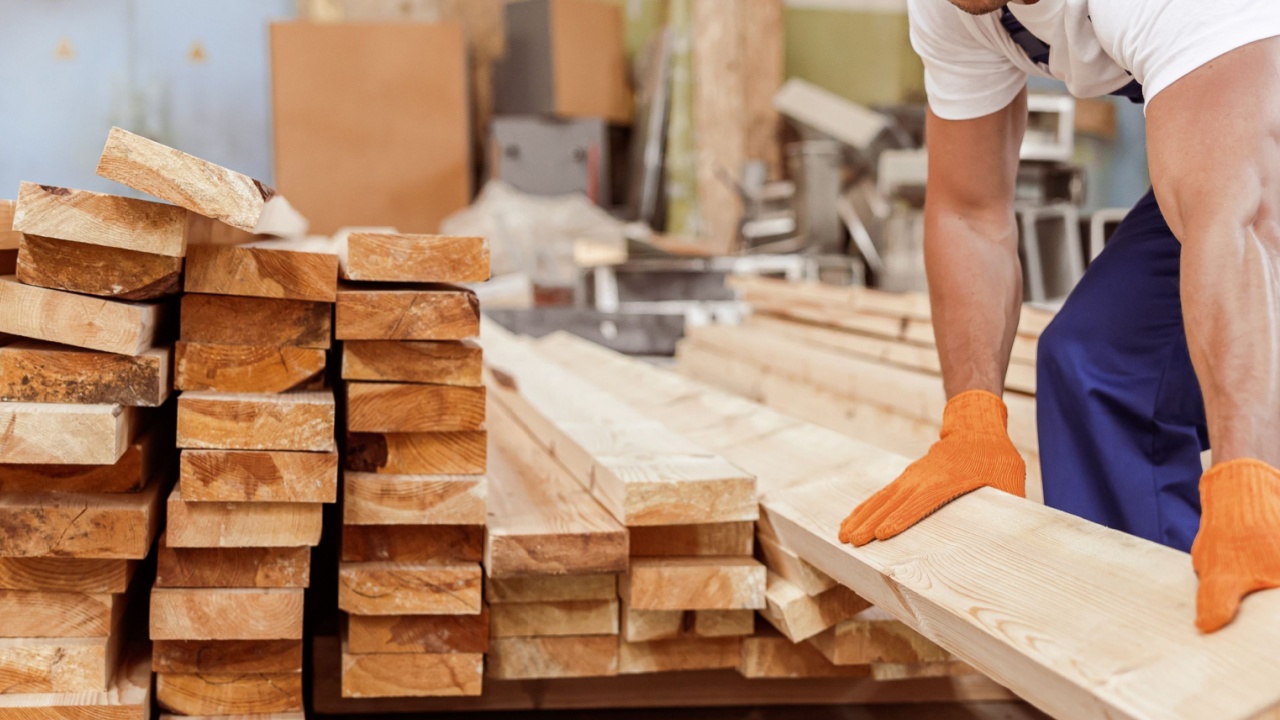
Image Credit: Shutterstock.
Not all wood responds to charring the same way, and the species you choose affects how well the finished plank performs in the garden. Cedar, pine, oak, and Douglas fir all char well and are widely available in plank form.
Softwoods like pine absorb oil more readily after charring, while hardwoods like oak produce a denser, more durable char layer that stands up to heavy soil contact.
Avoid using composite boards or any wood that has been previously treated, painted, or stained. These materials release toxic fumes when burned and do not absorb finishing oil properly.
Fresh, raw lumber gives you the cleanest results and the most reliable protection once the process is complete.
3. Char the Wood With a Propane Torch
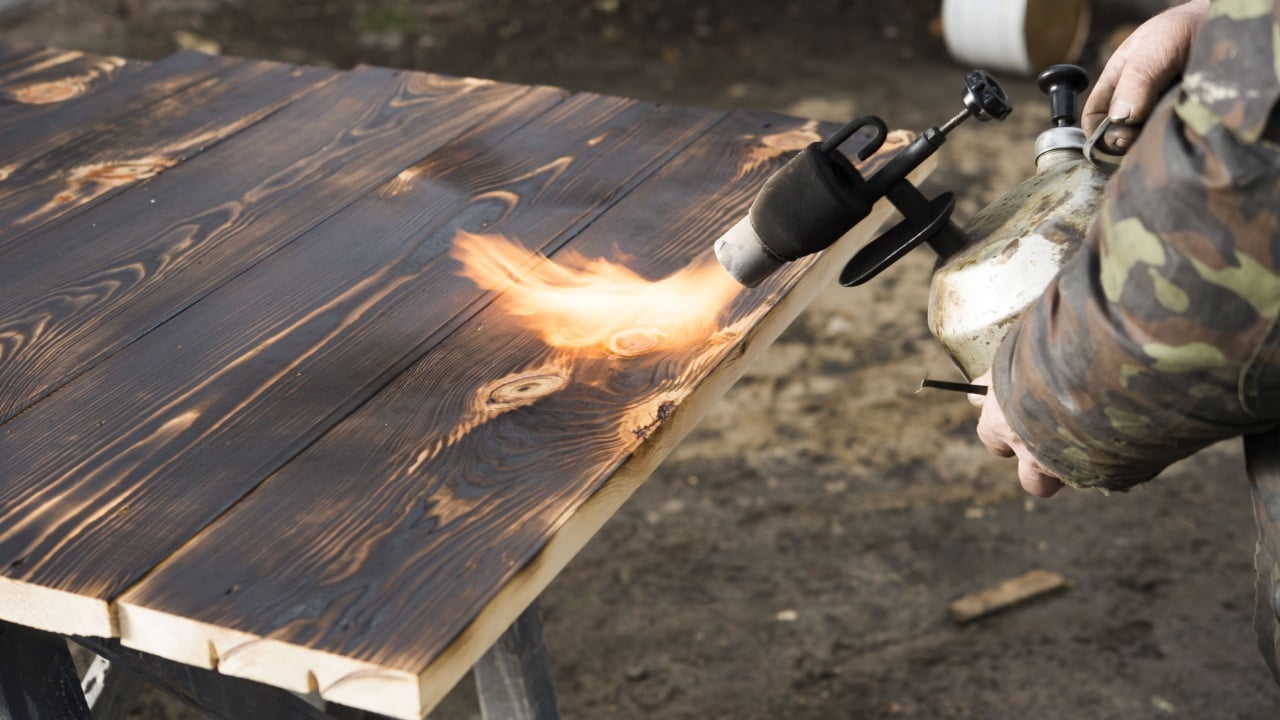
Image Credit: Shutterstock.
The technique used here is called Shou Sugi Ban, a Japanese wood-preservation method that uses fire to create a carbonized surface layer. Hold a propane torch six to eight inches from the wood surface and move it slowly and steadily along the grain.
A light char produces a silvery, textured finish, while a deeper burn creates a darker, more dramatic look and an even thicker protective layer.
The char works by closing the wood’s pores and destroying the cellulose that fungi and insects feed on. This makes the surface naturally resistant to moisture absorption, rot, and pest damage without a single chemical involved.
Work in sections across the full surface of each plank, and flip the board to treat every side that will be exposed once it is installed in the garden.
4. Let the Wood Cool Completely
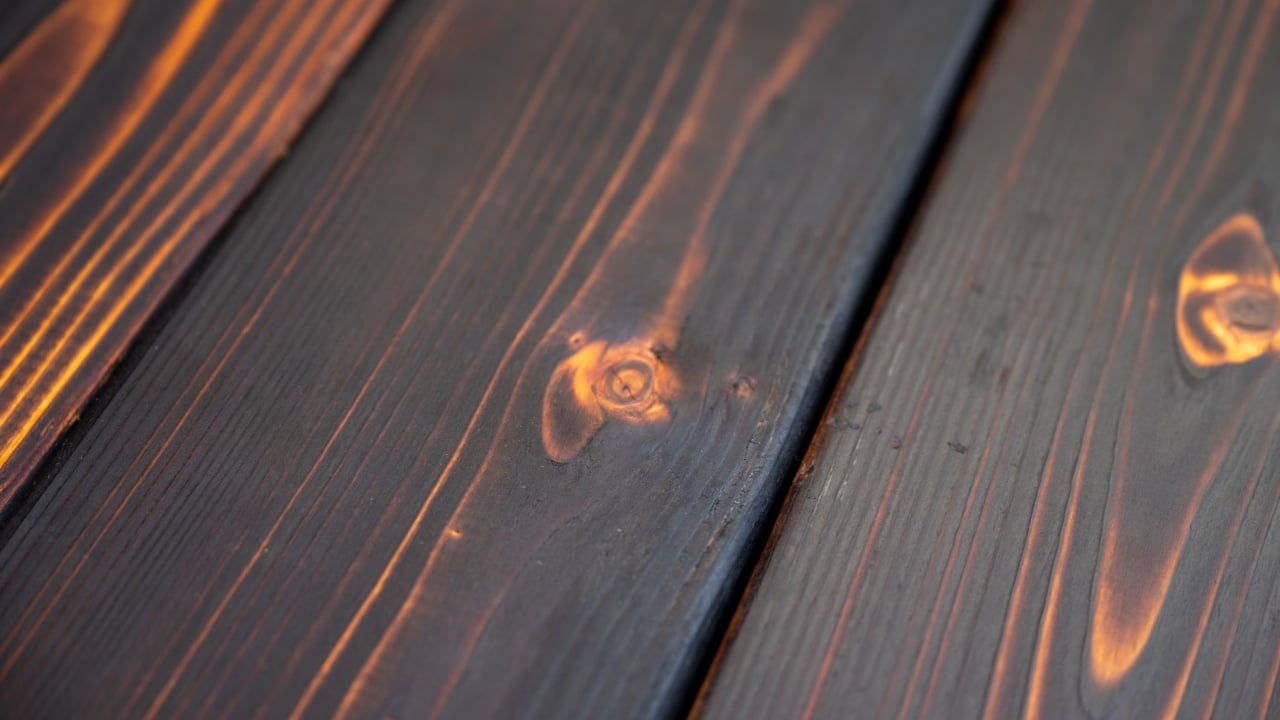
Image Credit: Shutterstock.
Rushing past the cooling stage is a common mistake that damages the char layer before you even finish the job. Once you have torched a plank, set it aside on the sawhorses and give it at least 20 to 30 minutes before you touch it.
The surface may look cool, but heat travels deep into the wood, and the inner layers stay hot for much longer than the exterior suggests.
Handling hot wood too soon causes the char to smear or lift, which breaks the protective layer you just created. Cooling also lets the wood stabilize, so the grain is properly set for brushing in the next step.
Patience here protects the integrity of the char and gives you a much cleaner result when you move forward.
5. Brush With the Grain to Reveal the Texture
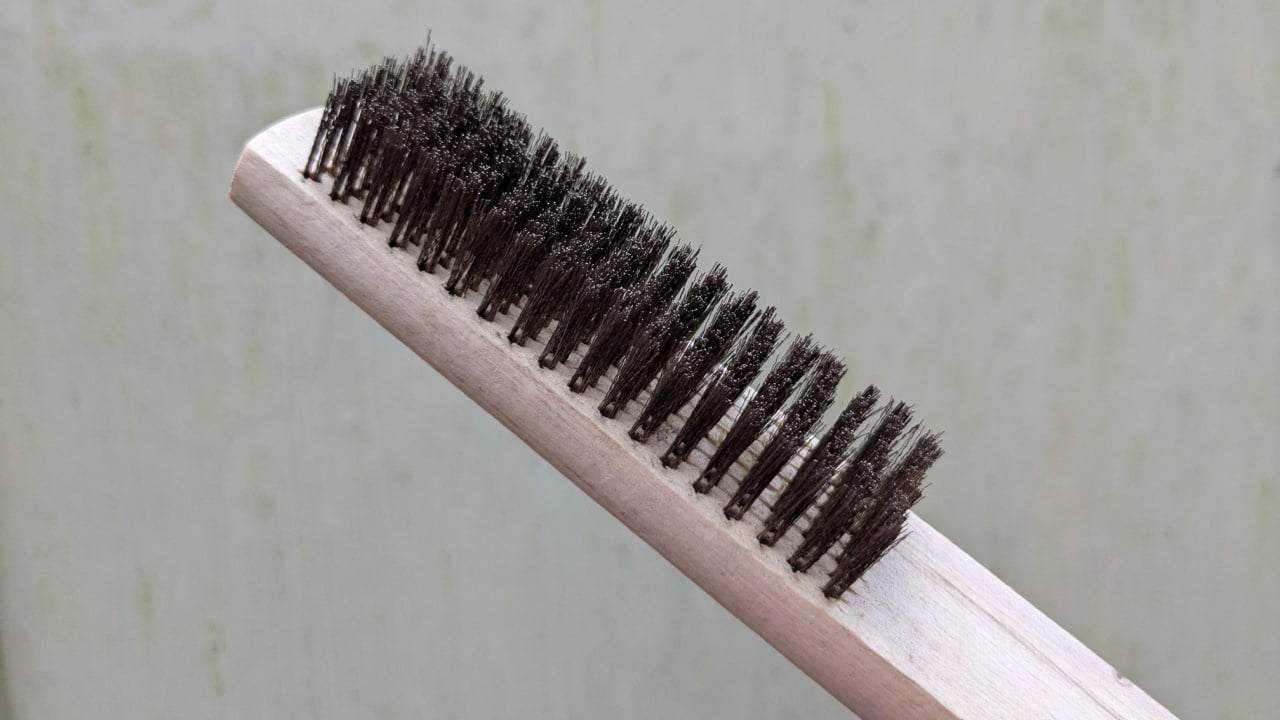
Image Credit: Shutterstock.
After the wood has cooled, use a stiff-bristle wire brush to work along the grain from one end of the plank to the other. This removes the loose, powdery char on the surface while leaving the harder, fused layer beneath intact.
The brushing process also opens up the beautiful grain patterns in the wood, giving each plank a textured, handcrafted appearance.
The amount of brushing you do controls the final look and feel of the wood. A light pass removes minimal char and leaves a smooth, dark surface. A more thorough brushing lifts more material and produces a deeply grooved, rustic texture that many gardeners prefer for raised beds and pathways.
Always brush in the direction of the grain, never across it, to avoid tearing the protective char layer underneath.
6. Apply Linseed or Tung Oil for Lasting Protection
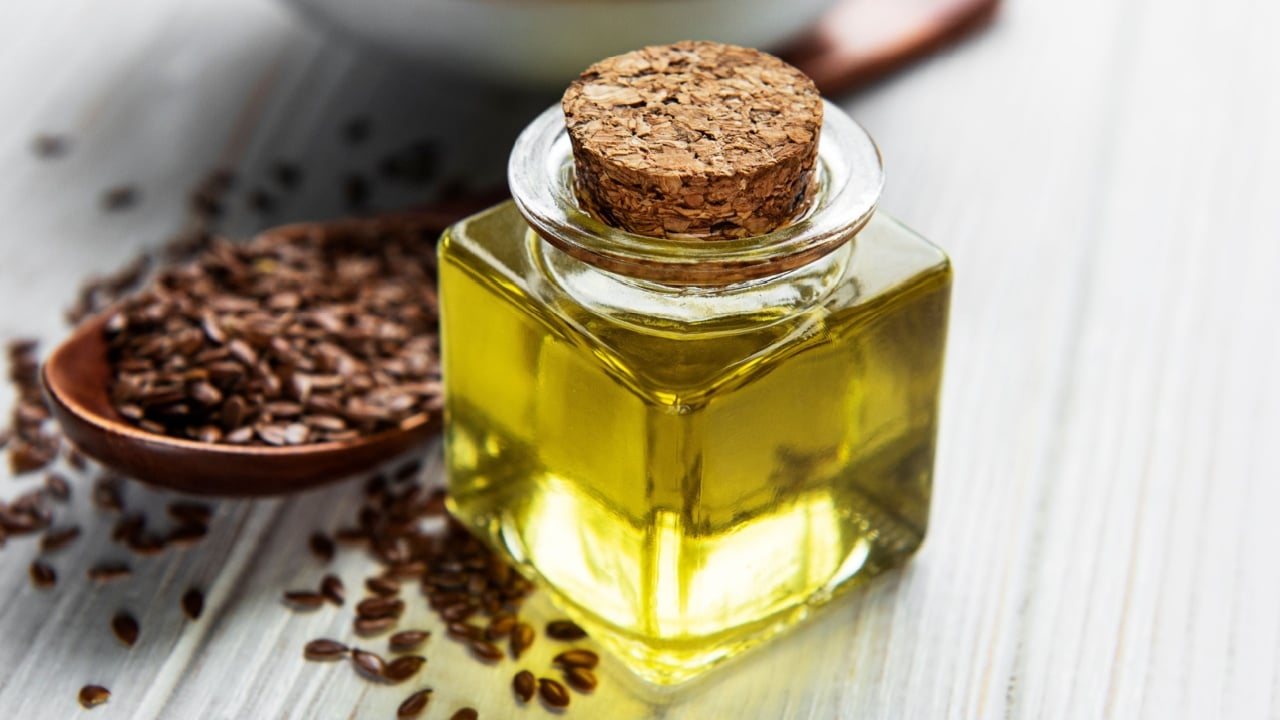
Image Credit: Shutterstock.
Raw linseed oil and tung oil are two of the oldest and most effective natural wood sealers available. Both penetrate deep into the wood fiber rather than sitting on the surface, which means they protect from within rather than forming a film that can crack or peel.
Apply your chosen oil generously with a clean rag or a natural-bristle brush, working it into the wood in long, even strokes.
Tung oil cures harder and is slightly more water-resistant than linseed oil, making it a strong choice for planks that will be in direct contact with wet soil. Raw linseed oil takes longer to dry but is widely available and extremely affordable.
Avoid boiled linseed oil, since it contains metallic drying agents that defeat the purpose of a chemical-free approach. One to two coats of oil is usually sufficient, with a light sanding between coats using fine-grit sandpaper if you want a smoother finish.
7. Dry the Planks Before Installation
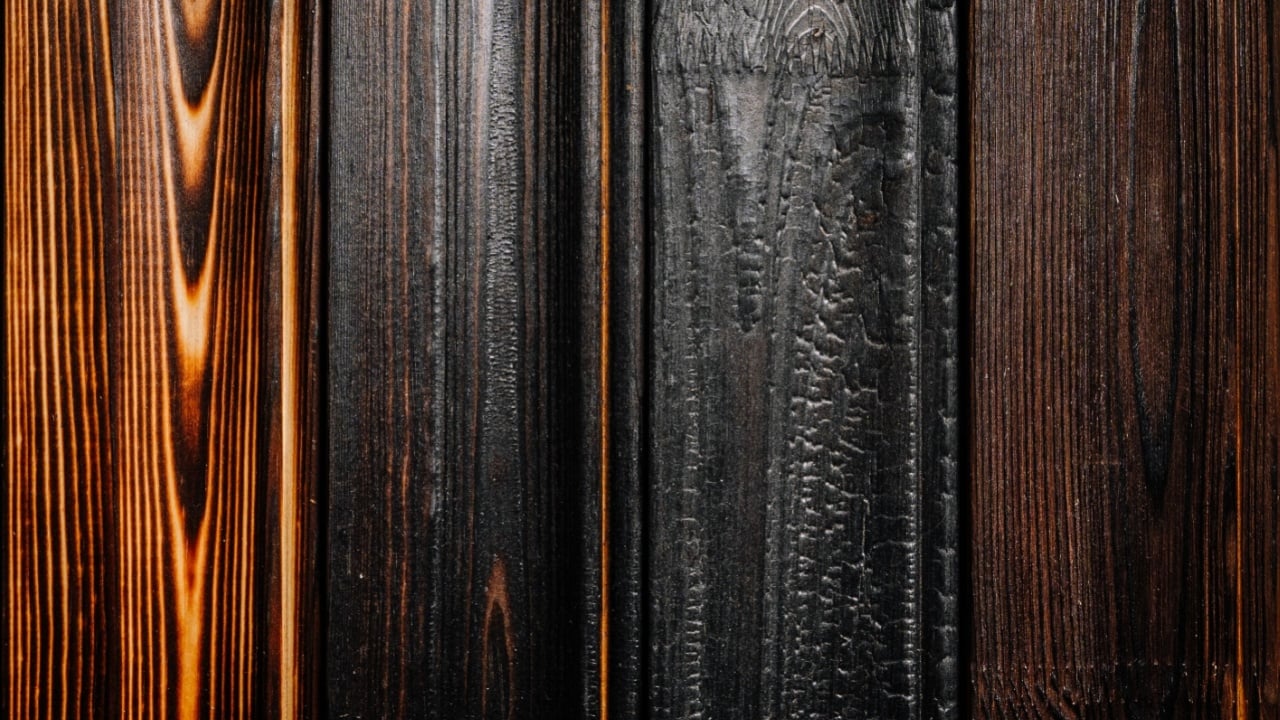
Image Credit: Shutterstock.
Oiled wood needs time to cure fully before it goes into the ground or against soil. Lay your treated planks flat in a dry, shaded area with good airflow and leave them for at least 24 hours after the final coat of oil.
Direct sunlight during this stage can cause the oil to skin over before it fully penetrates, so shade is preferable.
A fully cured plank feels dry to the touch with no tackiness and has a consistent matte or low-sheen finish across the surface. If you install planks before they have cured, the oil can leach out under pressure and soil contact, reducing the protection you worked to build in.
Taking the time to dry properly is what separates a plank that lasts for years from one that begins to soften after the first wet season.
Your Garden Boards Are Built to Last
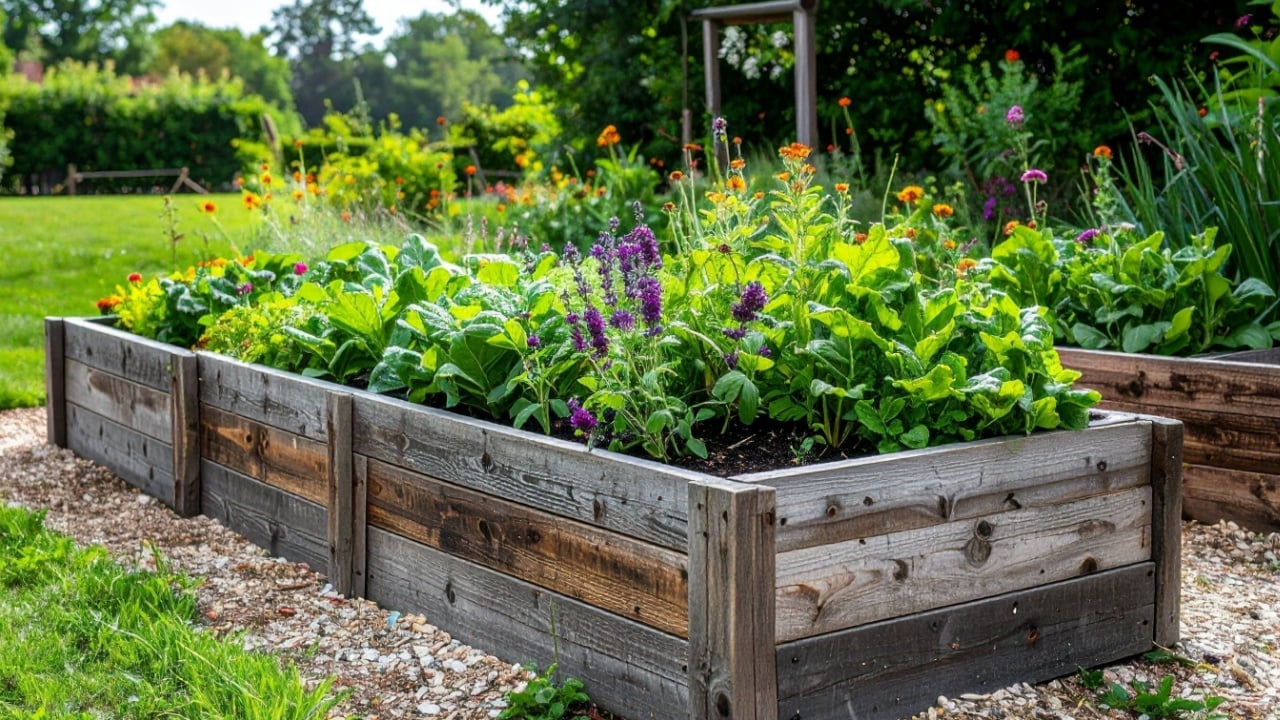
Image Credit: Shutterstock.
Wood preserved this way performs remarkably well in outdoor garden conditions, often lasting a decade or more with minimal maintenance. The char layer acts as a natural barrier against moisture and insects, while the oil seals the interior against the wet-dry cycles that cause untreated wood to crack and warp.
Together, these two protective layers do the work that chemical treatments typically handle, without any of the soil contamination concerns. If your planks are going into a raised vegetable bed, this process is especially worth doing right.
You get strong, attractive borders that keep chemicals out of your growing soil entirely. Inspect your boards once a year and reapply a thin coat of oil whenever the surface starts to look dry or faded. With that minimal upkeep, your preserved planks will hold their shape and structure through seasons of rain, heat, and soil contact.
Read More:
Burning These 12 Woods Poses Serious Risks to Your Home and Health
How to Keep Your Hardwood Floors Looking Beautiful for Years