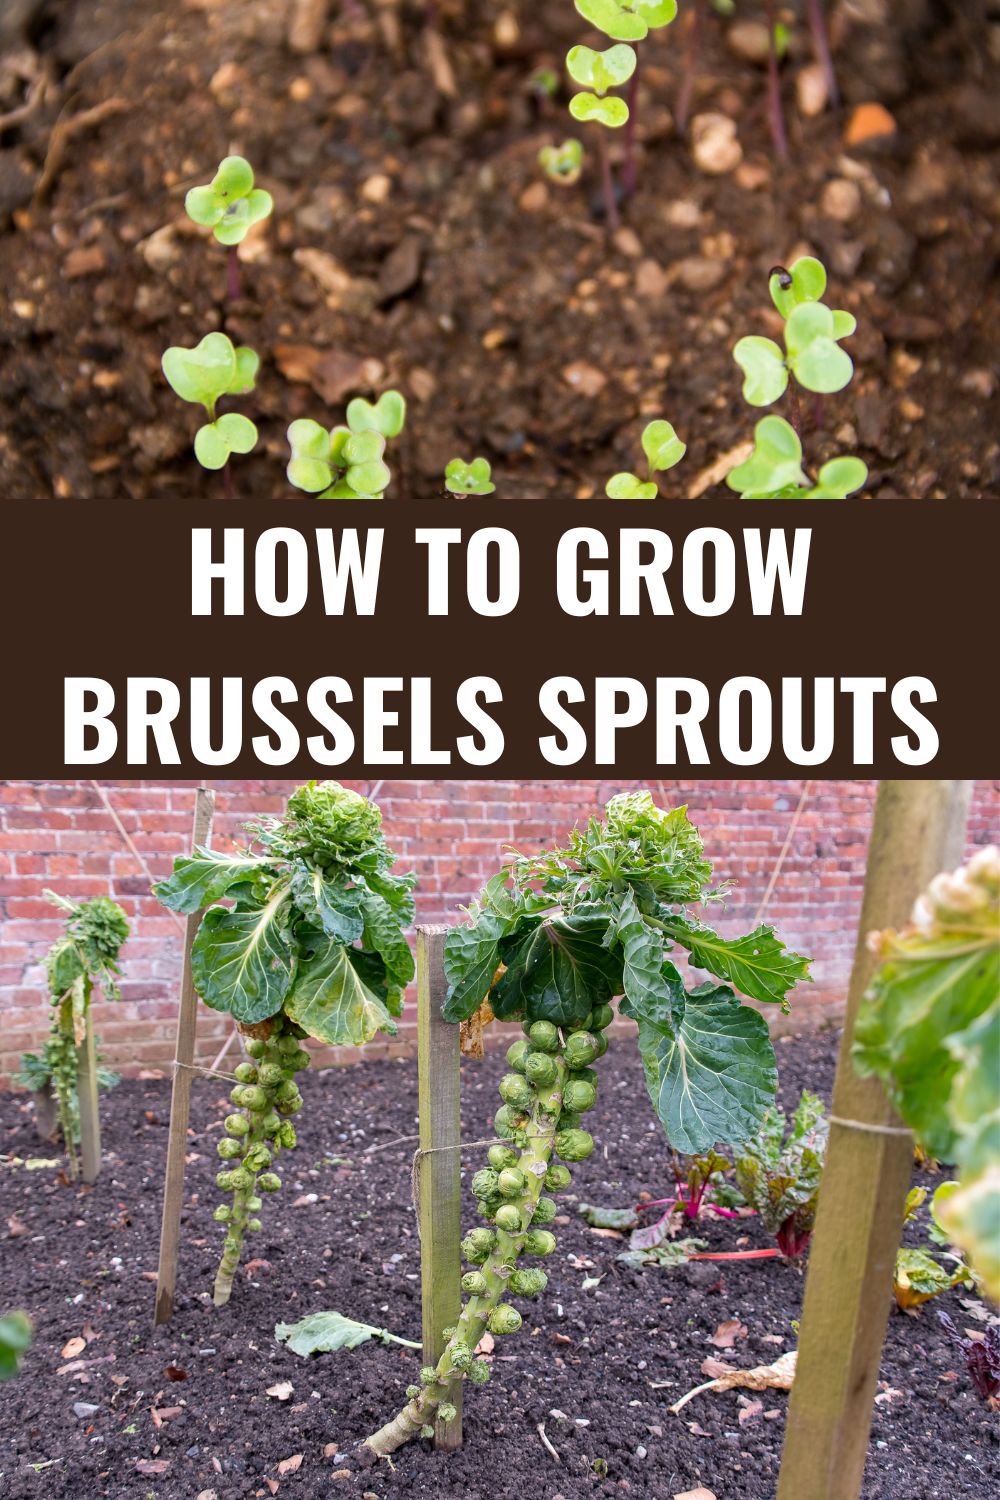
How to grow Brussels sprouts, the sweet, nutty, mini cabbage like plant that Christmas just cannot do without.
But don’t just save your sprouts for your Christmas dinner as there is so much to this garden vegetable, and the over boiled, sour tasting, green, soggy balls that so many of us were used to does the sprout no favors at all.

The Best Soil for Brussels Sprouts
Brussels sprouts belong to the brassica group of vegetables, and as they produce a lot of green leaves, they need a nutrient rich soil which is particularly high in nitrogen. To provide this nutrition it would be usual to add plenty of well-rotted manure. But as manure tends to be acid, and brassicas prefer an alkaline soil, manure is not necessarily the best option.
In our vegetable rotation plan, our brassicas bed follows the beans, so that the brassicas can take advantage of the high levels of nitrates left by the beans. We also add a dressing of a fertilizer such as Fish, Blood and Bone, as well as a dusting of lime to make the soil more alkaline.
When you test the pH, you are looking for a result between 6.5 and 7.0, and as long as the bed achieves this, there is no need to do anything. However, if it is below 6.5, you will need to dust the soil with Dolomite Lime to correct it.
Choose a good quality soil test kit so you know what the pH of your soil is.
If your soil needs a heavier feed, you could add manure as long as it is well-rotted, and it would be better to add it in the Autumn so that the brassica bed has time to settle and compact and any acidity can leach away. But still lime the bed early in the spring.
A compact soil is important as these plants can often be damaged by winds.
How To Grow Brussels Sprouts
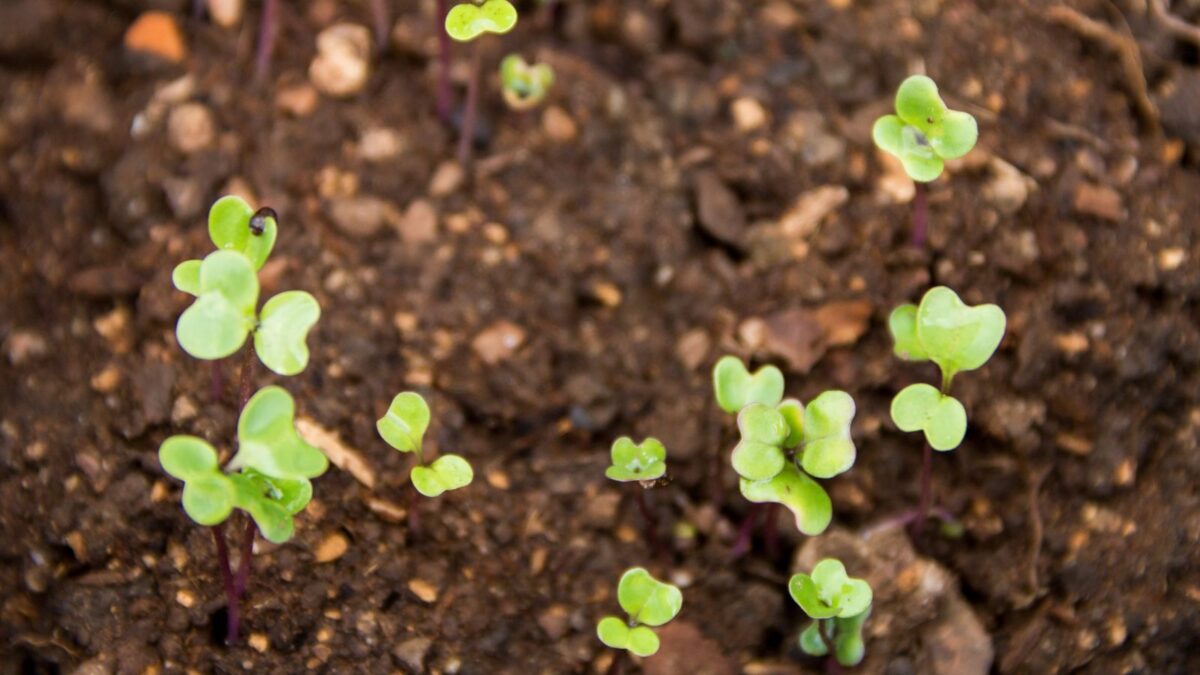
Start Brussel sprouts off in biodegradable seedling trays throughout March, April and May, potting them on to 3″ pots to give them a strong start before planting in their final position from May to July. Sow and pot on in a general purpose compost, thinning to one per seedling cell to grow on, and when potting on dust the compost with a little horticultural lime.
Once the plants have established, put them in their final growing position, about 30 inches apart. You can reduce the spacing in raised beds and by staggering rows, but these plants can be very large, so space is important.
It is also a good idea to heel the plants in giving them a secure bed to grow and develop into.
Pests And Diseases
There are a number of pests and diseases that affect all brassicas that you need to be aware of, the worst of which is clubroot, a soil dwelling disease that causes the roots of the plant to become distorted and swollen.
If your soil carries clubroot, it does not mean that you cannot grow brassicas, but it does make it extremely challenging.
To avoid the problems of club root, pot on your plants from a 3 inch pot to a larger 5″ pot and grow the plant further. When it is time to plant out the plant dig a large hole and line the hole with compost and lime before planting the plant.
Although most brassicas can be grown quite well in a soil infected with club root, sprouts may struggle as they spend so much time in the soil.
Cabbage root fly is a problem insect that can completely destroy your plant, but it is quite easy to protect your plants against this pest. Simply create a flat square barrier that fits around the stem of the plant, the barrier can be made from roof felt, carpet underlay or from cardboard.
Another problem insect is the caterpillar, and the best way to deal with them is to remove the eggs before they hatch. A weekly check on the underside of leaves will help you to stay in control.
To disguise your plants from these insects plant your brassicas with dill and rosemary, and if you grow nasturtiums nearby, any caterpillars that hatch from eggs you miss will be attracted to the nasturtiums that they love to eat.
Wind can also be a problem as even a gentle rock can cause damage to the root ball, making it difficult for the plant to draw all the nutrients that it needs to thrive. To avoid wind rock, plant out in deep holes and heel the plant in well. We tend not to dig our brassica patch prior to planting so that the soil is very firm. It also helps if you earth up around the base of the stem before the winter arrives, and while you’re at it, give it a dusting of fertilizer to help the plant along.
Harvesting

Traditionally the Brussel sprout is picked in December and any commercial grower will want their plants to yield most of its crop during the Christmas period.
But as we can stagger our sowing we could start picking sprouts as early as October and could still be doing so right the way through to March, when new plants may well be being sown.
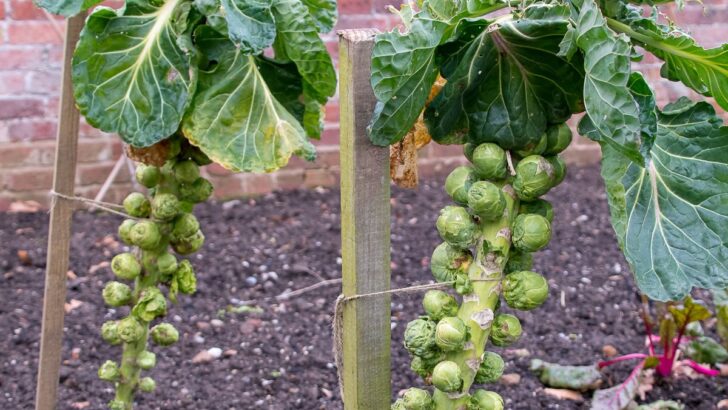
The best sprouts are young and are a little smaller to half the size of a ping pong ball. The sprouts that are lower on the stem will be ready first so you begin to harvest from the bottom of the plant.
Do not leave the sprouts on the plant too long as the sprouts will begin to open, which is known as blowing.
Cooking With Brussels Sprouts
Please don’t boil sprouts to death, they have taken a long time to grow and mature and the green, sloppy, overcooked mess that we sometimes see does no justice to this fantastically versatile vegetable.
The sprout deserves more!
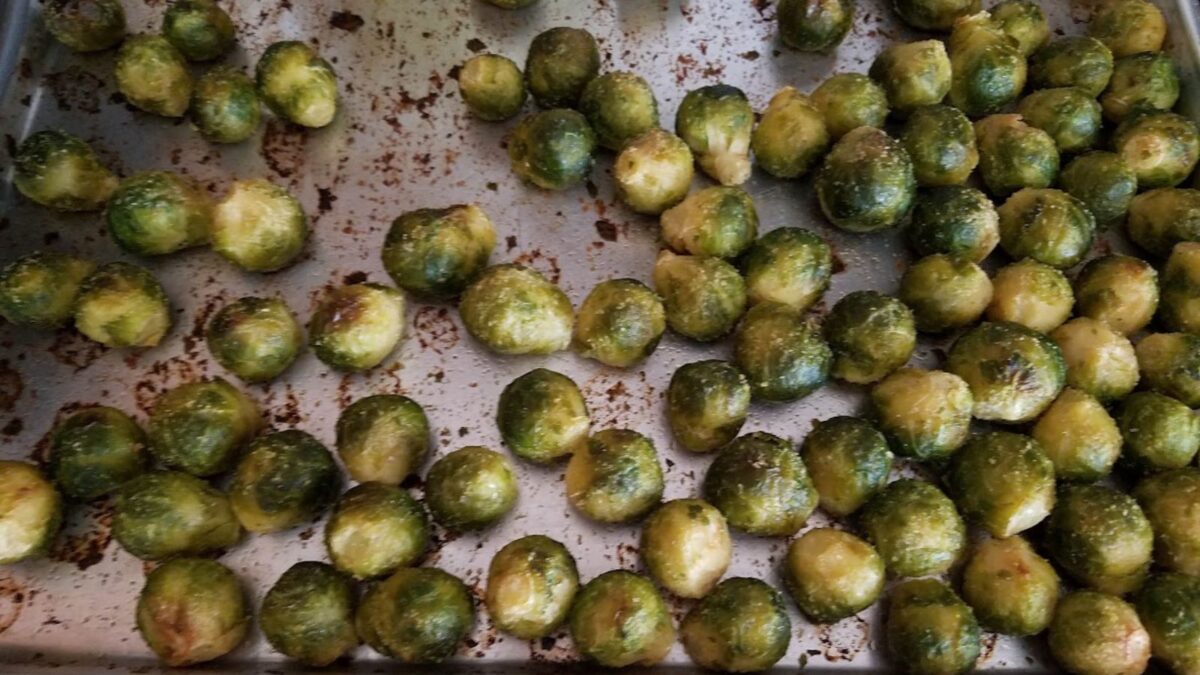
You could serve them quite plain, but instead of dishing sprouts straight out of the boiled water, pop them on an oiled tray, sprinkle with some sea salt and a twist of pepper, and roast until the leaves are starting to caramelize.
Or, try pan frying with apple and almonds or with honey and sesame seeds, or roasting in the oven or air fryer. So many easy and delicious ways to enjoy these little gems.
Once you have harvested all the sprouts the top of the plant can be used as a small cabbage.