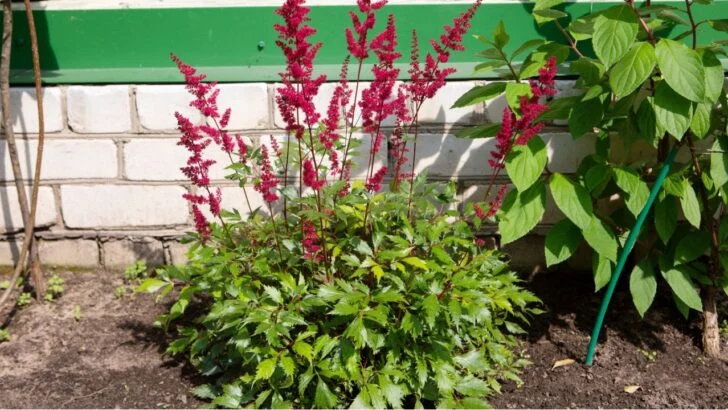
Some plants whisper, and some make a statement the moment you walk past them. Astilbe ‘Dark Side of the Moon’ lands firmly in the second group.
Its deep burgundy leaves and bold purple plumes turn a quiet corner into something you want to stop and admire. Proven Winners named it the 2026 Perennial of the Year, and once you see it in person, you understand why.
Have you seen how much it changes through the seasons? New leaves push out a soft yellow-green in spring, then darken into rich, glossy burgundy as the weather warms. By summer, tall purple flower spikes rise above the foliage and pull every eye in the garden.
Even in winter, the dried seedheads hold their shape and give your yard texture when most plants have gone to sleep. In this guide, you will learn exactly how to add Astilbe ‘Dark Side of the Moon’ to your yard.
1. Choosing the Right Spot

Image Credit: Shutterstock.
This astilbe grows in both sun and shade, which gives you real freedom when you pick a location. In cooler climates, it handles full sun well and rewards you with strong color and full plumes.
In hotter regions, harsh afternoon sun can scorch the leaves, so a spot with morning light and afternoon shade keeps it looking its best. Matching the light to your climate is the first step toward a healthy, happy plant.
Take a few days to watch how the sun moves across your yard before you dig. Notice which areas stay bright all day and which sit in cool shade by midafternoon.
A shady bed under a tree or along the north side of your home often works beautifully for this plant. Once you find a spot that stays out of brutal heat, you have set yourself up for years of strong growth.
2. Getting the Soil Right

Image Credit: Shutterstock.
Astilbe ‘Dark Side of the Moon’ depends on moist, well-draining soil to thrive. It does not handle drought, so soil that dries out fast will leave it stressed and limp.
At the same time, water that sits and pools around the roots can cause rot. You want soil that holds moisture but still lets extra water drain away.
The easiest way to hit that balance is to mix in compost or other organic matter before you plant. This improves both moisture retention and drainage, and it feeds the soil at the same time.
A layer of mulch over the top helps lock in moisture and keeps roots cool during hot stretches. With good soil prep, your astilbe will settle in faster and need less fussing later.
3. Planting in Beds or Containers
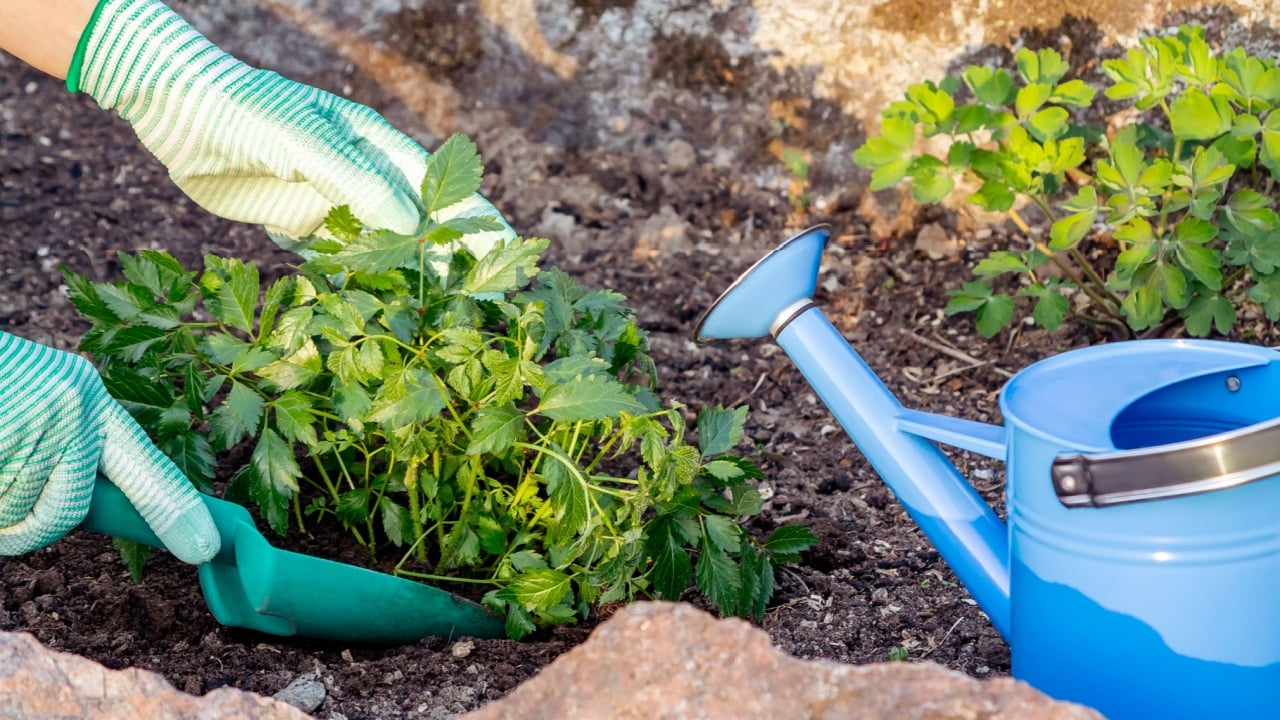
Image Credit: Shutterstock.
One of the best things about this perennial is that it grows well in garden beds and in pots. In the ground, give each plant room to reach its full size of about 20 to 22 inches tall and 24 to 28 inches wide.
Space your plants so the foliage can fill out without crowding its neighbors. Good spacing keeps air moving and helps prevent disease.
If you garden on a patio or balcony, a container lets you enjoy the same dramatic color up close. Pick a pot with drainage holes and use a quality potting mix that holds moisture.
Container plants dry out faster than those in the ground, so plan to check them more often during warm weather. This option also lets you move the plant to a shadier spot if the summer sun turns too strong.
4. Watering Through the Seasons
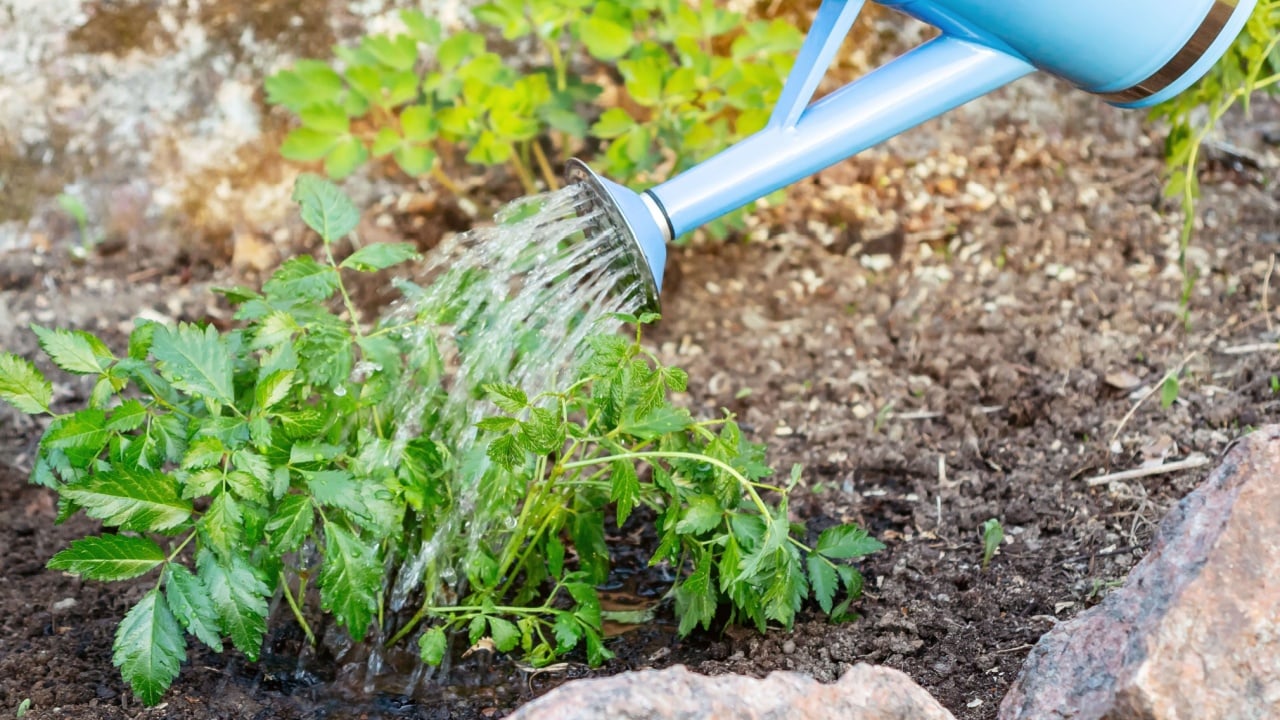
Image Credit: Shutterstock.
Water is the single most important part of caring for this astilbe. As new growth appears in spring, the plant needs steady moisture to fuel all those fresh leaves.
Pay close attention during this stretch and water before the soil dries out. A consistent routine now sets the tone for a strong season ahead.
Through summer, keep the soil evenly moist, especially during hot, dry spells. Stick a finger an inch into the soil to check, and water deeply when it feels dry.
Plants in containers and in full sun will drink more, so adjust your schedule to match the conditions. Steady moisture is what keeps the foliage glossy and the blooms full.
5. Feeding and Simple Care
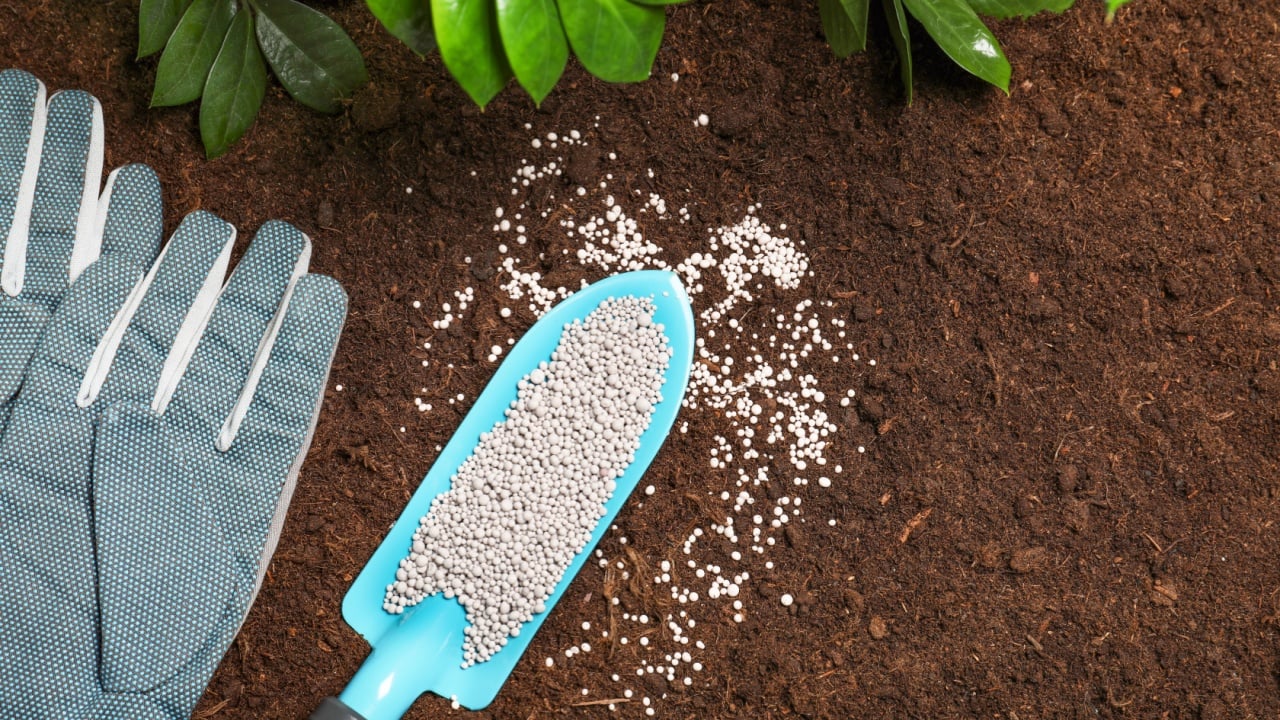
Image Credit: Shutterstock.
A little food at the right moment makes a big difference for blooms. Feed your astilbe in late spring with a balanced fertilizer to support those tall purple plumes.
This timing gives the plant the nutrients it needs right as it builds toward flowering. Follow the label rates so you do not overdo it.
Beyond that, this plant asks for very little. Leave the dried seedheads standing through the cold months, since they add welcome texture when the rest of the garden looks bare.
When spring returns, cut back the old growth to make room for fresh leaves. That single cleanup is most of the yearly maintenance you will need.
6. Styling It in Your Garden
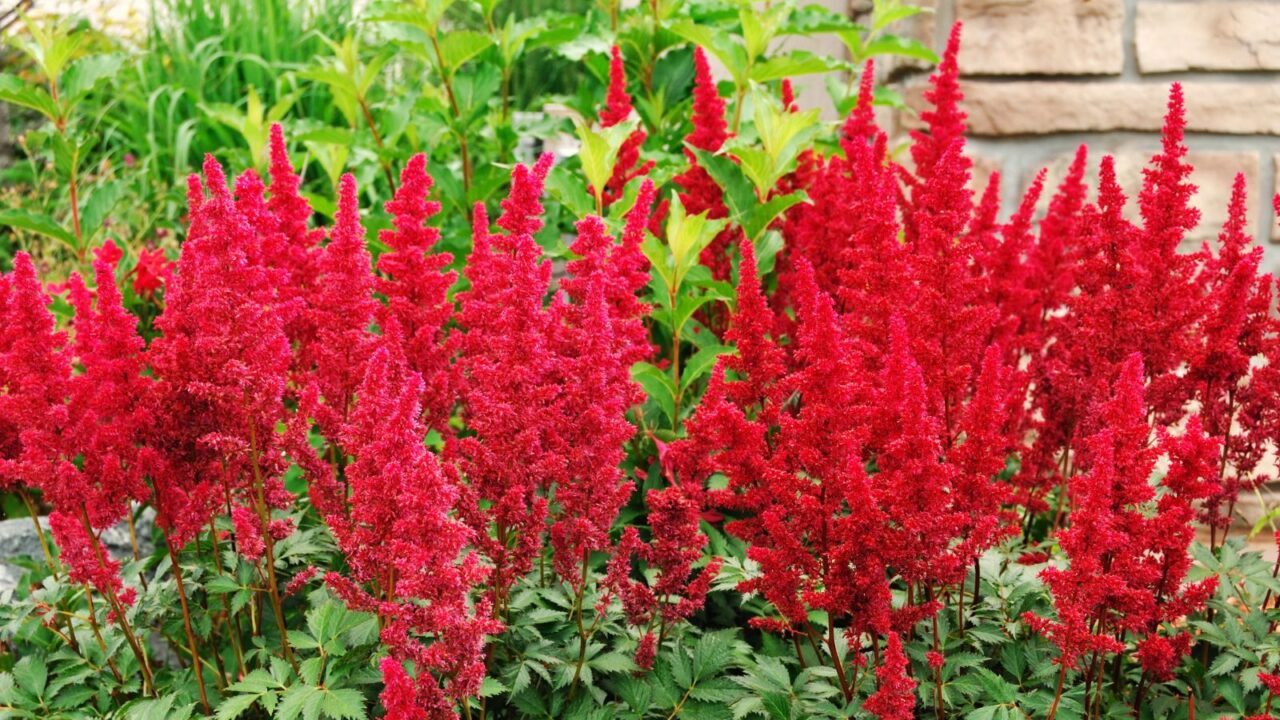
Image Credit: Deposit Photos.
The deep burgundy leaves and purple spikes make this astilbe a natural fit for both cottage gardens and modern designs. In a relaxed cottage bed, it adds depth and a moody contrast against softer pinks, whites, and greens.
In a clean, modern planting, its bold color and tidy mound bring drama without clutter. The same plant reads very differently depending on what you set beside it.
Use it as a border plant to line a path or edge a bed, where its rich color guides the eye along. In a shady corner that feels flat, a single grouping can act as a focal point that pulls the whole area together.
Because its look shifts from spring leaf color to summer blooms to winter seedheads, it keeps that spot interesting all year. Pair it with lighter foliage nearby to make the dark tones pop even more.
A Plant Worth the Patience
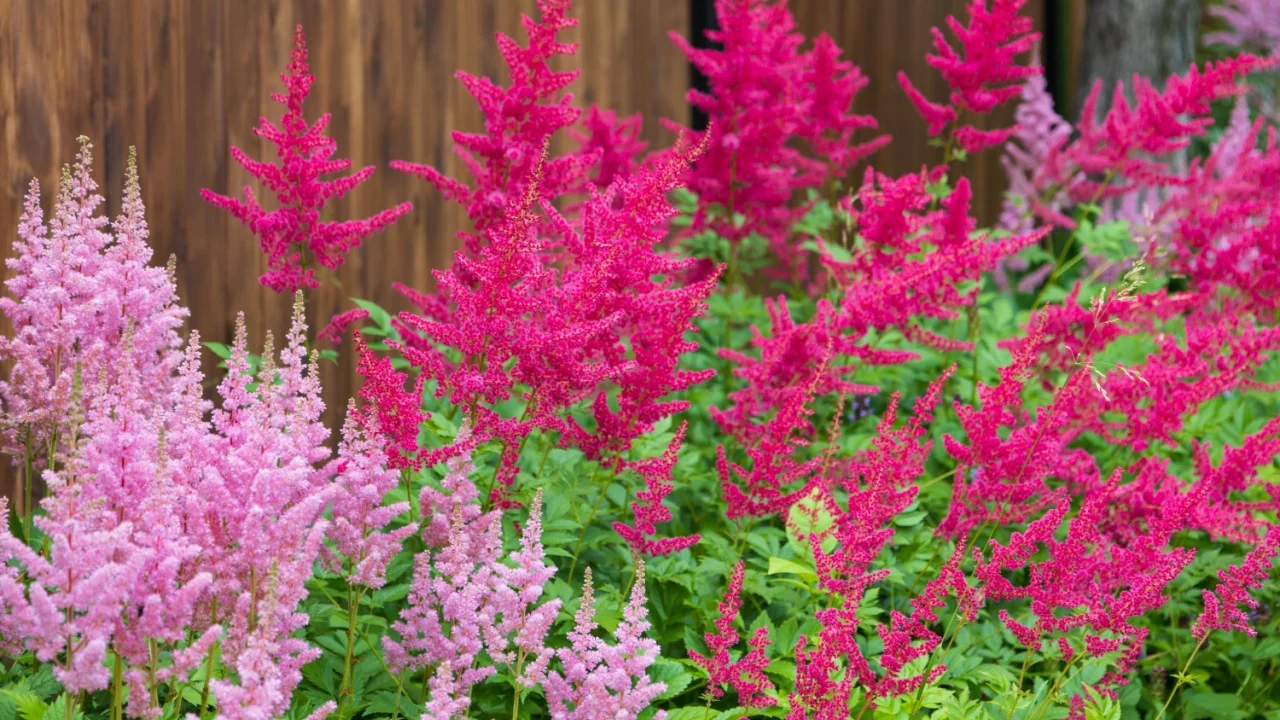
Image Credit: Shutterstock.
Astilbe ‘Dark Side of the Moon’ gives you something most plants cannot, and that is real interest in every season. The trick to long-term success is reading your own yard honestly.
If your space bakes in afternoon sun or drains too fast, fix those conditions first instead of fighting them later. A small amount of prep work up front saves you from the most common problems gardeners run into with this plant.
Once it settles in, lean into its strengths and let it carry the moodier parts of your design. Plant it where you walk past often so you actually notice the leaf color shift and the summer plumes.
Snap a quick photo each season, and you will have a clear record of how it fills out and where it shines brightest. That habit makes it easy to plan future plantings around a perennial that earns its spot year after year.
Read More:
7 Perennial Planting Mistakes That Cost Gardeners Hundreds Every Spring
12 Shade-Friendly Perennials You Should Be Growing But Probably Aren’t