Diving into do-it-yourself projects is a rewarding way to personalize your living space and connect more deeply with your home and garden. The satisfaction of completing a task with your own hands, whether it’s refreshing a room or enhancing your backyard, can be immense.
For home and garden lovers, DIY isn’t just about saving money; it’s about adding a personal touch, learning new skills, and making your environment a true reflection of you. This guide offers 14 beginner-friendly projects that will help you build confidence, improve your home’s function and aesthetic, and inspire you to tackle even bigger challenges.
1. Build a Backyard Fire Pit
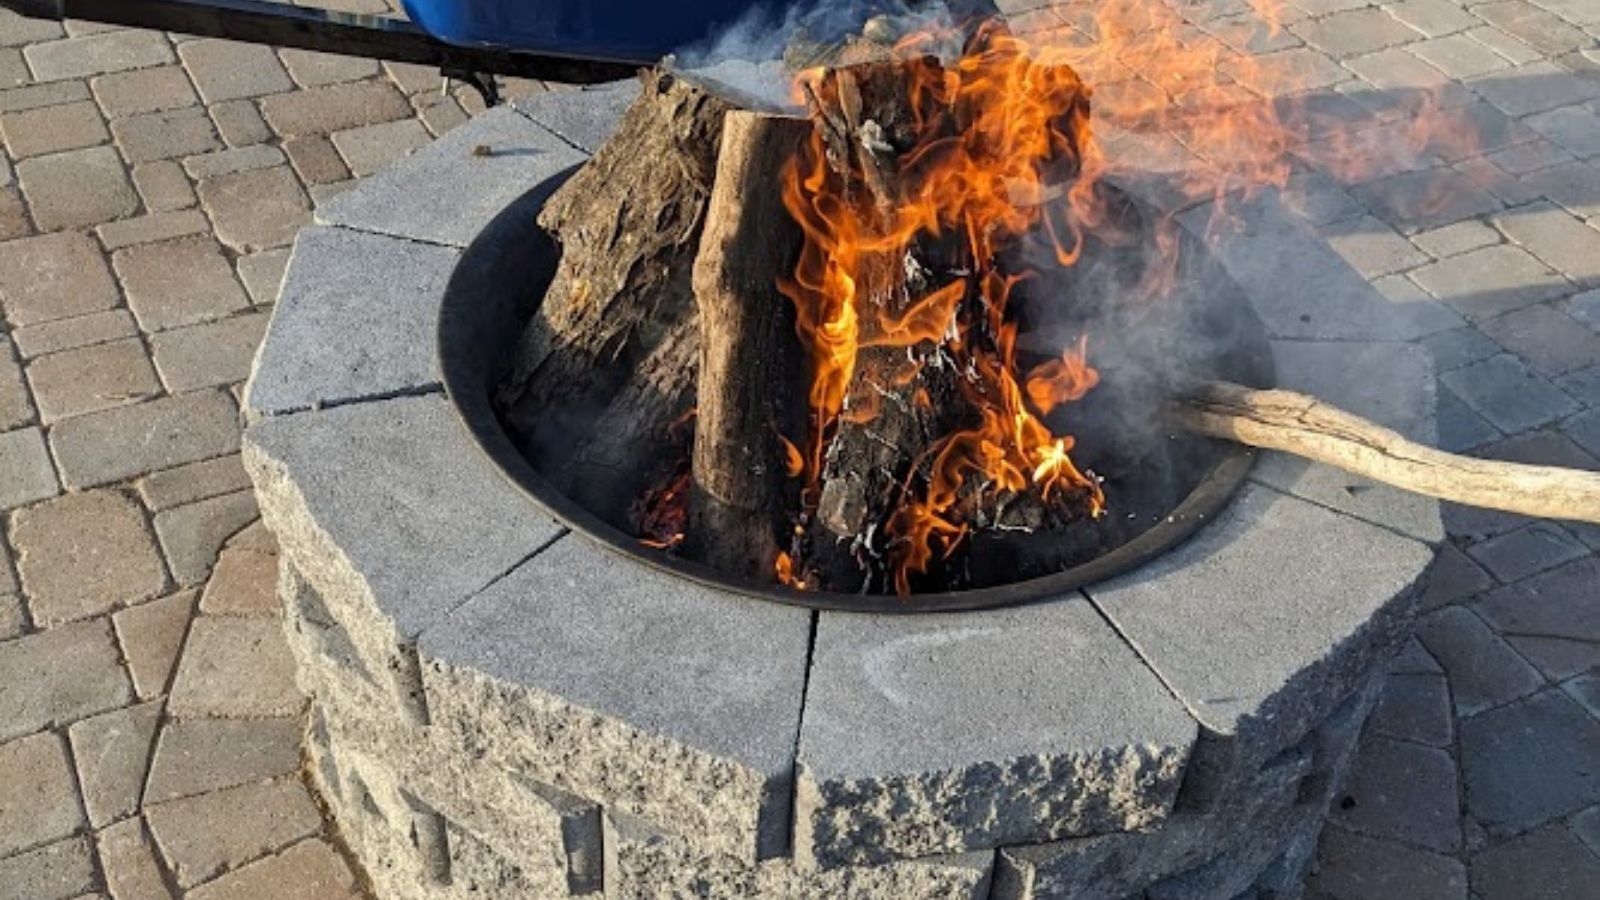
Image Credit: Backyard Garden Lover.
Creating a dedicated spot for bonfires and s’mores can transform your backyard into a year-round gathering place for friends and family. A fire pit adds a professional-looking hardscape feature that serves as a natural focal point for your outdoor living area.
This project is an excellent introduction to basic masonry and hardscaping. You’ll learn how to plan a project, level a surface, and work with materials like concrete or retaining wall blocks. These skills are foundational for future garden projects, such as building raised beds, laying a patio, or creating a garden path. Because it’s an outdoor project, there’s less pressure for perfection.
Key Steps:
- Select a safe location away from your house, overhanging branches, and other structures.
- Dig and level a circular base for your pit.
- Lay a foundation of gravel for drainage.
- Stack your chosen material (like concrete blocks or a kit) in a circle, securing layers with construction adhesive.
Care & Next Steps: After building, consider adding seating like Adirondack chairs or benches. Keep the pit clean by regularly scooping out ash. Your next project could be creating a matching stone pathway leading to your new fire pit.
2. Refresh Your Bathroom with New Caulk
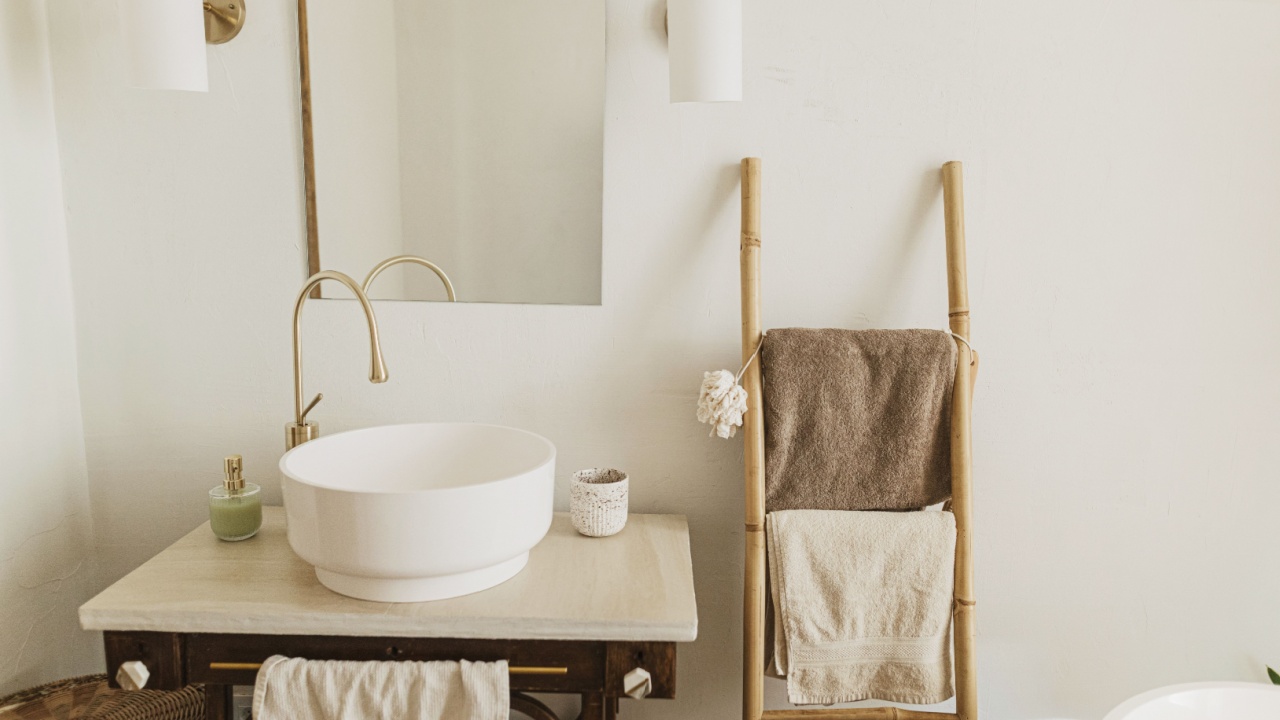
Image Credit: Shutterstock.
Over time, the caulk around your bathtub, shower, and sink can become discolored, cracked, or moldy. This not only looks unpleasant but can also lead to water damage behind your walls. Re-caulking is a simple fix that instantly makes your bathroom look cleaner and protects it from moisture.
Learning to apply a clean, smooth bead of caulk is a core DIY skill that you will use in countless projects, from sealing window frames to finishing trim work. This project allows you to practice in a low-stakes environment. A messy application can be wiped away and redone without much cost or effort.
Key Steps:
- Remove the old caulk completely using a utility knife or caulk removal tool.
- Thoroughly clean the area with rubbing alcohol to remove soap scum and residue.
- Apply painter’s tape to create crisp top and bottom lines for your bead.
- Apply a continuous bead of kitchen and bath caulk, then smooth it with a wet finger or caulking tool.
- Remove the tape before the caulk starts to skin over.
Care & Next Steps: To keep your new caulk pristine, clean it regularly and ensure your bathroom is well-ventilated to prevent mold growth. Feeling confident? Try another bathroom upgrade, like replacing the showerhead.
3. Replace a Torn Window Screen
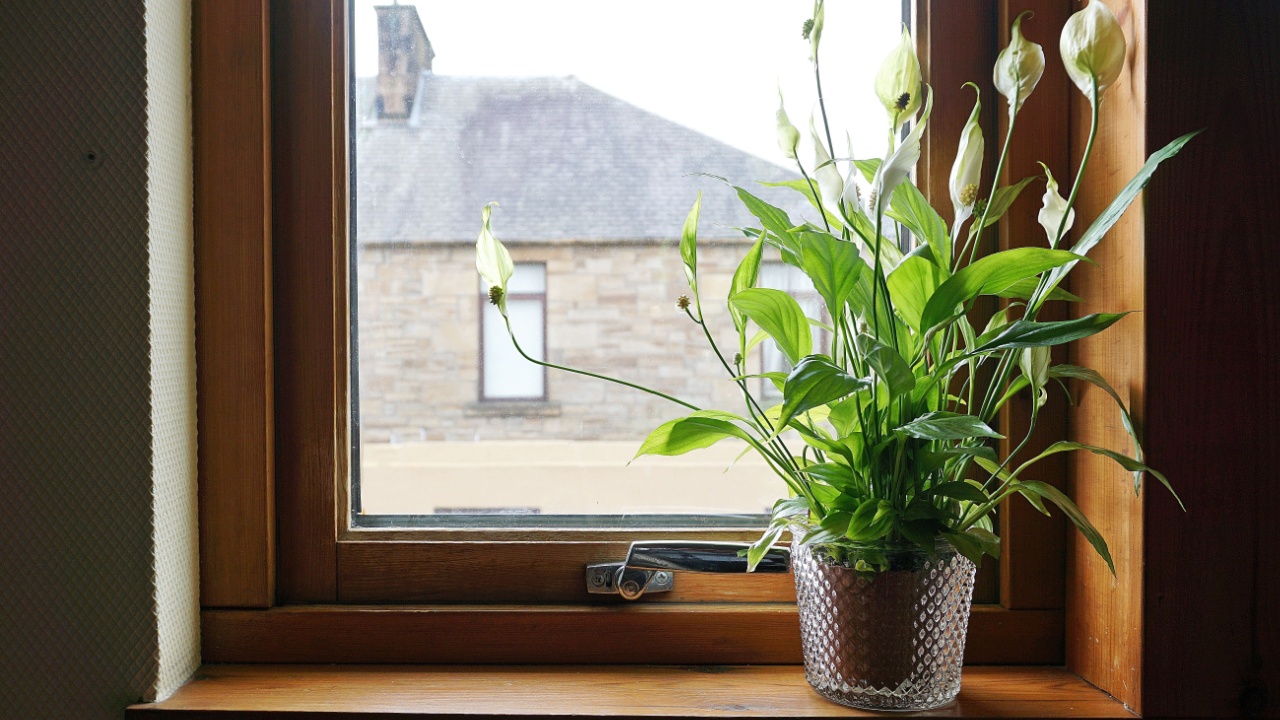
Image Credit: Shutterstock.
A torn screen is an open invitation for insects to enter your home. Replacing it is a quick and affordable project that improves both the look and function of your windows or screen doors. It keeps bugs out and restores a clean, well-maintained appearance.
This is a great beginner project because the materials are inexpensive, and the process teaches you about the basic mechanics of your windows. You’ll become more comfortable removing and handling window components, a skill that will be useful for future maintenance, like cleaning tracks or replacing hardware.
Key Steps:
- Carefully remove the screen frame from the window.
- Use a screwdriver to pry out the old spline (the rubber cord holding the screen in place) and remove the damaged screen.
- Lay a new piece of screen material over the frame, giving yourself extra on all sides.
- Use a spline roller tool to press the new spline into the groove, securing the screen.
- Trim the excess screen material with a utility knife.
Care & Next Steps: Gently clean your screens with soap and water once a year to prolong their life. Now that you know how to handle screens, consider building custom screens for a porch or patio.
4. Install a Wall-Mounted Television

Image Credit: Shutterstock.
A wall-mounted TV creates a sleek, modern look and frees up floor space. Hiding the cables behind the wall completes the professional installation, eliminating the visual clutter of dangling wires and making your entertainment area feel more organized and intentional.
This project is a fantastic stepping stone from basic tasks to more intermediate DIY. You’ll learn how to locate wall studs (a critical skill for hanging anything heavy), run wires through a wall cavity, and maybe even relocate an electrical outlet. It provides a taste of basic electrical and drywall work without requiring major renovations.
Key Steps:
- Use a stud finder to locate two studs where you want to mount the TV.
- Attach the mounting bracket to the wall, ensuring it is level and securely screwed into the studs.
- Attach the corresponding mounting plate to the back of your TV.
- Cut small holes in the drywall behind the TV and near the floor to fish HDMI and power cables through the wall.
- Lift the TV onto the wall bracket with a helper and secure it.
Care & Next Steps: Double-check that all connections are secure. To further enhance your media center, consider building simple floating shelves beneath the TV for your devices.
5. Upgrade Your Kitchen with New Cabinet Pulls
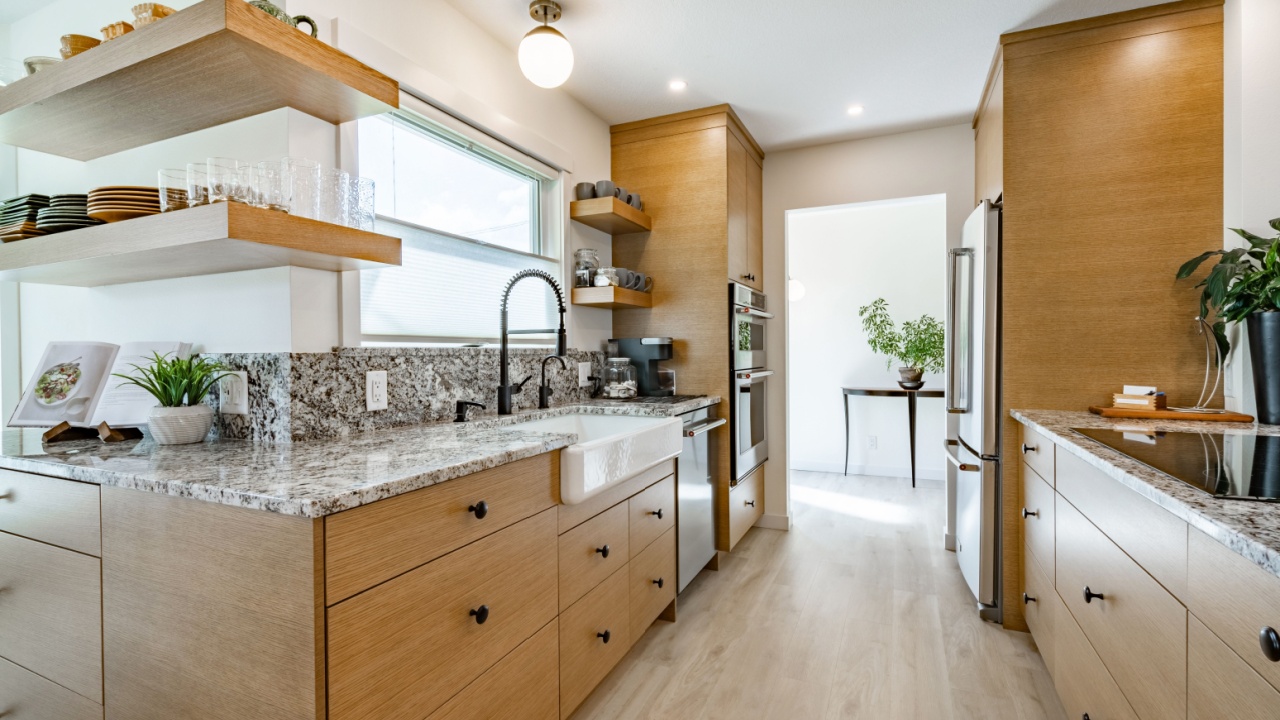
Image Credit: Shutterstock.
Swapping out old cabinet hardware is one of the fastest and most impactful mini-makeovers you can give a kitchen or bathroom. New knobs or pulls can instantly modernize the space, tie together a new design theme, or simply add a touch of fresh personality.
This is an ideal starter project because it requires minimal tools and can be completed in an afternoon. It’s as simple as unscrewing the old hardware and screwing in the new. You’ll gain confidence working with a drill and learn to handle small hiccups, like when a screw is stripped or a new handle requires a different hole size.
Key Steps:
- Unscrew the existing knobs or pulls from the inside of the cabinet door or drawer.
- If the new hardware fits the existing holes, simply screw it into place.
- If you need to drill new holes, use a cabinet hardware jig to ensure perfect alignment across all doors.
- Fill old holes with wood putty, sand smooth, and touch up with paint.
Care & Next Steps: Wipe down your new hardware during your regular kitchen cleaning. Inspired by the change? The next logical step is to give the cabinets themselves a fresh coat of paint.
6. Build Custom Garage Storage Shelves
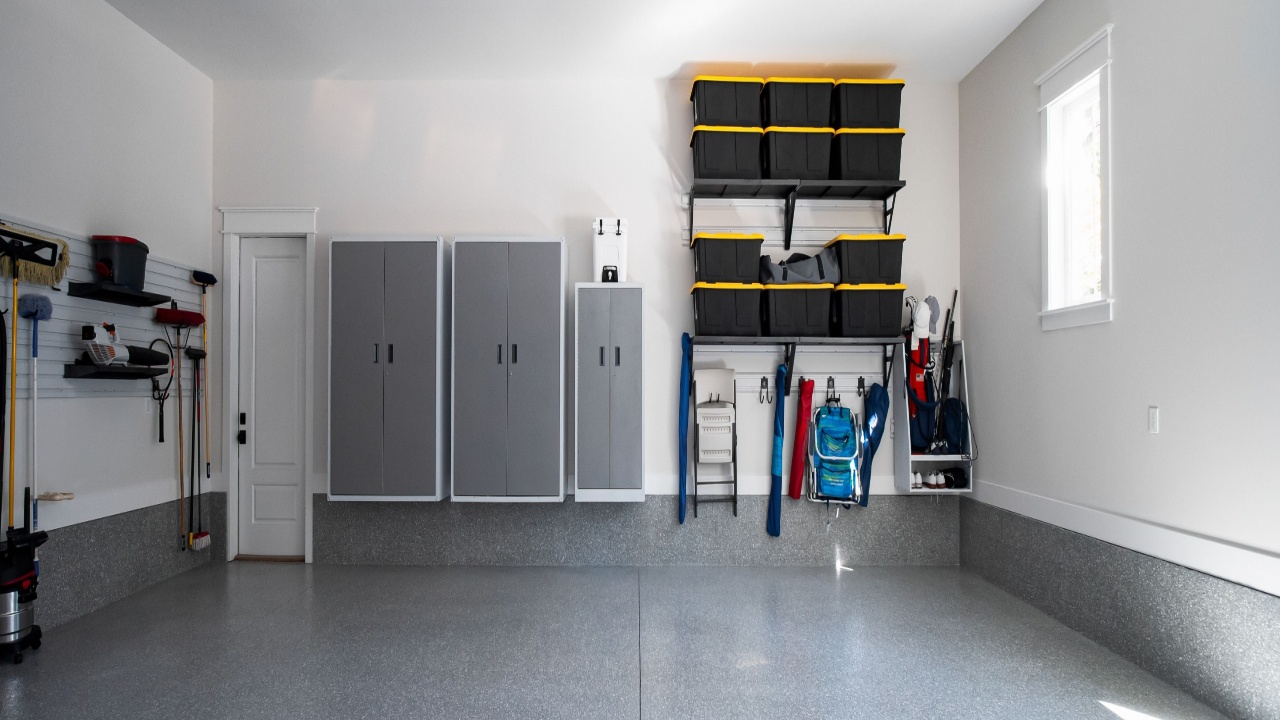
Image Credit: Shutterstock.
Garages often become a dumping ground for tools, seasonal decor, and outdoor gear. Building sturdy, wall-mounted shelves helps you reclaim your floor space and create an organized system where everything has a place. Custom shelves allow you to maximize your specific storage needs.
The garage is the perfect workshop for a budding DIYer. It’s a utilitarian space where slight imperfections in your woodworking won’t matter. This project teaches you basic carpentry skills like measuring, cutting plywood, locating studs, and ensuring structures are level and secure.
Key Steps:
- Plan your shelf design and measure your space to determine the dimensions.
- Use a circular saw to cut your plywood and support pieces (like 2x4s) to size.
- Locate the wall studs and attach the main support cleats to the wall.
- Build the shelf frames and attach them to the wall cleats.
- Place the plywood shelf tops onto the frames and secure them with screws.
Care & Next Steps: Label bins and group similar items together to maintain organization. Now that you have a taste for building, try constructing a simple workbench for your future projects.
7. Hang a Ceiling Fan

Image Credit: Shutterstock.
Replacing an existing light fixture with a ceiling fan is a functional upgrade that adds comfort and can help reduce energy costs. A fan improves air circulation, making rooms feel cooler in the summer and helping distribute warm air in the winter. While it involves basic electrical work, modern ceiling fans are designed for easier DIY installation.
This project is a great way to learn about residential wiring in a controlled way. As long as you are replacing an existing fixture, you won’t need to run new wires through the ceiling. Just remember to always turn off the power at the breaker first.
Key Steps:
- Turn off the power to the room at the circuit breaker.
- Remove the old light fixture and disconnect the wires.
- Install the new fan’s mounting bracket to the electrical box in the ceiling.
- Assemble the fan motor and blades according to the manufacturer’s instructions.
- Hang the fan from the bracket and connect the wires (usually black to black, white to white, and green/copper to green/copper).
- Attach the canopy to cover the wiring.
Care & Next Steps: Dust the fan blades regularly to keep them running efficiently. With your new electrical skills, you could try replacing a light switch with a dimmer.
8. Clean Out a Sink Trap
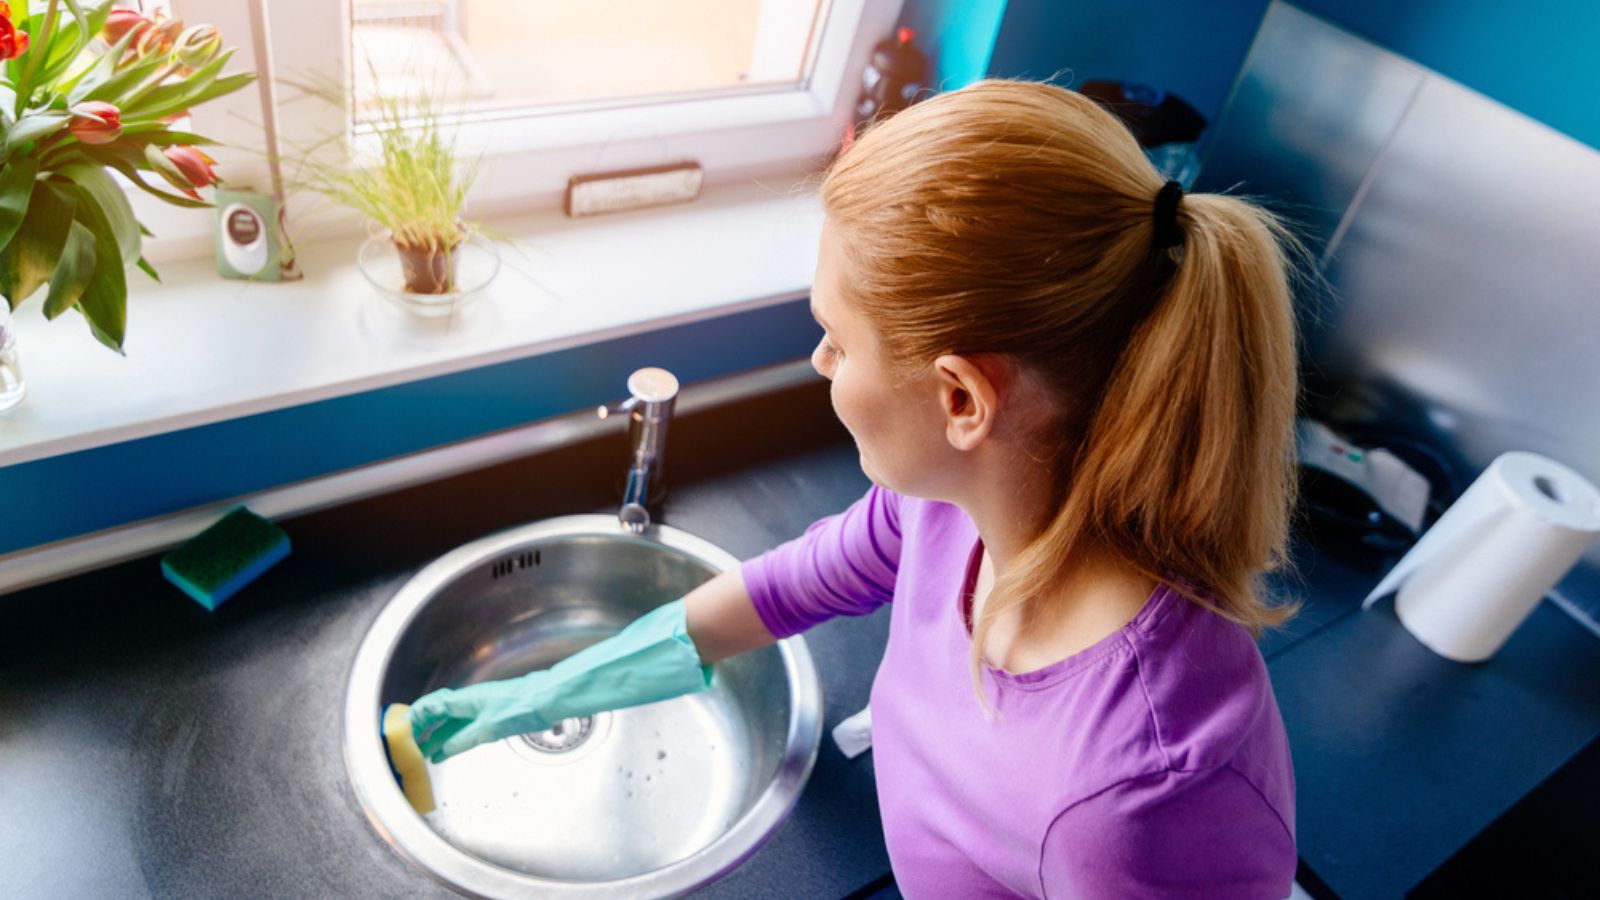
Image Credit: Depositphotos.com.
If your kitchen or bathroom sink is draining slowly, the problem is often a clogged P-trap, the U-shaped pipe under the sink. Cleaning it out is a messy but simple plumbing task that will restore proper drainage and prevent bigger clogs down the line.
This project is a fantastic, low-risk introduction to how your home’s plumbing system works. You’ll learn how drain lines are assembled and how to take them apart and put them back together. It teaches you that many plumbing issues are just simple blockages that you can fix yourself without calling a professional.
Key Steps:
- Place a bucket under the P-trap to catch water and gunk.
- Use channel-lock pliers or your hands to loosen the two slip nuts connecting the trap to the sink tailpiece and the wall pipe.
- Remove the trap and clean it out thoroughly in another sink or with a hose outside.
- Reassemble the trap, making sure the washers are correctly seated. Hand-tighten the nuts, then give them a final quarter-turn with pliers.
Care & Next Steps: To prevent future clogs, avoid pouring grease down the drain and use a sink strainer. Now that you understand the basics, you could tackle replacing an old faucet.
9. Balance Your Furnace Dampers
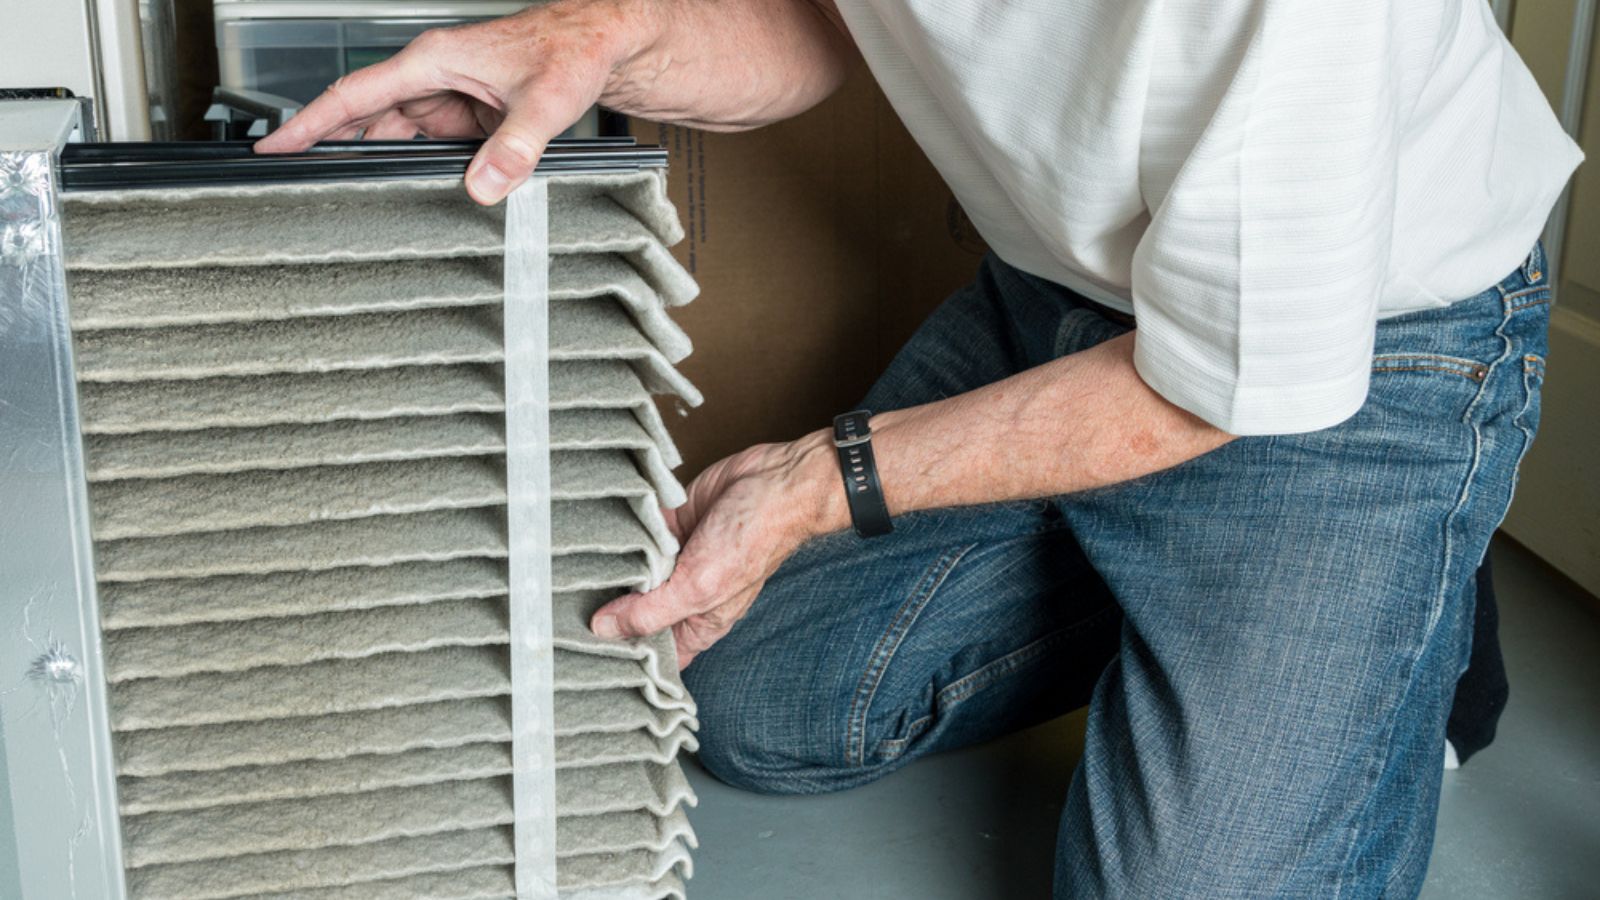
Image Credit: Depositphotos.com.
Do you have one room that’s always too hot, while another is too cold? You can likely fix this by adjusting the dampers in your HVAC ductwork. These small levers inside the ducts control how much conditioned air flows to different parts of your house, allowing you to balance the temperature.
This is a free and easy project that makes your home more comfortable and your HVAC system more efficient. It helps you get acquainted with how your heating and cooling system functions, which is valuable knowledge for any homeowner. Learning about your system when it’s not an emergency is always the best approach.
Key Steps:
- Locate the main ducts branching off from your furnace in the basement or attic.
- Identify the small handles or levers on these ducts these are the dampers.
- Partially close the dampers on ducts leading to rooms that are too warm (or on the lower floor in winter). This redirects more air to the cooler rooms.
- Make small adjustments and wait a few hours to check the results before adjusting again.
Care & Next Steps: Mark the damper positions for “Summer” and “Winter” with a permanent marker so you can easily switch them seasonally. Another easy HVAC task is remembering to replace your furnace filter every 1-3 months.
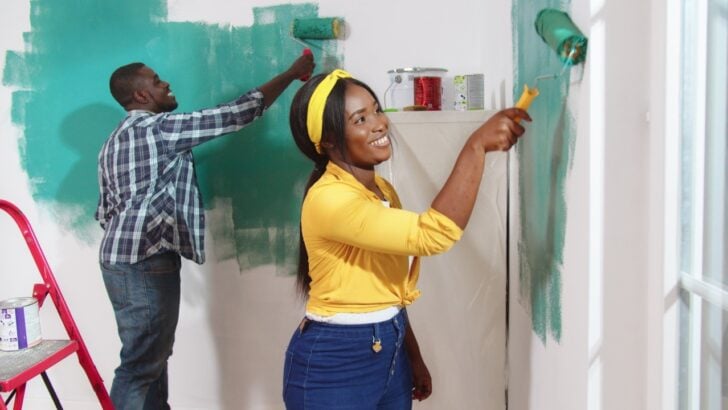
10. Paint a Room

Image Credit: Shutterstock.
Few projects can transform a space as quickly and affordably as a fresh coat of paint. Whether you’re updating a dated color, covering scuffs, or creating a bold accent wall, painting gives you a massive return on your effort.
Painting is a fundamental DIY skill. It teaches you the importance of prep work, cleaning walls, taping edges, and using drop cloths. You’ll learn how to “cut in” along ceilings and trim and how to roll paint for a smooth, even finish. The best part is that if you make a mistake or dislike the color, you can simply paint over it.
Key Steps:
- Prep the room by moving furniture, covering floors, and taping off trim.
- Clean the walls with a mild detergent to remove dust and grime.
- Apply a primer if you are making a drastic color change or painting new drywall.
- Use a brush to paint the edges and corners (cutting in).
- Use a roller to paint the main wall surfaces in a “W” pattern for even coverage.
- Apply a second coat for a richer, more durable finish.
Care & Next Steps: Keep leftover paint for future touch-ups. Feeling artistic? Try a more advanced painting technique like stenciling or creating a striped pattern.
11. Fix a Sticking Door
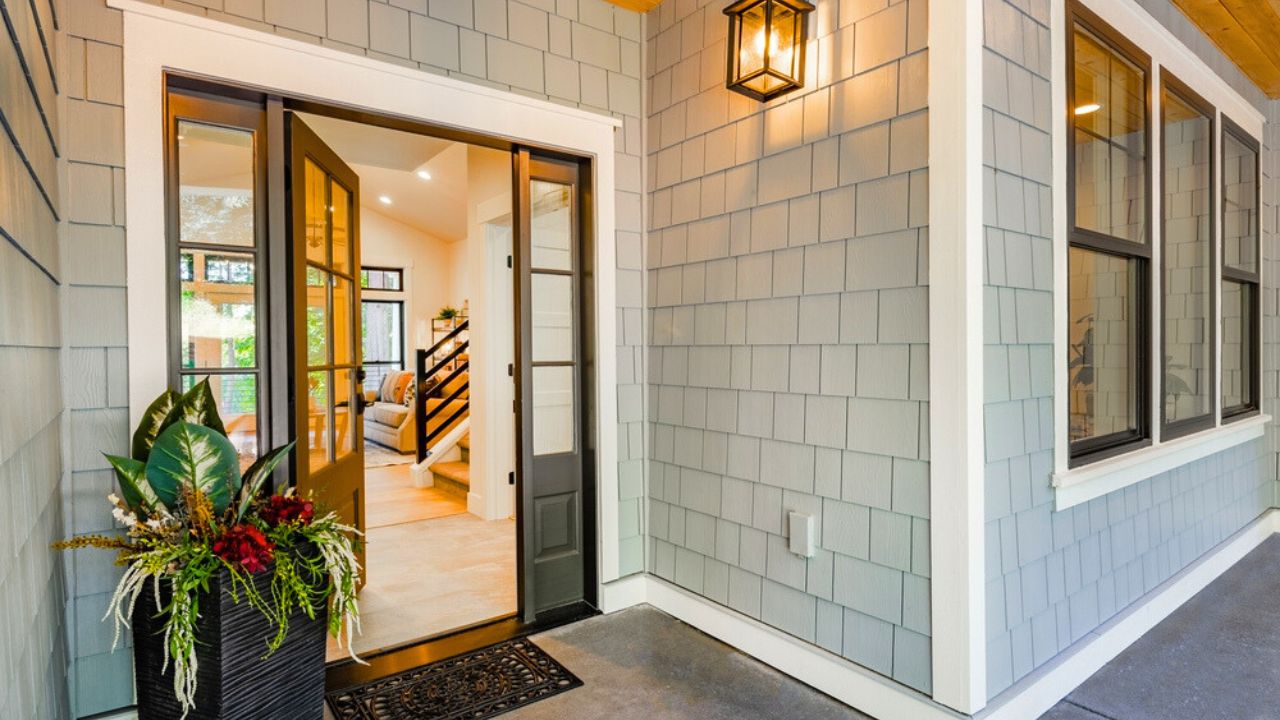
Image Credit: Shutterstock.
A door that sticks, squeaks, or doesn’t latch properly is a common household annoyance. The cause is often simple, ranging from loose hinge screws to seasonal swelling from humidity. Fixing it is usually a quick adjustment that makes your home function more smoothly.
This project introduces you to several basic carpentry skills in a practical context. You might need to tighten screws, clean hinges, or even shave a small amount of wood off the door with a plane. You’ll learn to diagnose a problem and apply the right solution, which is at the heart of all DIY work.
Key Steps:
- First, check all hinge screws on both the door and the jamb. Tighten any that are loose.
- If a screw hole is stripped, remove the screw, fill the hole with wood putty or a golf tee and wood glue, then re-drill the screw.
- For sticking caused by paint buildup, scrape or sand the excess paint from the door edge or jamb.
- If the door is swollen, you may need to use a hand plane to shave a thin layer of wood from the sticking edge.
Care & Next Steps: Lubricate the hinges with silicone spray to prevent squeaking. Now that you’re comfortable with doors, you could try updating an old one by replacing the doorknob.
12. Repair a Leaky Faucet
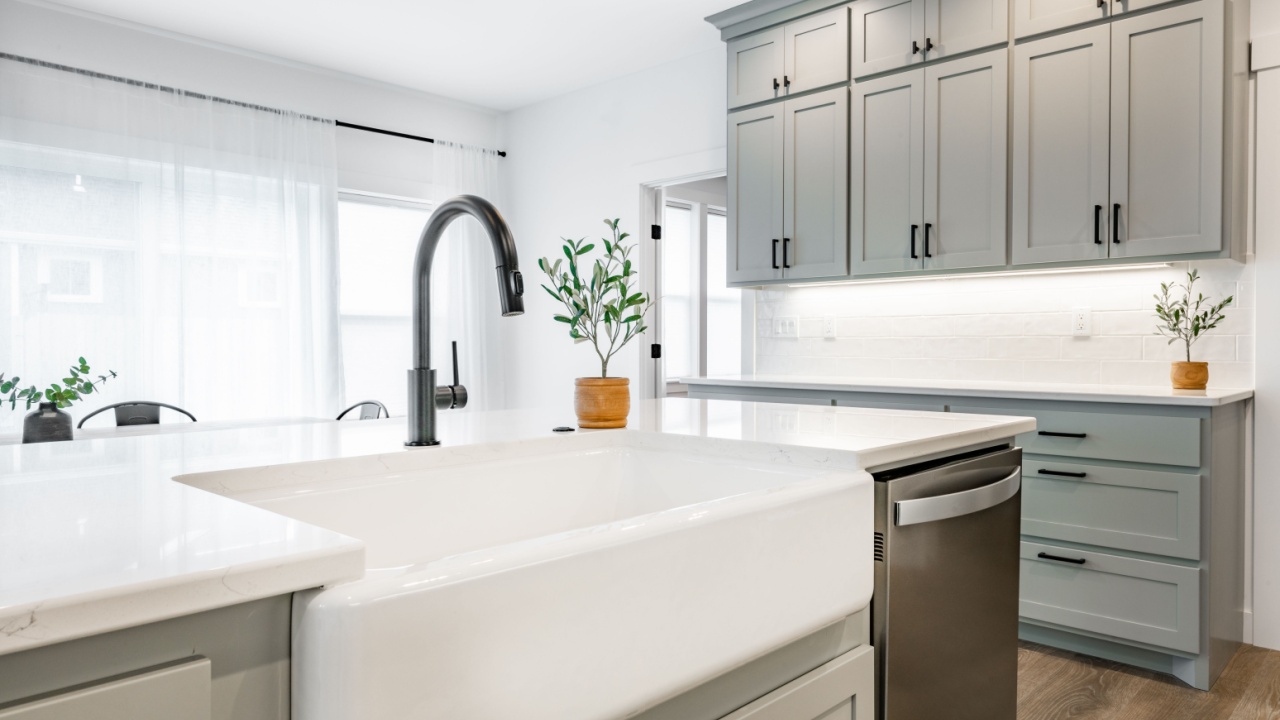
Image Credit: Shutterstock.
That constant drip, drip, drip is more than just annoying; it’s a waste of water and money. Most leaky faucets are caused by a worn-out rubber washer or O-ring, a part that costs less than a dollar to replace.
Repairing a faucet is a perfect introduction to the world of plumbing fixtures. It demystifies what’s inside the handle and shows you that faucets are designed to be taken apart. You’ll learn the importance of turning off the water supply and gain experience researching your specific model to find the right parts and procedure.
Key Steps:
- Shut off the water supply using the small valves under the sink.
- Cover the drain so you don’t lose small parts.
- Carefully pry off the decorative cap on the handle, unscrew the handle, and disassemble the faucet body.
- Take note of the order of the parts. Replace the worn washers or O-rings.
- Reassemble the faucet and turn the water back on slowly, checking for leaks.
Care & Next Steps: Periodically unscrew the aerator at the tip of the faucet and clean out any mineral buildup to improve water flow. Your next plumbing challenge could be replacing the entire faucet for a more modern look.
13. Replace Outlet and Switch Covers

Image Credit: Depositphotos.com.
Sometimes the smallest details make the biggest difference. Old, cracked, or yellowed electrical outlet and switch plates can make a room feel dated and neglected. Replacing them with new ones is an incredibly simple, inexpensive project that instantly freshens up a wall.
This is arguably one of the easiest DIY projects, making it a perfect confidence-booster. It requires only a screwdriver and a few minutes per plate. It also helps you become more comfortable working around electrical components (even though you aren’t touching any wires), which is a good first step toward more advanced electrical projects.
Key Steps:
- Purchase new cover plates that match the type of switches and outlets you have.
- Unscrew the single screw (for switches) or two screws (for outlets) holding the old plate to the wall.
- Remove the old plate.
- Position the new plate over the outlet or switch and screw it into place. Do not overtighten, as this can crack the new plate.
Care & Next Steps: Add this task to your painting prep list. Always remove cover plates before painting a wall for a cleaner result. For your next upgrade, consider installing outlets that have built-in USB charging ports.
14. Improve Your Home’s Curb Appeal

Image Credit: Shutterstock.
First impressions matter, and your home’s exterior is the first thing visitors see. Simple projects like installing new house numbers, painting your front door, or adding a new mailbox can dramatically enhance your home’s curb appeal without a major investment.
These small outdoor projects are fun, creative, and provide instant gratification. They allow you to add a personal touch to your home’s exterior and can even increase its perceived value. Whether you’re working with paint, wood, or metal, you’re practicing skills that can be applied to larger garden and exterior projects.
Key Steps:
- Front Door: Clean, sand, and prime your front door before applying two coats of a high-quality exterior paint in a welcoming color.
- House Numbers: Choose a style that complements your home’s architecture and install them in a visible location.
- Mailbox: Upgrade your post-mounted mailbox or install a new, stylish one next to your front door.
Care & Next Steps: To complete your curb appeal makeover, add potted plants or window boxes filled with seasonal flowers on either side of your front door. This beautifully bridges the gap between your home and garden.
Your DIY Options Are Here
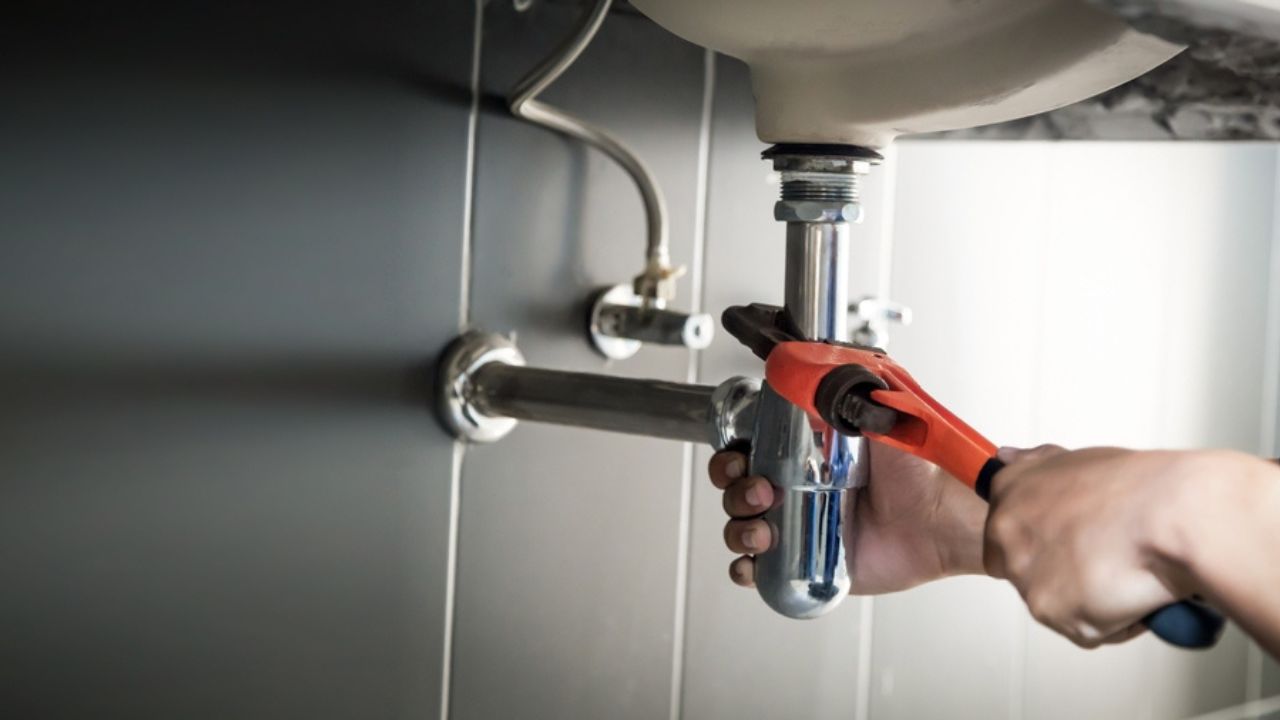
Image Credit: Shutterstock.
With these projects under your belt, you’ve not only improved your home but also built a solid foundation of DIY skills. The key is to keep learning and challenging yourself.
Your next step could be tackling a slightly more complex project from this list or branching out into something new, like building a raised garden bed, installing a tile backsplash, or laying a paver patio. Don’t be afraid to make mistakes; they are the best teachers. Grab your tools, pick a project, and enjoy the satisfaction of creating a home you love.
Read more:
16 Things You Shouldn’t Buy at a Home Improvement Store
The Best Home Improvement Lead Generation Platforms in the UK for 2026
