
Did you miss out on the Memorial Day weekend gardening frenzy? There’s still time to get a summer garden set up.
Every spring, the idea of starting a garden sounds great until you picture the actual work. Renting a tiller, battling compacted soil, digging out grass, and hauling in amendments can turn a weekend project into a weeks-long commitment.
It’s no surprise so many gardeners put it off until the season slips away. A no-dig garden changes that picture completely. Instead of fighting your soil, you build on top of it.
The no-dig method follows how nature builds healthy soil. In a forest, nothing tills the ground. Leaves fall, decompose, and create rich layers that support plant life season after season. You’re borrowing that same logic and applying it to a backyard bed, skipping the back-breaking digging while still giving your plants everything they need.
This guide walks you through exactly how to set up a no-dig garden bed from scratch, from laying the base to getting your first plants in the ground.
1. Set Temporary Frames
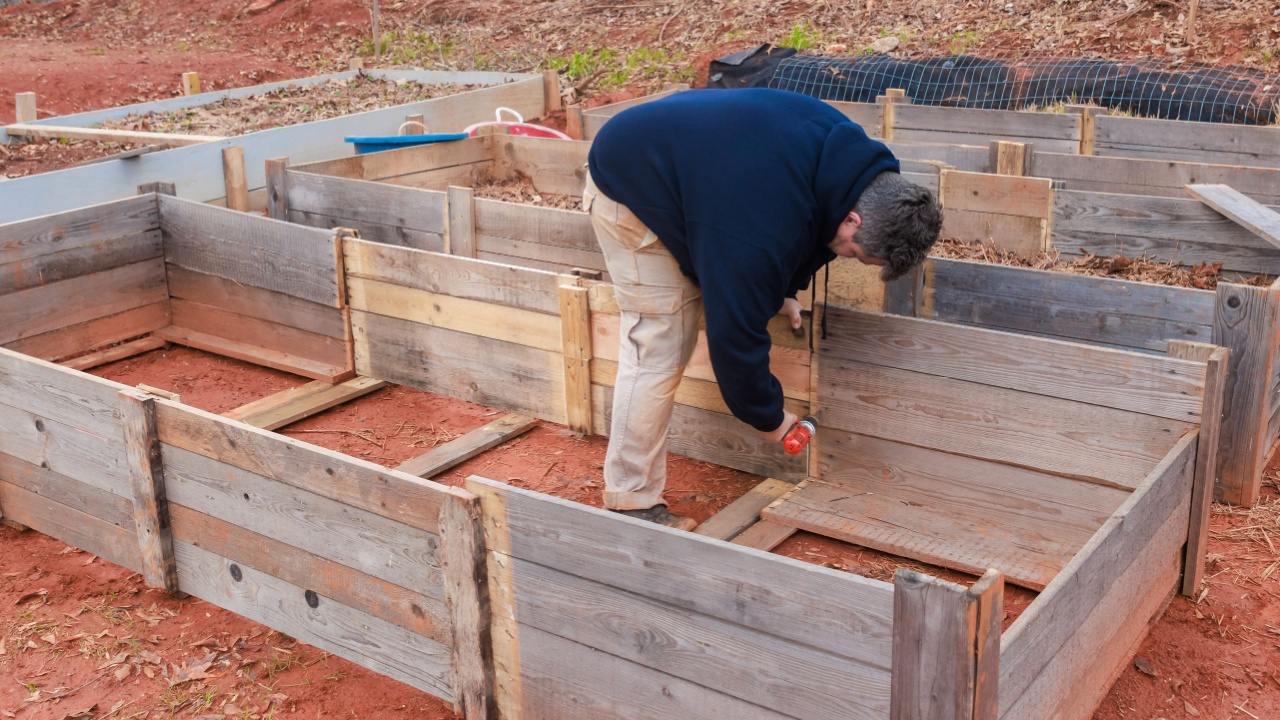
Image Credit: Shutterstock.
Before anything else, you need a border that holds your compost in place while you build the bed. Cedar fence boards or untreated wooden boards work well because they’re affordable, easy to cut, and hold up outdoors without rotting quickly.
Lay them out in your desired bed shape, then use rocks, bricks, or wooden stakes pressed against the outside edge to keep them from shifting when you add weight.
Your frame doesn’t have to be perfect or permanent. The main job of these boards is to act as a temporary wall so your compost layers stay contained and level.
Once the bed is established and the materials settle, many gardeners leave the frames in place as raised bed borders, while others remove them and let the compost hold its shape naturally.
2. Lay Cardboard
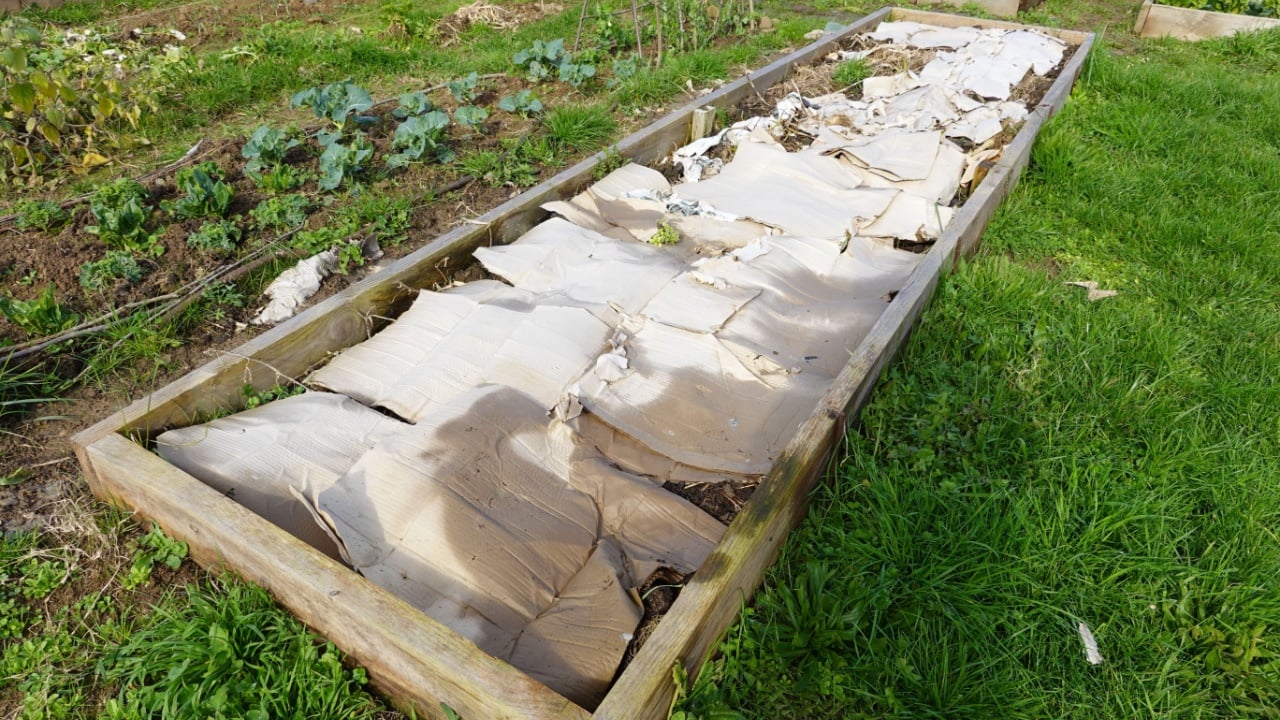
Image Credit: Shutterstock.
With your frame in place, lay a solid layer of cardboard across the entire base of the bed. This is the step that makes no-dig gardening so effective because the cardboard blocks sunlight from reaching the grass and weeds below, killing them without any digging.
Use plain cardboard without heavy wax coatings or excessive tape, and remove any staples before laying it down.
Overlap each piece of cardboard by at least six inches so weeds can’t find gaps to push through. If your bed sits over particularly stubborn grass or perennial weeds, add a double layer in those areas for extra weed suppression.
Wet the cardboard thoroughly after laying it so it molds to the ground, stays in place, and starts breaking down faster. As it decomposes, it feeds the soil organisms below and gradually improves the earth your plants will eventually root into.
3. Add Compost
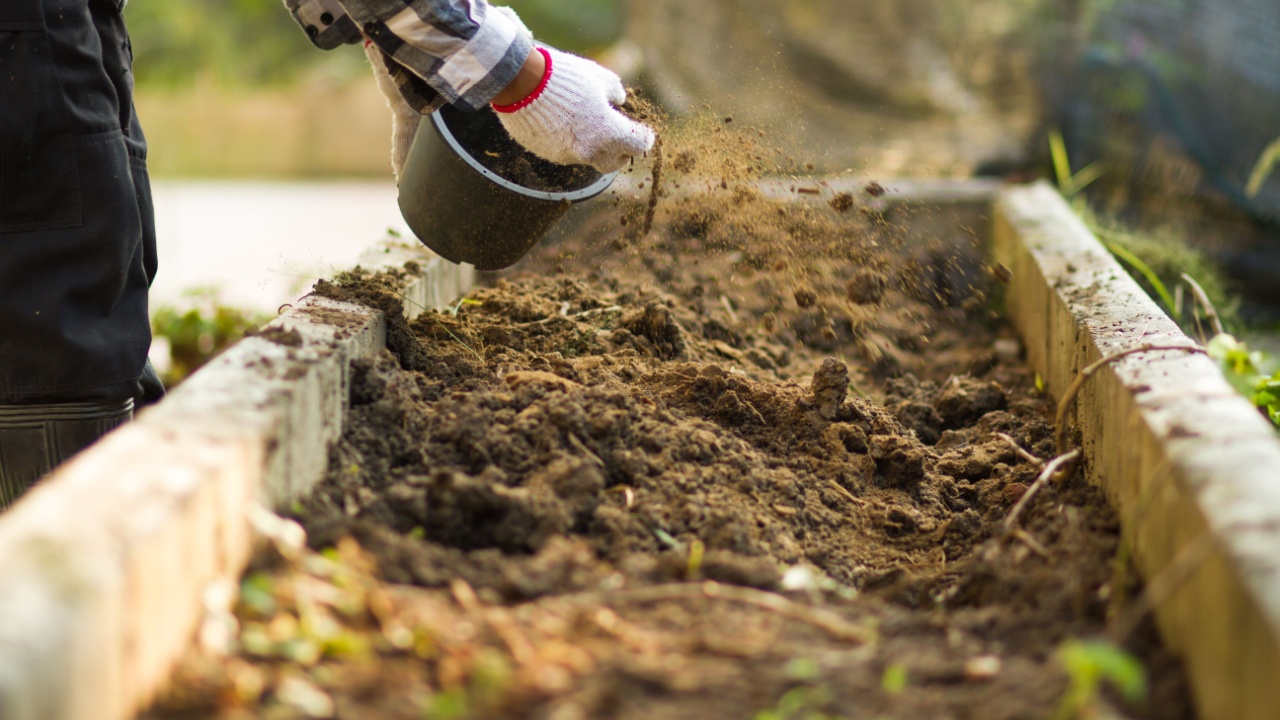
Image Credit: Shutterstock.
Once the cardboard is down, spread a three to four-inch layer of quality (already decomposed) compost across the entire surface inside your frame. Compost is what your plants will actually grow in for the first season, so this layer needs to be deep enough for roots to establish and access nutrients.
Use a rake to level it out evenly, making sure no low spots collect water or leave thin areas where roots won’t have enough material to work with.
After raking, tamp the compost down gently by pressing the cardboard against it with your feet.
This helps the layer settle and removes large air pockets that can dry out roots. A four-inch layer might compress down slightly, so top it up if needed before moving on to planting.
4. Plant Immediately

Image Credit: Shutterstock.
One of the biggest advantages of this method is that you don’t have to wait. Once your compost is leveled and tamped, you’re ready to sow seeds directly into the surface or transplant seedlings right away.
Because you’re working with fresh compost rather than raw, compacted soil, your plants have immediate access to nutrients and drainage from the start.
If you’re planting early in the season when temperatures are still unpredictable, row covers are worth having on hand. They protect young seedlings from cold snaps and keep pests off tender plants while they get established.
Lightweight floating row cover fabric works well because it lets in light and moisture while still providing a buffer against the elements.
5. Mulch Paths
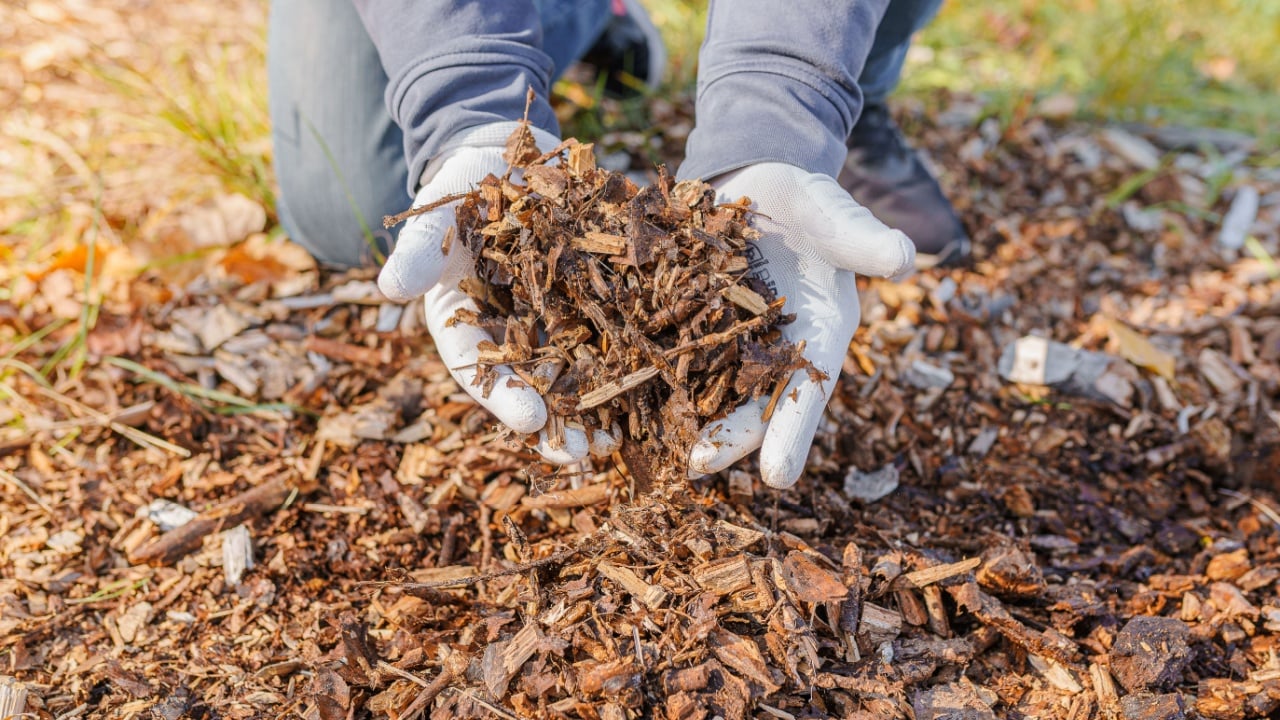
Image Credit: Shutterstock.
The space between your beds needs attention, too. Leaving bare soil or grass in the walking paths between beds invites weeds to creep in from the edges and take hold along your bed’s border.
Adding mulch to those paths suppresses weed growth and keeps the whole garden looking tidy and intentional.
Wood chips are one of the most popular choices for garden paths because they’re long-lasting, often free from local tree services, and break down slowly to feed the soil.
Straw and compost also work well and are easy to source at garden centers. Lay a thick layer of three to four inches in each path, pressing it up against the outside of your frames so weeds have nowhere to take hold.
6. Shift and Repeat

Image Credit: Deposit Photos.
Once your first bed is built and planted, you can expand by moving your frame and repeating the same process. Shift the boards forward, lay new cardboard over the adjoining ground, add compost, and you have a second bed connected to the first.
This modular approach breaks a large garden project into small, manageable steps you can tackle one bed at a time.
Building in stages also lets you learn as you go. Your first bed teaches you how much compost you need, how far your frame stretches, and how long each step takes.
By the time you’re working on your third or fourth bed, the whole process moves much faster, and you’ll have a better sense of how to lay out the garden for good flow and easy access.
A Fresh Start for Your Garden
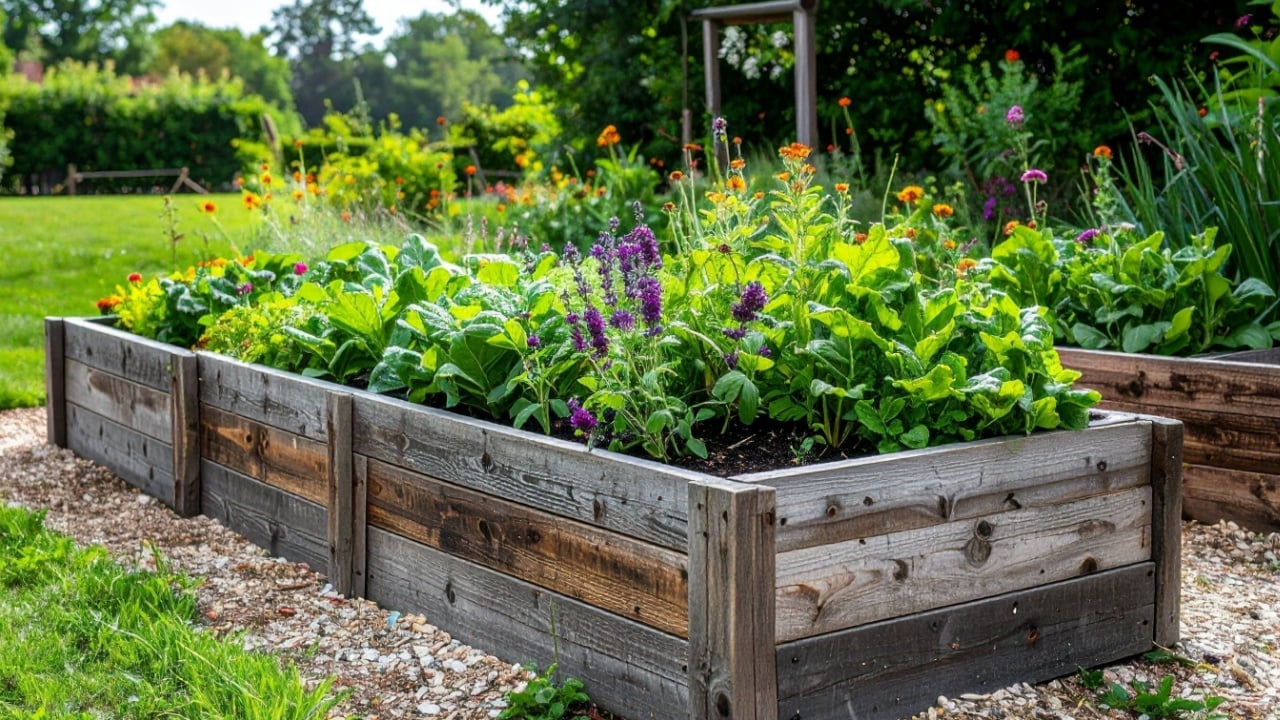
Image Credit: Shutterstock.
If you’ve been delaying starting a garden because the setup feels overwhelming, the no-dig method eliminates most obstacles. You don’t need a tiller or to spend weeks amending tired soil before you can plant anything.
The smartest move now is to gather your materials before the season gets away from you. Source your cardboard from local appliance stores or grocery shops, price out a bulk compost delivery, and grab your boards.
Once everything is on hand, you can build a functional, productive bed in a single afternoon and have plants in the ground before the day is out.
Read More:
Why Gardeners Are Burying Eggs with Their Tomato Plants
Millions of Gardeners Are Unknowingly Ruining Their Soil Every Spring With This One Habit