Hydrangeas are the showstoppers of the garden world. With their big, cloud-like blooms and vibrant colors, they can transform any backyard into a lush oasis. But sometimes, these beautiful shrubs can feel a bit mysterious.
You might wonder why your neighbor’s hydrangeas are bursting with color while yours look a little lackluster. The secret isn’t complicated garden magic; it’s about understanding what these plants need to thrive.
Getting those fluffy, perky blooms is easier than you think. With a few key strategies, you can encourage your hydrangeas to produce the stunning flowers you’ve always wanted.
This guide will walk you through 13 essential tips, from picking the perfect plant to knowing exactly when and how to prune, sourced from our favorite gardening experts.
1. Choose the Right Variety for Your Climate
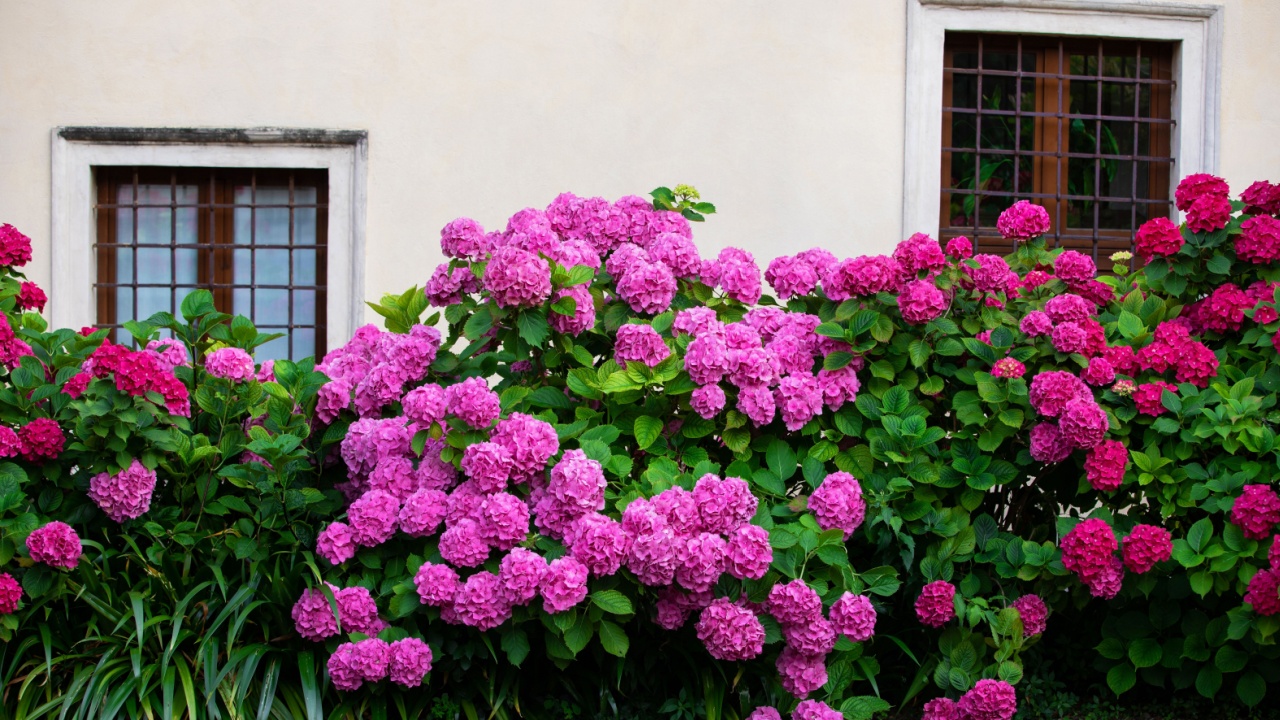
Image Credit: Shutterstock.
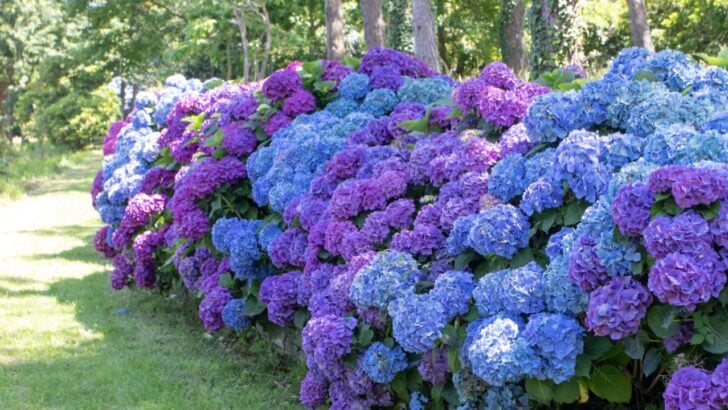
Not all hydrangeas are created equal. Some are built for hot, sunny climates, while others prefer cooler, shadier spots. Choosing a variety that is well-suited to your specific growing zone is the single most important step for success. Fighting against your climate will only lead to stress for both you and your plant.
For example, Panicle hydrangeas (like the popular ‘Limelight’ or ‘Bobo’) are exceptionally hardy, tolerate more sun, and are a great choice for colder regions. In contrast, Bigleaf hydrangeas (the classic blue and pink mopheads) often struggle in extreme heat and do best with protection from the intense afternoon sun. A few minutes of research before you buy will save you years of frustration and ensure you select a plant that will flourish in your yard.
- Quick Tip: Visit your local nursery and ask what hydrangea varieties sell best in your area. The staff can offer expert advice on which plants are proven performers in your local climate.
2. Plant in the Perfect Spot

Image Credit: Depositphotos.com.
Once you have the right variety, finding its ideal home is the next critical task. Most hydrangeas thrive with a mix of sun and shade. The perfect location is one that receives gentle morning sun but is shielded from the harsh, hot afternoon sun, which can cause leaves to wilt and flowers to scorch. An east-facing wall of your house is often an ideal spot.
This location provides plenty of morning light to fuel bloom production but offers shade during the hottest part of the day. If your plant looks consistently droopy and stressed in the afternoon, it’s a clear sign it’s getting too much direct sun. Too much shade, on the other hand, can lead to a healthy-looking green plant with very few flowers. It’s all about finding that happy medium.
- Quick Tip: Before digging a hole, place the potted hydrangea in your desired spot and observe how much sun it gets throughout the day. This simple test helps you confirm it’s the right location before you commit.
3. Prioritize Rich, Well-Draining Soil

Image Credit: Shutterstock.
Hydrangeas love water, but they despise having “wet feet.” Their roots can quickly rot in dense, waterlogged soil. That’s why providing well-draining soil that is rich in organic matter is non-negotiable. Healthy soil is the foundation for a healthy plant. If you have heavy clay soil, which retains too much water, amend it by mixing in compost, shredded leaves, or peat moss. This will improve its texture and allow excess water to drain away.
For sandy soil that drains too quickly, adding compost will help it retain the right amount of moisture. The goal is to create a loamy, nutrient-rich environment where your hydrangea’s roots can grow strong and access the water and nutrients they need.
- Quick Tip: When planting, dig a hole that is twice as wide as the root ball but just as deep. Backfill the hole with a 50/50 mix of your native soil and compost to give your plant an excellent start.
4. Water Consistently, But Don’t Overdo It

Image Credit: Shutterstock.
The “hydra” in hydrangea hints at its love for water. Consistent moisture is key to keeping your plant lush and its blooms perky. However, more is not always better. Instead of a light sprinkle every day, it’s more effective to water deeply 2-3 times per week, especially during hot, dry spells. Deep watering encourages the roots to grow further down into the soil, making the plant more resilient during dry periods.
A soaker hose is a great tool for this, as it delivers water directly to the base of the plant, minimizing evaporation and keeping moisture off the leaves, which can help prevent fungal diseases. Check the soil with your finger; if the top inch or two feels dry, it’s time to water.
- Quick Tip: Apply a 2-3 inch layer of mulch around the base of your hydrangea. This will help the soil retain moisture, keep the roots cool, and reduce your watering duties.
5. Mulch to Protect and Nourish
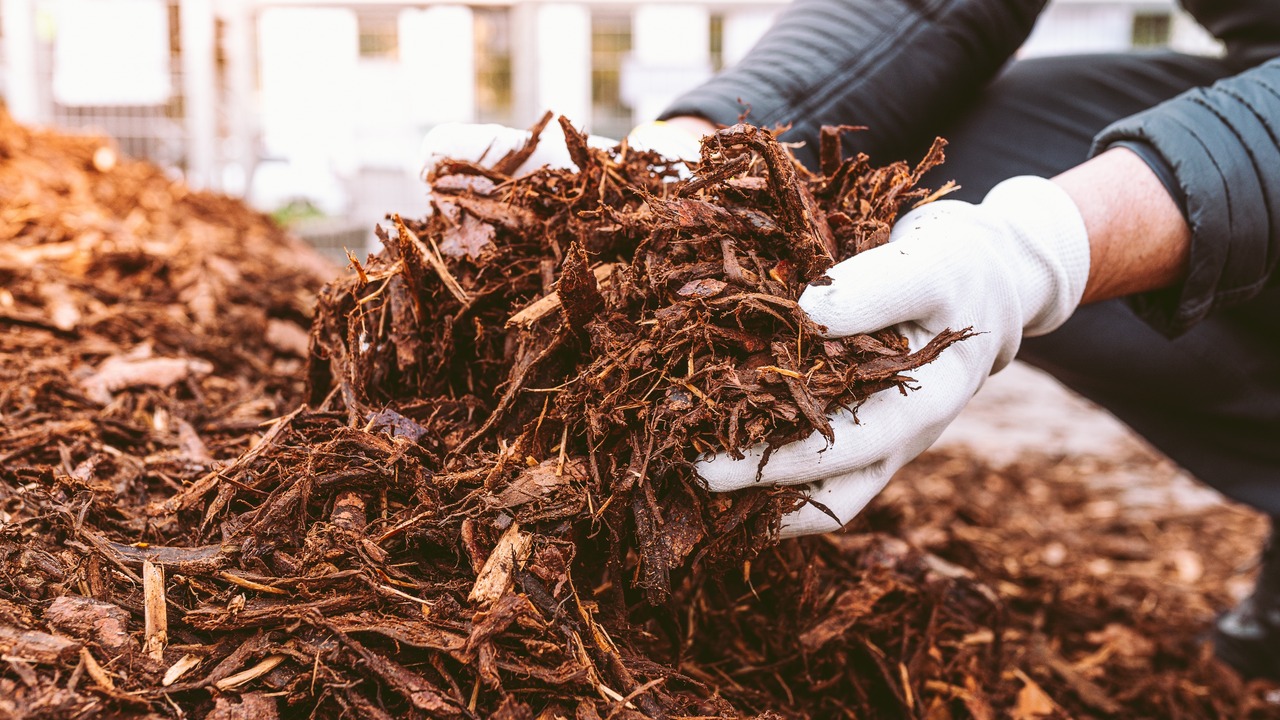
Image Credit: Shutterstock.
Mulching is one of the easiest and most beneficial things you can do for your hydrangeas. A layer of organic mulch, such as pine bark, shredded leaves, or cedar chips, acts as a protective blanket for the soil. This simple addition helps retain soil moisture, which means you’ll water less frequently. It also suppresses weed growth, so your hydrangea isn’t competing for water and nutrients.
As the organic mulch breaks down over time, it enriches the soil with valuable nutrients. Just be sure to keep the mulch a few inches away from the main stems of the plant to prevent moisture from building up against the bark, which can lead to rot.
- Quick Tip: Apply a fresh layer of mulch each spring to replenish what has decomposed and to give your garden beds a clean, tidy appearance for the new growing season.
6. Prune According to Type and Timing
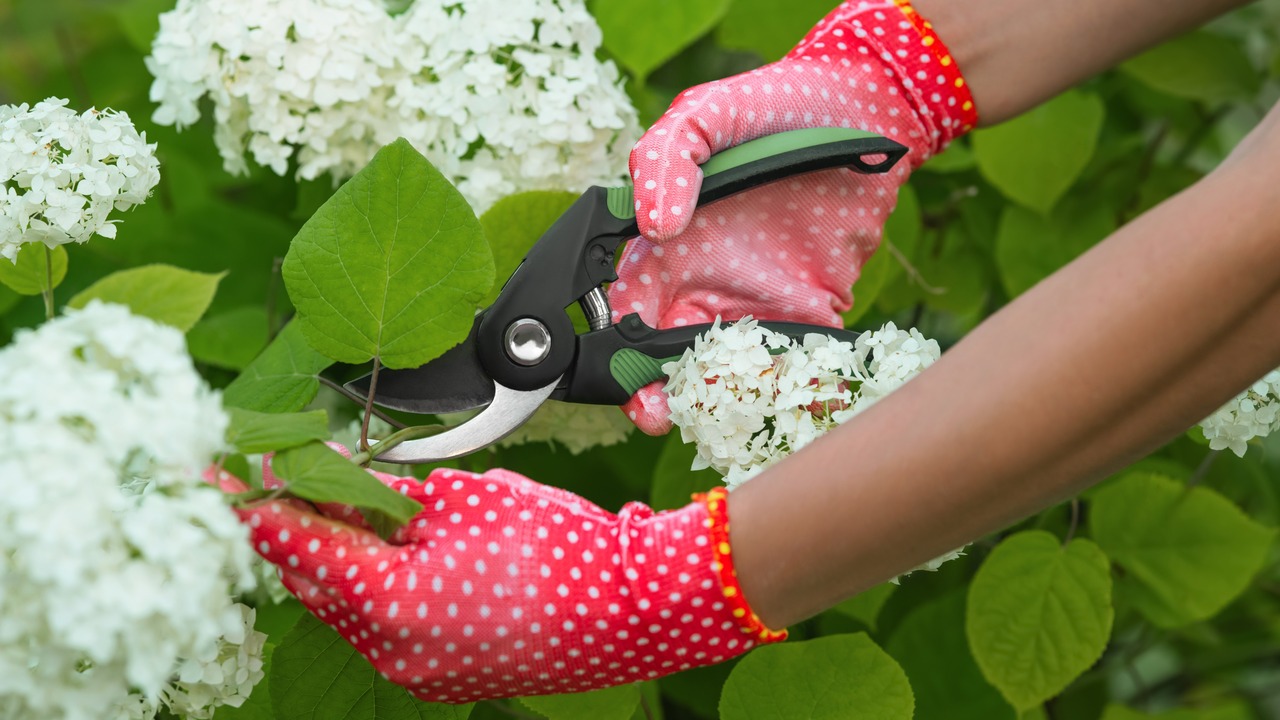
Image Credit: Shutterstock.
Pruning is where many gardeners get nervous, and for good reason—one wrong snip can mean no flowers for a whole year. The key is to know what type of hydrangea you have. Some bloom on “old wood” (last year’s stems), while others bloom on “new wood” (this year’s growth). Bigleaf (Mophead and Lacecap) and Oakleaf hydrangeas bloom on old wood. Prune these types only in the summer, right after they finish flowering. This gives them time to develop the buds for next year’s blooms.
If you prune them in the fall or spring, you’ll cut off all the potential flowers. Panicle and Smooth hydrangeas (like ‘Annabelle’) bloom on new wood, so they are much more forgiving. You can prune them back in late winter or early spring to encourage strong new stems and a tidy shape.
- Quick Tip: If you’re unsure what type of hydrangea you have, it’s safest to only remove dead branches and wait a full season to observe where the flowers form.
7. Fertilize Carefully for More Blooms

Image Credit: Shutterstock.
While it seems logical to feed your plants heavily, too much fertilizer can do more harm than good for hydrangeas. Specifically, a fertilizer high in nitrogen will encourage the plant to produce lots of big, beautiful green leaves, but very few flowers. A balanced, slow-release fertilizer formulated for flowering shrubs is your best bet. Apply it once in the early spring as new growth begins to emerge.
This gives the plant the nutrients it needs for the entire season without overwhelming it. Avoid fertilizing after late summer, as this can encourage tender new growth that will be vulnerable to damage from an early frost.
- Quick Tip: Look for a fertilizer with a higher middle number (phosphorus), like a 10-30-10 formula, as phosphorus is the nutrient that promotes bloom development.
8. Adjust Soil pH to Influence Bloom Color

Image Credit: Shutterstock.
Here’s where the garden magic comes in! For certain varieties, specifically Bigleaf hydrangeas (Hydrangea macrophylla), you can change the flower color from pink to blue or vice versa. The color is determined by the availability of aluminum in the soil, which is controlled by the soil’s pH level. For blue blooms, you need acidic soil (pH below 6.0). You can make your soil more acidic by adding soil acidifiers containing aluminum sulfate or elemental sulfur.
For pink or red blooms, you need alkaline soil (pH above 7.0) that limits aluminum uptake. Adding garden lime will help raise the soil pH. Remember, white hydrangeas, like Oakleaf and Panicle varieties, will always stay white regardless of soil pH.
- Quick Tip: Purchase a simple soil pH test kit from your local garden center. Testing your soil is the first step to understanding what amendments, if any, are needed to achieve your desired color.
9. Protect From Harsh Weather

Image Credit: Shutterstock.
Hydrangea buds are surprisingly delicate. A late spring frost can zap the flower buds on old-wood blooming varieties, resulting in a flowerless season. If a frost is in the forecast after your plant has started to leaf out, protect it overnight.
Cover the plant with a blanket, sheet, or burlap, making sure the cover extends to the ground to trap radiant heat from the soil. Strong winds can also be tough on hydrangeas, shredding their large leaves and snapping stems. If you live in a windy area, consider planting your hydrangeas near a fence, wall, or other structure that can act as a windbreak.
- Quick Tip: In the fall, leave the dried flower heads on the plant. They provide some insulation for the new buds forming on the stems of old-wood bloomers, offering a bit of natural winter protection.
10. Deadhead Spent Blooms to Encourage More
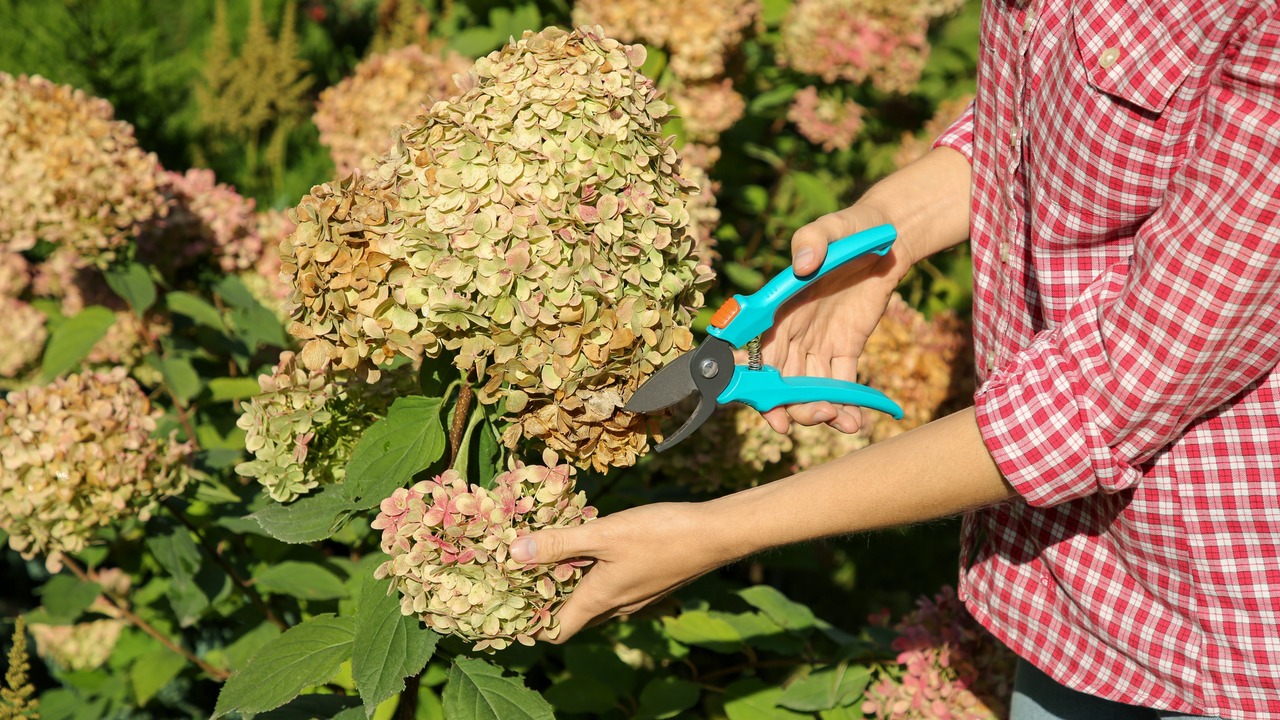
Image Credit: Shutterstock.
Deadheading, or removing faded flowers, is a simple task that keeps your plant looking tidy and can encourage some varieties to produce a second, smaller flush of blooms. Once a flower head starts to brown and look tired, it’s time to snip it off.
For reblooming varieties, this signals the plant to redirect its energy into making new flowers instead of seeds. Use a clean pair of pruners and cut the stem just above the first set of large, healthy leaves. It’s a quick and satisfying job that makes an immediate visual impact.
- Quick Tip: Don’t deadhead your hydrangeas too late in the season (past late summer). The old blooms can provide some winter interest and protection for the new buds underneath.
11. Be Patient With Young or Moved Plants
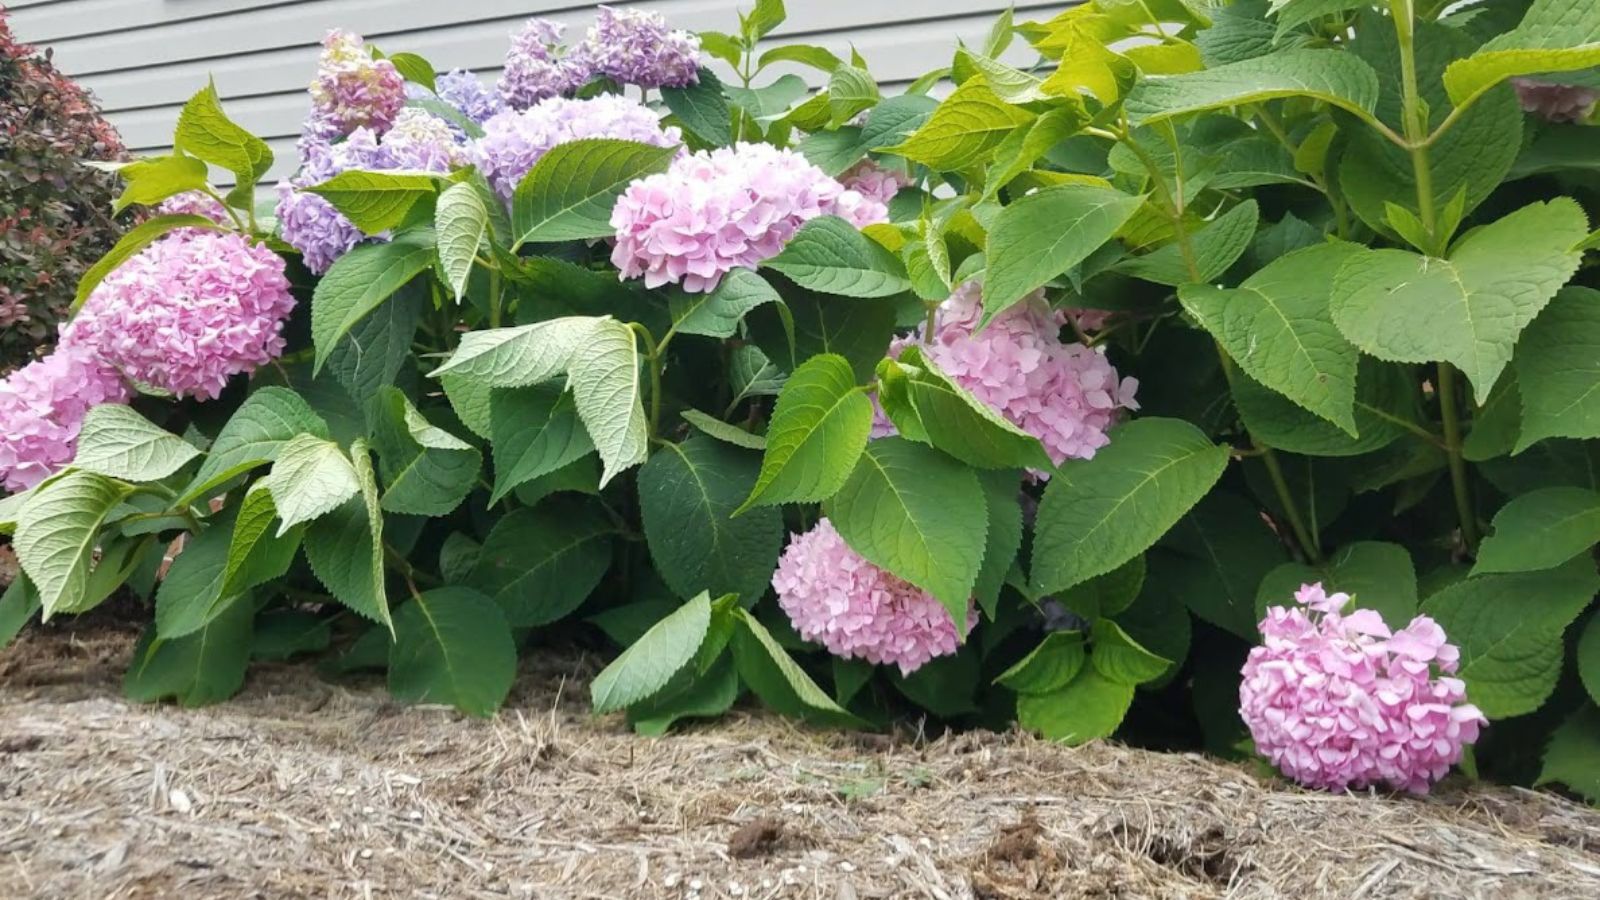
Image Credit: Backyard Garden Lover.
Gardening is a practice in patience, and hydrangeas are a perfect example. A newly planted or recently transplanted hydrangea often needs a year or two to establish its root system before it can focus its energy on producing abundant flowers.
This is completely normal. During its first year, focus on providing consistent water and care to help it settle in. Don’t be discouraged if you see few or no blooms. The common saying is: “The first year they sleep, the second year they creep, and the third year they leap!” With consistent care, your patience will be rewarded with spectacular blooms in the seasons to come.
- Quick Tip: Resist the urge to over-fertilize a young plant to speed things up. This can stress the plant. Instead, stick to a routine of proper watering and let it grow at its own pace.
12. Ensure Good Air Circulation
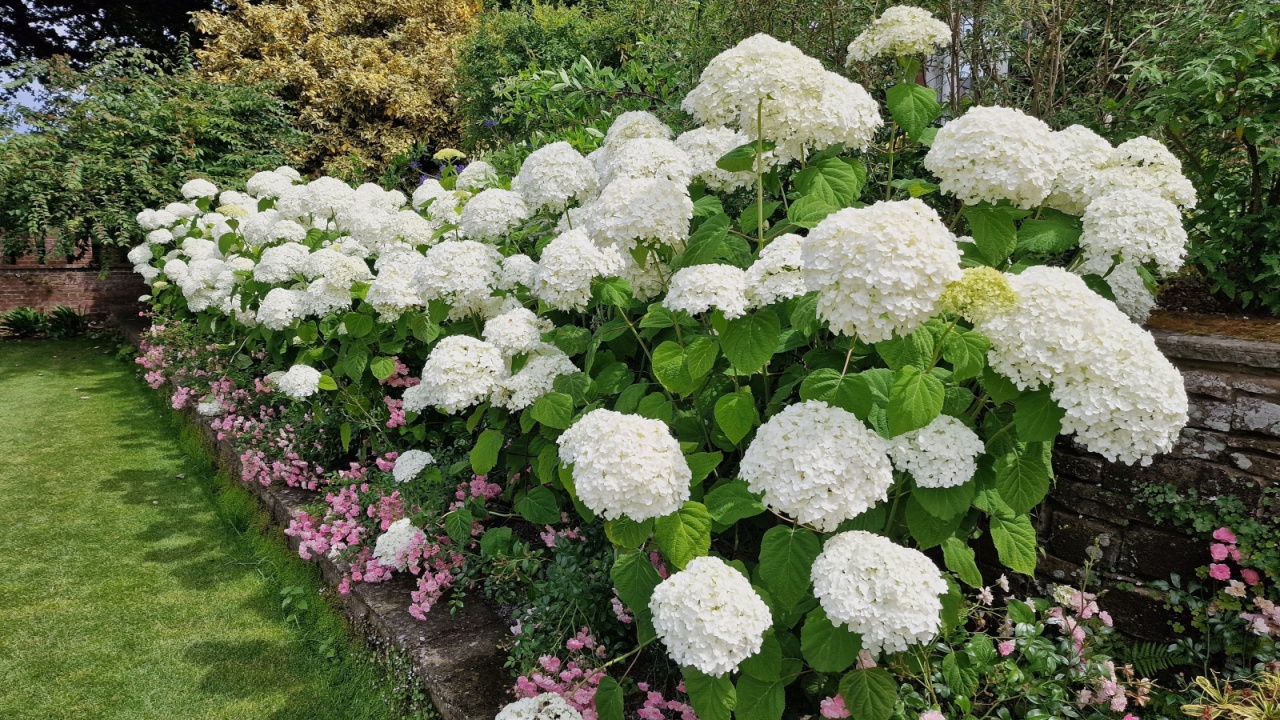
Image Credit: Shutterstock.
Good airflow around your hydrangeas is crucial for preventing common fungal diseases like powdery mildew and leaf spot. These issues thrive in damp, stagnant conditions. When plants are crowded too closely together, air can’t move freely, and leaves stay wet for longer after rain or watering. When you first plant your hydrangeas, give them enough space to grow to their mature size without touching neighboring plants.
If you have established plants that are looking crowded, consider selective pruning to thin out some of the inner branches. This will open up the plant, allow air to circulate, and help the foliage dry more quickly.
- Quick Tip: Water your plants at the base using a soaker hose or watering can, rather than with an overhead sprinkler. This keeps the leaves dry and dramatically reduces the risk of fungal problems.
13. Test Your Soil for Nutrients

Image Credit: Shutterstock.
While pH is important for color, the overall nutrient profile of your soil determines your plant’s health. A soil test can reveal deficiencies in key macronutrients (like phosphorus and potassium) or micronutrients that are essential for strong growth and flowering.
Most local university extension offices offer affordable and detailed soil testing services. You simply mail in a sample, and they provide a report with a breakdown of your soil’s composition and recommendations for any needed amendments. This takes the guesswork out of fertilizing and helps you give your plants exactly what they need to thrive.
- Quick Tip: Test your soil every 2-3 years. This allows you to monitor its health over time and make small, targeted adjustments rather than drastic changes.
Encouraging Fluffy Flowers That Neighbors Envy

Image Credit: Shutterstock.
Growing hydrangeas that make your neighbors stop and stare is well within your reach. It all comes down to giving these gorgeous shrubs the right conditions to shine. Start by choosing just one of these tips to implement. Perhaps you’ll test your soil’s pH to finally get those deep blue blooms, or maybe you’ll commit to a deep watering schedule.
Your next step is to get out in the garden. Take a close look at your plants and decide what they need most. Whether you’re adding a fresh layer of mulch or making a strategic pruning cut, every small action contributes to the health and beauty of your hydrangeas.
Read more:
17 Noteworthy Landscaping Options for Making Hydrangeas Pop
5 Panicle Hydrangeas That’ll Look Great in the Garden
