Gardening seasons leave many empty pots filled with exhausted soil. Throwing away all that dirt costs money and creates unnecessary waste. Many gardeners simply dump their pots in the trash without realizing the hidden value inside. You can easily breathe life back into that tired dirt instead of buying new ones.
Sustainable gardening habits protect the environment while keeping extra cash in your wallet. Plants deplete nutrients rapidly during their growth cycle. A few simple adjustments return those lost nutrients to the dirt.
The process requires just a few basic materials from your local garden center. Old dirt often contains beneficial microbes that just need a little encouragement to thrive again. Recharging your pots takes very little physical effort on a sunny afternoon.
This guide breaks down the exact method for restoring your potting mixes. We provide specific actions you need to take before planting new seeds. Here is how to properly clean, feed, and store your dirt.
1. Remove Old Plant Debris

Image Credit: Shutterstock.
Your first action is to dump the old dirt into a large wheelbarrow or onto a tarp. Sift through the material by hand to pull out roots and dead leaves.
Old plant matter often harbors pests or diseases from previous growing seasons. Clearing away this debris gives you a completely clean slate for your upcoming plantings.
Leaving roots in the container invites rot and attracts harmful insects. A clean base prevents lingering fungi from attacking your new seedlings.
Discard any debris from sick plants directly into the garbage bin instead of the compost pile. This careful sorting protects your future crops from repeated infections.
2. Sterilize the Soil
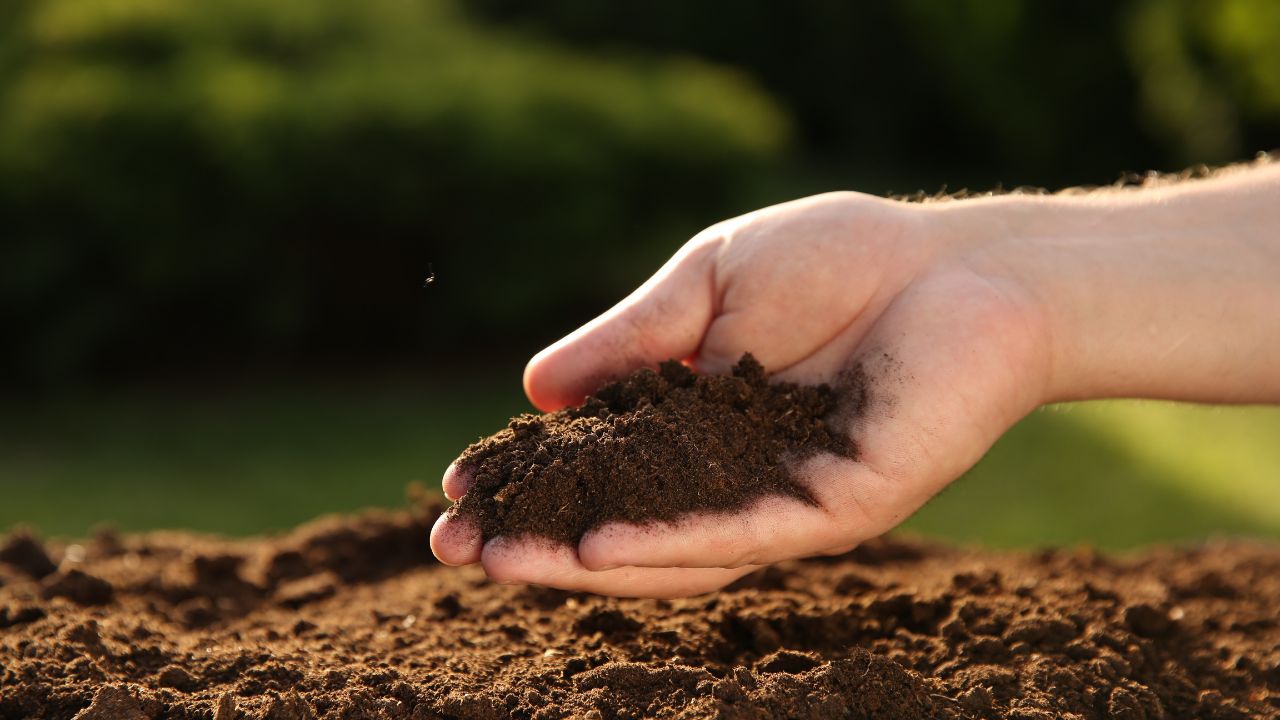
Image Credit: Shutterstock.
You must kill off harmful pathogens hidden deep inside the dirt. Solarization offers a great natural method for people living in warm climates.
Simply place the damp dirt inside black plastic bags and leave them in direct sunlight. The intense heat builds up inside the bag, destroying any remaining pests.
Some gardeners prefer baking smaller batches of dirt in the oven at a low temperature. Heating the material to 200 degrees Fahrenheit rapidly kills stubborn weed seeds.
Skipping this sterilization phase leaves your new plants vulnerable to hidden dangers. A sterile base gives young seedlings a much higher survival rate.
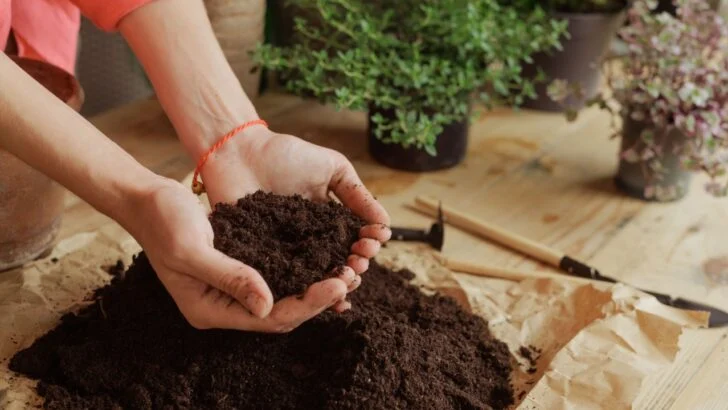
3. Replenish Nutrients

Image Credit: Shutterstock.
Exhausted soil lacks the nutrients required for vigorous plant growth. Mix in a generous portion of rich compost to reintroduce organic matter.
Adding handfuls of worm castings provides an immediate boost of friendly microbes. A slow-release organic fertilizer blends perfectly into this fresh mixture to provide long-lasting food.
Plants consume nitrogen and phosphorus at alarming rates during their blooming phase. Replacing these elements guarantees your vegetables will grow strong and tall.
Granular fertilizers break down slowly, feeding the root systems continuously for several months. Your revitalized mixture now holds more nutritional value than most store-bought bags.
4. Improve Soil Structure
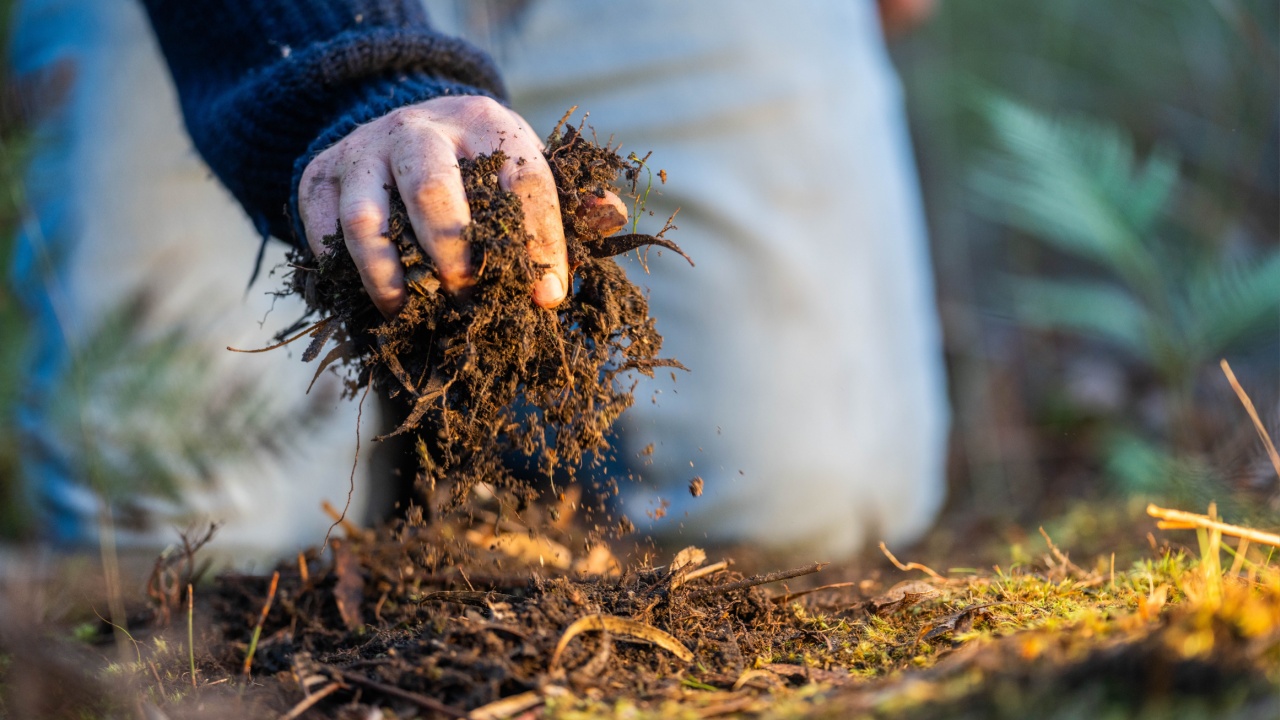
Image Credit: Shutterstock.
Dirt naturally compacts after sitting in a container for an entire year. You need to improve the soil structure by fluffing up the mixture to improve drainage and airflow around the roots.
Mixing in perlite creates tiny air pockets that prevent the mixture from becoming waterlogged. Coconut coir acts like a sponge, holding moisture during hot summer afternoons.
Heavy, compacted soil suffocates delicate root systems quickly. Adding coarse sand helps water flow through the container much faster.
Good drainage stops root rot from destroying your favorite potted flowers. A loose structure allows new roots to stretch out comfortably and access water efficiently.
5. Test and Adjust pH

Image Credit: Shutterstock.
The acidity level of your mixture shifts significantly after a year of heavy watering. Most common garden vegetables prefer a neutral pH between 6 and 7.
Use a simple testing kit from the garden center to check the current acidity level. You can easily adjust the balance once you know the exact numbers.
Adding a small amount of garden lime raises the pH if the mixture is too acidic. Peat moss naturally lowers the pH for plants that prefer a more acidic environment.
Incorrect pH levels actually lock up nutrients and starve your plants. Checking these levels ensures your fertilizer works exactly as intended.
6. Store Properly
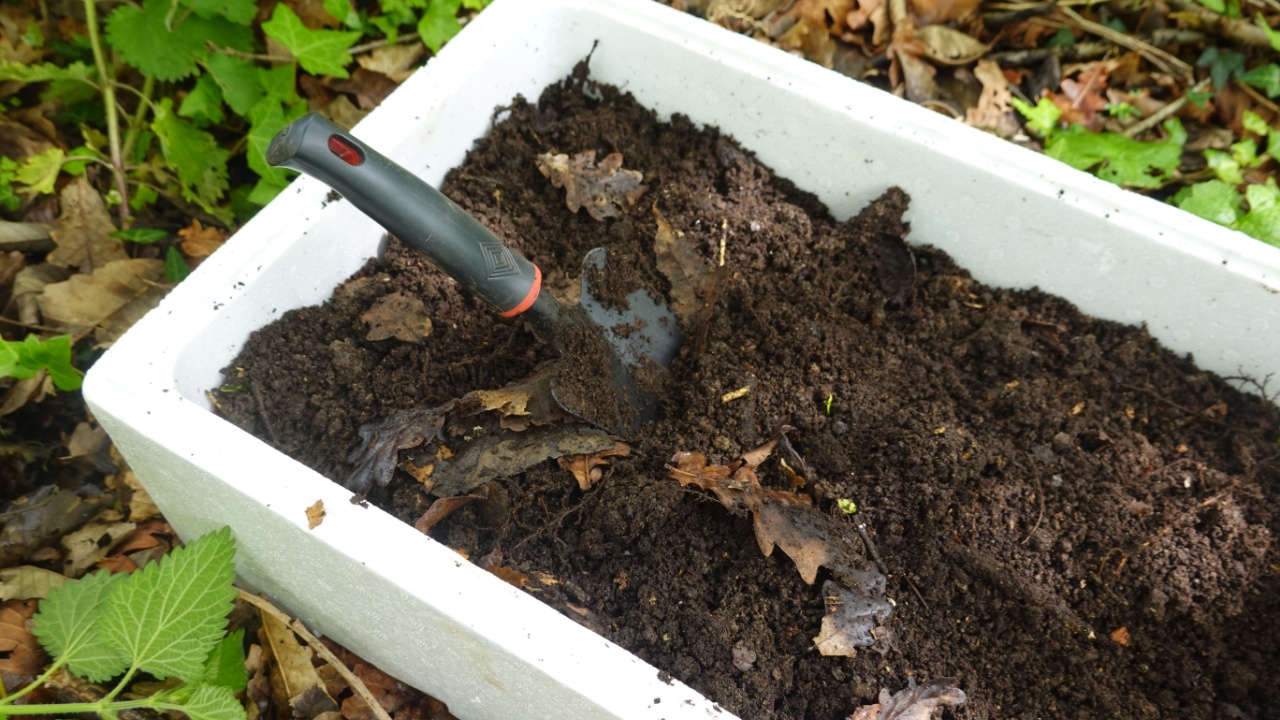
Image Credit: Shutterstock.
Your newly revived dirt needs a safe location to rest before planting begins. Shovel the mixture into large plastic storage bins with secure lids.
Storing the containers in a dry garage prevents heavy rains from washing away the fresh nutrients. Keeping the lids tight blocks weed seeds from blowing in on the wind.
Proper storage protects all your hard work from mold, local wildlife, and stray cats. You can also use heavy-duty plastic bags sealed tightly with strong tape.
A cool, dry environment helps preserve the beneficial microbes you just introduced. Your dirt remains perfectly conditioned and ready for action when spring finally arrives.
Ready for Fresh Growth
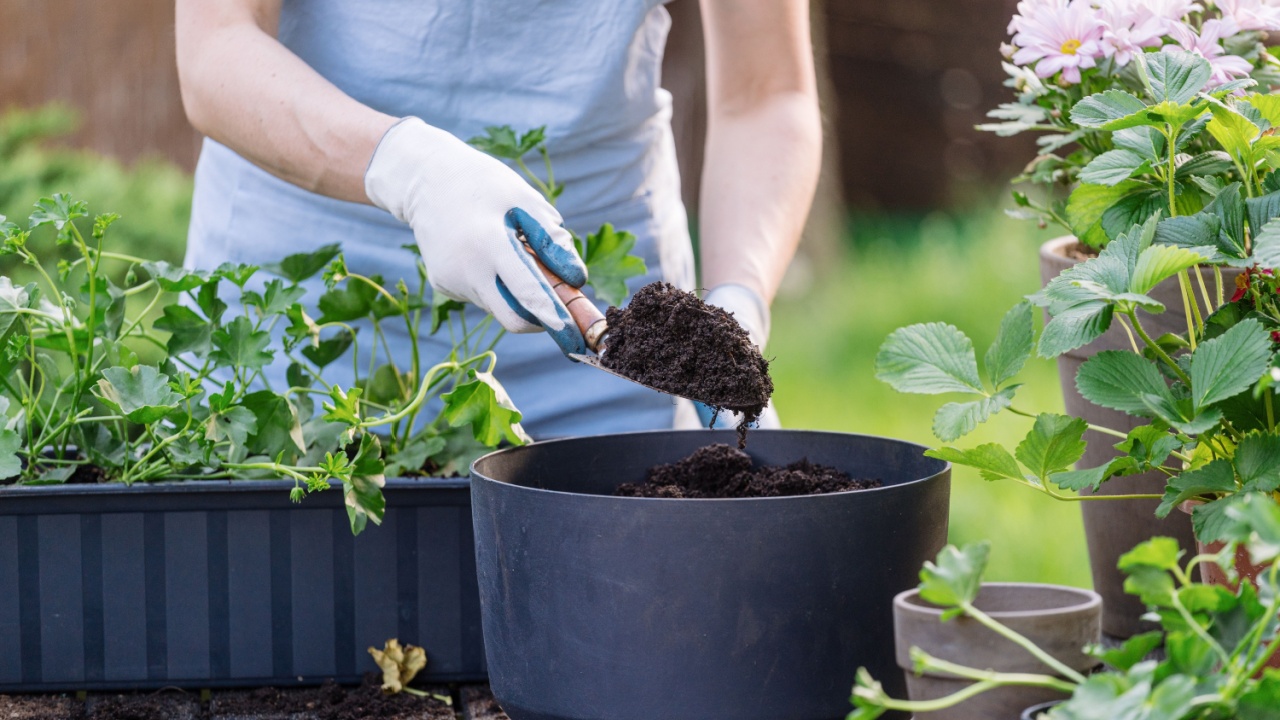
Image Credit: Shutterstock.
Reviving old potting soil isn’t complicated, but it does require care. By cleaning, sterilizing, feeding, and storing it properly, you’ve turned what looked like waste into a resource that’s ready to support new life.
The reward is more than saving money. You’re building a cycle of reuse that keeps your garden thriving while cutting down on unnecessary waste.
With your soil refreshed and waiting, the next planting season feels less like starting from scratch and more like continuing a healthy rhythm. Your pots are prepared, your soil is strong, and your garden is set to flourish again.
Read More:
18 Soil Mistakes Causing Your Garden to Fail (And What to Do Instead This April)
Is Your Garden Soil the Problem? Here’s How to Test and Fix It