A home can be clean, stylish, and full of nice touches, yet still look half-done. In some cases, the problem may not be the furniture or decor. It could be a few DIY errors that quietly make the whole place feel rough around the edges.
Small flaws stand out more than people expect. A bad paint line, a patched wall that still shows, or a rushed tile job can make a room look messy even when the rest of the space is in good shape. These details catch the eye because they break the sense of care and order.
Some home projects are easy to start but hard to finish well. That is often where trouble begins. A job that looks simple online may need more prep, more skill, and better materials than people guess at first.
Here are six DIY mistakes that make a home look unfinished and unkempt, along with practical ways to fix them or avoid them in the first place.
1. Rushing Through Prep Work
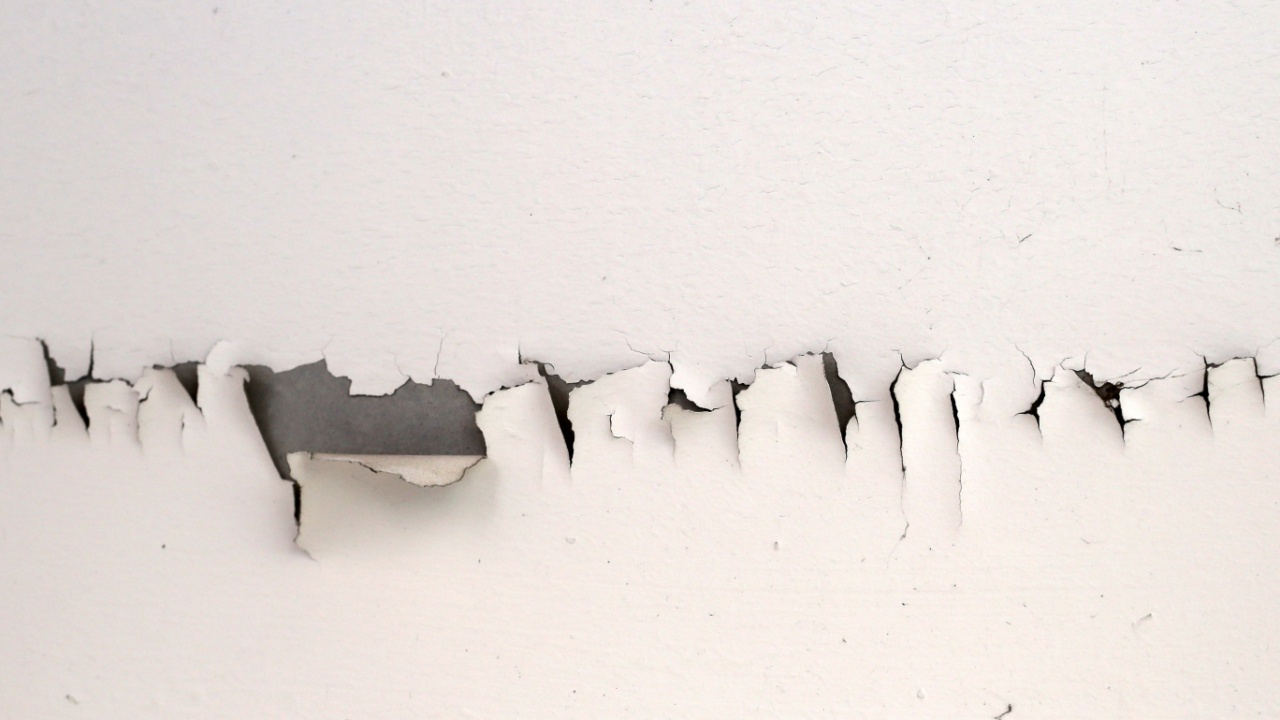
Image Credit: Shutterstock.
Many DIY jobs look bad long before the final coat of paint or the last tile goes in. Skipping prep can leave behind peeling paint, crooked wallpaper, uneven tile, and trim that never sits right.
Dirt, grease, old caulk, and rough surfaces stop new materials from bonding well, so the final result often looks sloppy fast.
Before you start any project, take the time to prepare yourself and your surfaces properly. Get all the tools, wash walls before painting, fill dents, sand rough spots, use painter’s tape with care, and let each layer dry fully.
If you are laying tile or wallpaper, measure twice, mark guidelines, and check the surface for levelness and damage before you begin.
2. Leaving Messy Drywall Repairs
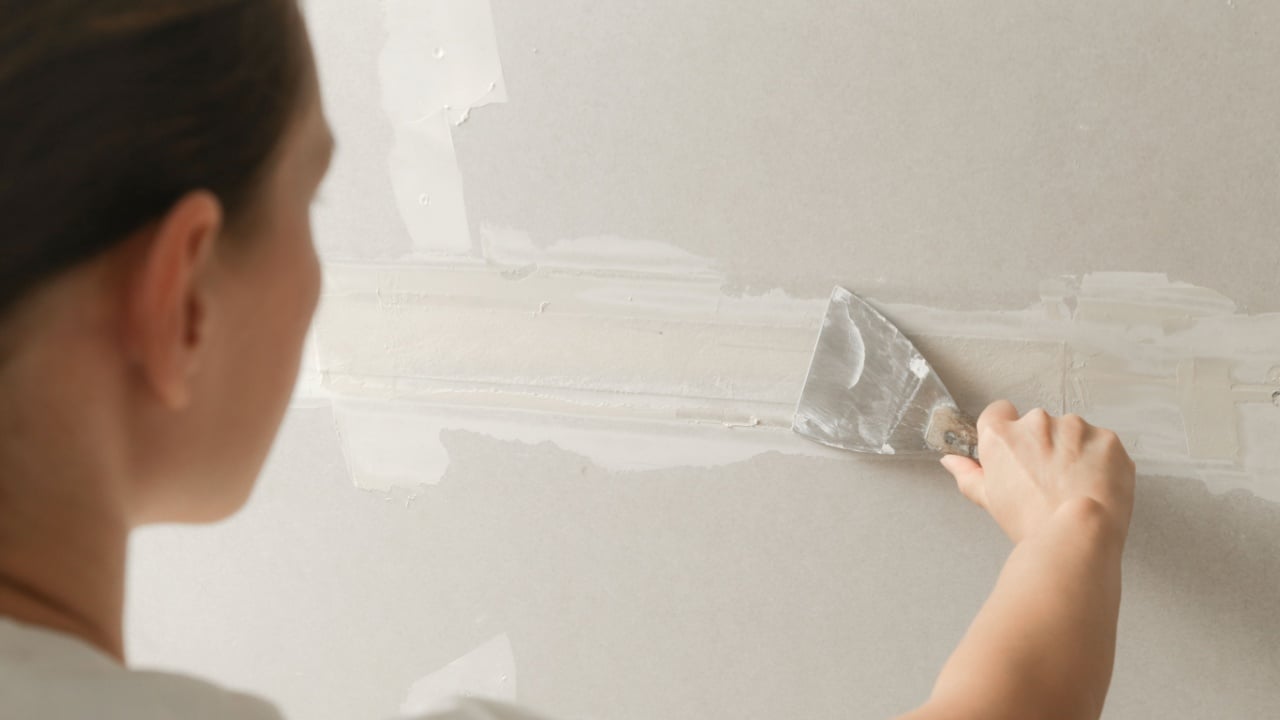
Image Credit: Shutterstock.
Drywall damage is common, but poor repairs are easy to spot. Visible seams, lumpy joint compound, uneven texture, and sanding marks can make a wall look cheap and neglected.
Even a fresh coat of paint will not hide bad mudding if the surface beneath it is uneven. For small damage, use a repair kit, apply thin layers of spackle or compound, and sand between coats until the wall feels smooth to the touch.
Match the wall texture before painting so the patch blends in instead of standing out. If the hole is large or the seam keeps cracking, a drywall pro can often save time and produce a far cleaner result.
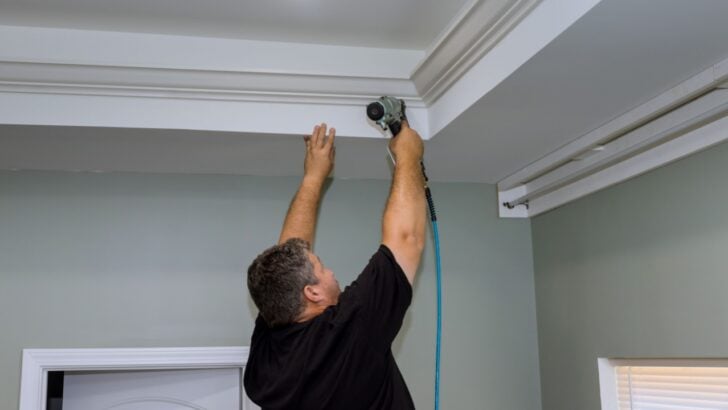
3. Drilling Careless Holes In Walls And Siding
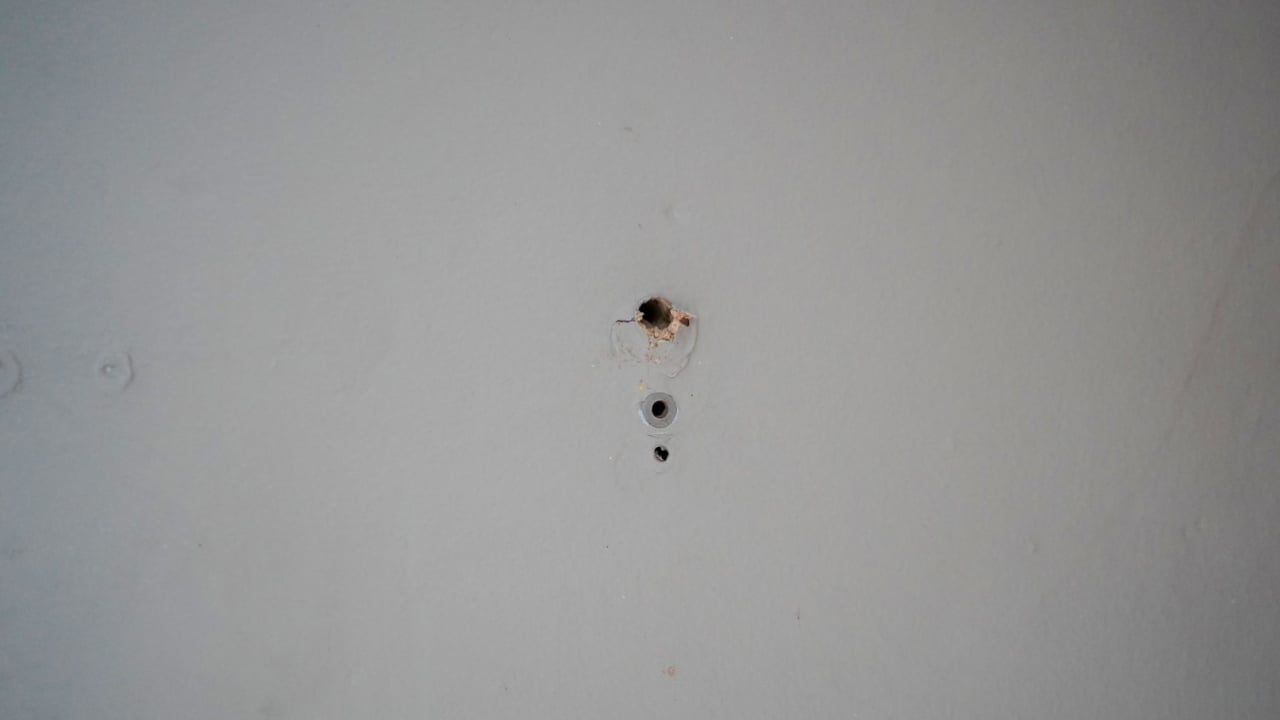
Image Credit: Shutterstock.
Before you drill, know where to make your hole. Random holes from shelves, curtain rods, TVs, or outdoor fixtures can make a home look worn out fast. Indoors, misplaced holes leave pitted walls and a patchwork look.
Outdoors, holes in siding or exterior walls can do more than hurt appearance, since they may let in water and weaken the surface that protects the house.
Inside, patch unused holes as soon as you move hardware or change a layout. Outside, seal openings with an exterior-grade product made for the material on your home, and check for signs of moisture damage around the area.
If you drilled into a spot that may affect flashing, insulation, or a vapor barrier, it is smart to have a contractor inspect it.
4. Doing A Poor Paint Job

Image Credit: Deposit Photos.
Paint should make a home look fresh, but a bad paint job does the opposite. Roller marks, drips, patchy coverage, paint on trim, and sharp color changes that do not line up all make a room feel careless.
Cheap tools and rushed coats often leave walls looking tired, even when the color itself is nice. A better finish starts with the right supplies and a slower pace.
Use quality brushes and rollers, keep a wet edge as you paint, and apply thin coats instead of trying to cover everything at once. It also helps to use primer when needed, especially on repaired walls, dark colors, or stained surfaces that can bleed through.
5. Installing Trim That Does Not Fit Well
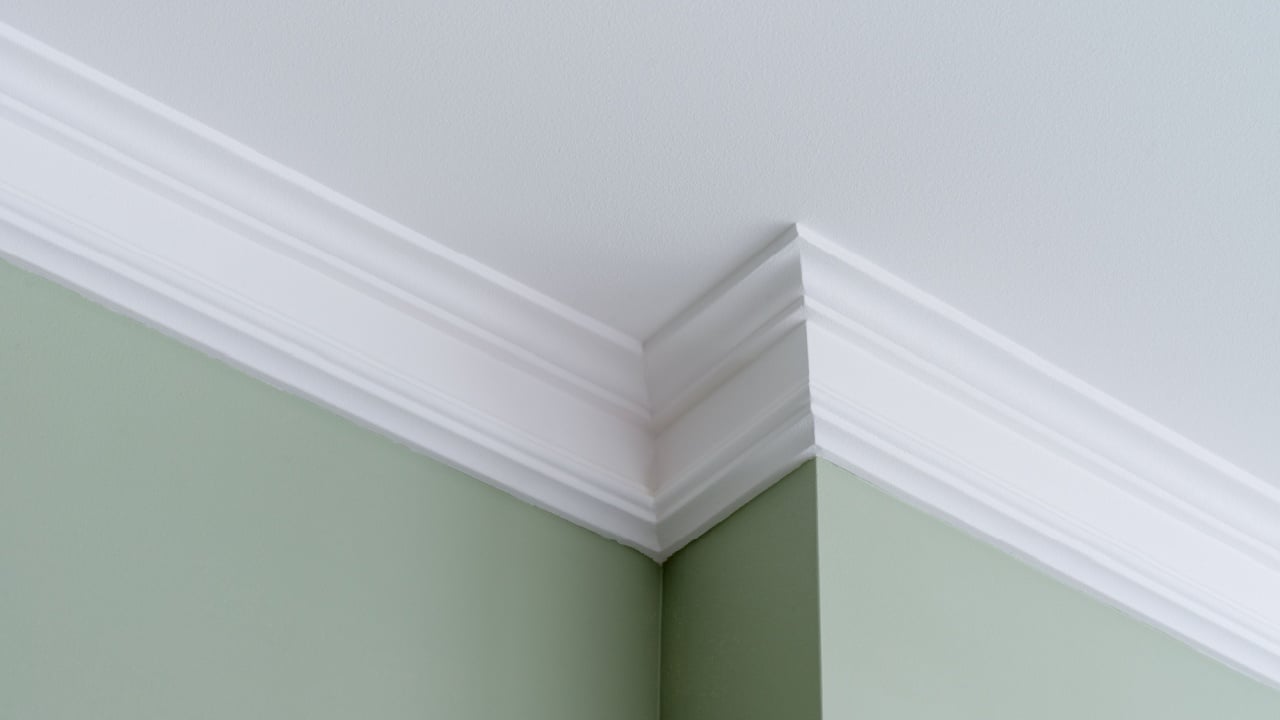
Image Credit: Shutterstock.
Trim is supposed to frame a room and make it look polished. When baseboards, crown molding, or door casings have gaps, bad cuts, or uneven corners, the room can look unfinished at a glance.
People may not know exactly what is wrong, but they notice the lack of clean lines. Take careful measurements and test each piece before you nail anything in place.
Caulk can hide minor gaps where trim meets the wall, but it cannot fix poor cuts or badly bowed boards. If corners are tricky, a miter saw, angle finder, and a little extra patience can make a huge difference in the final look.
6. Ignoring The Finish Details

Image Credit: Shutterstock.
Finishing work is important; a room rarely looks complete when the last layer of detail is missing. Uncovered outlet plates, uneven caulk lines, exposed gaps at fixtures, loose cabinet hardware, and missing touch-up paint all add up.
Each issue seems small on its own, but together they create a home that feels untidy and half-finished. Walk through the space after every project and look for the details people often skip at the end.
Tighten what is loose, caulk what needs a clean seal, replace worn covers, and clean off dust, adhesive, and paint splatter. That final pass often does more for the look of a room than a big purchase or a full redesign.
Achieving That Finished Look
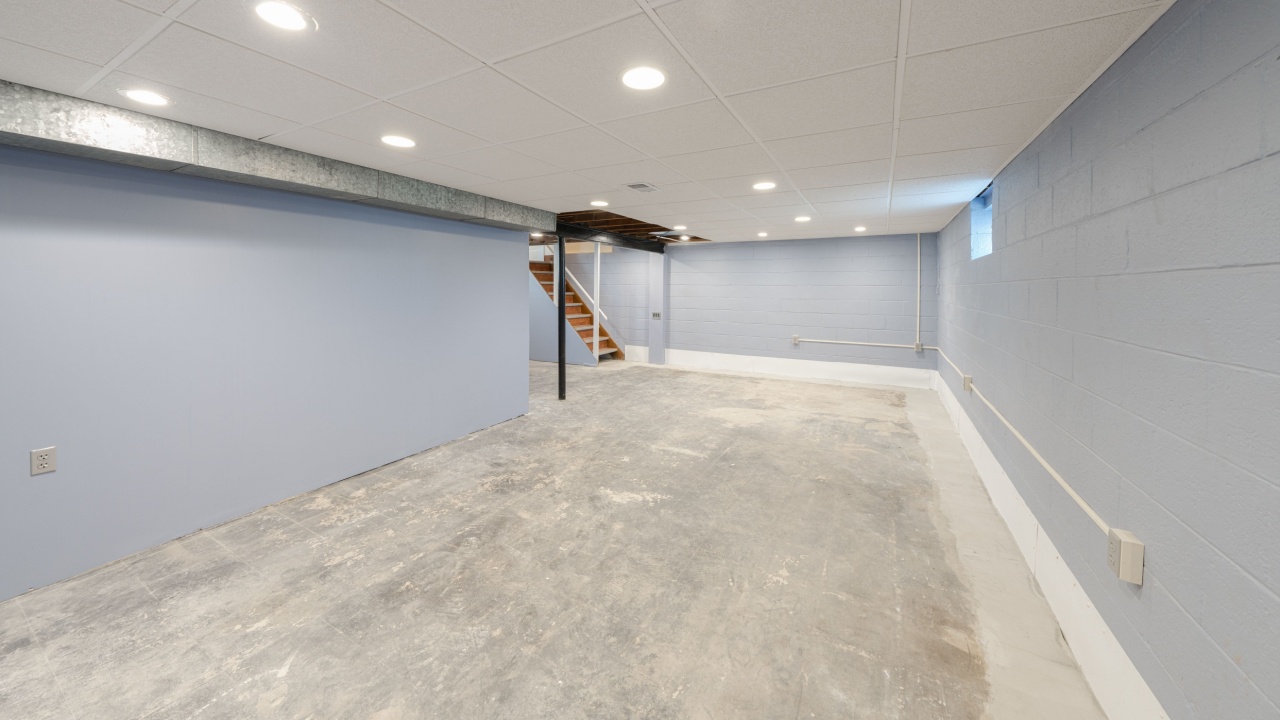
Image Credit: J.A. Dunbar at Shutterstock.
DIY brings personal satisfaction and can upgrade any space, but true transformation happens when every detail is given attention. A home filled with effort loses its polish if rushed decisions and incomplete work take the spotlight.
Each careful repair, seamless finish, and well-placed trim adds up, making your space inviting and thoughtfully complete. Slow down, notice what others might skip, and the results will always feel more welcoming and finished.
Read More:
12 DIY Home Projects Always Worth Learning to Do for the Savings