Those dusty shoeboxes in the closet aren’t just taking up space; they are holding fading memories hostage. Prints degrade, colors shift, and physical photos are always vulnerable to fire or water damage. Digitizing that family archive preserves those moments forever and makes them shareable with a quick text or email.
While sending everything to a professional service is an option, it often comes at a high cost. Doing it at home saves money and offers total control over the organization process.
Here are four practical steps, and the specific tools needed, to turn those piles of paper into permanent digital files.
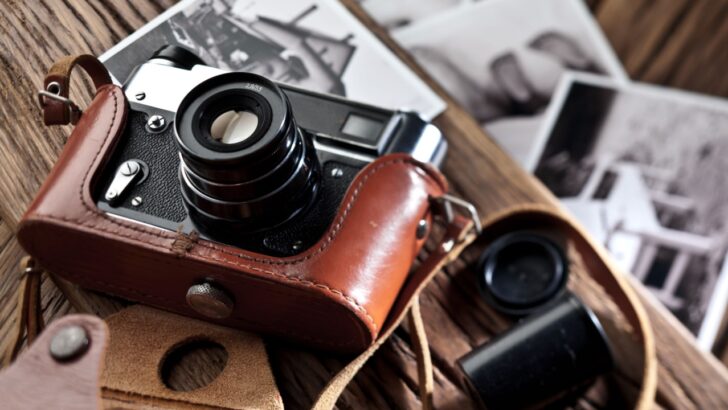
1. Power Through Stacks with a Sheet-Fed Scanner

Image Credit: deusinvictus – Openclipart – CC0/Wiki Commons.
To digitize thousands of photos in a weekend, use a sheet-fed scanner. These machines pull images through automatically, scanning both sides in seconds. A resolution of 600 dpi is perfect for standard prints, creating high-quality images that look great on modern screens.
The Epson FastFoto FF-680W is the top choice for speed, processing one photo per second. It includes software that automatically fixes colors and removes red-eye. For a more affordable option, the Canon imageFormula RS40 offers similar quality and resolution for a lower price.
To avoid jams, group your photos by size before you start. Make sure to wipe the scanner rollers with a microfiber cloth every so often to keep your digital files free of dust streaks.
2. Capture Fine Details with a Flatbed Scanner
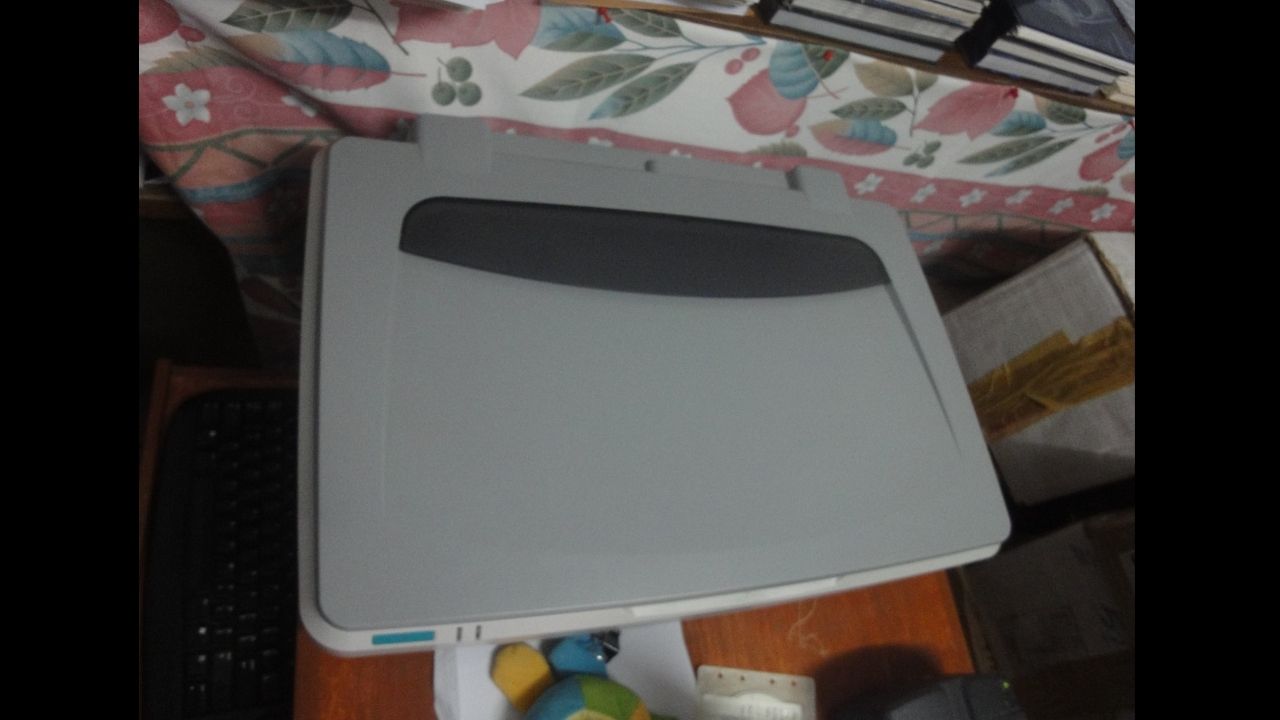
Image Credit: Luiza marie – Own work – CC BY-SA 3.0/Wiki Commons.
While fast, sheet-fed scanners can damage fragile or old photos. For these items, a flatbed scanner is the safer choice, offering higher quality at the cost of speed.
The Canon CanoScan Lide 400 is a great value option under $100. It offers high resolution, perfect for smaller items like stamps, and is powered directly by USB.
For a bit more money, the Epson Perfection V600 includes Digital ICE technology, which automatically removes dust and scratches from your scans, saving you editing time. As a tip, scanning at 600 dpi is usually enough for most prints; going higher often just captures paper grain instead of more image detail.
3. Rescue Negatives and Slides with Dedicated Gear

Image Credit: Shutterstock.
Prints fade over time, but negatives and slides keep their color for decades. Scanning film delivers sharper and more vibrant images than scanning photos. Flatbed scanners struggle with film unless they have a backlight adapter, so a dedicated film scanner is your best bet.
The Kodak Slide n Scan lets you scan directly to an SD card without needing a computer, with a 5-inch screen for previews and 13-megapixel quality. The Magnasonic All-in-One offers similar features but adds an HDMI output, perfect for family slideshows. Always clean your film with compressed air to avoid dust ruining your scans.
4. Use Mobile Apps for Quick Sharing

Image Credit: Shutterstock.
Sometimes you just need to digitize a photo quickly without a bulky scanner. Smart scanning apps make it easy. Google PhotoScan removes glare and corrects perspective by stitching multiple shots together, while Photomyne scans multiple photos in one go, cropping and saving them separately. For best results, use natural, indirect light near a window.
Preserving the Past

Image Credit: Deposit Photos.
The hardest part of any digitization project is simply starting. Whether choosing the rapid-fire capability of the Epson FastFoto or the detailed precision of the Canon LiDE 400, the equipment is merely a means to an end.
The real reward is securing family history against the fade of time. Choose a method that fits the volume of the archive and begin the process. Future generations will be grateful for the effort.