
Every gardener who grew up watching a grandmother pull a warm tomato off the vine in July knows what a real tomato tastes like. That deep red, heavy, almost absurdly juicy fruit that you ate standing over the sink like it was a peach. And every one of those gardeners, at some point in their adult life, has looked at a tomato from their own backyard and wondered why it tasted almost exactly like the ones at the grocery store.
The answer is probably not your soil, your seeds, or even your watering schedule. In most cases, home gardeners unknowingly repeat the same three mistakes that commercial growers make: choosing the wrong variety, planting at the wrong depth, and applying fertilizer that maximizes foliage at the expense of flavor.
This June, there is still time to do it right. A single $3 packet of tomato seeds, handled correctly, can yield $1,500 worth of fresh organic tomatoes from your own backyard.
Here are the 16 steps to the juiciest tomatoes that you’ve ever grown.
1. Choose the Right Variety for Flavor, Not Looks
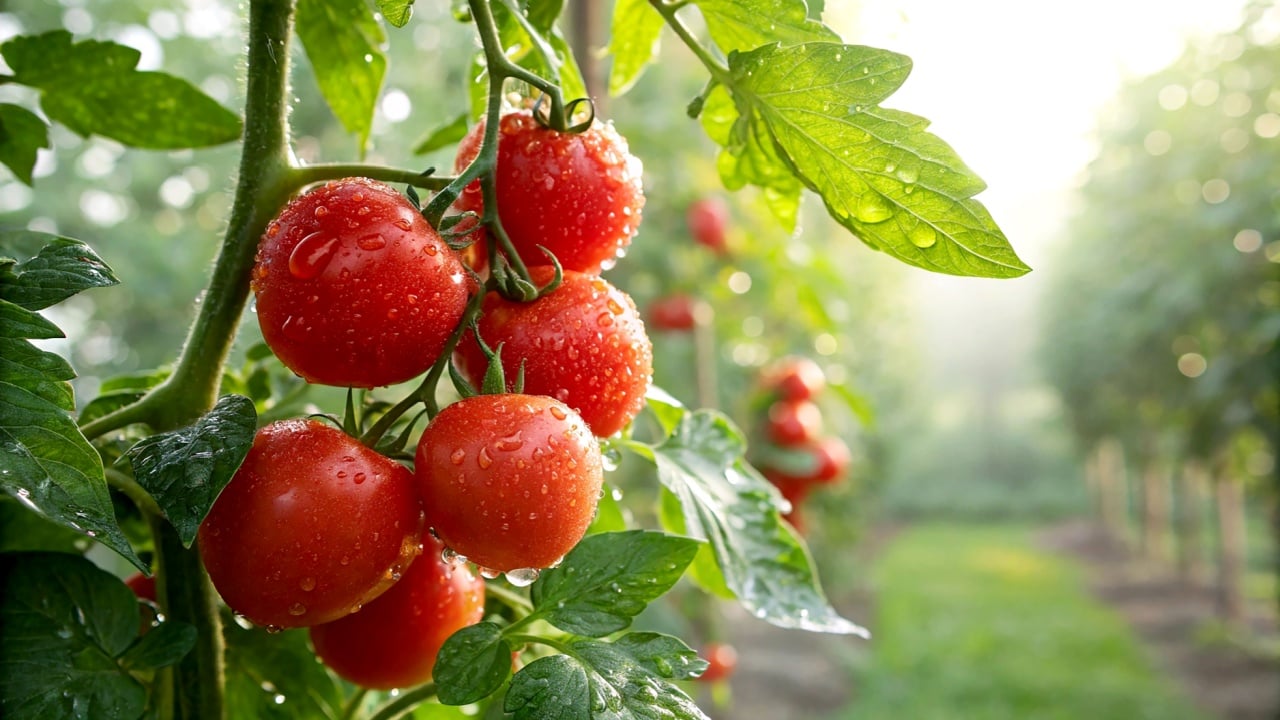
Image Credit: Shutterstock.
The most consequential decision happens before you touch a single seed.
As Bonnie Plants advises, choosing a mix of varieties, including at least one or two disease-resistant types, is a smart strategy. For pure flavor, heirloom varieties like ‘Brandywine,’ ‘Cherokee Purple,’ and ‘German Johnson’ consistently outperform commercial hybrids. For reliable production with excellent taste, ‘Celebrity’ and ‘Better Boy’ are hard to beat. For hot climates where fruit drop is a problem in midsummer, heat-tolerant varieties like ‘Heatmaster’ and ‘Arkansas Traveler’ are specifically bred to keep setting fruit when temperatures climb into the 90s.
2. Never Start Tomatoes Too Early (Cold Soil Is a Silent Killer)
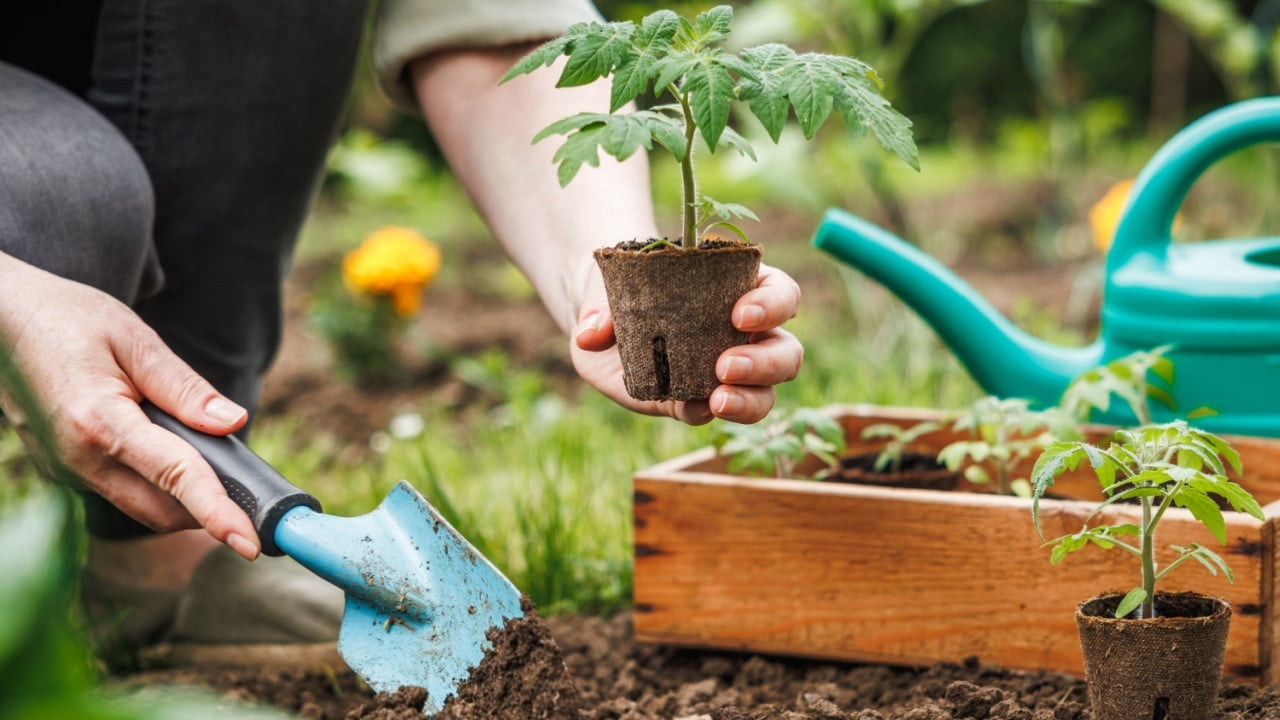
Image Credit: Shutterstock.
Tomatoes planted into cold soil below 60 degrees Fahrenheit are consistently outperformed by plants set out two weeks later into warmer ground, even with an apparent head start.
Savvy Gardening recommends warming the soil with black plastic sheeting two weeks before planting to improve early root growth. The plastic absorbs solar energy, raises soil temperature, and can suppress weeds through the season. Switch to organic mulch once nighttime temperatures stabilize above 50 degrees.
3. Start Seeds Indoors and Repot Them Twice
Tomato seeds germinate in five to seven days under ideal indoor conditions, but the real advantage comes from what you do next. Garden Betty explains that repotting seedlings twice before final planting, and burying the stem deeper each time, triggers adventitious roots along the stem to develop into full root nodes. The result is a larger, stronger root system that needs less irrigation and fertilization because it can reach deeper into the soil for both water and nutrients.
4. Shake Your Seedlings Every Day
When tomato seedlings grow indoors, they are protected from wind and develop weaker stems. Tasting Table gardening expert Nick Musica advises gently brushing your hand over seedlings a few times daily, or positioning a small fan nearby, to mimic outdoor wind conditions. Stems thicken and strengthen in response to the movement, and plants handle the hardening-off process with far less shock.
5. Stop Planting at the Wrong Depth
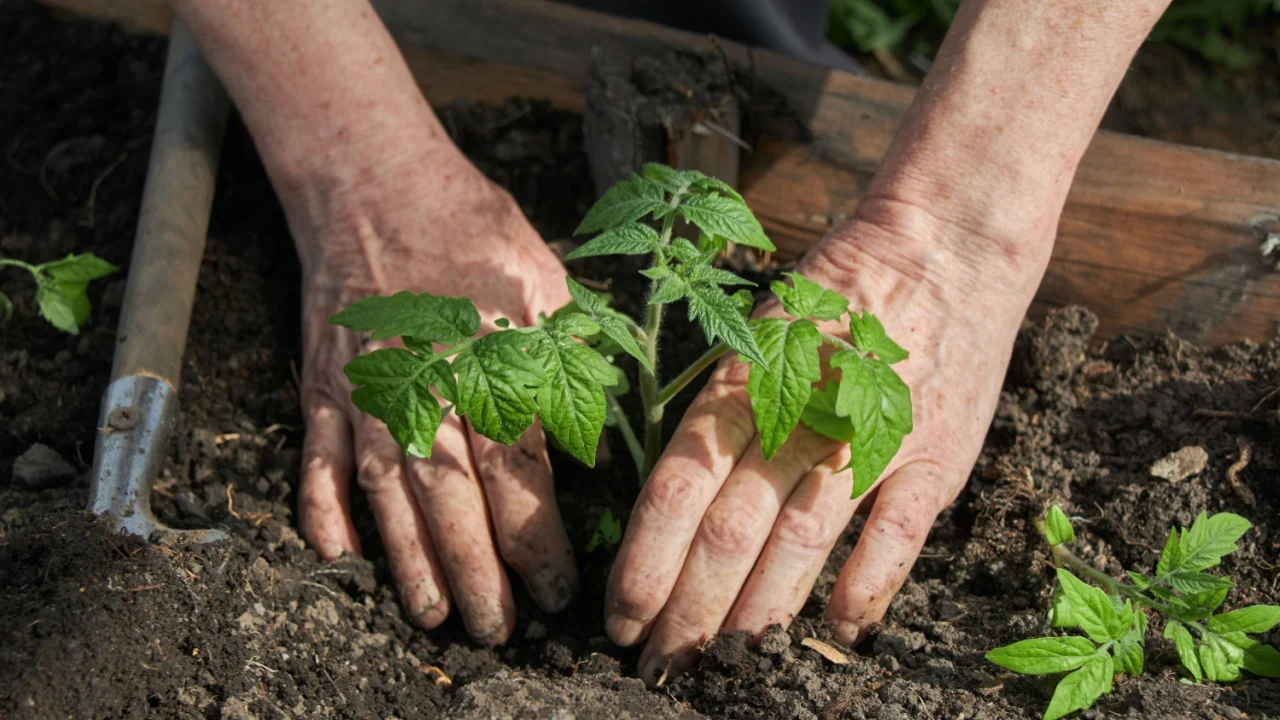
Image Credit: Shutterstock.
Most vegetables are planted at the same depth they arrived from the nursery. Tomatoes are the exception.
Bonnie Plants instructs gardeners to bury two-thirds of the stem when transplanting, removing leaves that would end up underground. The buried stem sprouts new roots along its entire length, making the plant more resilient in drought and better able to take up nutrients during fruiting. For leggy transplants, dig a shallow trench and lay the stem sideways; it straightens toward the sun within days.
6. Never Skip the Hardening-Off Step
Moving seedlings from a warm indoor environment directly into the garden is one of the most destructive mistakes home growers make. NC State Extension advises acclimating seedlings gradually over one to two weeks, starting with a few hours of outdoor exposure on calm, mild days and slowly increasing the duration. Skipping this step can result in total seedling loss from a single cold night.
7. Give Them the Sunniest Spot You Have
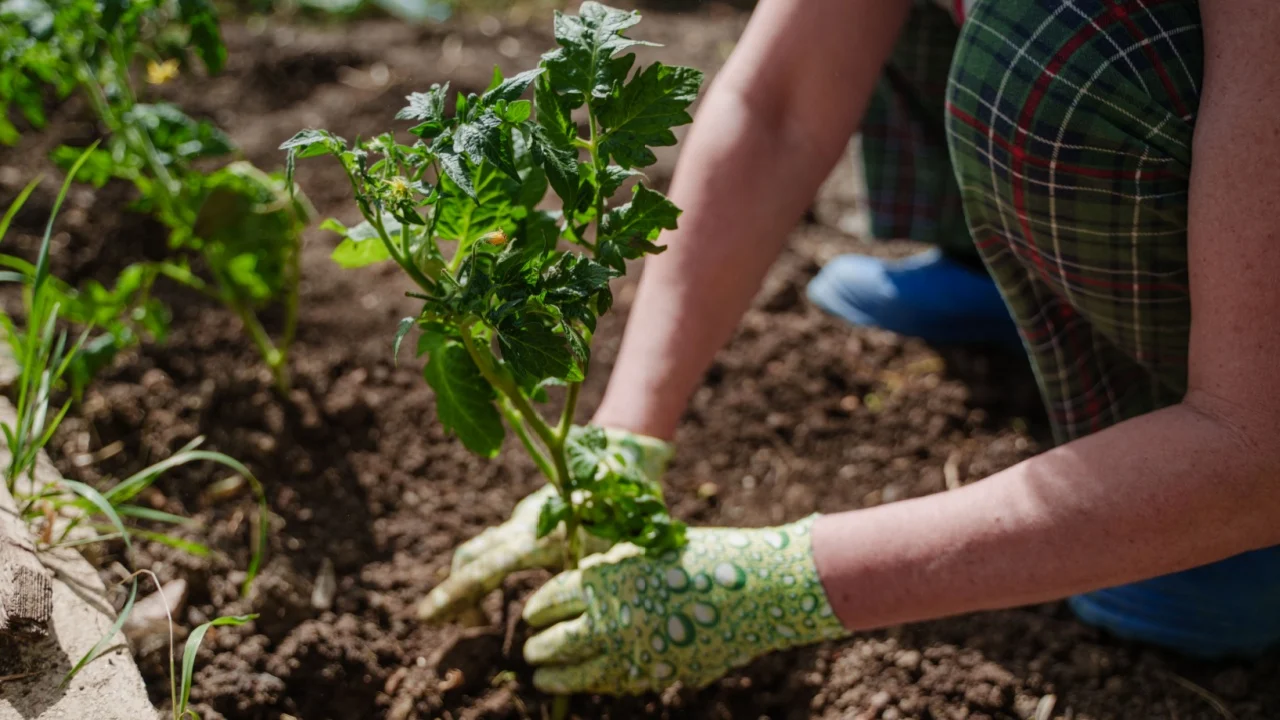
Image Credit: Shutterstock.
Tomatoes need at least 6 to 8 hours of direct sun daily for the best flavor and growth, per Bonnie Plants. In climates where afternoon temperatures regularly exceed 90 degrees Fahrenheit, some afternoon shade can prevent blossom drop and sunscald. In most parts of the country, more sun means more sugar, more juice, and more fruit. If your yard falls short, position plants near a white fence or wall that reflects light onto the foliage.
8. Warm the Soil, Then Feed It Well
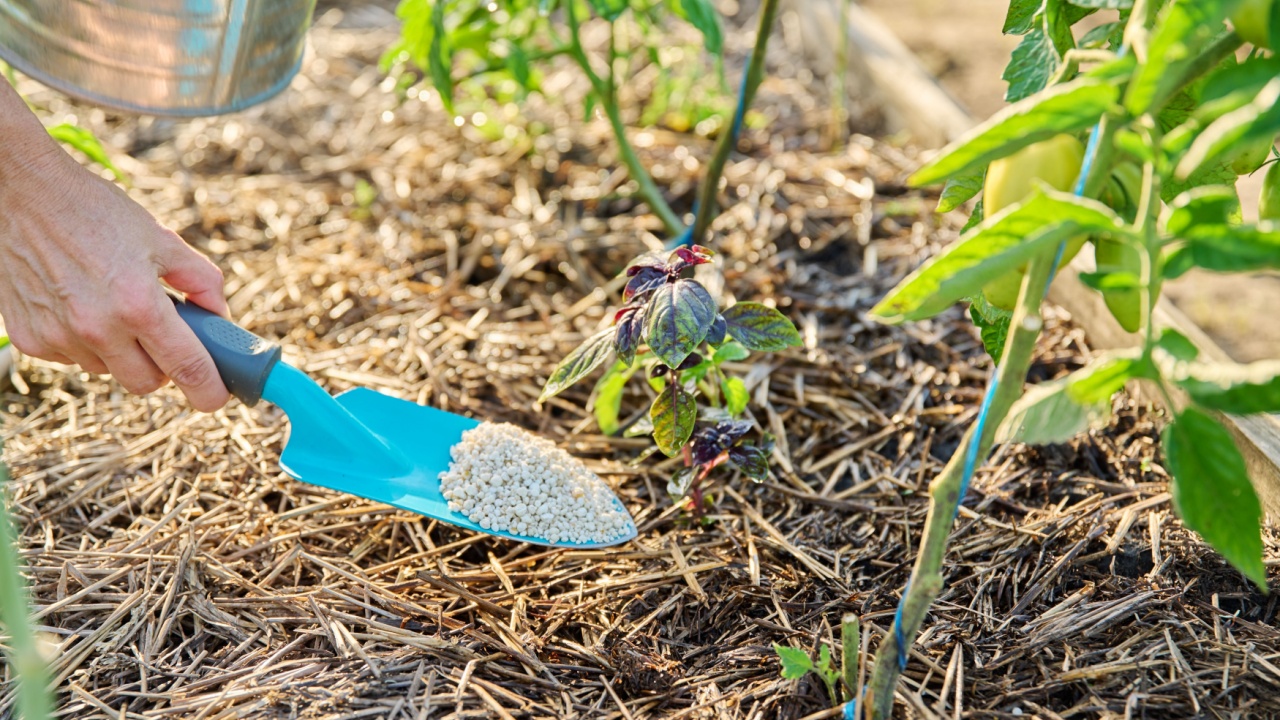
Image Credit: Shutterstock.com.
Once warm-soil conditions are met, give your tomatoes the richest planting environment you can create. Southern Living recommends mixing 3 to 4 inches of compost into the planting area to improve drainage in clay soil and retain moisture in sandy soil. The ideal soil pH for tomatoes is 6.2 to 6.8; outside this range, plants cannot absorb essential minerals even when they are present in the soil.
9. Never Use the Wrong Fertilizer
High-nitrogen fertilizers push vigorous green growth at the direct expense of flowering and fruiting.
Savvy Gardening explains that phosphorus drives root development, flower production, and fruit set. Choose a fertilizer formulated specifically for tomatoes or vegetables, with a higher middle number (phosphorus) on the NPK label, and apply it at planting, again when first flowers appear, and every four to six weeks through the season.
10. Add Bone Meal and Eggshells to the Planting Hole
Before dropping in your transplant, give it a head start. The Old Farmer’s Almanac notes that bone meal supplies slow-release phosphorus and calcium throughout the season. Crushed eggshells, added directly to the hole, contribute additional calcium that becomes available as they break down over the growing months. Both amendments help guard against blossom end rot, which is caused not by calcium-deficient soil but by inconsistent moisture that prevents calcium uptake.
11. Water Deeply, Not Frequently

Image Credit: Shutterstock.
Daily shallow watering is one of the worst habits a tomato gardener can develop. Gardeners’ World Magazine explains that irregular watering is the leading cause of fruit splitting and blossom end rot. Water deeply and thoroughly at the root zone, providing the equivalent of 1 to 2 inches of water per week. A drip irrigation line on a timer is the most reliable way to maintain consistent moisture without wetting the foliage, which invites fungal disease.
12. Mulch Immediately After Planting
Apply a 2 to 3 inch layer of straw, shredded leaves, or organic bark mulch as soon as plants go in the ground. The Old Farmer’s Almanac cites university research showing that red plastic mulch increases tomato fruit production by 12 to 20% compared to bare soil. Even ordinary straw mulch conserves moisture, moderates soil temperature, and stops soil-borne disease spores from splashing onto lower leaves.
Keep mulch about an inch away from the main stem to prevent rot.
13. Stop Using Flimsy Tomato Cages

Image Credit: Shutterstock.
The thin, conical cages sold at garden centers each spring are too short, too narrow, and too weak to support an indeterminate tomato at peak season.
Garden Betty recommends heavy-gauge square cages at least 5 to 6 feet tall, or cages built from concrete reinforcing mesh. Install supports at transplant time to avoid disturbing developing root systems later. Keeping vines off the ground also dramatically reduces disease pressure and makes harvesting far easier.
14. Remove Lower Leaves and Suckers the Correct Way
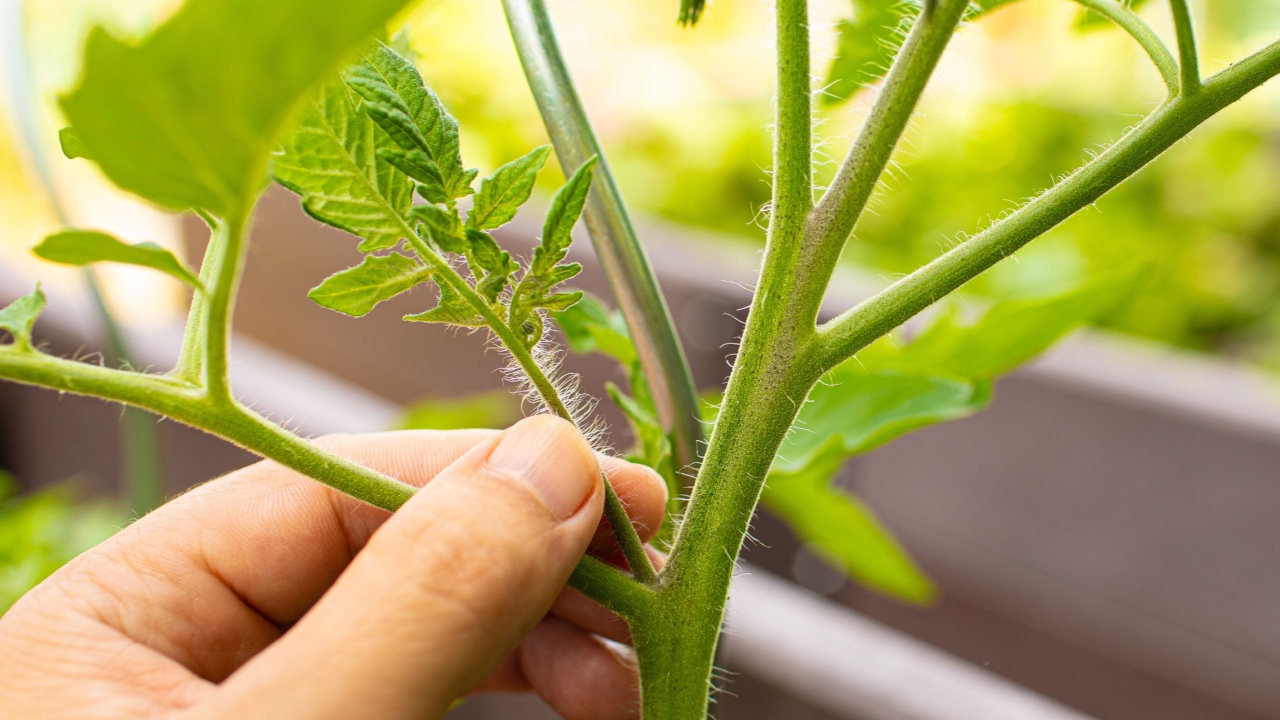
Image Credit: Shutterstock.
Once plants reach 3 feet tall, remove the bottom foot of leaves.
Midwest Garden Gal explains that blight almost always begins in the lower leaves, where disease spores splash up from the soil during rain or overhead watering. On indeterminate varieties, also remove suckers, the shoots that emerge at a 45-degree angle between the main stem and a branch. Pruning suckers concentrates the plant’s energy into fruit already developing on the vine. Never remove suckers on determinate varieties, where those shoots carry future fruit clusters.
15. Never Refrigerate Your Tomatoes
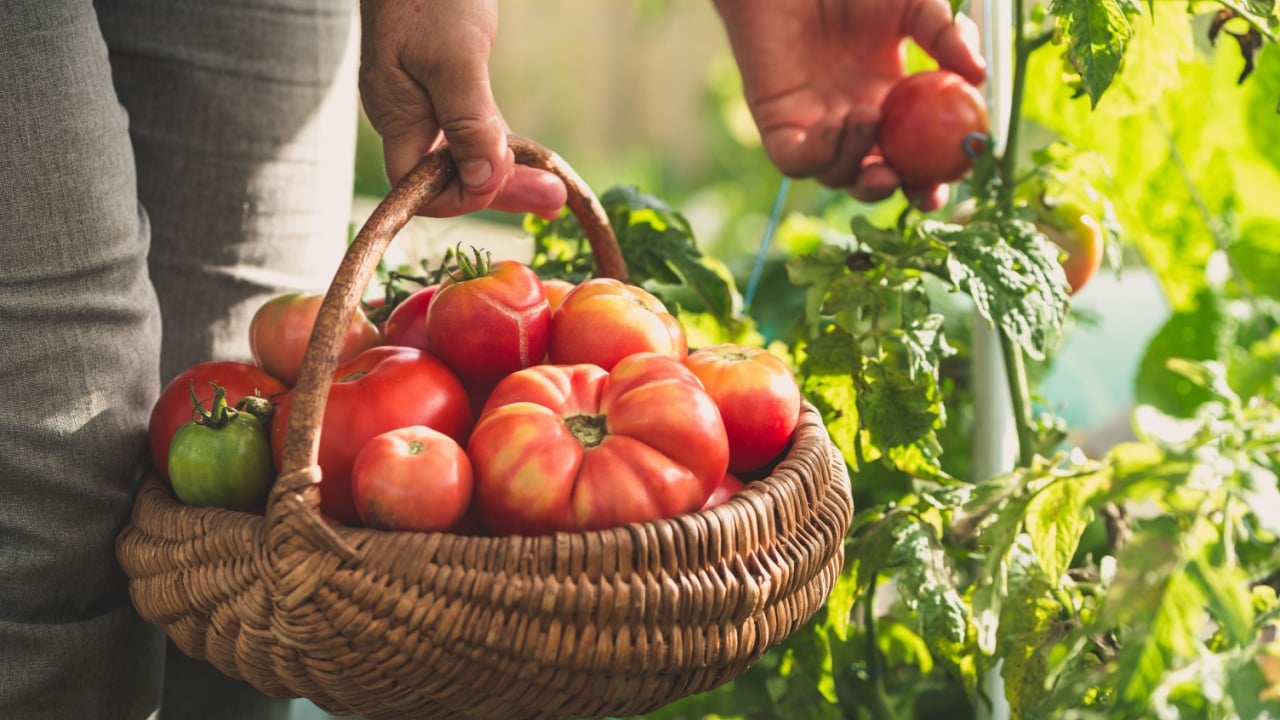
Image Credit: Shutterstock.
Once harvested, tomatoes are effectively ruined by the refrigerator within hours.
Bonnie Plants states that temperatures below 55 degrees Fahrenheit cause flavor compounds to break down permanently. Store picked tomatoes at room temperature, stem side up, out of direct sunlight. If you pick at the breaker stage (partly green but beginning to show color), fruit will ripen to full flavor on your counter with no loss of nutritional quality.
16. Pick at the Right Moment for Maximum Juice
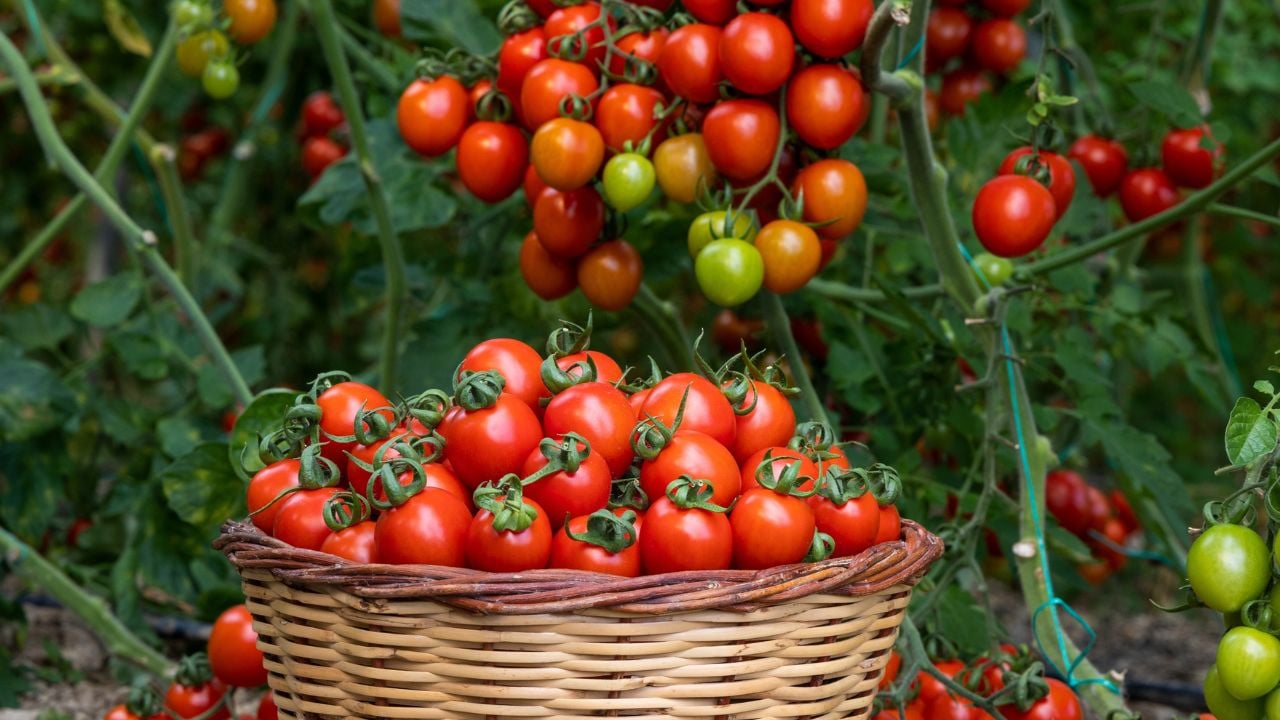
Image Credit: Shutterstock.
Timing of harvest matters more than most gardeners realize. Pick tomatoes when they show deep, uniform color and yield slightly to a gentle squeeze.
The Old Farmer’s Almanac suggests harvesting vine-ripe tomatoes in the afternoon when possible, after a full day of sun has concentrated the fruit’s aromatic compounds. During peak production in July and August, harvest daily; redirecting the plant’s energy from over-ripe fruit to developing ones keeps quality consistently high throughout the season.
One More Thing the Pros Never Stop Doing
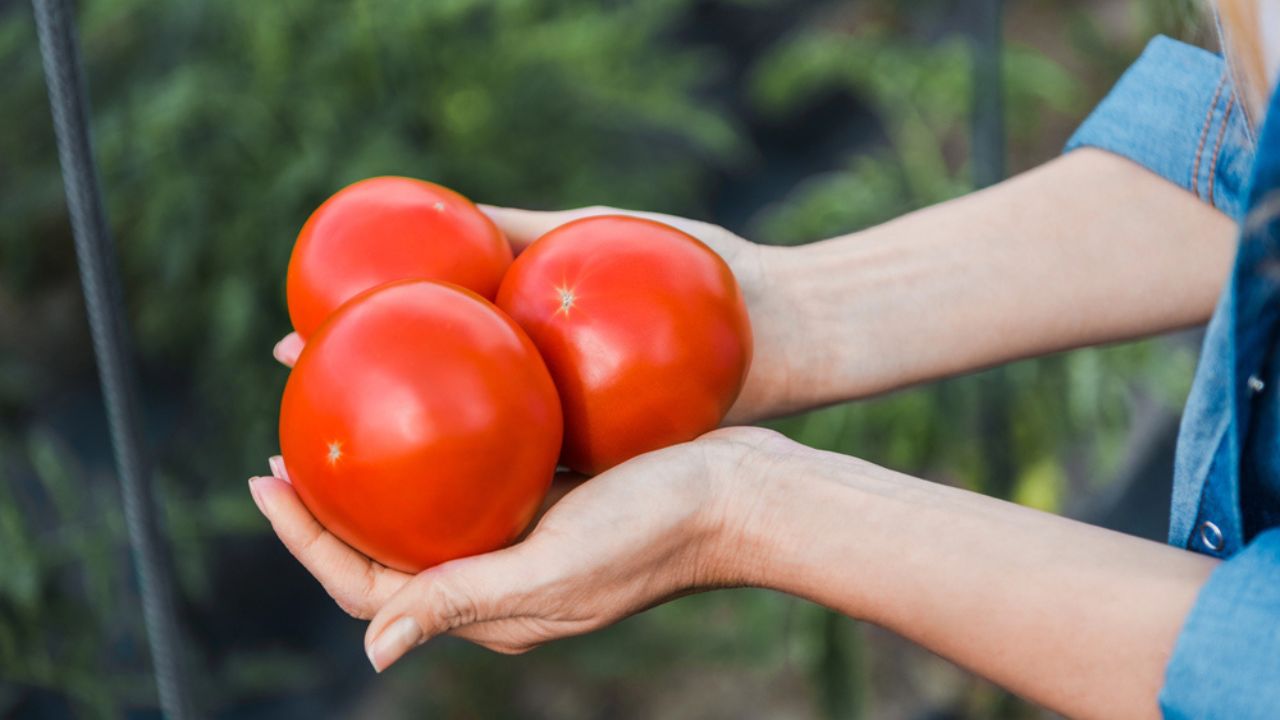
Image Credit: Deposit Photos.
The Old Farmer’s Almanac describes a practice among experienced tomato growers: dissolving approximately 600 milligrams of aspirin per gallon of water and spraying it on plants stimulates a natural immune response that may improve disease resistance, enhance flavor, and increase vitamin C content. It is not a substitute for good cultural practice, but experienced growers who use it consistently report cleaner plants through a long season.
Beyond that, the most consistent advice from growers with decades of experience is the simplest: check your plants every day. Spot an aphid infestation early, and a soapy water spray handles it. Wait until it is a full infestation and you are treating for weeks. The gardeners who grow the best tomatoes are not those with the most complicated systems; they are the ones who pay attention and act before small problems become big ones.
Right now is the right time to start. The steps above are the same ones experienced gardeners have applied for generations, refined by what actually works in real backyards, in real summers, with real tomatoes worth eating.
Read more:
Direct Sow These 9 Seeds in June Before the Window Closes for Good
June Is National Pollinator Month. Are You Accidentally Harming the Bees You Want to Help?