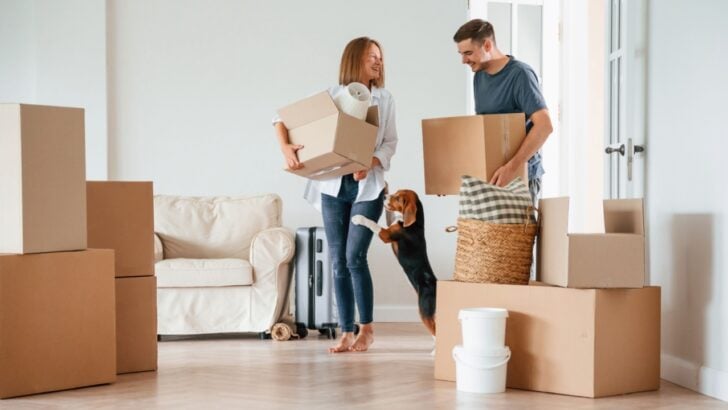
Moving has a special way of turning even the most organized person into a floor-pacing, bubble-wrap-hoarding mess. You’ll be staring at a mountain of stuff you somehow accumulated, wondering if it’s easier to just become a minimalist monk. It’s a process that promises chaos, misplaced items, and at least one moment where you consider leaving it all behind. What you need is a roadmap to a smoother, less frantic move. Forget the last-minute panic.
Here are 15 packing strategies to help you get your belongings from point A to point B with your sanity intact. Let’s get you packed like a professional who somehow enjoys this stuff.
1. Start Packing Six Weeks Early
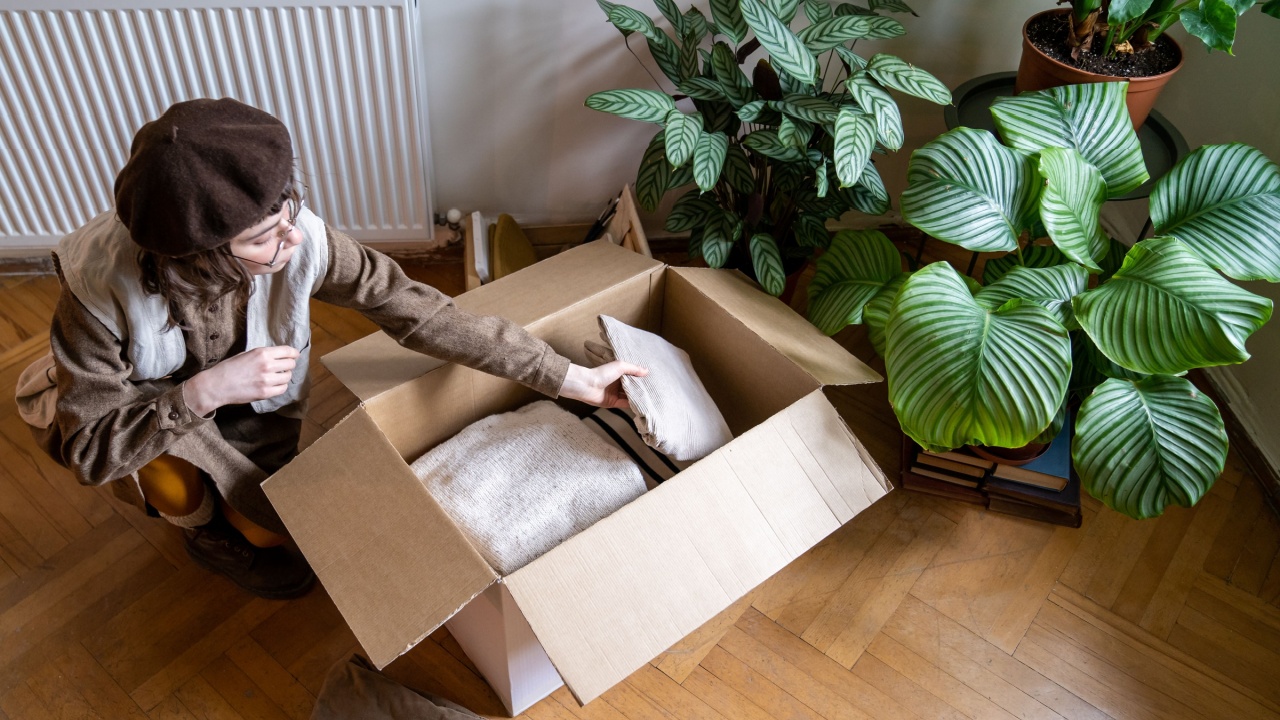
Image Credit: Shutterstock.
Beginning the packing process a month and a half before you move sounds a little extreme, like someone who has their life completely together. But this is the single best thing you can do for your future, less-stressed self. Start with items you won’t miss, such as out-of-season clothing, guest room linens, and that fondue pot you use once a decade. This gradual approach turns a monumental task into manageable bites.
Giving yourself a generous timeline takes the pressure off in those last hectic days. You’ll have time to pack with more care, spot things you might want to donate instead of cramming them in boxes, and avoid a marathon packing session that leaves you questioning life choices. Early packers also get the first pick of friends who haven’t yet been roped into lugging furniture on moving day.
2. Purge Before You Pack

Image Credit: Shutterstock.
Packing is a golden opportunity to get rid of things you no longer need. Before a single item goes into a box, go through your belongings. Be honest with yourself. Will you really fix that broken chair? Do you need 17 mismatched coffee mugs? Sorting your items into “keep,” “donate,” “sell,” and “trash” piles lightens your load, meaning fewer things to pack, move, and unpack.
Cutting down your collection before packing cuts down expenses, too. Fewer boxes mean a smaller moving truck or less time needed for movers, both of which can trim the final bill. You also spend less energy hauling stuff you don’t want at your new place. Plus, donating or selling what you no longer use might even recoup a little money to put toward takeout on that first night in the new house.
3. Choose Between Boxes and Totes
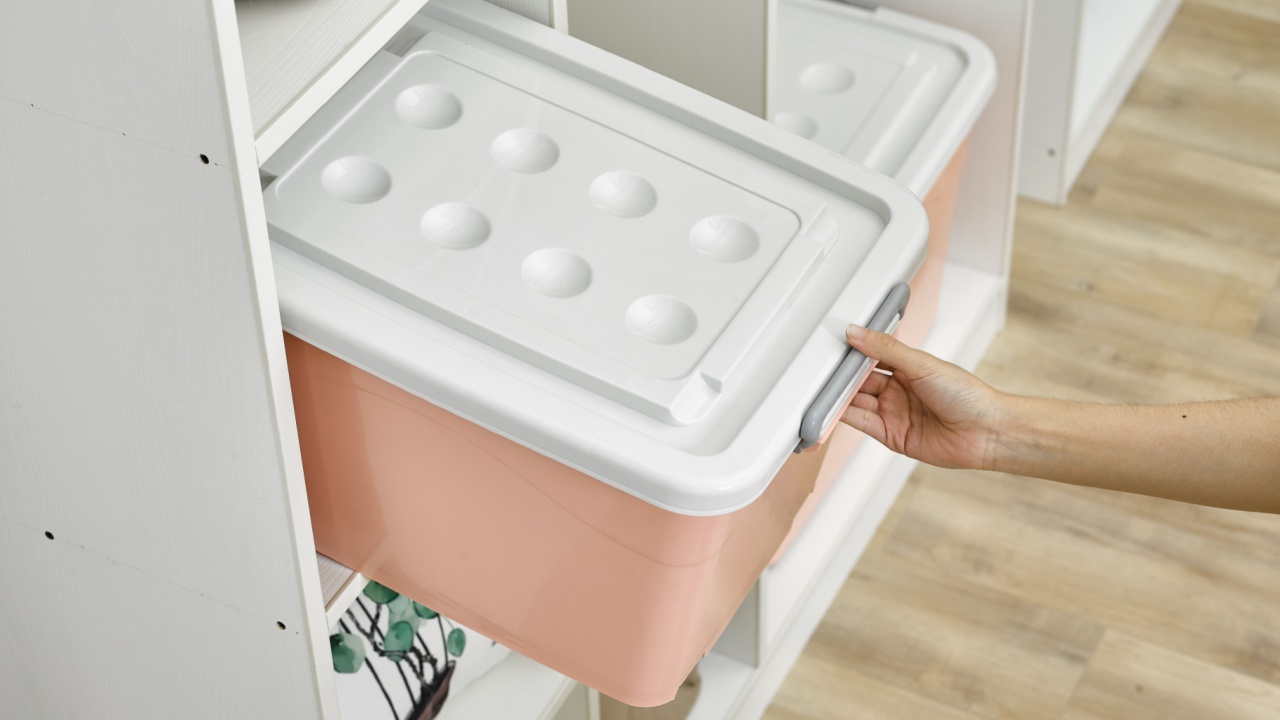
Image Credit: Shutterstock.
Cardboard boxes are the traditional choice, but plastic totes offer some distinct advantages. Totes are sturdy, stackable, and protect your belongings from moisture. They are a good investment if you plan to move again or need long-term storage. Boxes are cheaper and can be recycled after the move. A mix of both can be practical: totes for fragile or important items, and boxes for everything else.
If you are facing a rainy forecast or hauling things to a storage unit, plastic totes win points for keeping things dry and protected from pests. On the other hand, cardboard boxes work well for lighter moves or for those trying to keep costs down. Boxes are often easy to source for free. Totes are a smart move for someone planning multiple relocations, while boxes do the trick for a one-time adventure.
4. Rent Moving Boxes
Image Credit: Arina P Habich at Shutterstock.
Buying dozens of cardboard boxes that you will use just once can feel wasteful. Consider renting heavy-duty plastic boxes from a moving company. They will drop them off before your move and pick them up from your new home afterward. This saves you money, the trouble of finding boxes, and the task of breaking them all down for recycling later.
Rental boxes also help cut down on waste. These sturdy containers get reused by countless movers, so fewer single-use boxes wind up in landfills. The service is convenient for anyone who wants one less chore to manage, turning a common moving headache into a background detail.
5. Label and Take Photos as You Pack
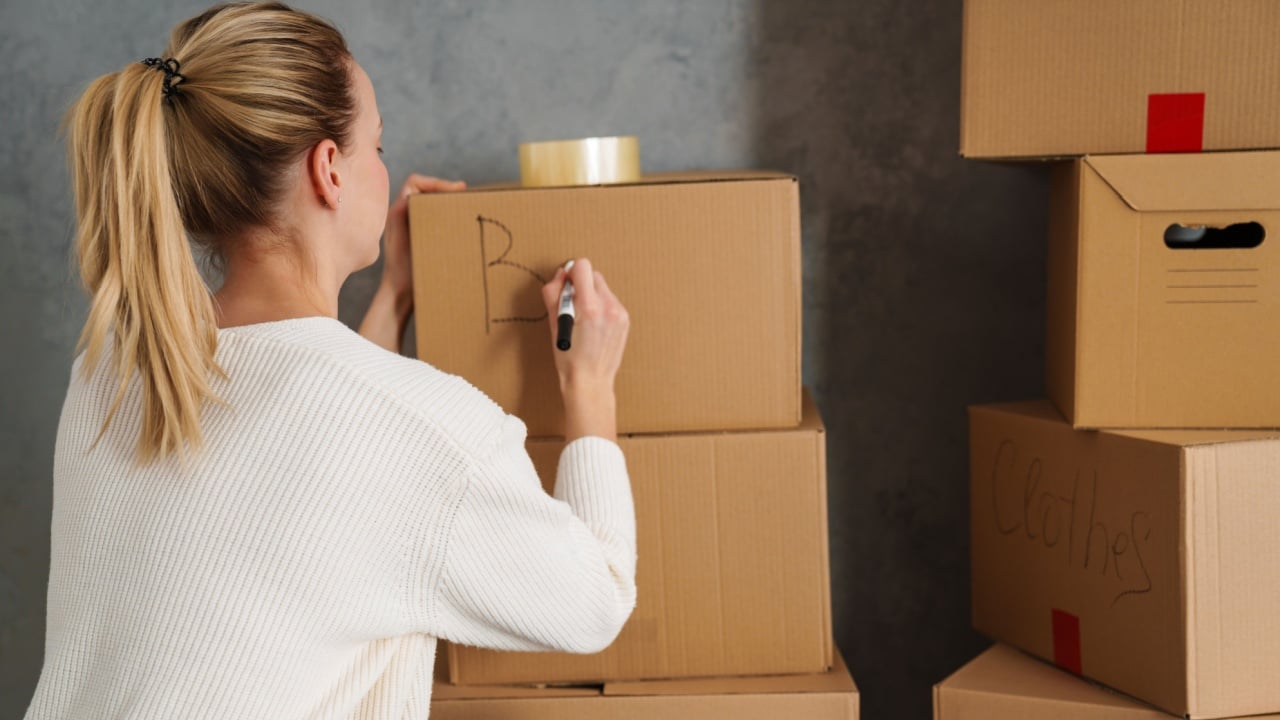
Image Credit: Shutterstock.
Label every box with its contents and the room it belongs to. This simple step prevents the frustrating game of opening twenty boxes labeled “kitchen” just to find the coffee maker. For an extra layer of organization, take a quick photo of the contents of each box before you seal it. When you’re looking for a specific item, you can scroll through your photos instead of rummaging through everything.
To keep things running smoothly, use a numbering system on your labels. For example, “Kitchen 1 – Pots and Pans,” “Kitchen 2 – Small Appliances,” and so on. Match each box number with its photo; you can create a special album in your phone’s gallery labeled with box numbers and rooms. This way, if you need something fast, you’ll know exactly where to look.
6. Create Problem-Solving Kits

Image Credit: Shutterstock.
Prepare a “first night” box and a “moving day essentials” kit. The first night box should contain everything you need immediately upon arrival: toiletries, a change of clothes, medications, bedding, and towels. The essentials kit is for the day itself, holding things like box cutters, cleaning supplies, garbage bags, snacks, and water bottles. This keeps you from tearing open random boxes for basic necessities.
To be extra ready, toss in a flashlight, spare phone charger, extra batteries, some basic first-aid supplies, and a roll of toilet paper or two. Packing a small tool kit, scissors, and some bandages can save the day if something unexpected crops up—stubbed toes, loose screws, or those mysterious noises at night that are almost always just the house settling.
7. Prevent Packed Bottles From Leaking

Image Credit: Shutterstock.
Bottles containing shampoo, conditioner, or cleaning supplies have a reputation for turning a perfectly normal moving box into a sticky swamp. To outsmart those liquid escape artists, unscrew each bottle’s cap, cover the opening with plastic wrap, and then screw the cap back on tight. This creates a reliable seal and can be the difference between happy toiletries and a box of soggy regrets.
Bag each bottle separately as a backup. If one manages to spring a leak despite your efforts, at least the mess is contained and doesn’t spread through your box of towels or books. Little hacks like this give you peace of mind, and when unpacking, all your stuff arrives as fresh as it left.
8. Bag Your Wardrobe

Image Credit: Shutterstock.
Instead of taking all your clothes off their hangers, folding them, and packing them, there is a much simpler way. Group a section of hanging clothes together, pull a large garbage bag up from the bottom, and tie the drawstrings around the hanger hooks. You can then lay these bundles flat in your car or moving truck. At your new home, simply hang them in the closet and rip the bags off.
This method keeps your clothes wrinkle-free and makes setting up your new closet a breeze. It is also a relief on moving day when finding matching socks is less urgent than avoiding wrinkled blazers or misplaced raincoats.
9. Tape Your Artwork and Frames
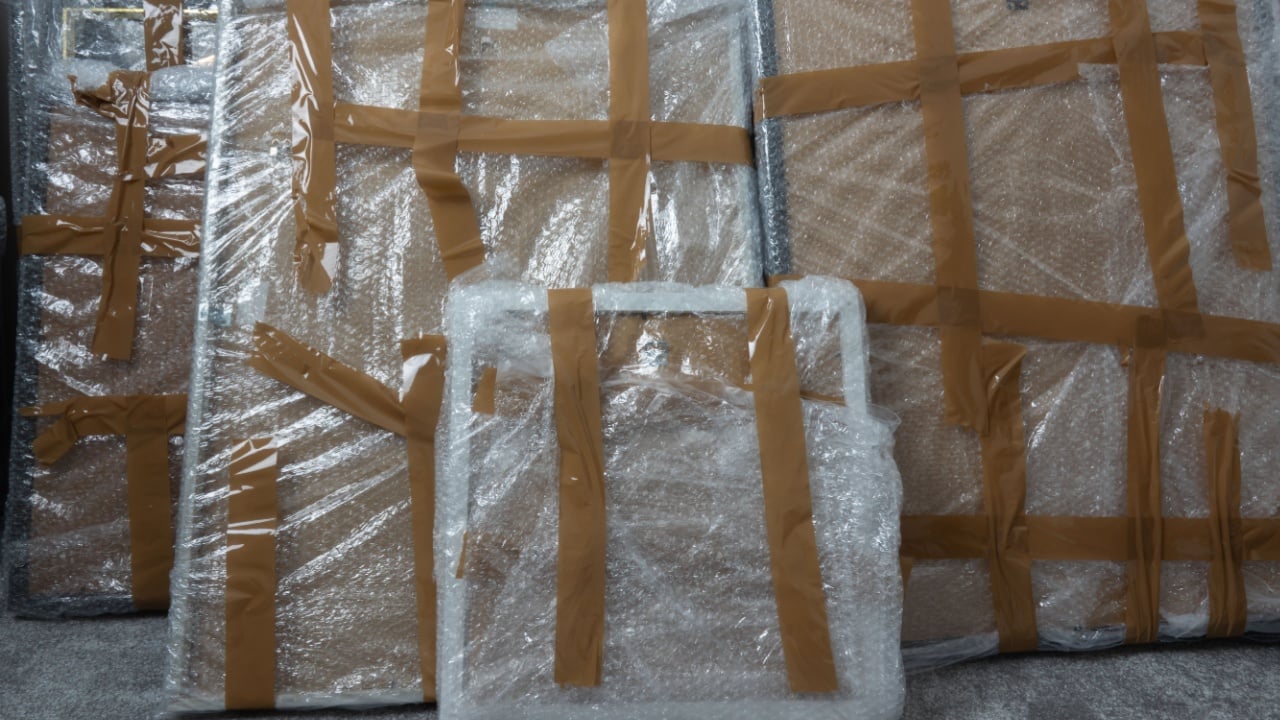
Image Credit: Shutterstock.
Protect your glass-fronted picture frames and mirrors by placing a large ‘X’ of painter’s tape across the glass. This will not prevent the glass from breaking, but if it does crack during the move, the tape will hold the shards in place. This makes the broken item safer to handle and prevents glass from damaging other belongings in the box.
Adding a towel or bubble wrap around the frame gives extra cushioning, especially for sentimental items or family photos. Snug padding helps absorb any bumps along the drive and means fewer heartbreaks from accidental cracks.
10. Use Ziptop Bags for Small Stuff
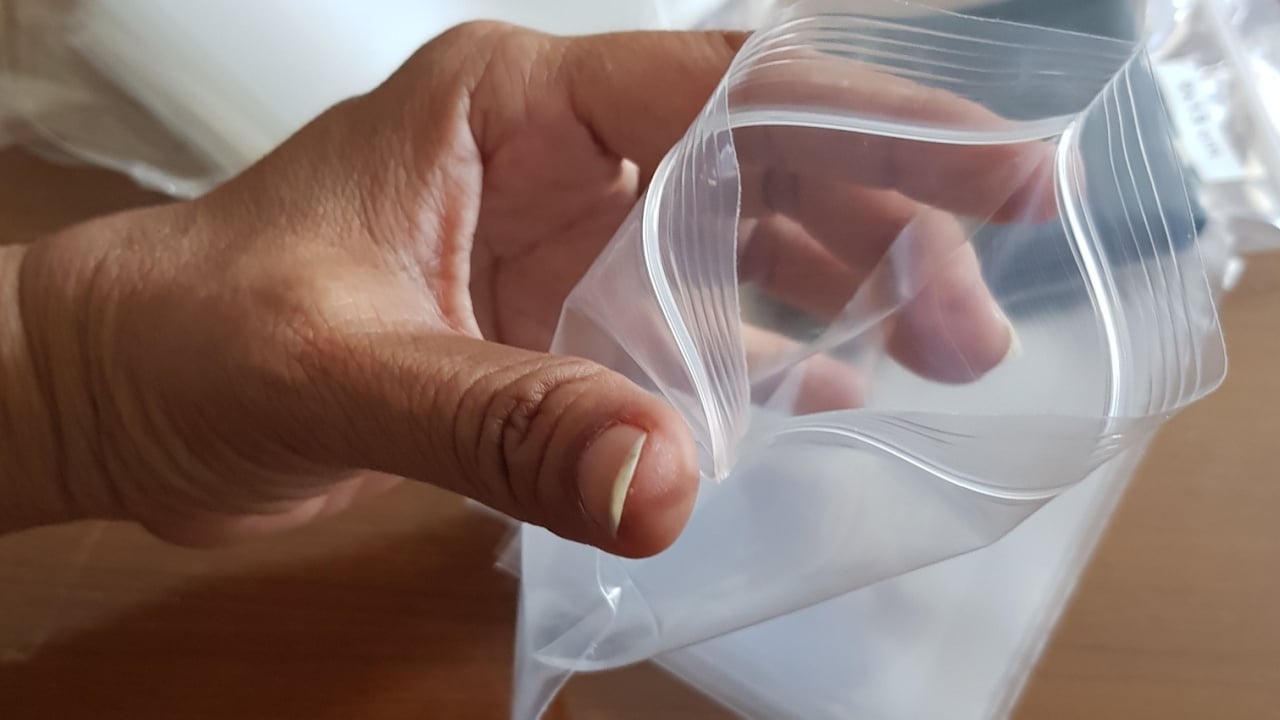
Image Credit: Shutterstock.
Small, loose items are the first things to get lost in a move. Use ziptop bags to group them together. This works for everything from kitchen drawer junk and desk supplies to the nuts and bolts from disassembled furniture. Label each bag clearly so you know exactly what’s inside. Taping the bag with hardware directly to its corresponding piece of furniture is a genius move.
ZipTop bags are perfect for chargers, spare keys, or those mystery screws you always mean to organize. Storing items in clear bags also lets you spot what you’re looking for in seconds, which can save your nerves during unpacking.
11. Wrap the Kitchen Utensil Trays

Image Credit: Shutterstock.
Your kitchen utensil tray is already perfectly organized, so why undo it? Instead of emptying the tray and packing all the silverware loosely, leave everything in place. Cover the entire tray with a few layers of plastic wrap to secure the contents.
When you get to your new kitchen, just unwrap it and place it directly into a drawer. This trick keeps your utensils from playing hide-and-seek inside a box. It turns the “where did I put the can opener?” dilemma into a smooth transition from old kitchen to new.
12. Save Wine Boxes for Packing Glassware
Image Credit: Erman Gunes at Shutterstock.
The cardboard dividers in wine and liquor boxes are perfect for protecting glasses, stemware, and other fragile kitchen items. If you do not have any on hand, a local wine shop or grocery store will likely be happy to give you some for free. It’s an easy and cost-effective way to pack your most delicate items securely.
The strong dividers are designed to cradle bottles in transit, which means your glassware gets VIP travel treatment. Just add a bit of padding for extra peace of mind, then toast to a box full of unbroken glasses on arrival.
13. Give Plates a Buffer Zone
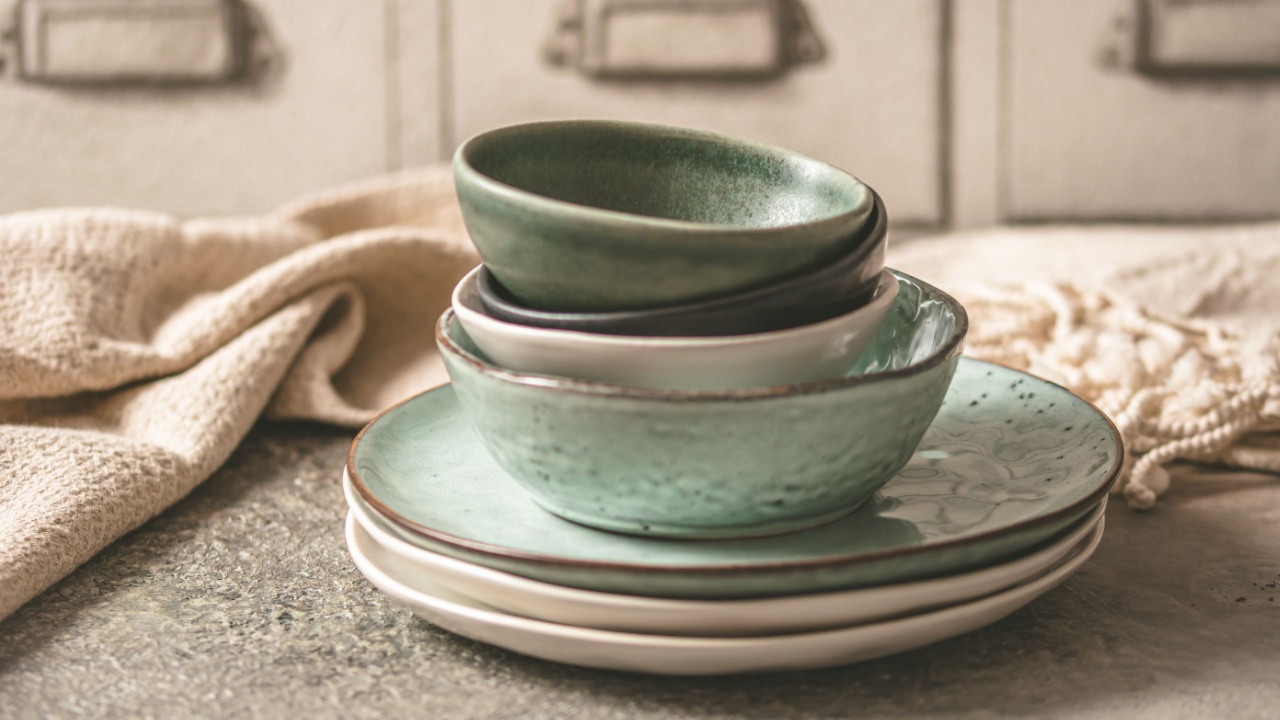
Image Credit: Shutterstock.
Packing plates vertically, like records in a crate, makes them less likely to break. Place a disposable foam or paper plate between each ceramic plate to add a layer of cushioning. This buffer absorbs shock and prevents chipping and cracking. It is a simple trick that provides surprising protection.
Use towels or dishtowels to fill gaps inside the box, keeping everything snug. When plates do not shift, everyone arrives in one piece. That is a reason enough to take a few extra minutes for plate prep.
14. Make Hand Holes in Your Boxes
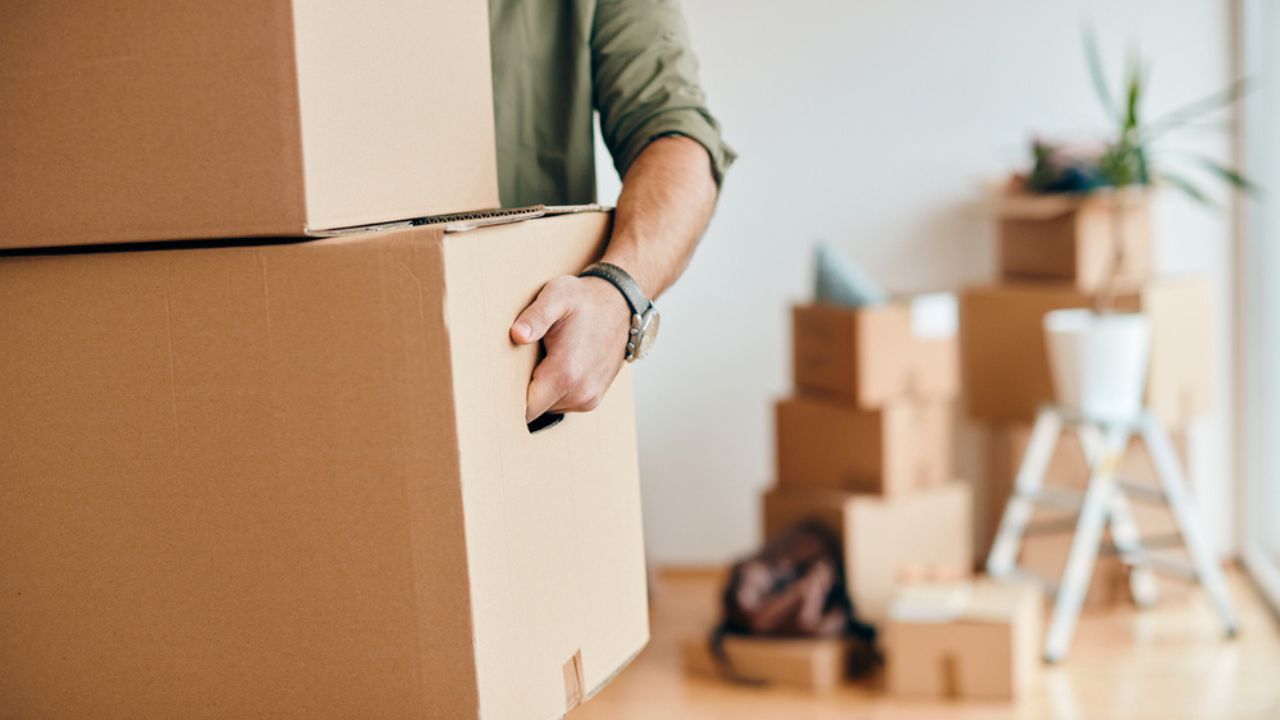
Image Credit: Shutterstock.
Some moving boxes come with built-in handles, but many do not. For those that do not, you can easily create your own. Use a box cutter to cut a small, inverted triangle on two opposite sides of the box. This gives you a place to grip, making heavier boxes much easier and more comfortable to lift and carry.
Hand holes are a blessing for awkward boxes or when the elevator is a distant dream. Hauling boxes up a few flights is challenging enough without pinched fingers or those moments where the box threatens to give up before you do.
15. Backup Your Computer

Image Credit: Shutterstock.
Your digital files are just as important as your physical belongings. Before you unplug and pack your computer, back up all your important documents, photos, and files to an external hard drive or a cloud-based service. Technology can be unpredictable, and a hard drive could fail during transit. A backup ensures your digital life is safe.
Once you arrive and unpack, you will be relieved knowing your files made the journey too. Restoring your setup will be much faster, whether you are a document hoarder or just enjoy your collection of pet memes.
Wrapping it Up (Literally)

Image Credit: Shutterstock.
Congratulations, you’ve packed the boxes, labeled everything, and the truck is loaded. With these packing and relocation tips on your side, the most chaotic part of the move is finally behind you. Now, before you dive into unpacking, take a moment. Order a pizza to be delivered to your new address. Sit on the floor of your empty living room and eat it.
Your future self will be grateful for a short break before the next phase begins. Your first task is simple: set up your bed and locate that “first night” box. A good night’s sleep will prepare you for the adventure of turning this new house into a home.