Home improvement television shows make renovations look effortless. A smiling host tears down a wall in seconds, and an hour later, the house looks perfect. But in the real world, home projects don’t always go so smoothly. Simple tasks can easily snowball into complex ordeals, complete with multiple trips to the hardware store and unforeseen problems and costs.
The stories that follow are taken from real homeowners who shared their experiences in online forums. These people started what they thought would be simple weekend projects, only to discover major issues like hidden water damage, old wiring, or materials that just wouldn’t work together. These accounts reveal the kinds of challenges that can hide just beneath the surface of an ordinary home.
By looking at these real-life examples, any aspiring DIY enthusiast can get a better sense of what home renovation is actually like. You’ll see what can go wrong with even the most basic of upgrades.
More importantly, you’ll learn some practical tips to help you avoid falling into the same traps.
1. Replacing a Bathroom Faucet
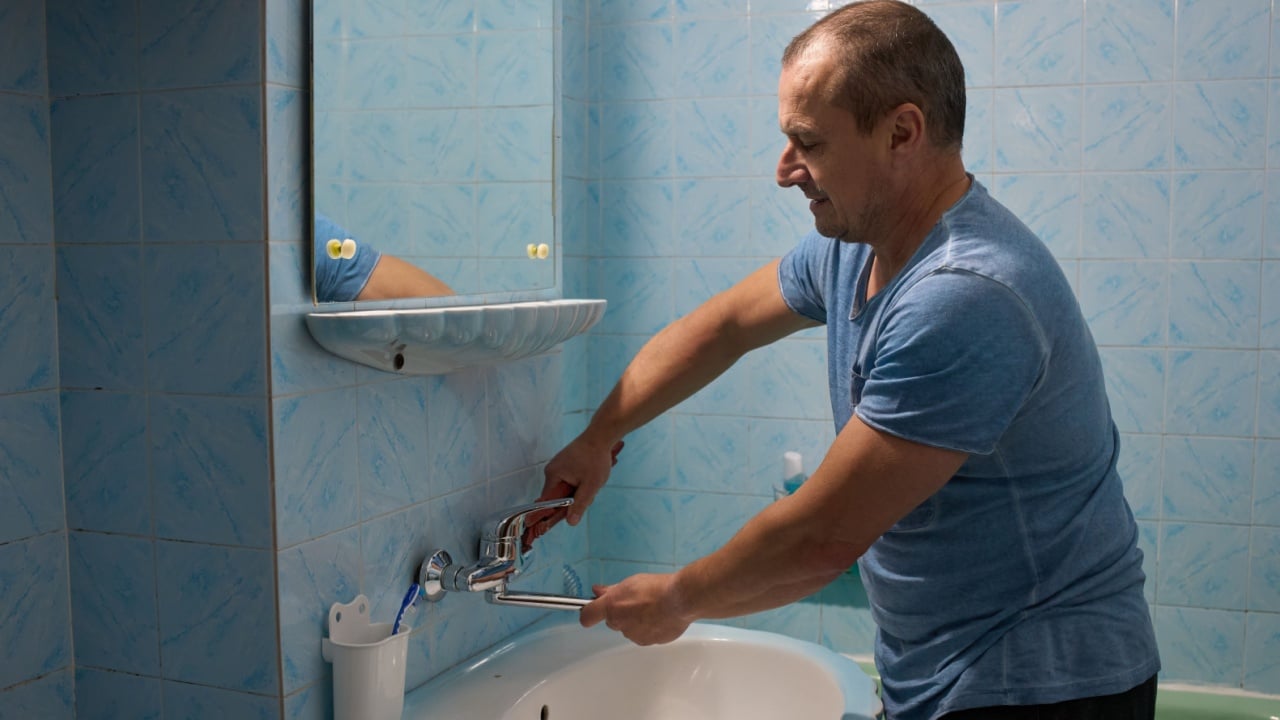
Image Credit: Shutterstock.
Changing a faucet appears completely straightforward. You buy a new unit, unscrew the old water lines, and attach the new ones. Homeowners expect this process to take a single afternoon at most.
The nightmare begins under the sink. Years of mineral buildup effectively fuse the old nuts to the threaded bolts. Trying to loosen these corroded parts often leads to cracked porcelain sinks or snapped water supply lines. A simple swap suddenly requires a plumber to replace the main shutoff valves entirely.
What to do: Spray penetrating oil on the connections a full day before attempting removal. If the nuts refuse to budge, stop twisting and use a basin wrench to apply even pressure. Buying new supply lines beforehand saves an emergency trip to the store when the old ones inevitably leak.
2. Removing Old Wallpaper
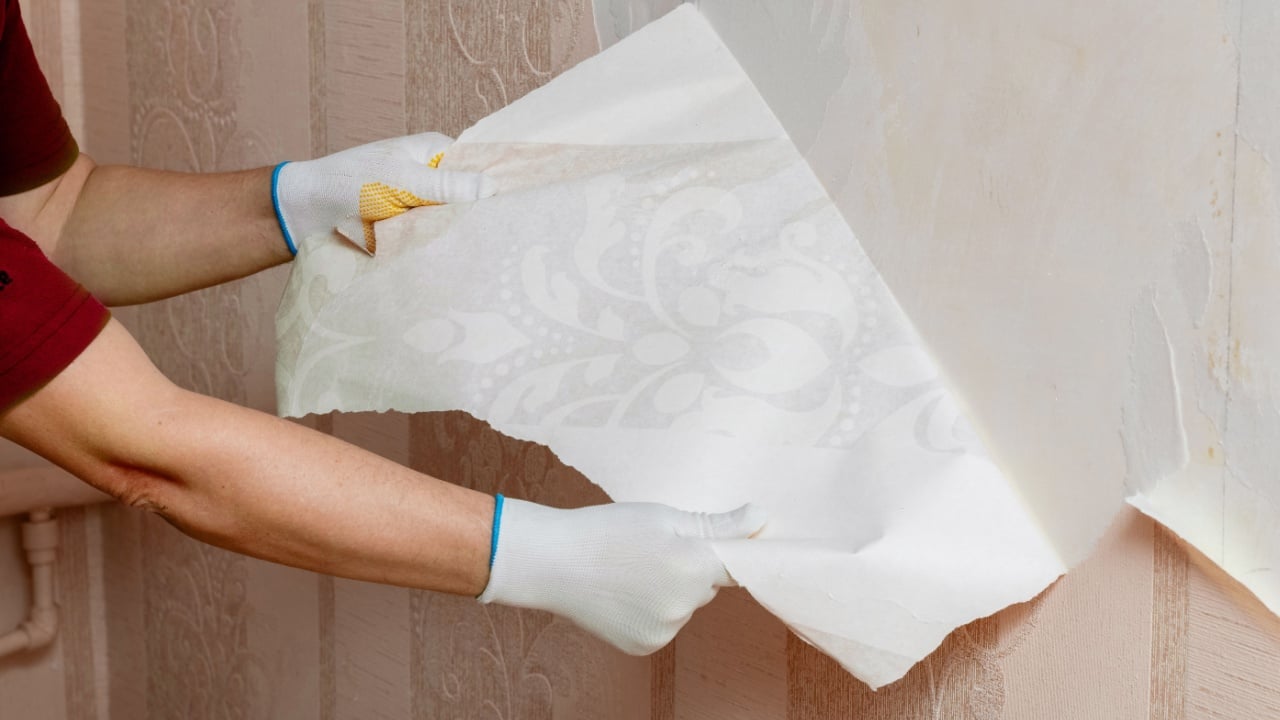
Image Credit: Shutterstock.
Stripping wallpaper looks satisfying in videos. You score the surface, apply a chemical stripper, and pull off huge sheets of paper in seconds. People assume they can clear a dining room in a few hours.
The reality involves scraping tiny flakes of paper for days on end. Many older homes feature wallpaper applied directly over unprimed drywall. The removal process ends up tearing the drywall paper itself, creating a damaged, uneven surface. You might spend weeks applying joint compound and sanding just to get the walls ready for paint.
What to do: Rent a commercial fabric steamer to loosen stubborn glue without harsh chemicals. Test a small, hidden corner first to see how the wall responds to moisture. Planning for wall repair in your timeline reduces frustration when the drywall needs patching.
3. Painting a Room

Image Credit: Deposit Photos.
Applying fresh paint gives a room an instant update. Grabbing a roller and a bucket of color feels like a beginner-friendly project. Many people dive right in without doing any preparation.
However, skipping prep work ruins the entire finish. Lint from cheap rollers sticks to the walls. Tape peels off the baseboards and takes the old paint with it. Skipping the primer causes the new color to look blotchy, especially when trying to cover dark shades with lighter ones.
What to do: Spend the majority of your time taping edges and laying down high-quality drop cloths. Buy premium paint rollers to avoid leaving fuzz behind on your freshly painted walls. Use a dedicated stain-blocking primer to create a smooth, professional base.
4. Installing a Ceiling Fan
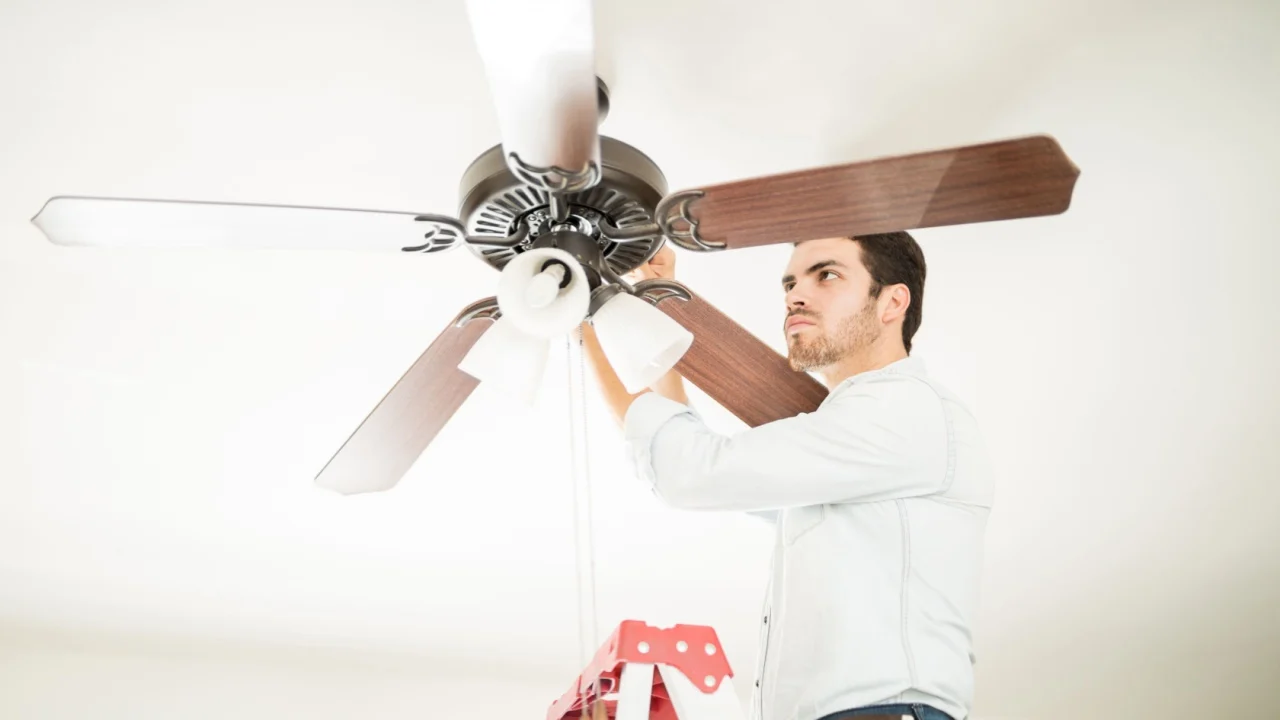
Image Credit: Shutterstock.
Upgrading a light fixture to a ceiling fan adds air circulation and style. The instructions usually show a simple wire matching process. DIYers expect to swap the fixture out easily before dinner. However, the reality can be much more complex.
The main issue is that fans weigh significantly more than standard light fixtures. Standard electrical boxes cannot support the weight or the rotational movement of a fan, meaning the fixture could literally fall from the ceiling if attached to the wrong type of box. Furthermore, older wiring can be confusing when the colors do not match modern standards.
What to do: Always install a fan-rated electrical box before hanging the motor. Plus, use a voltage tester to verify the power is completely off at the breaker box. If the ceiling wires look brittle or lack a proper ground wire, it’s best to consult an electrician.
5. Changing Cabinet Hardware

Image Credit: Shutterstock.
Swapping out kitchen cabinet knobs takes minimal physical effort. You unscrew the old handles and screw in the new ones. The whole kitchen gets a modern update for little money.
The complication arises when the new hardware has a different hole spacing. Drilling new holes precisely requires a level of accuracy that most people lack. One slightly crooked hole makes the entire door look lopsided. Filling the old holes with wood putty rarely blends perfectly with the existing cabinet finish.
What to do: Buy an adjustable cabinet hardware template to mark drill holes accurately. Test your drill bit size on a piece of scrap wood before touching the cabinets. Choose hardware with the same center-to-center measurement as the original pieces to avoid drilling entirely.
6. Caulking a Bathtub
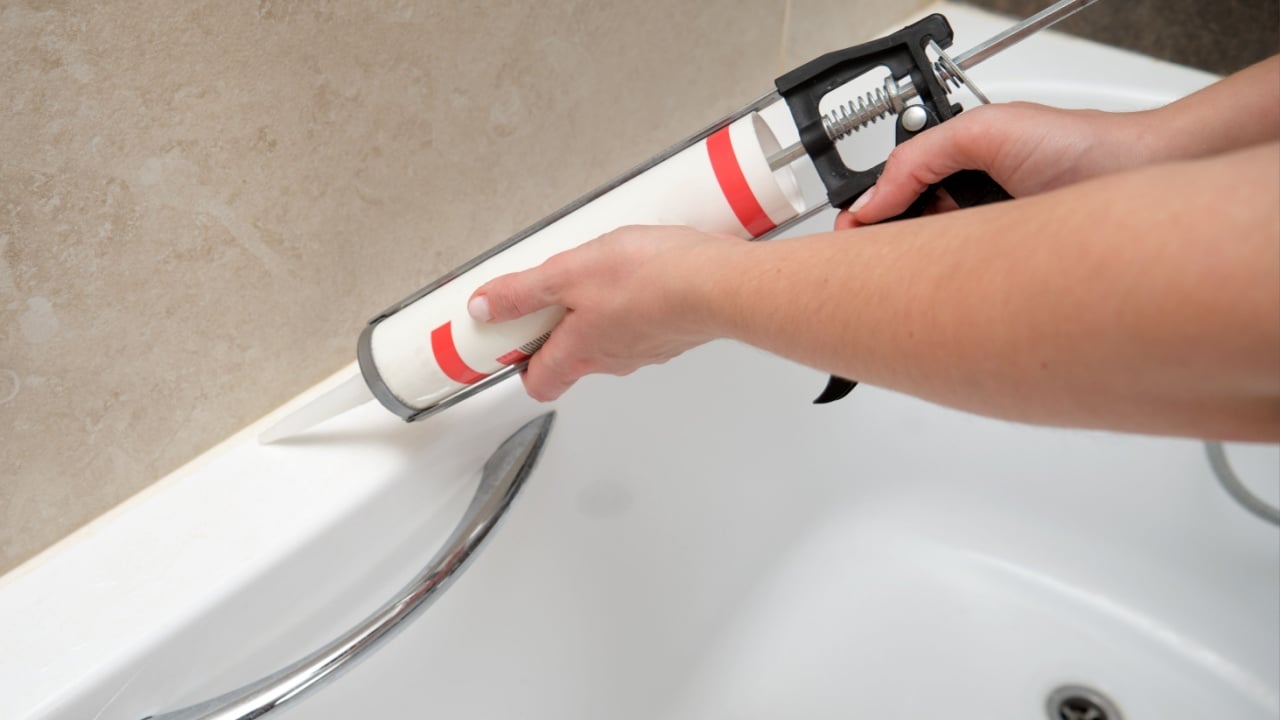
Image Credit: Shutterstock.
Applying new silicone caulk around a bathtub is essential for preventing water damage, and the tubes might make it look as easy as frosting a cake. Many people assume they can just run a quick bead of silicone and be done with it.
However, silicone caulk is more like sticky glue that can smear everywhere. If you don’t remove every single trace of the old caulk, the new material won’t adhere properly. This can cause the new caulk to start peeling away within weeks, allowing water to seep behind the tiles and lead to mold.
What to do: Use a dedicated caulk removal tool to scrape away all the old material. Then, wipe the surface with rubbing alcohol to get rid of soap scum and make sure it’s completely dry. For clean, straight lines, apply painter’s tape along both sides of the joint before you begin.
7. Fixing a Running Toilet
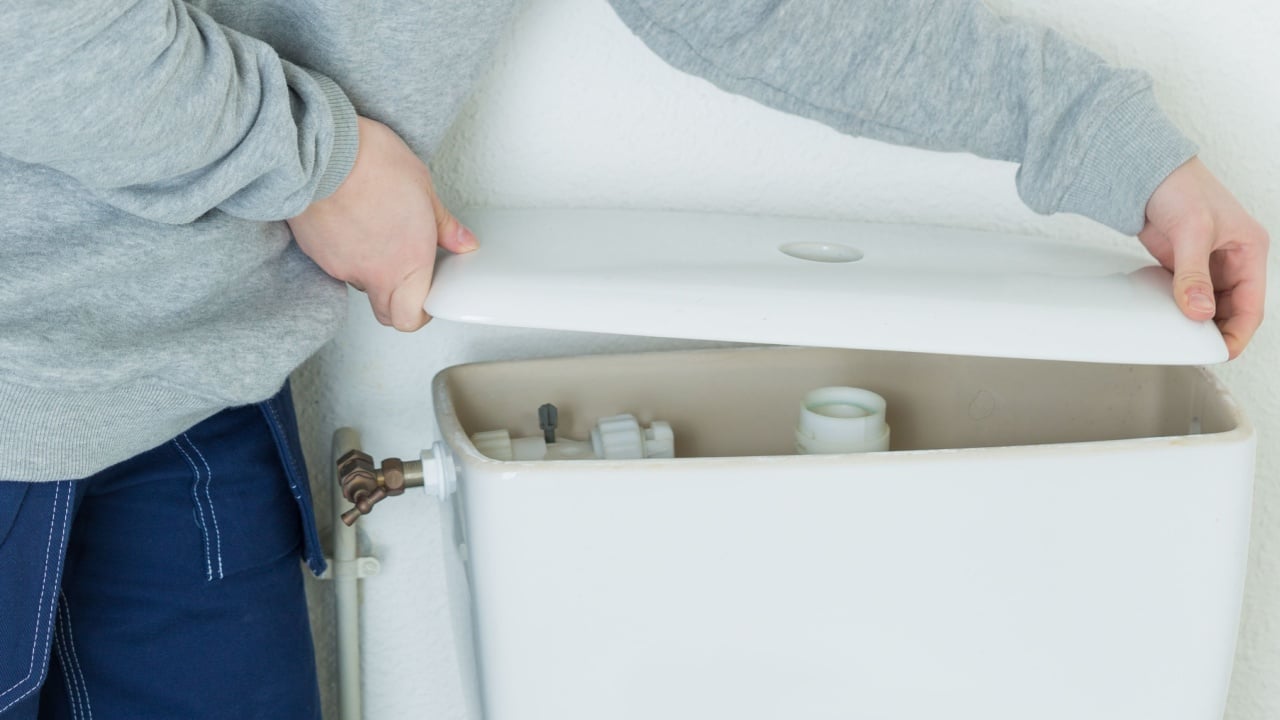
Image Credit: Shutterstock.
A toilet that constantly runs wastes a massive amount of water, but changing the flapper valve inside the tank seems like an easy, five-minute fix. However, the inside of an old toilet tank often hides brittle plastic components.
When you try to snap a new flapper into place, you might break the flush valve or the overflow tube, leading to a much larger project of replacing the entire fill valve assembly. Even then, the tank-to-bowl gasket could start leaking, forcing you to drain and dismantle the whole toilet.
What to do: Purchase a complete universal toilet repair kit instead of just a flapper. Be sure to turn the water off gently, as old shutoff valves can break if forced. It’s also wise to keep a bucket and thick towels nearby to catch any inevitable water spills.
8. Laying Laminate Flooring

Image Credit: Deposit Photos.
Click-together laminate flooring offers a budget-friendly alternative to hardwood. The planks snap into place with a simple tapping block. It looks like a straightforward puzzle for adults.
However, floors in real houses are rarely level or square. Dips in the subfloor can cause the laminate to bounce and separate over time, and cutting planks to fit around door frames and closets requires complex measurements and a jigsaw. Plus, if you don’t leave an expansion gap at the edges, the whole floor can buckle with humidity changes.
What to do: Level the subfloor with self-leveling compound before laying the underlayment. Use a contour gauge to accurately trace odd shapes around door jambs. Always leave a quarter-inch gap around the perimeter of the room to allow for natural expansion.
9. Hanging a Heavy Mirror

Image credit: Deposit Photos.
A large mirror can make a room feel more spacious, and it seems simple enough to hang one by just nailing a standard picture hanger into the drywall. This is a recipe for disaster.
Heavy mirrors will rip standard nails right out of the drywall, causing the mirror to crash to the floor, shatter, and leave massive holes in the wall. This is especially true in older homes where finding wall studs in plaster walls can be tricky.
What to do: Use a high-quality electronic stud finder to locate the solid wood supports. If a stud isn’t available, use heavy-duty toggle bolts rated for at least fifty pounds. It’s also a good idea to weigh the mirror on a bathroom scale beforehand to ensure you purchase the correct hanging hardware.
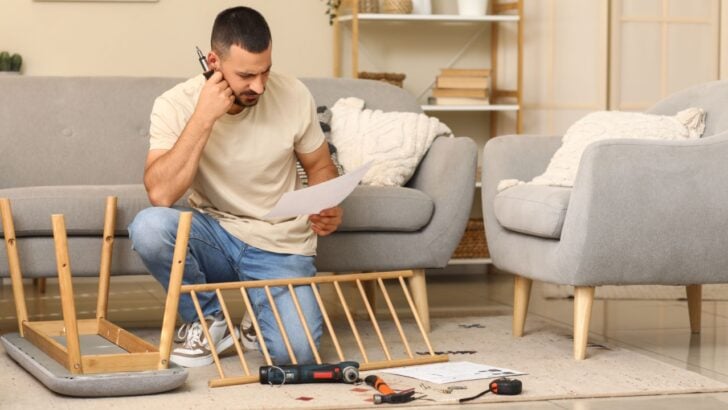
10. Assembling Flat Pack Furniture
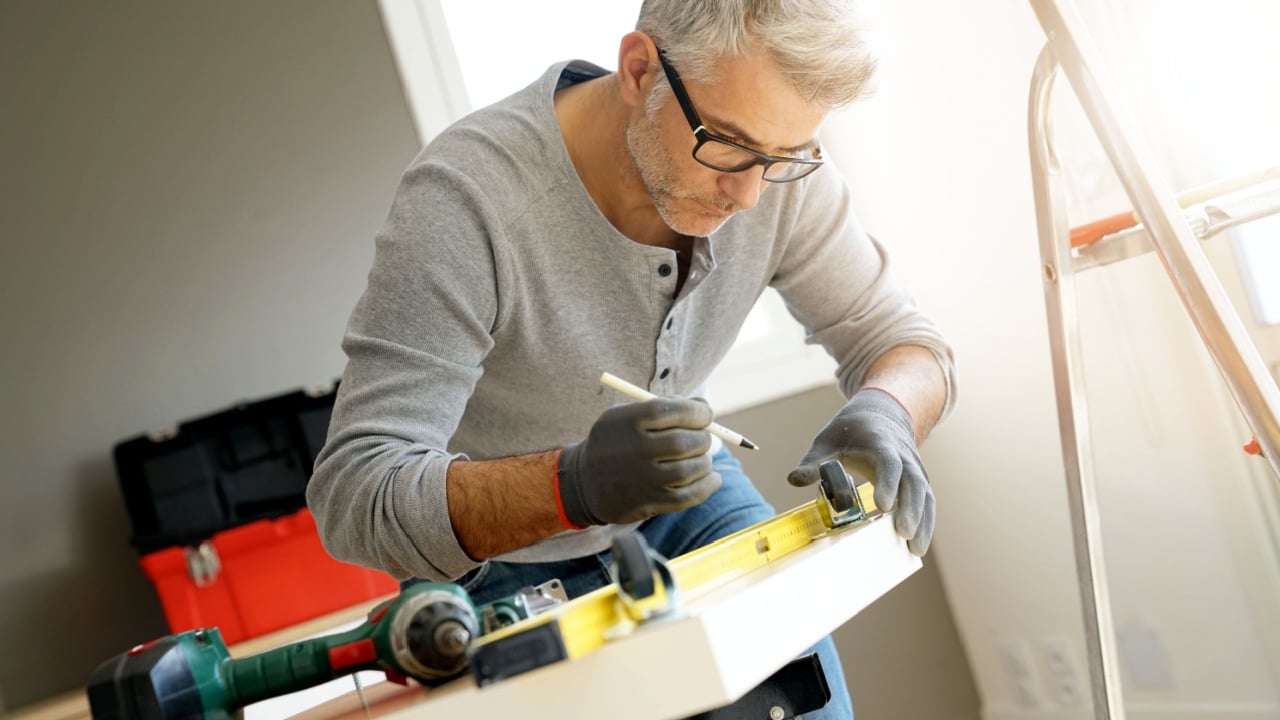
Image Credit: Shutterstock.
Buying furniture in a box might save you money on shipping, but the assembly process is often more complicated than it seems. The manual’s simple pictures can be misleading, especially when you’re faced with hundreds of identical-looking screws and dowels.
It’s easy to make mistakes, like using the wrong size screw and pushing it right through the finished veneer. Another common oversight is assembling a large wardrobe on the floor, only to realize it won’t clear the ceiling when you try to stand it up.
What to do: Sort all hardware into separate bowls before you start. It’s also wise to build tall items as close to their final location as possible. Finally, use manual screwdrivers instead of power drills to prevent stripping the delicate particle board thread.
11. Installing Peel and Stick Backsplash

Image Credit: Shutterstock.
Updating a kitchen backsplash with adhesive tiles seems like a foolproof way to avoid messy mortar and grout. You just peel off the backing and press it onto the wall.
For starters, crooked walls and uneven countertops can make straight lines impossible. Once the strong adhesive touches the drywall, pulling it off damages the paint and paper. The material is also incredibly difficult to cut cleanly around electrical outlets, often resulting in jagged, unprofessional edges.
What to do: First, clean the wall with a strong degreaser to remove all cooking oils. Then, use a sharp utility knife and a metal ruler to achieve clean cuts. It’s also a good idea to draw a level guideline on the wall before placing the very first tile to ensure everything lines up perfectly.
12. Adding Weather Stripping

Image Credit: Shutterstock.
Sealing drafty doors saves money on heating and cooling bills. Buying a roll of foam tape at the store takes ten minutes. The application process requires zero tools.
Thick weather stripping makes the door impossible to close or lock. Applying the tape to a dusty door frame causes it to fall off immediately. You end up with a sticky mess on the door jamb and a house that is just as drafty as before.
What to do: Clean the door frame thoroughly with warm, soapy water and let it dry completely. Choose v-strip or tension seal weather stripping for tight spaces instead of thick foam. Test the door lock repeatedly during the installation to ensure smooth operation.
13. Putting up Drywall
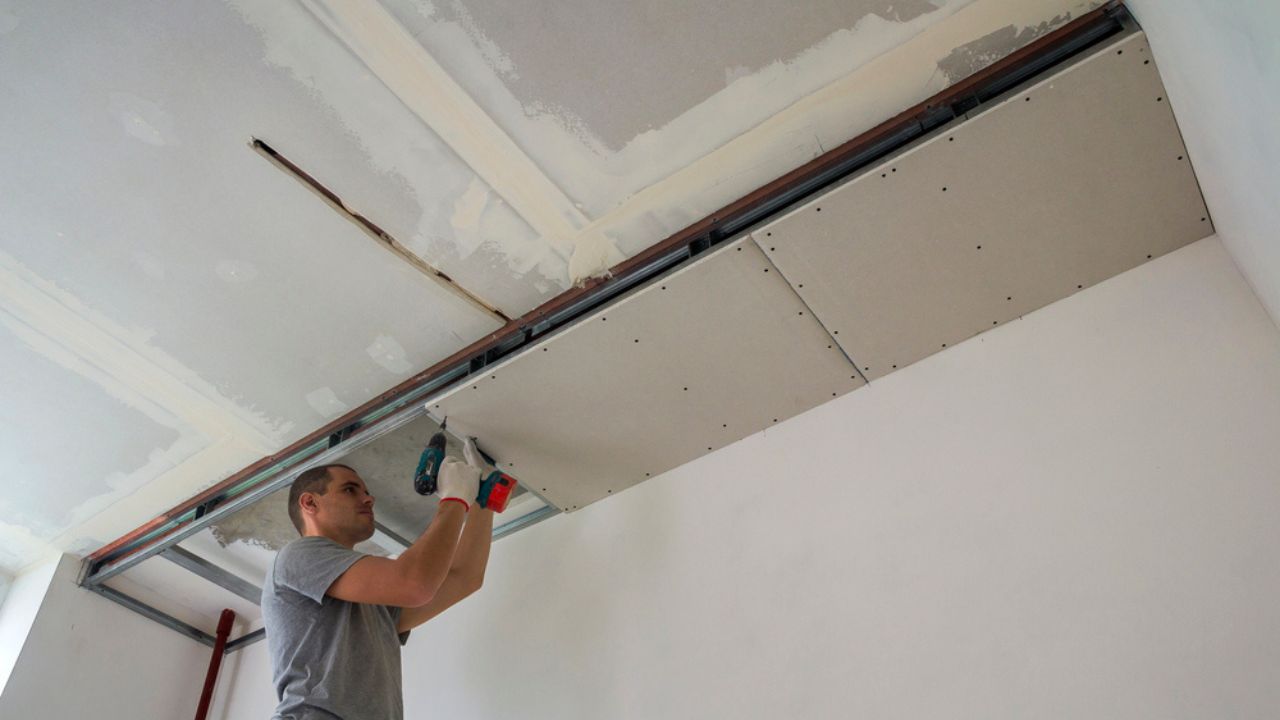
Image Credit: Deposit Photos.
Hanging drywall to create smooth surfaces for new rooms seems simple enough. After all, the panels are inexpensive, cover large areas quickly, and just need to be screwed into the wood.
However, the reality is that drywall panels weigh over fifty pounds and break easily if dropped. Plus, taping the seams and applying joint compound requires immense skill to avoid visible bumps. The dust from sanding the compound is also a major issue, as it covers every single surface in the house and clogs the furnace filter.
What to do: Rent a drywall hoist to lift panels onto the ceiling safely. It’s also best to apply thin coats of joint compound, letting them dry completely between applications. To reduce airborne dust, use a wet sponge to smooth the final coat of compound instead of sandpaper.
14. Refinishing Hardwood Floors

Image Credit: Shutterstock.
Sanding down old floors reveals beautiful natural wood grain. Renting a large drum sander from the hardware store makes the job go fast. People envision a brand new floor in a single weekend.
Drum sanders are incredibly heavy and aggressive machines. Pausing for a fraction of a second leaves deep, permanent gouges in the wood. Applying the polyurethane finish traps stray hairs and dust particles, creating a rough texture across the entire floor.
What to do: Practice using the sander on a piece of plywood before touching your floors. Vacuum the entire room multiple times and wipe the floor with a tack cloth before applying any stain. Apply the clear finish in thin layers using a synthetic applicator pad.
15. Replacing a Light Switch
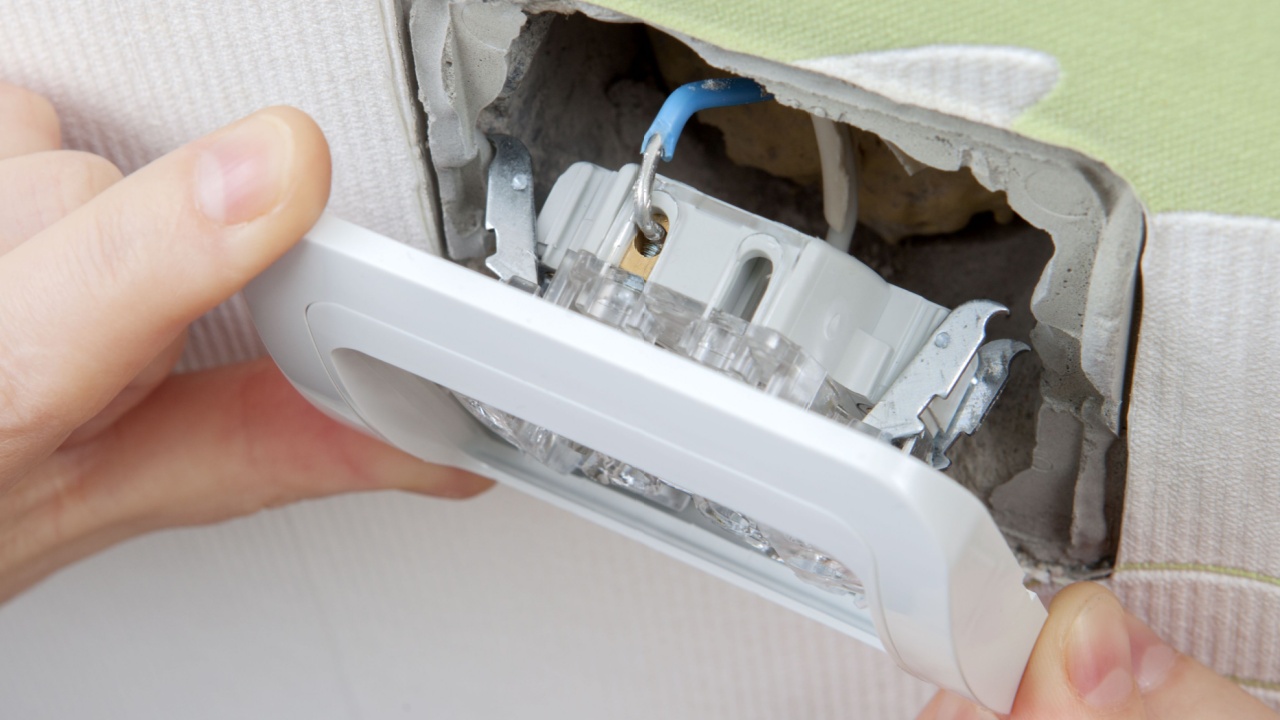
Image Credit: Shutterstock.
Updating old, yellowed light switches modernizes a room instantly. You just turn off the breaker and swap the wires to the new switch. It looks like a simple introductory electrical project.
In reality, opening the electrical box reveals a tangled mess of wires with no clear labeling. Many old houses lack neutral wires or feature wires with cracked insulation. Pushing the new, bulky smart switches into a tiny electrical box pinches the wires and creates a massive fire hazard.
What to do: Take a clear photograph of the original wiring before disconnecting anything. Wrap a small piece of electrical tape around any cracked insulation. If the box is too crowded, hire an electrician to install a larger, deeper electrical box.
Conquer Your Castle with Confidence

Image Credit: Shutterstock.
There’s nothing quite like the satisfaction of a completed home improvement project. But as any DIY veteran knows, things don’t always go according to plan. Doing your homework and preparing for potential pitfalls can save you both money and a major headache.