An uneven yard can quickly turn a fun weekend project into a frustrating chore. A lumpy landscape is not only a tripping hazard but also ruins the clean lines of a new patio or garden bed. Fixing this problem might seem like a job for a big tractor or other heavy machinery.
However, leveling ground by hand uses simple physics and leverage instead of powerful engines. Do-it-yourself landscapers often find that hand tools give them very precise results on smaller yards. Compacting the soil by hand, layer by layer, also avoids the deep ruts heavy machines can leave behind.
Even professional landscapers use manual grading methods in tight spots where big equipment just will not fit. Using tools like wheelbarrows and hand tampers also protects existing patios, sidewalks, and the delicate roots of nearby plants. This method maintains the yard’s integrity and saves money on rental equipment.
Tackling a ground leveling project by hand requires some patience and planning. It involves measuring slopes, moving soil, and building a solid foundation from scratch. Keep reading to learn the step-by-step process for creating a perfectly flat ground using only simple tools and a little bit of effort.
1. Gather the Necessary Hand Tools

Image Credit: Shutterstock.
First things first, getting the right tools together makes the whole project go smoother. For a successful grading job, you’ll need a good shovel, a landscape rake, a wheelbarrow for moving dirt, and a hand tamper to pack it all down. To make sure everything is level, you’ll also want a line level, some wooden stakes, and brightly colored string to set up your measurement guides.
All this prep saves you from stopping halfway through to find something. A garden hoe or mattock (pick ax) can be a real lifesaver if you’re dealing with dense clay or rocky soil. It’s also a good idea to protect yourself with a pair of thick gloves and sturdy, steel-toed boots, since you’ll be doing some heavy lifting.
Before you even think about moving dirt, get your tools organized near the work area. Setting up a staging area keeps the project flowing without a hitch.
2. Clear the Surface Debris
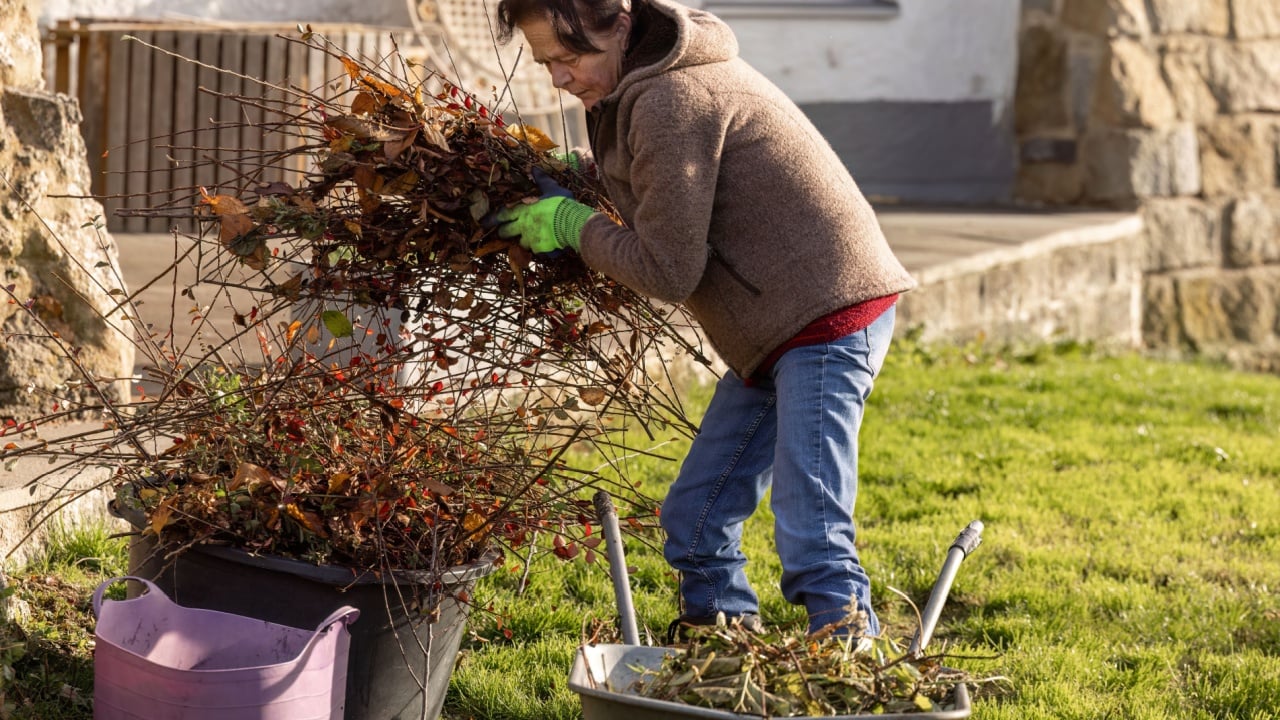
Image Credit: Shutterstock.
Before you can start leveling, you need a clean slate. Go through the entire area and clear away any obstacles like large rocks, branches, or other random debris. Tossing these into a wheelbarrow and moving them out of the way will make it easier to see what you’re working with and prevent any accidents.
If you leave debris behind, it can get tangled in your rake later on, and hidden rocks can damage your shovel and hurt your wrists. Taking a moment to clean the surface properly reveals the true shape of the ground underneath. It’s a simple step that makes a huge difference in the long run.
Once all the obstructions are gone, you’ll be able to spot the high and low points much more easily, which is key for the next step.
3. Identify High and Low Spots
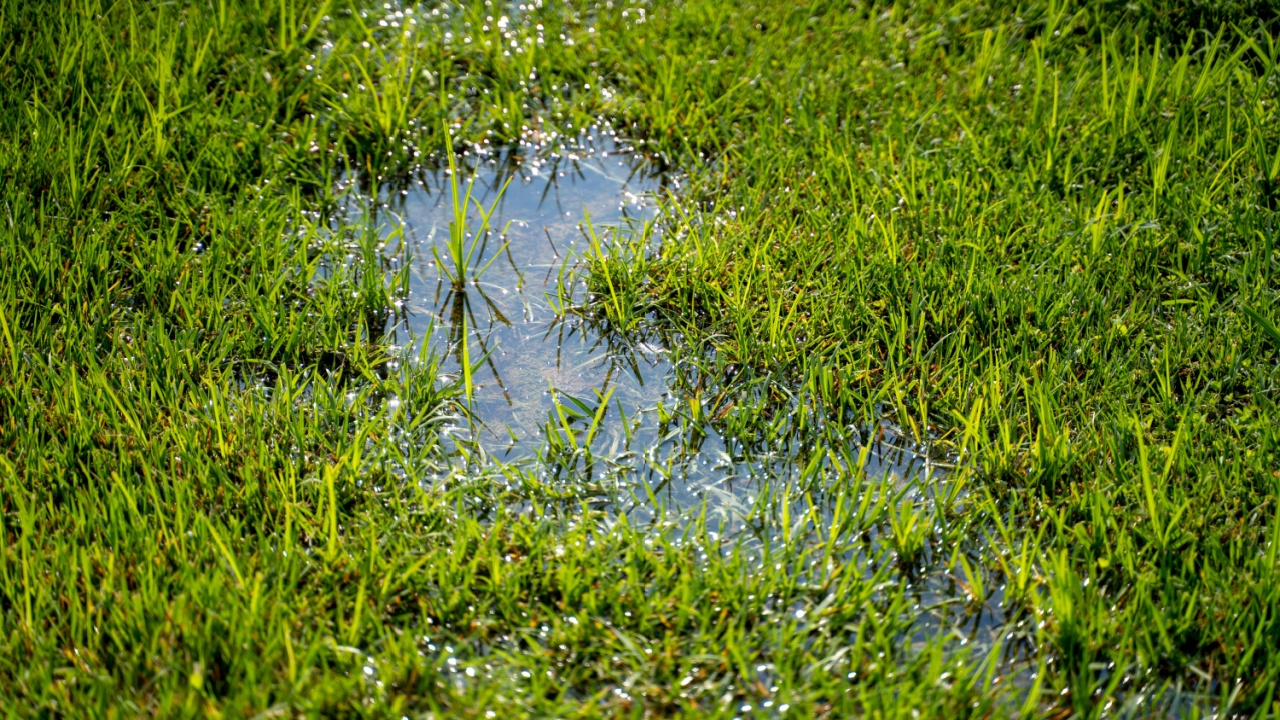
Image Credit: Shutterstock.
The next step is to figure out where the ground is uneven. An easy way to do this is to watch where water pools after it rains; those puddles will show you the lowest spots in your yard. These natural depressions are exactly where you’ll need to add soil.
You can also find the high points by dragging a long, straight 2×4 board across the ground. The board will bump into the high spots and hover over the low areas, giving you a clear visual. Use marking paint or small flags to mark these zones, so you have a map to follow.
Knowing exactly where you need to dig and where you need to fill will save you a ton of effort. This mapping process is the foundation for the rest of the project and guides every shovel full of dirt you move.
4. Calculate the Desired Slope

Image Credit: Shutterstock.
Now it’s time to decide on the final angle of your ground. If you’re building a base for a patio or shed, you’ll want the surface to be almost perfectly flat to keep the structure stable. For lawns or garden beds, a slight slope is actually better because it helps direct rainwater away from your house’s foundation.
It’s a smart move to check local building codes, especially if you’re preparing the ground for a permanent structure. Planning the slope correctly will prevent water from pooling where you don’t want it, like under a wooden floor or against your basement walls. Good water flow is essential for a healthy landscape.
Jotting down the exact drop in elevation you’re aiming for will help you set up your string lines accurately in the next step.
5. Establish Reference Stakes
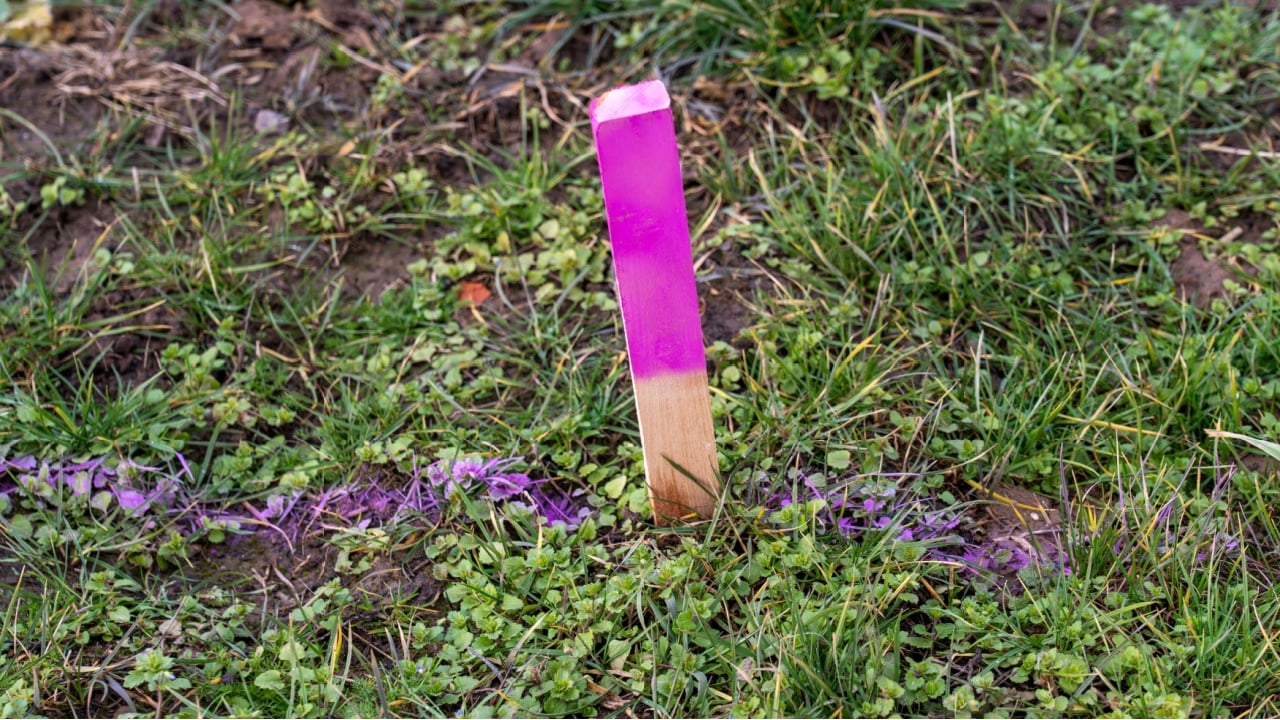
Image Credit: Shutterstock.
To create a guide for your leveling work, you’ll need to drive wooden stakes into the ground around the perimeter of your project. Place the stakes about five feet apart and use a heavy mallet to pound them in securely. They need to be firm and rigid, so they don’t move while you’re working.
If your stakes are loose, they can shift and throw off your entire grading plan. Make sure to place them just outside the area where you’ll be digging and moving soil, so you don’t accidentally bump into them. These stakes will serve as the fixed boundary markers for your project.
These solid stakes act as the skeleton for your grading plan. They’ll hold your string lines taut and in place, providing a reliable reference until the very last bit of dirt is tamped down and your project is complete.
6. Attach and Level the String Lines
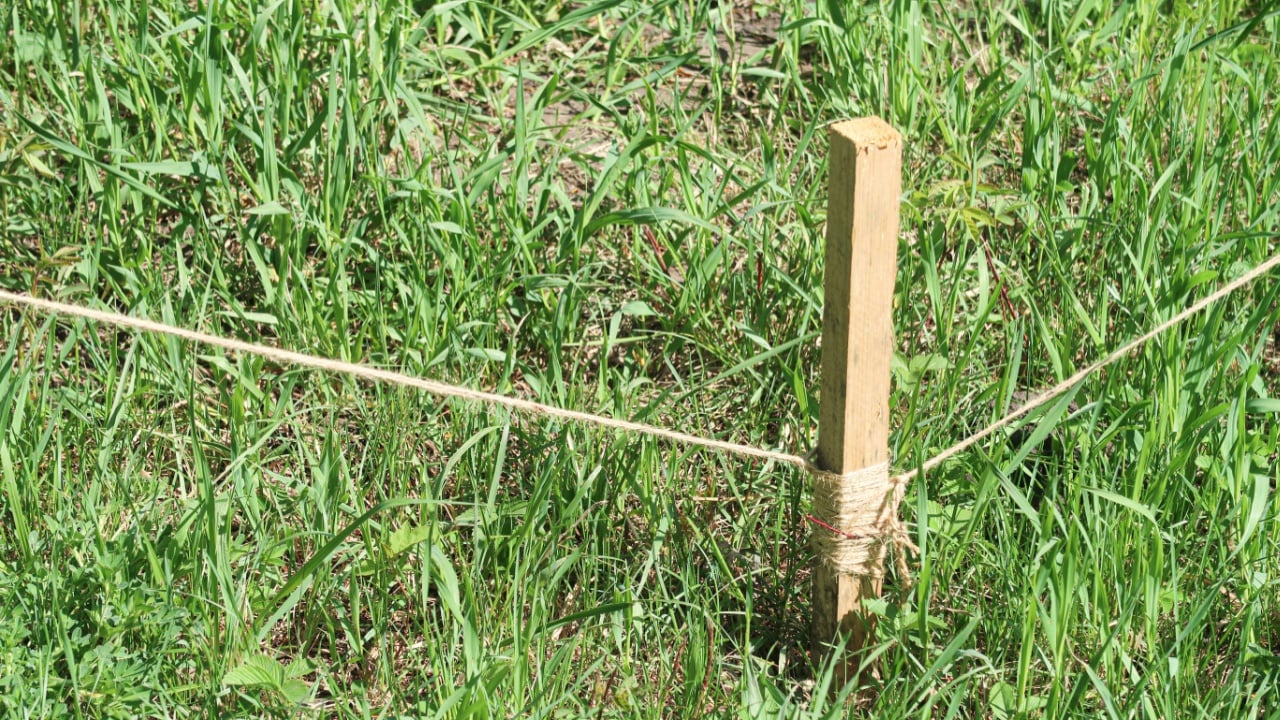
Image Credit: Shutterstock.
Now it’s time to create a visual guide for your final ground level. Tie a brightly colored string between the stakes, then clip a small line level to the middle of the string to find what’s perfectly flat. Adjust the string up or down on the stakes until the bubble on the level is centered.
If you need a slope for drainage, just lower the string on the downhill side to match the angle you calculated earlier. By measuring the distance from the string to the ground, you’ll know exactly how much soil to add or remove in any spot.
The strings serve as a constant, reliable guide hovering just above your work area. It’s a good idea to check the line level every so often to make sure the string hasn’t shifted or lost tension.
7. Cut and Remove Existing Turf

Image Credit: Shutterstock.
To get to the bare earth you need to grade, you’ll have to remove the top layer of grass (if there). Use a sharp spade to cut the sod into squares that are easy to handle. Then, slide the shovel blade just under the roots to lift the sod away in neat sections.
You can add these grass squares to a compost pile to recycle the organic material. If you want to replant the grass later, just stack the sod in a shady spot and keep it moist. It’s important not to mix the grass into your fill dirt, as it will decompose and cause the ground to settle unevenly.
Working with a bare soil surface is the only way to get true compaction and accurate leveling. Once the grass is gone, the earth will respond much more predictably to your rake and tamper.
8. Excavate the High Spots

Image Credit: Shutterstock.
Now it’s time to start digging. Focus on the high spots you marked earlier, as this excavated dirt will be used to fill in the low spots. Use a sharp shovel to slice into these mounds and move the dirt into your wheelbarrow. Keep measuring down from your string line as you go to make sure you don’t dig too deep.
It’s much easier to maintain control by removing thin layers of soil at a time rather than taking out big scoops all at once. If you hit hard, compacted soil, a mattock can help break it up before you go in with the shovel. Loosening the dirt into smaller granules will also make it easier to spread evenly later.
As you lower these peaks, the entire area will start getting closer to the level of your string line. The soil you collect from these high spots becomes the main building material for filling in the rest of the site.
9. Transport Soil to Depressions
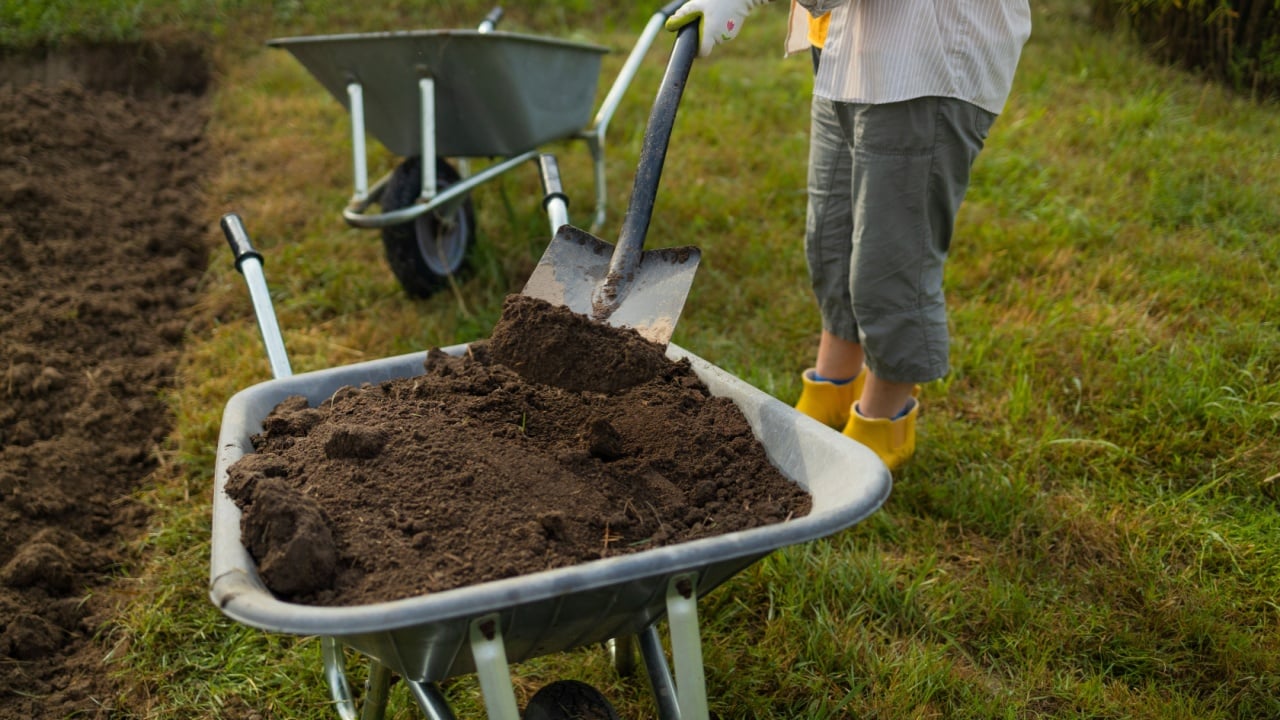
Image Credit: Shutterstock.
With your wheelbarrow full of harvested dirt, it’s time to start filling in the low spots. Carefully roll the wheelbarrow over to the depressions you marked and tip the soil out. If you find that the high spots don’t give you enough dirt, you might need to bring in some extra topsoil to finish the job.
It’s best to fill the holes a little at a time instead of dumping all the dirt in one big pile. If you pile the soil too high, it becomes almost impossible to compact it properly. Stick to adding just a few inches at a time to build a solid, even foundation.
By distributing the dirt evenly across all the low areas, you’ll avoid creating new mounds. As you work, you’ll start to see the landscape gradually flatten out and take shape.
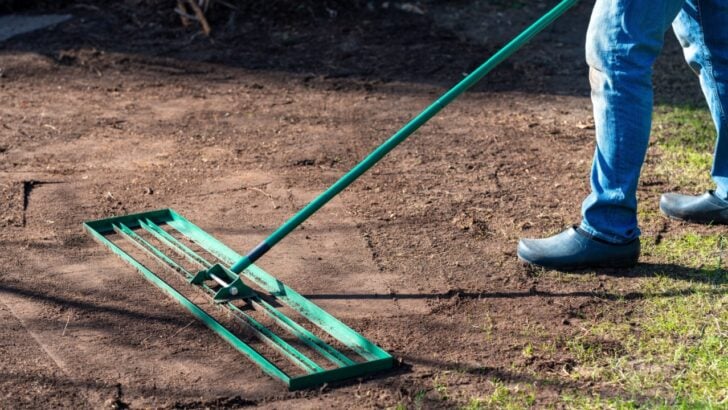
10. Spread the Fill Dirt Evenly
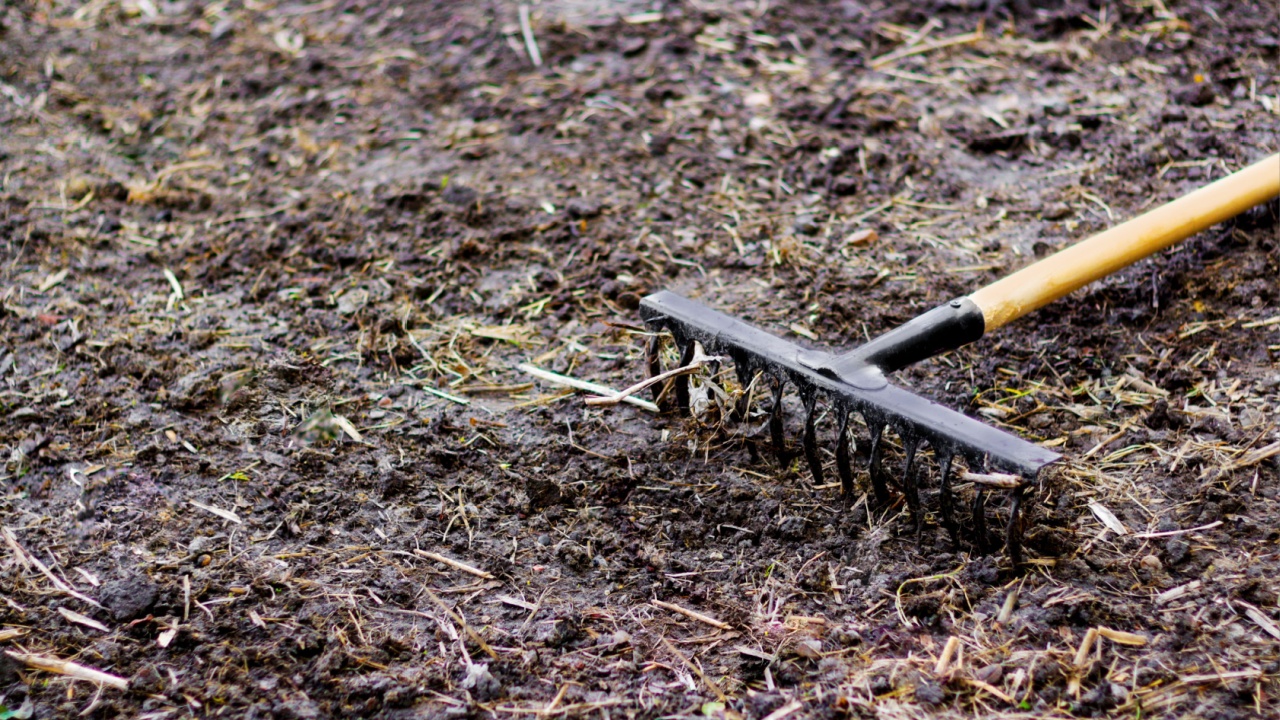
Image Credit: Shutterstock.
Once the dirt is in place, use a landscape rake to create a smooth, uniform surface. Pull the rake toward you to knock down any small ridges and fill in little divots. The wide head of a landscape rake is great for covering a lot of ground quickly and efficiently.
After raking, flip the rake over and use its flat edge to get the top layer perfectly smooth. As you work, keep an eye on the distance between the soil and your string lines to ensure you’re maintaining the correct slope. This step prepares the ground for the final compaction.
A smooth surface at this stage gives you a good preview of what the finished project will look like. Careful raking gets rid of the minor bumps and imperfections left behind by the shovel, setting you up for a great result.
11. Break Up Hard Soil Clumps
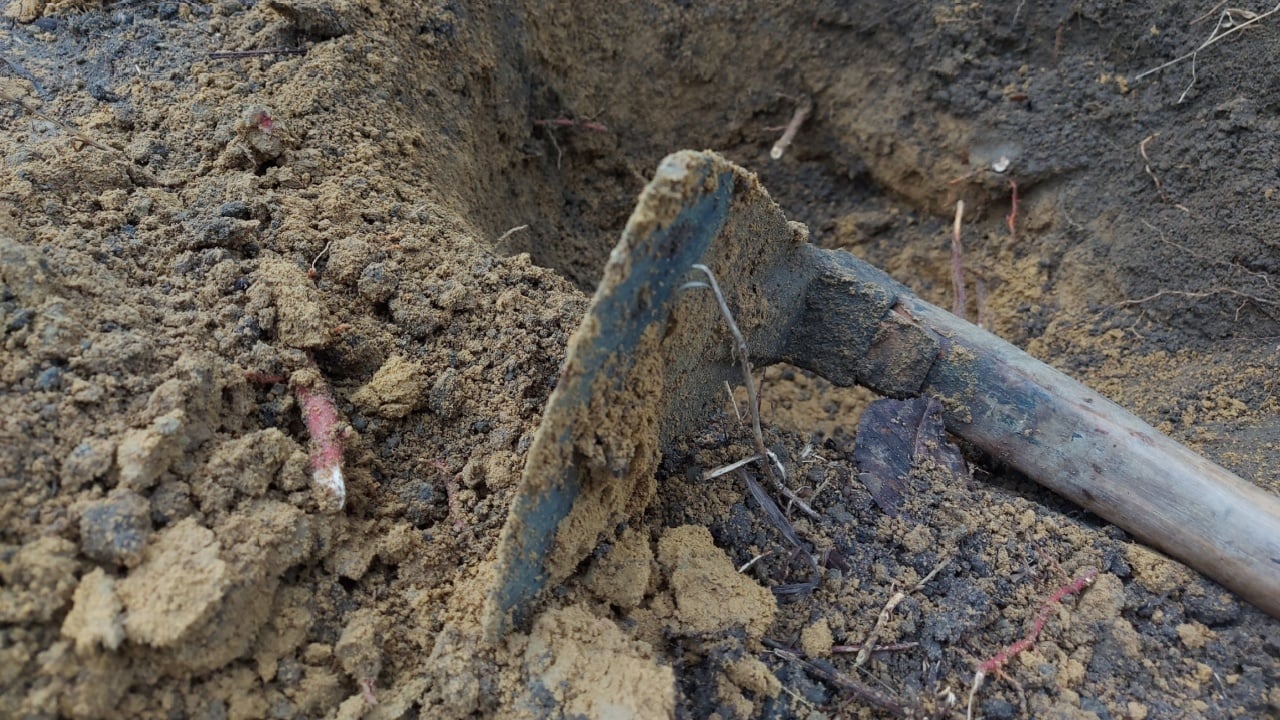
Image Credit: Shutterstock.
Before you start compacting, it’s important to break up any large clumps of dirt. If you don’t, they can create air pockets under the surface, which will lead to sinkholes later. Use the back of a hoe or the flat side of your shovel to smash any solid chunks into a fine, uniform texture.
Buried clumps will eventually break down on their own, but this will cause your finished grade to become uneven over time. If your soil is rocky, take some extra time to sift out any stones that won’t break apart. It’s best to toss these rocks out of the work area completely.
When soil particles are small and granular, they lock together tightly under pressure. Achieving this fine texture is the key to creating a solid and stable foundation that will last.
12. Compact the Ground Thoroughly
Image Credit: Shutterstock.
Now for the most satisfying part: compacting the soil. Pounding the loose dirt gets rid of air gaps and prevents the ground from settling later on. Grab your hand tamper and slam it straight down onto the soil, working in a grid pattern to make sure every inch gets the same amount of pressure.
For the best results, add fill dirt in layers of just a few inches and compact each layer before adding the next. If you try to compact one thick layer, the bottom will stay loose and unstable. For larger areas, a water-filled lawn roller can be a great alternative to a hand tamper.
Proper compaction is what turns loose dirt into a hard, solid surface. When you’re done, the ground should feel completely firm when you walk on it.
13. Water the Area Lightly
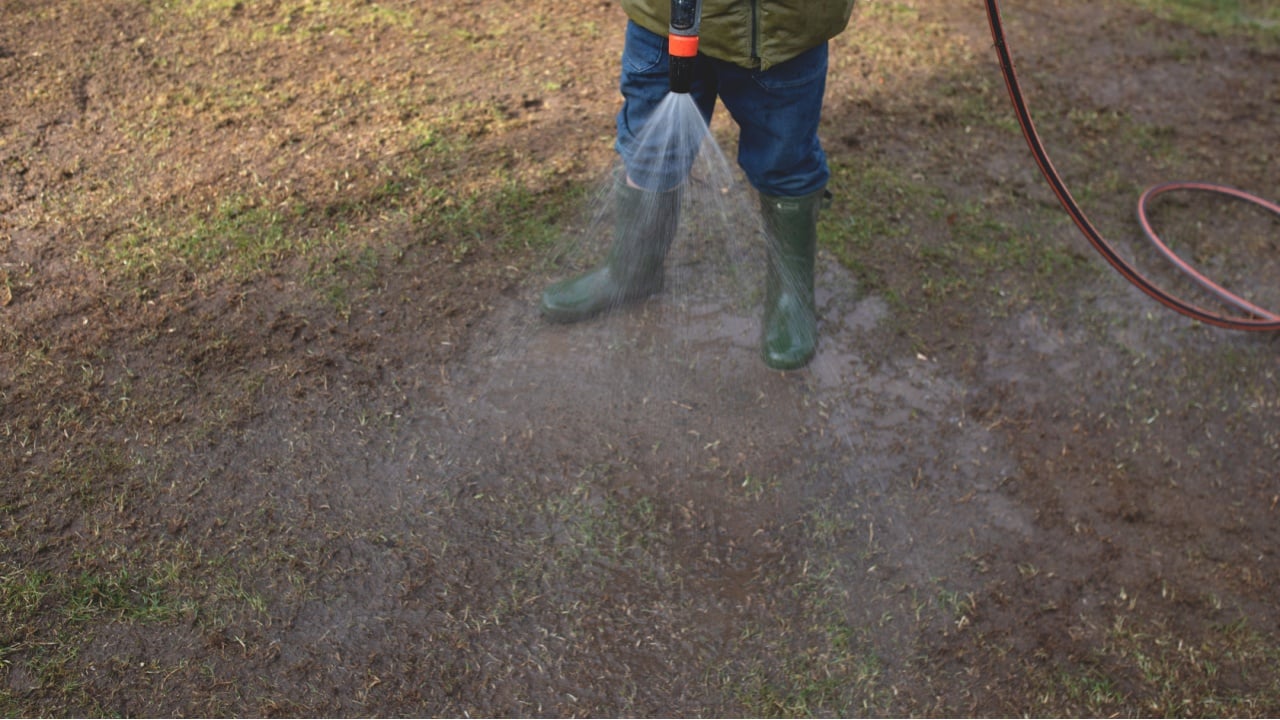
Image Credit: Shutterstock.
Once the ground is compacted, a light spray of water helps bind the soil particles together. Use a garden hose with a gentle shower nozzle to dampen the top layer. Be careful not to overdo it; you want the soil to be moist, not a muddy swamp, as that would ruin all your hard work.
The moisture helps the soil settle into its final position. Let the water soak in for a few hours before walking on the area again. This step also mimics natural rainfall and will help reveal any hidden loose spots that need a little more attention.
Damp soil holds its shape much better than dry dust. The water creates surface tension that locks everything in place and completes the mechanical settling process, giving you a firm, stable base.
14. Conduct a Final Level Check

Image Credit: Shutterstock.
Before you call it a day, do one last check to make sure everything is perfect. Walk around the site with a tape measure and check the distance between the dirt and the string lines. The measurements should match the calculations you made at the beginning.
If you find any small dips, just add a bit more dirt, rake it flat, and tamp it down. If you see any slight bumps, scrape them away with the flat side of your rake. Taking a few extra minutes to fix these minor blemishes will make a huge difference in the final quality of your project.
With that, your ground is ready for whatever you have planned, whether it’s laying patio pavers, planting grass seed, or building a shed. Once you remove the stakes and strings, you’ll have a beautifully prepared canvas for your next backyard masterpiece.
From Bumpy Ground to Solid Groundwork
Image Credit: Shutterstock.
And there you have it, a perfectly level patch of ground, ready for its new life. Leveling your yard by hand might seem like a mammoth task, but with a bit of patience, you’ll transform a bumpy, uneven area into a solid, stable foundation.
You’ve done the hard part. Now comes the fun. Whether you’re about to lay the first stone of a new patio, sprinkle seeds for a lush lawn (or add the sod back in), or build a garden shed, you can be confident that you’ve laid the groundwork for a project that will last for years to come.