American lawns cover 40 million acres of land, an area roughly the size of New England, and the vast majority of that acreage supports almost no wildlife at all. We spend billions maintaining these green monocultures every year, and in ecological terms, they give almost nothing back. If that bothers you even a little, March is your moment to do something about it.
Rewilding is a chance at ecological correction, and it is far less complicated, far less expensive, and far faster to pay off than most people think. A rewilded yard is an intentionally curated space; one where you’re choosing to step back in specific, purposeful ways rather than maintaining the fiction that a perfect monoculture lawn is good for anything except appearances.
A rewilded space has defined edges, deliberate plantings, and a sense of design. It just also happens to have standing seedheads in winter, longer grass in corners, and no synthetic chemicals anywhere. “Learning about native plants was a perfect lightbulb moment for me,” says Laura Tipton, in an interview with Rewilding Magazine, a native plant gardener and nursery professional who transformed her own lawn into a functioning ecosystem. “Connecting the relationships between native plants, the ecosystem, and the land we live on” is what rewilding really means at the residential scale.
You do not need a landscape architect or a degree in botany. You need a few good ideas and motivation to start.
Why March Is the Right Month to Start
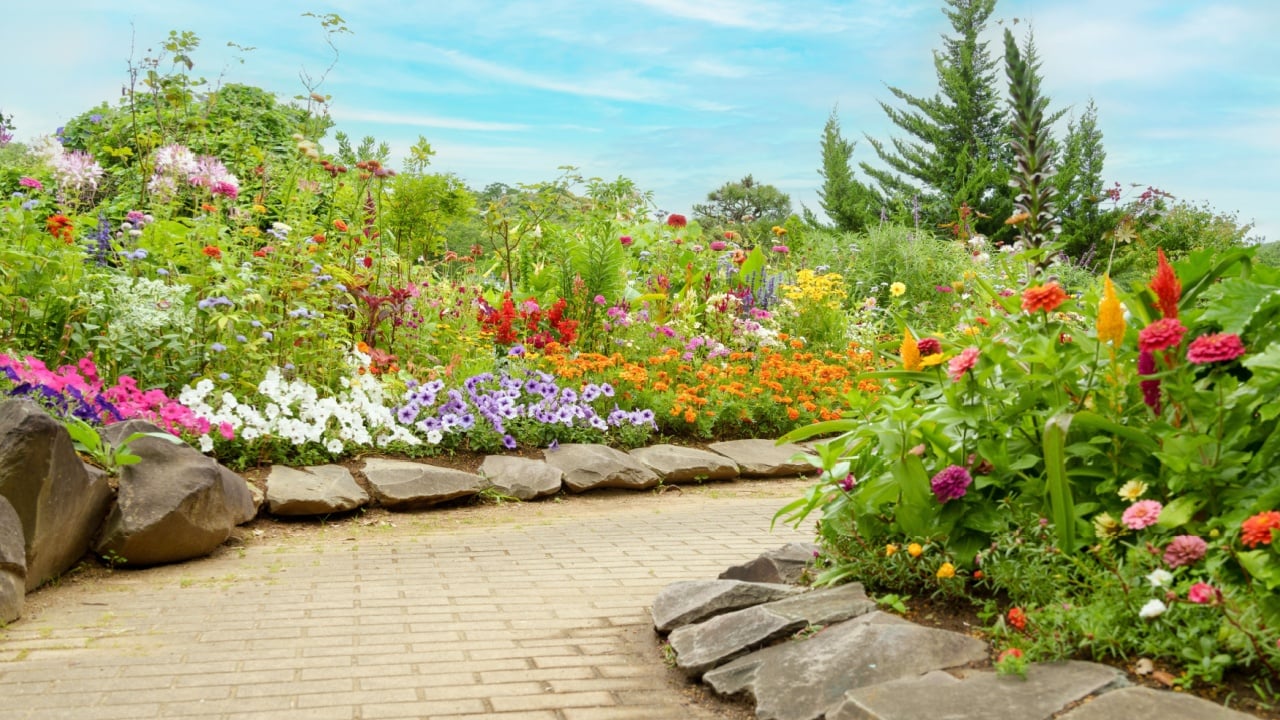
Image Credit: Shutterstock.
Rewilding isn’t something you can start any week of the year and expect the same results. March is the fulcrum.
The single most effective first step in rewilding, sheet mulching, requires a two-month window before planting season to properly kill existing turf. If you lay cardboard and wood chips in late March, your grass is dead by late May, right as native plugs and seedlings become available and conditions are prime for establishment.
Wait until May to start, and you’re either planting into surviving lawn grass (which will outcompete everything you introduce) or pushing your planting all the way to fall. Either way, you’ve lost an entire growing season.
1. Put the Cardboard Down First
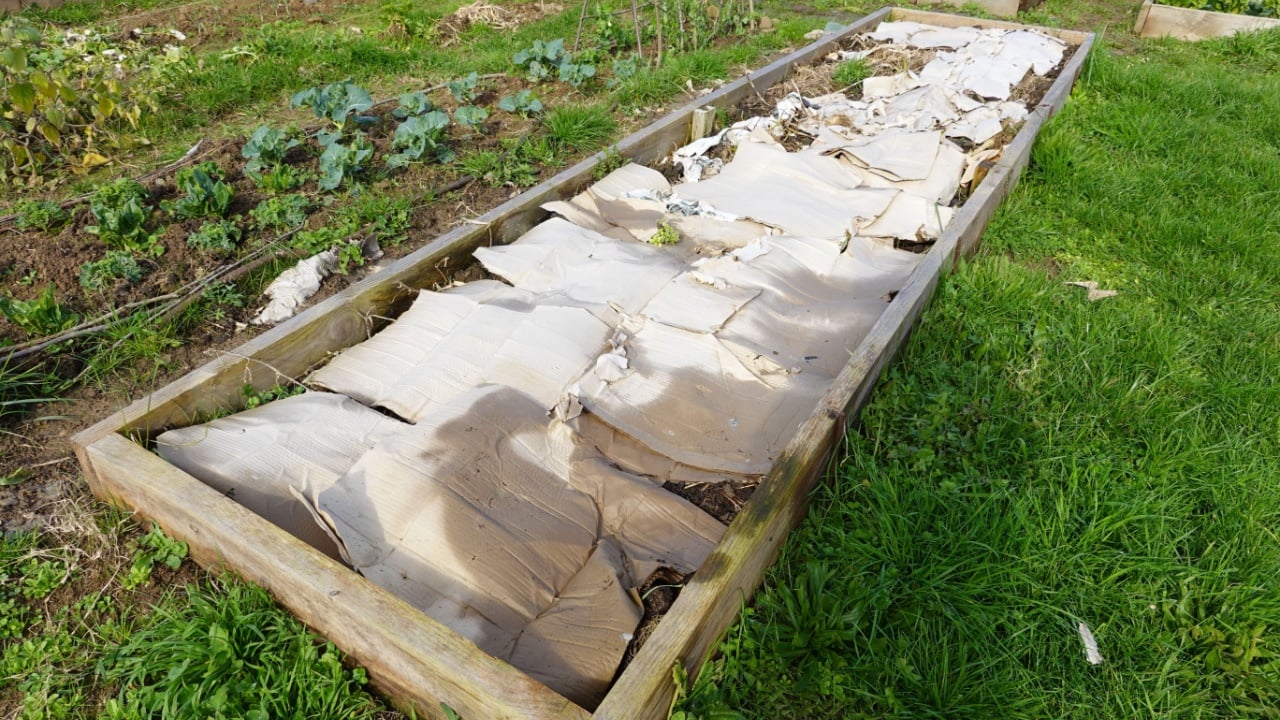
Image credit: Shutterstock.com.
Before you buy a single plant, gather cardboard. Liquor stores, appliance retailers, and warehouse stores will often give it away freely. Remove any tape and plastic, then lay it in a thick, overlapping layer over the area you want to rewild. Top it with four to six inches of wood chip mulch. This technique, called sheet mulching, blocks all sunlight from your lawn grass until it dies completely, roots and all.
University of Delaware ecologist Douglas Tallamy, who co-founded the Homegrown National Park initiative, is emphatic on this point: a grass lawn will outcompete every native seed you introduce if it isn’t eliminated first. Give the cardboard six to eight weeks, and your work is done without a drop of herbicide.
2. Stop Pesticides Before You Plant Anything
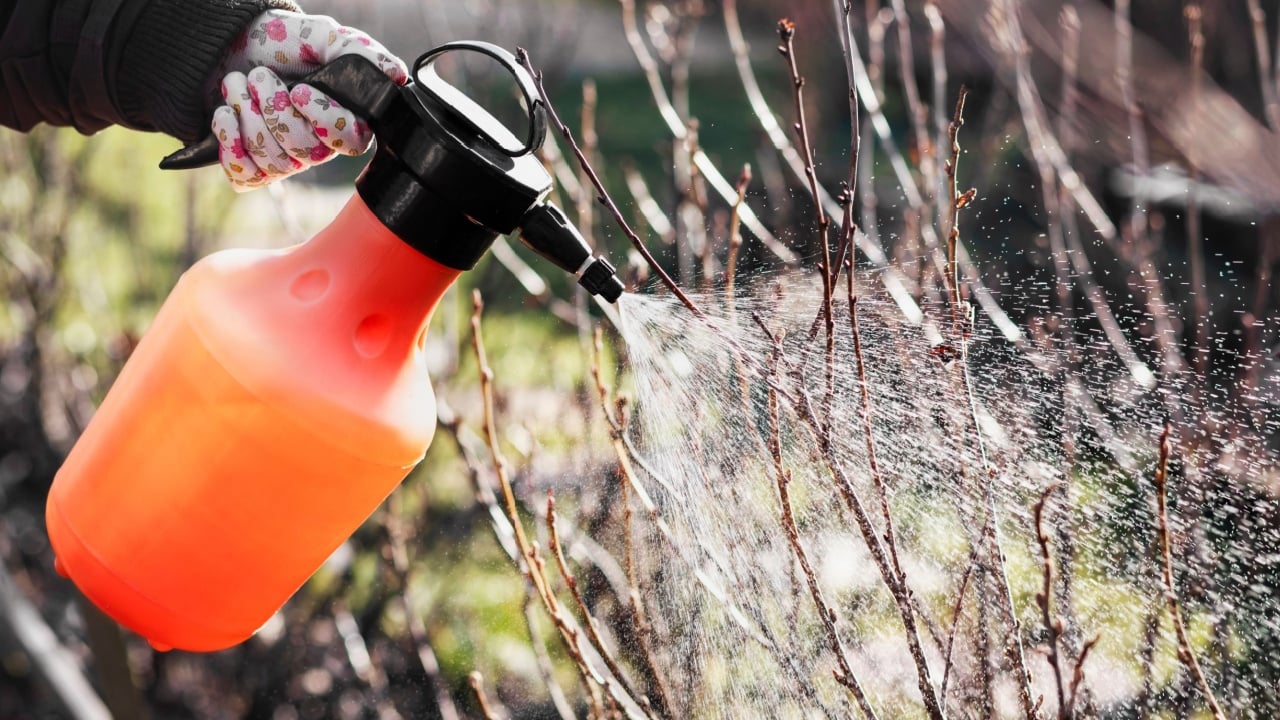
Image Credit: Shutterstock.
This is probably the most important single action in the entire rewilding process, and it costs nothing. Pesticides, herbicides, and synthetic fertilizers do not just target pests. They kill the beneficial insects, soil microbes, and fungi that an ecological yard depends on.
Aricca Sansone at House Beautiful notes that reducing pesticide and fertilizer use is one of the most impactful things a homeowner can do for local wildlife. Stop spraying your lawn and garden now, in March, and by the time your first native plants go in, recovery will already have begun.
3. Evaluate Your Site Before You Spend a Dollar
Image Credit: Shutterstock.
Know what you’re working with before you spend anything. Walk your yard at different times of day and note where sunlight falls, where water pools, and where the soil feels compacted versus loose. If your home was built in the last few decades, assume builder-grade soil: topsoil was likely scraped during construction, leaving compacted subsoil that resists plant roots.
Many first rewilding attempts fail not from lack of effort but from planting the right plants in the wrong conditions.
4. Visit a Native Plant Nursery (Not a Big Box Store)

Image Credit: Shutterstock.com.
This step alone will save you from the most common and expensive rewilding mistake: buying invasive or unsuitable plants from mainstream garden centers. Local native plant nurseries sell species vetted for your specific region, and their staff can tell you exactly which plants attract which pollinators and what to expect in year one. “The plants will be suited to your local climate, and staff are usually very knowledgeable,” says Tipton.
If you don’t know where to start, the National Wildlife Federation’s native plant finder tool lets you search by ZIP code and see which species are native to your exact area and which insects they support.
5. Plant One Native Species That You Know Will Work
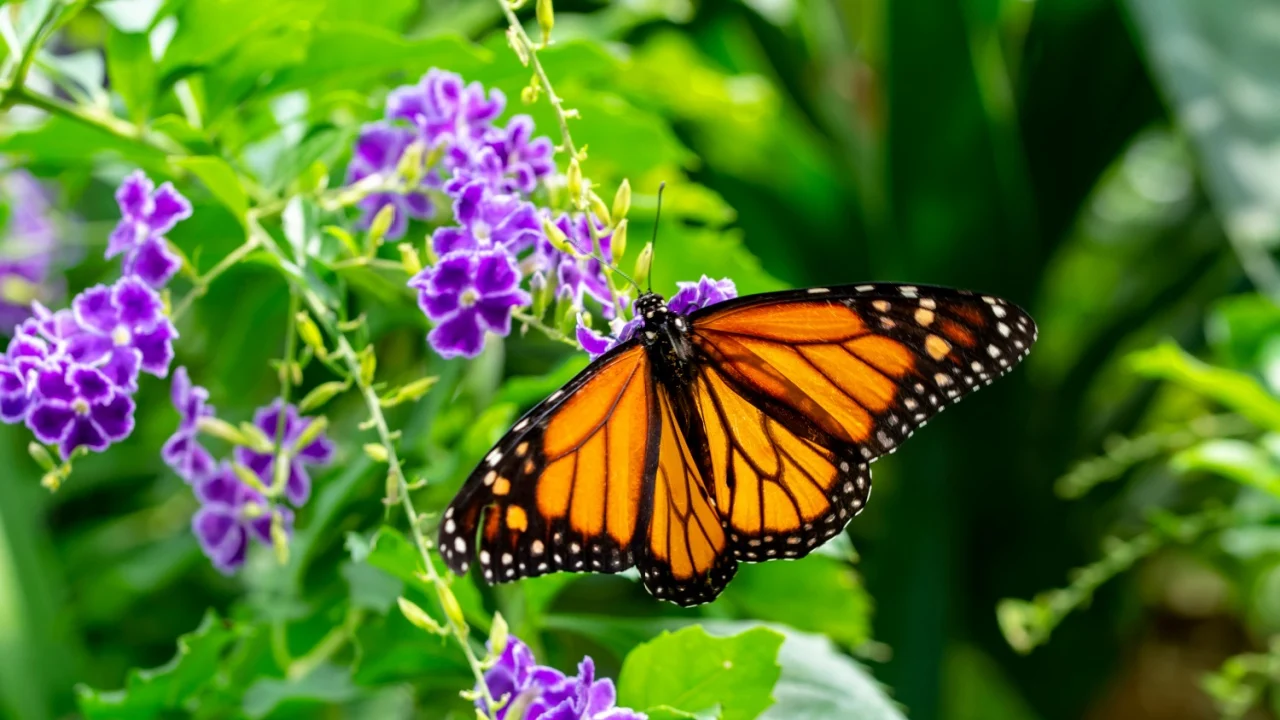
Image Credit: Shutterstock.com.
Do not begin with a comprehensive plan. Begin with one plant. If you’re planting in a sunny spot, milkweed is almost impossible to argue with as a first choice: it supports monarch butterfly egg-laying, caterpillar feeding, milkweed beetles, and dozens of other pollinators.
“Planting one native milkweed will provide resources for pollinators and a place for monarch butterflies to lay eggs,” says Tipton. In a shadier spot, native wild ginger, ferns, or trillium are strong starting points. One plant, in the right spot, planted in late March or April, can bring in wildlife by summer.
6. Leave the Leaves and the Stems

Image Credit: Shutterstock.
The single most ecologically damaging routine garden chore most homeowners do every fall is raking and bagging their leaves. Native bees, butterflies, fireflies, and moths overwinter in fallen leaves and hollow plant stems. When you bag them and send them to the landfill, you’re removing the very habitat your rewilded yard is meant to provide.
Going forward, rake leaves into garden beds rather than off the property. Leave perennial stems standing through winter and cut them back only in spring when new growth appears at the base. This one change requires no planting, no expense, and less effort than raking.
7. Add a Water Source, Even a Simple One
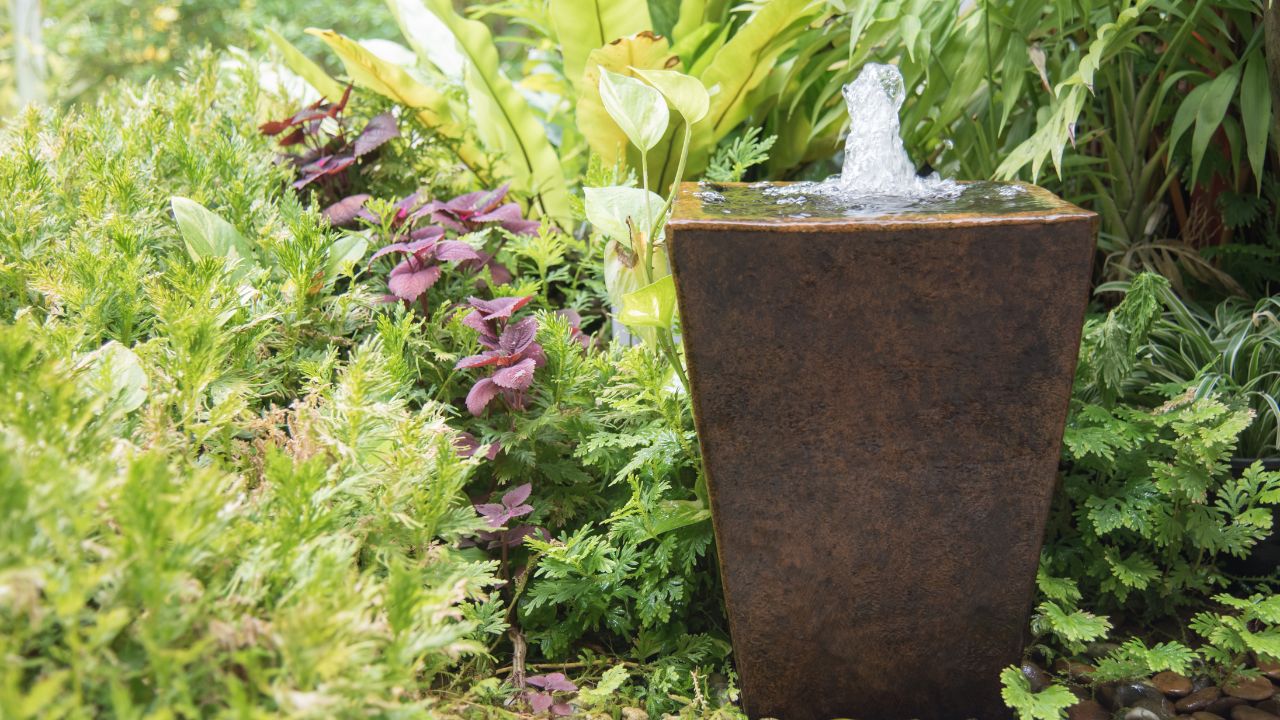
Image Credit: Shutterstock.
Wildlife does not need a formal pond to respond to water. An upturned garbage can lid, filled and refreshed every few days, will attract birds, frogs, and beneficial insects within days. A genuine small pond can bring in mating frogs, newts, damselflies, and pond snails within a single season.
If space allows, a rain garden, which is a shallow depression planted with moisture-loving native species near a downspout, addresses drainage problems and creates habitat at the same time, while filtering runoff before it reaches storm drains.
8. Layer Your Plantings Like Nature Does
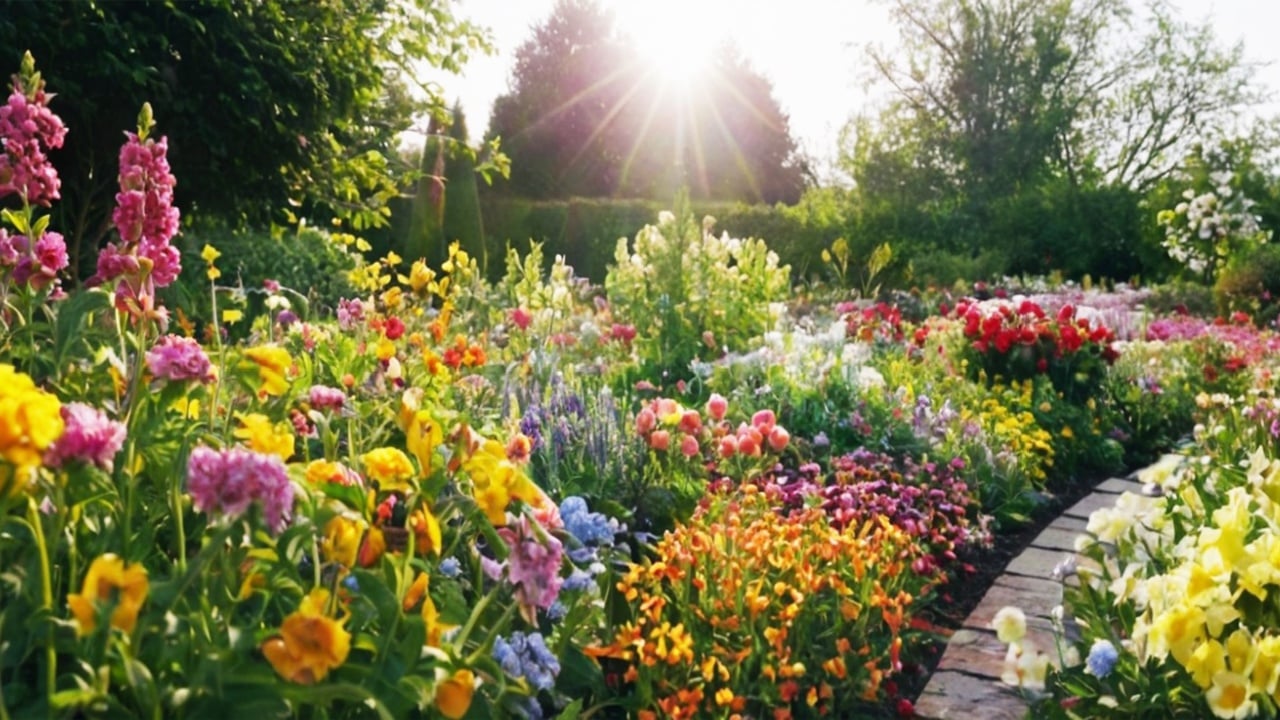
Image Credit: Shutterstock.
Natural habitats do not grow in a single uniform height. They layer with tall canopy trees overhead, mid-height shrubs underneath, low perennials at ground level, and groundcovers filling the gaps. A rewilded yard that includes all four layers will support exponentially more wildlife than one that uses only perennials.
If you have room for one native tree, a serviceberry, crabapple, or oak, plant it now. Serviceberry blooms in early spring, feeds birds throughout summer, and provides a canopy that can anchor everything planted around it.
9. Kill Some Lawn, But Not All of It
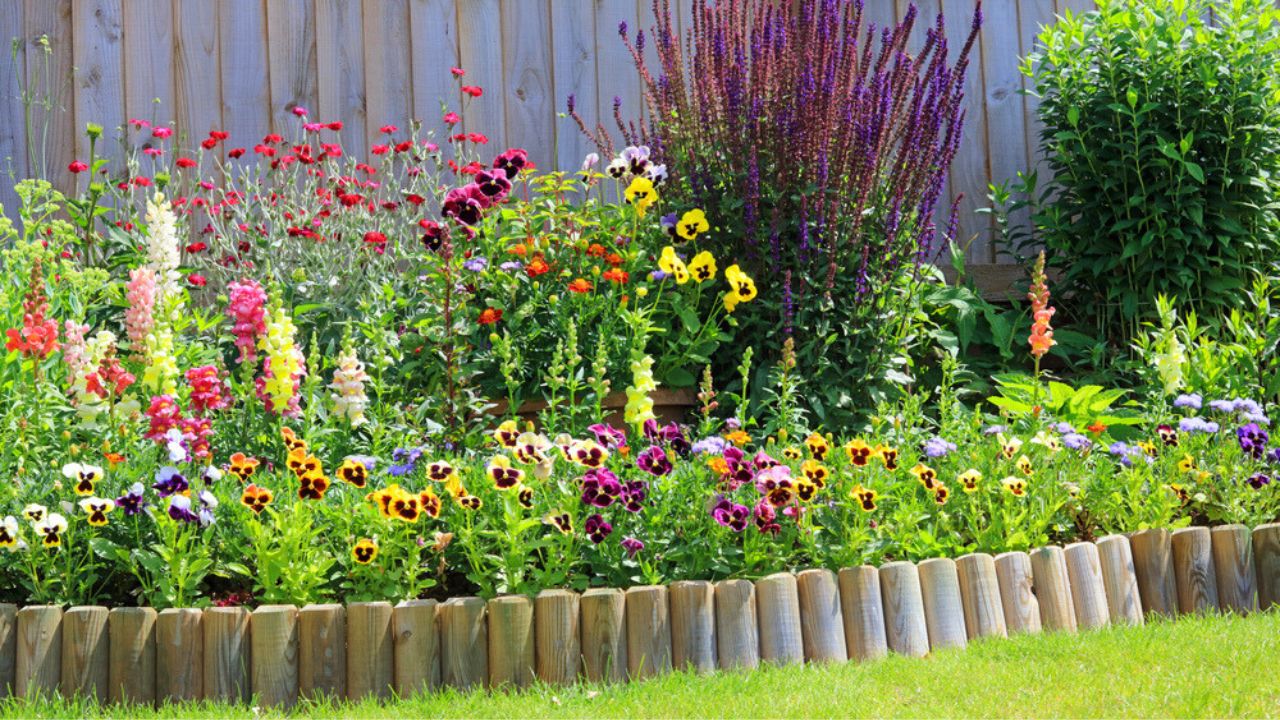
Image Credit: Shutterstock.
You do not have to eliminate every inch of turf to start rewilding. Trying to do so in year one is one of the most common causes of burnout. Start with one 10×10 bed: large enough to matter, small enough to manage. Cover it with cardboard now, plant natives in May, and evaluate how it performs before converting anything else.
Turf lawn does serve functional purposes: it defines spaces, provides contrast to wilder plantings, and in neighborhoods with HOAs, a maintained grass perimeter can be the difference between an admired yard and a violation letter.
10. Make a Brush Pile or Log Stack
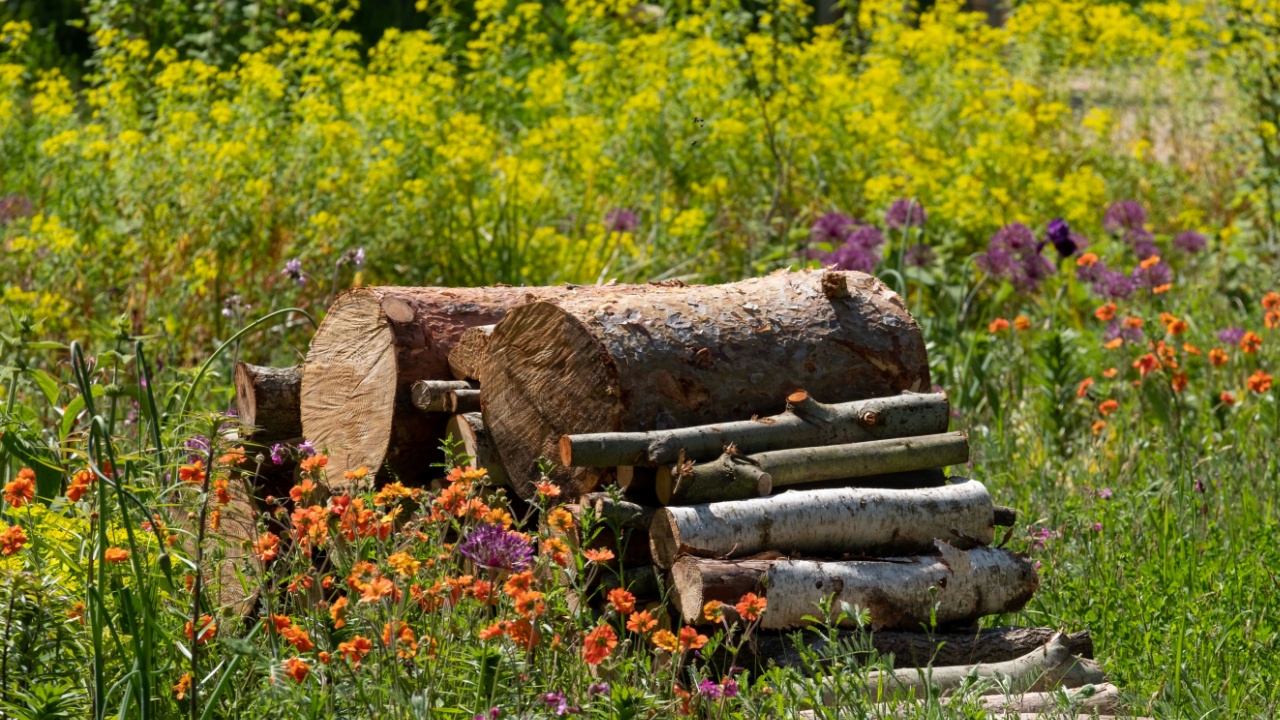
Image Credit: Shutterstock.
A stack of logs placed in a corner or behind shrubs is one of the highest-impact, lowest-cost additions you can make to a rewilded yard. Softwood and hardwood logs with bark still on them become habitat for beetles, fungi, invertebrates, small mammals, and amphibians.
Log decay also feeds soil organisms that enrich the ground beneath your plantings. If you don’t have logs, a simple pile of pruned branches works equally well. Place it where it won’t alarm neighbors and let it be.
11. Keep Clean Edges So It Reads as Intentional

A mown border around a wild planting bed signals to every neighbor, passerby, and HOA inspector that what they’re looking at was designed, not forgotten. This is not a concession to conformity; it is practical ecology. A rewilded yard that gets a violation notice and has to be torn out helps no one.
Edge your beds with a half-moon edger, a line of river stone, or a cleanly mown border. Keep branches trimmed away from sidewalks and structures. These small acts of visual communication protect the larger project.
12. Get Your Yard Certified and Put Up a Sign
Image Credit: Shutterstock.
The National Wildlife Federation, Audubon Society, and Monarch Watch all offer wildlife habitat certification programs. Many are free or cost under $25. The sign you receive tells your neighbors and, if necessary, your HOA that your yard is a designated wildlife habitat, not an overgrown mess. Multiple gardeners report that certification signage substantially reduced neighbor friction. It also connects your individual yard to a greater national effort, which is worth something in its own right.
What to Expect in Year One
Image Credit: Shutterstock.
In the first weeks after planting, you’ll see birds and bees responding to new food sources faster than you expected. Native plantings rarely wait for a full season to attract visitors.
Within the first growing season, expect some plants to die. This is not failure; it is data about your site’s specific conditions. What survives is telling you what actually wants to grow there. By the end of year one, your rewilded bed will look imperfect but alive. The contrast with a conventional lawn will be unmistakable.
You don’t have to do all 12 of these steps this month. Pick one. The cardboard is free. The milkweed is $4 at a native nursery. A certification sign costs less than a bag of lawn fertilizer. Start small, start in March, and let the yard do the rest.
Read more:
12 Thoughtful Tricks to Cultivate a Cozy Cottage Feel in the Yard
15 Myths About Lawn Care Ruining Your Yard