Taking down holiday decorations often feels like the hangover after a really great party. The cookies are gone, the tree is dropping needles by the second, and you are left staring at a mountain of sparkly chaos. While putting everything up feels full of anticipation, taking it down usually just feels like a chore you’d rather ignore until March. But stuffing everything into cardboard boxes and shoving them into the attic only punts the problem to next December. A little strategy now saves a massive headache later.
Here is how to pack away the festive season without losing your mind.
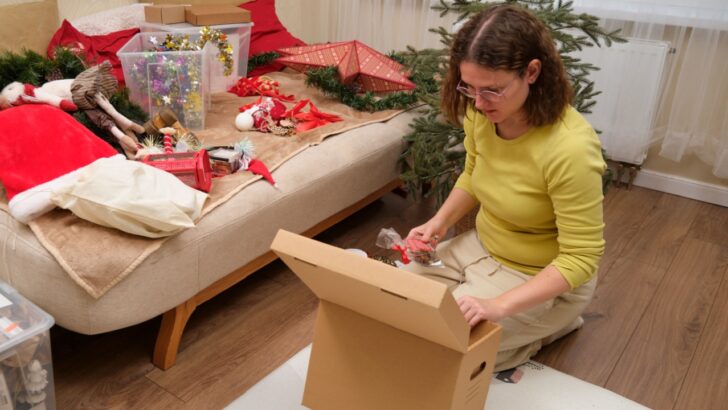
1. Group Everything
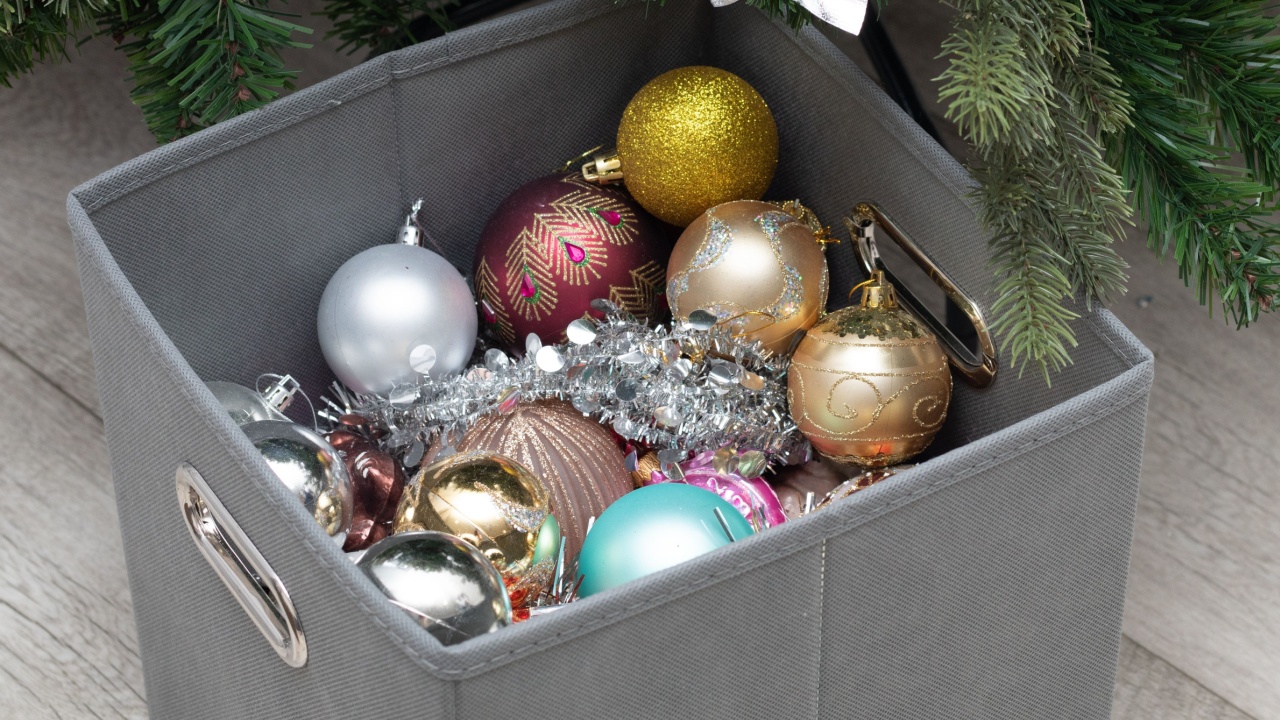
Image Credit: Shutterstock.
Most people toss items into bins based on where they happened to land on the floor. While fast, this method guarantees confusion next year. Instead, group items. If you tackle the mantle first, all mantle items go in one bin. If you have a specific theme for the entryway, keep those pieces together.
This approach saves you from running back and forth between boxes, hunting for that one specific reindeer that goes next to the lamp. By grouping by zone or function rather than just “ornaments” or “lights,” you streamline the future setup process. It turns a chaotic scavenger hunt into a logical, step-by-step assembly line.
2. Arrange Containers Based on Unpacking Order

Image Credit: Shutterstock.
Just like unpacking after moving houses, think about what goes where first. The tree usually goes up first, followed by lights, then ornaments, and finally the peripheral knick-knacks. When loading your storage space, reverse that order. The items you need last should go into the closet or attic first, pushing them to the back. The items you need first, like the tree stand and lights, should be right at the front.
This prevents the annual wrestling match with heavy boxes just to get to the one thing you need to start. It seems obvious, but in the rush to just be done with cleaning, this step often gets skipped. A little foresight here means you won’t have to unload the entire storage unit just to find the tree skirt.
3. Choose Protective Storage Over Cardboard

Image Credit: Shutterstock.
Cardboard boxes are the enemy of long-term preservation. They deteriorate, they invite pests (who love the taste of glue and paper), and they offer zero protection against moisture. Plastic bins with tight-latching lids are far superior. They keep out dust, bugs, and dampness, which is especially important if your storage area isn’t climate-controlled.
Investing in sturdy plastic totes might cost a few dollars more upfront, but replacing water-damaged heirlooms or mouse-chewed stockings costs a lot more. Plastic bins are strong, unlike cardboard, which tends to crumple under pressure.
4. Opt for Clear Bins to See What is Inside

Image Credit: Shutterstock.
Opaque bins are great for hiding clutter, but terrible for finding specific items. Clear bins remove the mystery. You can glance at a group of totes and immediately spot the red garland without having to open four different lids.
Being able to see the contents saves time and frustration. It also stops you from buying duplicates because you couldn’t find the lights you bought on clearance last year. If you prefer a uniform look and hate the visual noise of clear bins, sticking to a strict labeling system becomes even more critical. But for pure efficiency, transparency wins.
5. Prioritize Stackability and Space Efficiency
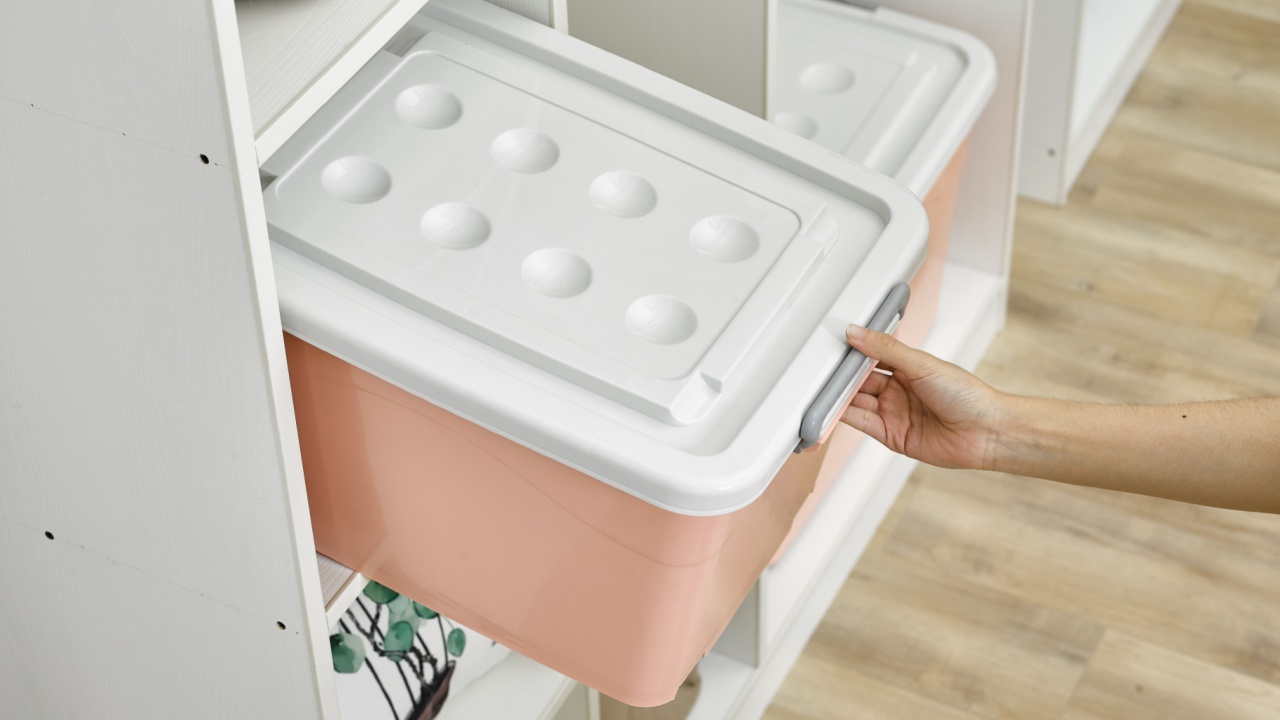
Image Credit: Shutterstock.
Not all bins are created equal. Some have tapered bottoms or weirdly shaped lids that make stacking precarious. Look for containers explicitly designed to nest securely. Vertical space is often wasted in closets and garages.
Measure your shelves before buying. There is nothing worse than bringing home a set of matching totes only to find they are half an inch too tall for your shelving unit. Maximizing every inch of vertical storage keeps your floor space clear and makes the whole area look tidier.
6. Centralize Storage in One Location
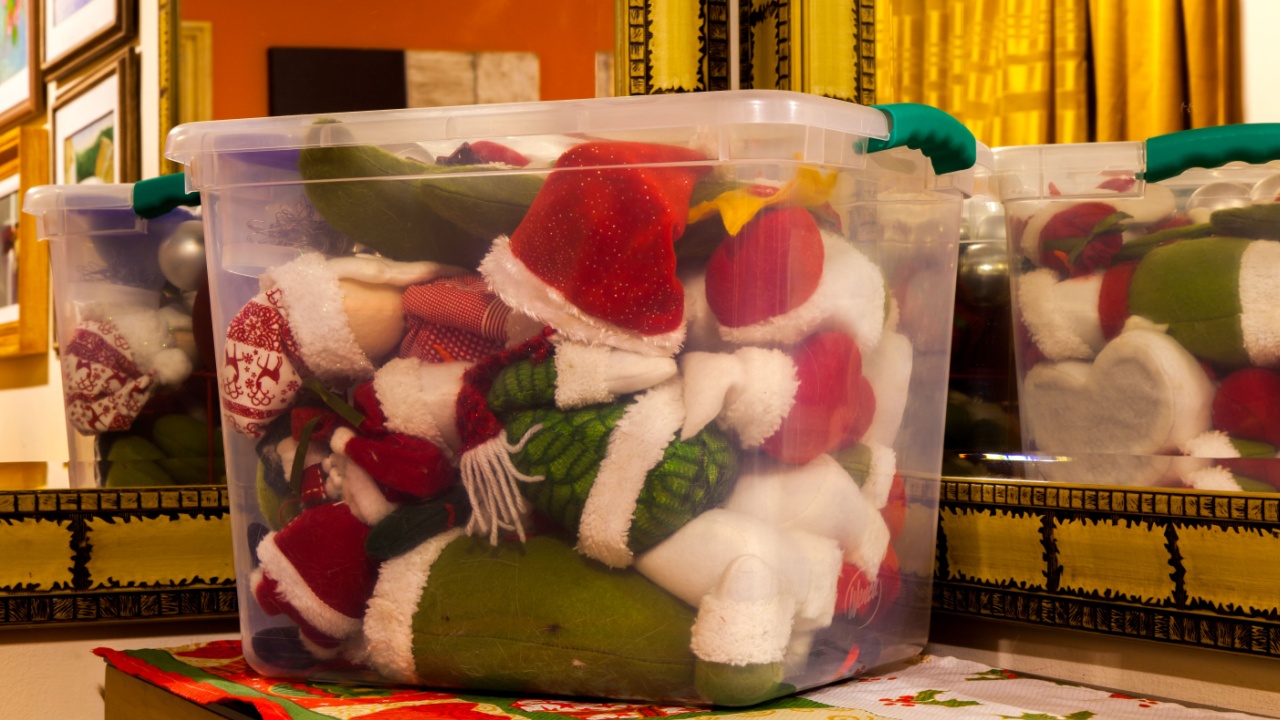
Image Credit: Shutterstock.
Scattering decor across the house, wreaths in the garage, ornaments in the guest room closet, and lights in the basement is a recipe for forgetting what you own. Aim to keep everything in a single dedicated zone. This “holiday hub” makes inventory management much simpler.
When everything lives together, you can easily assess what you have, what is broken, and what you might need to replace. It also prevents that sinking feeling of finding a box of Easter decorations mixed in with the Halloween stuff because you just shoved it wherever it fit at the time.
7. Use QR Codes for Next-Level Inventory

Image Credit: Shutterstock.
If you want to be incredibly precise, QR code labels are a brilliant modern solution. You stick a code on the bin, scan it with your phone, and input a detailed list (or even photos) of what is inside. Later, you just scan the outside of the bin to see the contents on your screen without ever cracking the lid.
This is fantastic for opaque bins or high shelves where you can’t easily see inside. It eliminates rummaging. Several apps exist for this specific purpose, or you can create simple spreadsheets linked to codes. It sounds like overkill until you are looking for that one specific snow globe and find it in seconds.
8. Label Bins on Multiple Sides
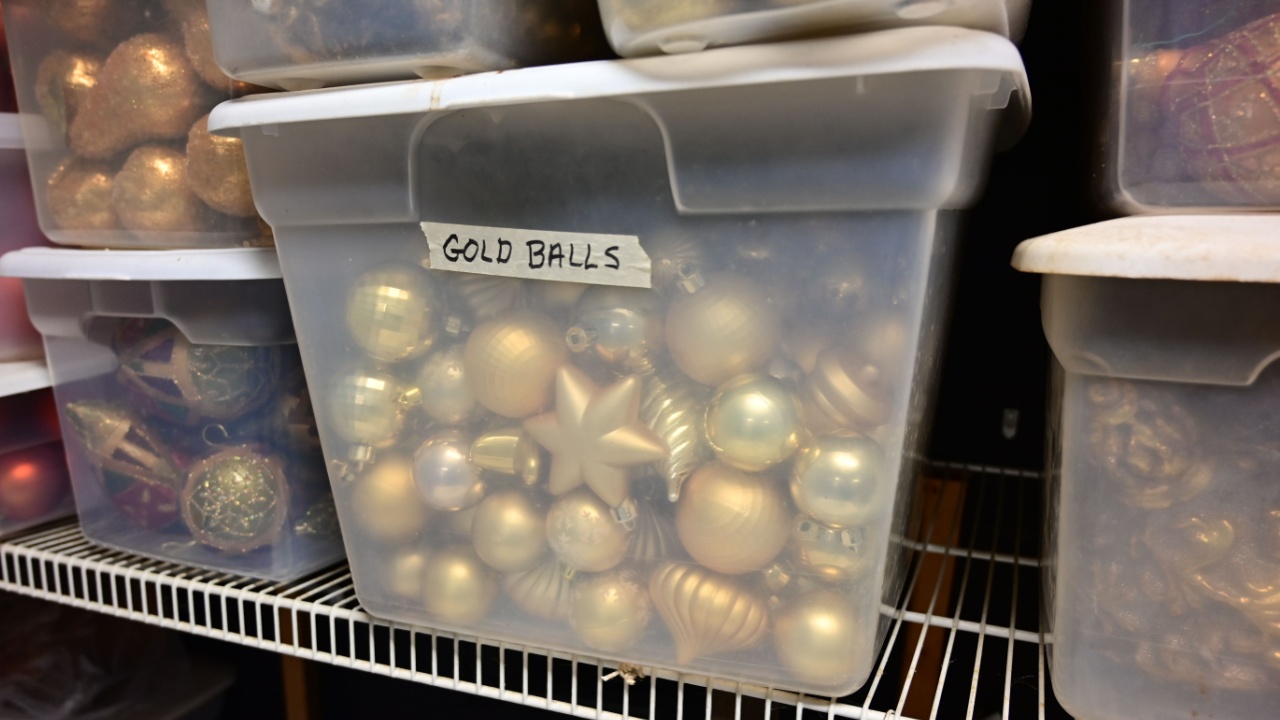
Image Credit: Shutterstock.
If QR codes feel too tech-heavy, good old-fashioned markers work wonders, but label placement matters. Labeling just the lid is useless when the bins are on top of each other. Labeling just one side is frustrating if that side ends up facing the wall.
Write the contents on at least two sides and the top of every bin. Use large, legible lettering. Using index cards slipped into clear adhesive pockets allows you to change the label easily next year without covering the bin in layers of tape and scribbles.
9. Stop the Tangle: Wrap Your Lights

Image Credit: Shutterstock.
Throwing lights into a bag is a guarantee that they will form an unbreakable knot by next December. To avoid this, wrap strands around a flat piece of cardboard, a specialized plastic reel, or even a sturdy hanger. Secure the ends so they don’t unravel.
This keeps the wires straight and protects the bulbs from breaking. It also makes testing the lights next year much easier; you can plug them in while they are still wound to check for dead bulbs before unspooling them onto the tree.
10. Compartmentalize with Dividers and Smaller Bins

Image Credit: Shutterstock.
Large, cavernous bins are essentially black holes where small items go to break. To protect delicate ornaments and keep sets together, use dividers or smaller shoebox-sized bins inside the larger totes. You can buy specialized ornament organizers or make your own using cardboard strips and plastic cups.
Separating items prevents them from knocking against each other during transport. It also allows you to lift out a specific layer or tray without digging through a pile of fragile glass.
11. Vacuum Seal the Soft Stuff

Image Credit: Shutterstock.
Holiday linens, tree skirts, stockings, and throw pillows take up a huge amount of volume but are mostly air. Vacuum seal bags can compress these items down to a fraction of their original size. This frees up significant bin space for the hard, breakable items that can’t be squished.
Beyond saving space, vacuum sealing offers excellent protection against moths, mildew, and musty attic smells. Your linens will come out fresh and ready to use, rather than needing a wash immediately upon retrieval.
12. Leave Room for Growth
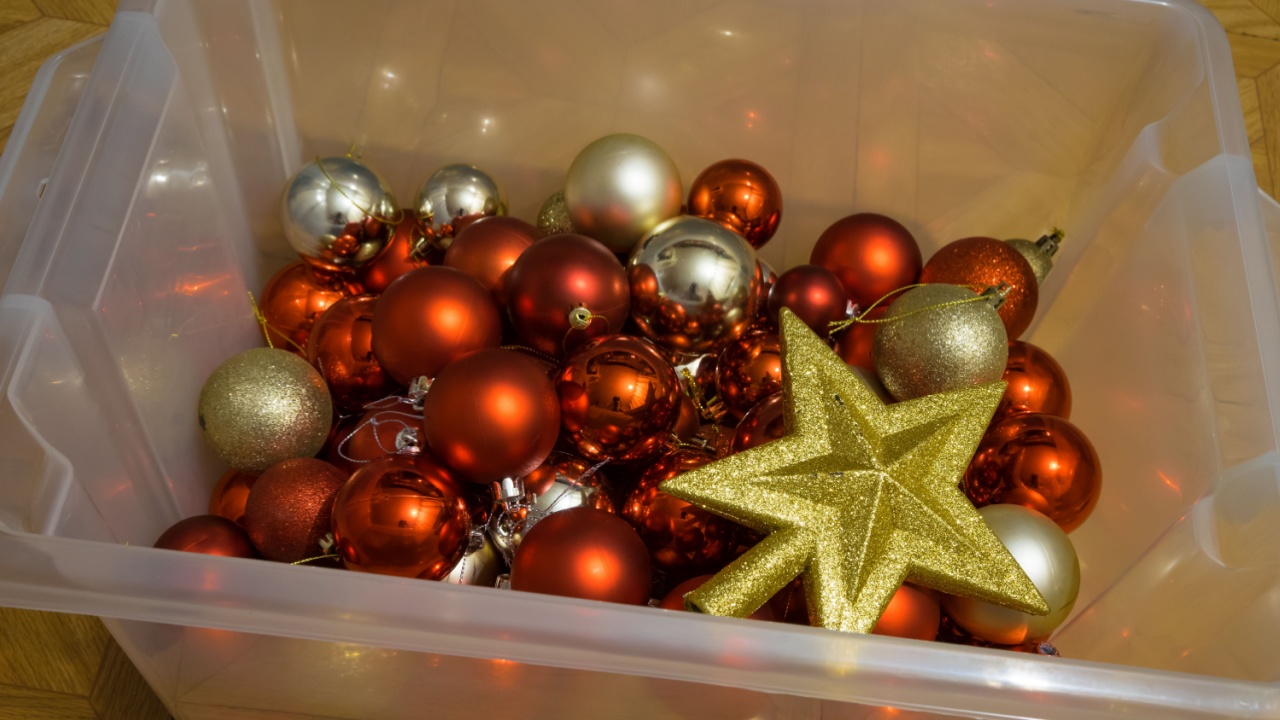
Image Credit: Shutterstock.
The collection never gets smaller. You will inevitably buy a new ornament on vacation or grab a cute wreath on sale. If your storage bins are packed to the brim right now, you have a problem for future-you to solve.
Always leave a little “breathing room” in your bins, or keep one empty “overflow” bin available. This prevents you from having to force a lid closed, which breaks decorations, or having to go out and buy a single mismatching bin next year for three small items.
Moving Forward: The “Open First” Box
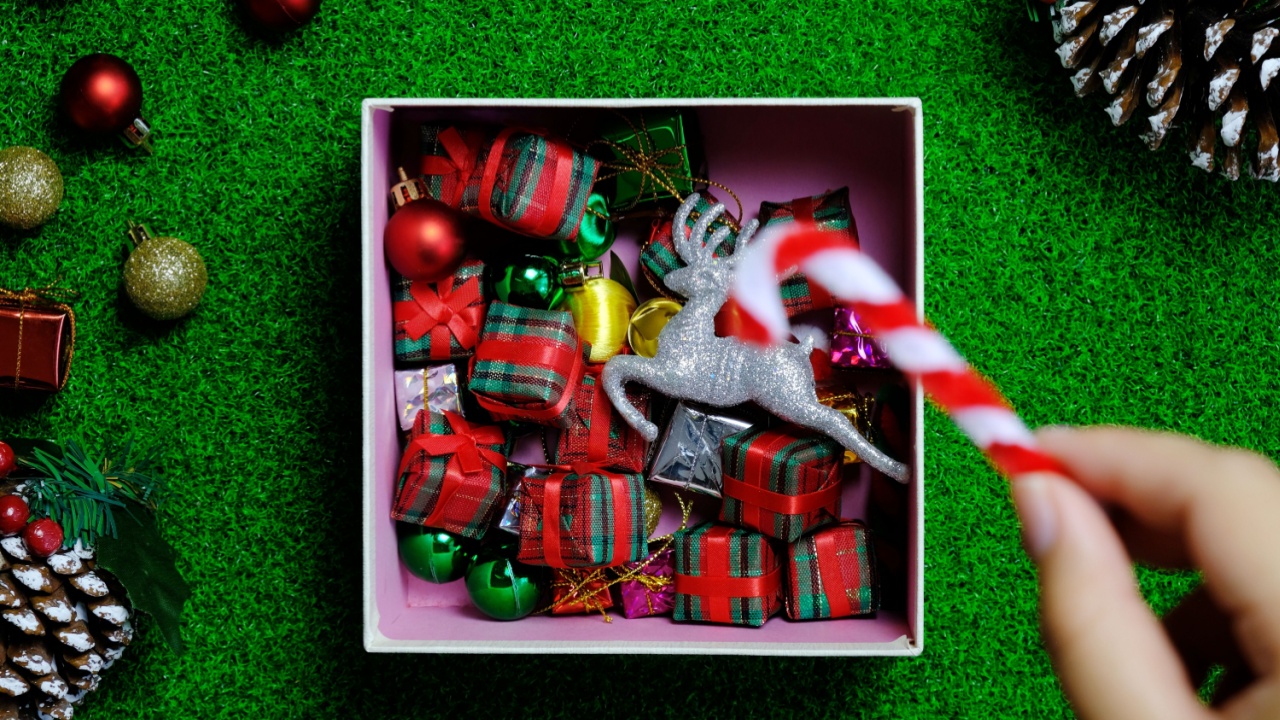
Image Credit: Shutterstock.
Before you tape up that final box, consider one last strategic move: create an “Open First” box. This box should contain the absolute essentials you need to start decorating, plus the things that make the process enjoyable. Put your scissors, tape, command hooks, extension cords, and batteries in here. Maybe even toss in a fresh holiday candle or a playlist of favorite songs. Make your decor simple.
Mark it clearly and place it right at the front of your storage area. Next year, instead of starting the season with a frantic search for supplies, you open one box and have everything you need to begin. It sets a calm, organized tone for the holidays before you even hang a single light.