Most container potato failures happen before a single seed potato touches soil. The wrong variety, the wrong container size, or the wrong soil — these decisions are made in the driveway or the garden center, long before anyone turns on the hose, and they determine everything.
If your first attempt at growing potatoes produced a handful of marble-sized tubers or nothing at all, you didn’t fail. You failed at the setup. This guide fixes that.
March is the ideal planting month across most of the country, which means right now is the time to get your containers ready. Follow these 10 steps to growing potatoes in containers, and you’ll be dumping out a satisfying pile of fresh potatoes by early summer.
Why Container Potatoes Fail Before They Start
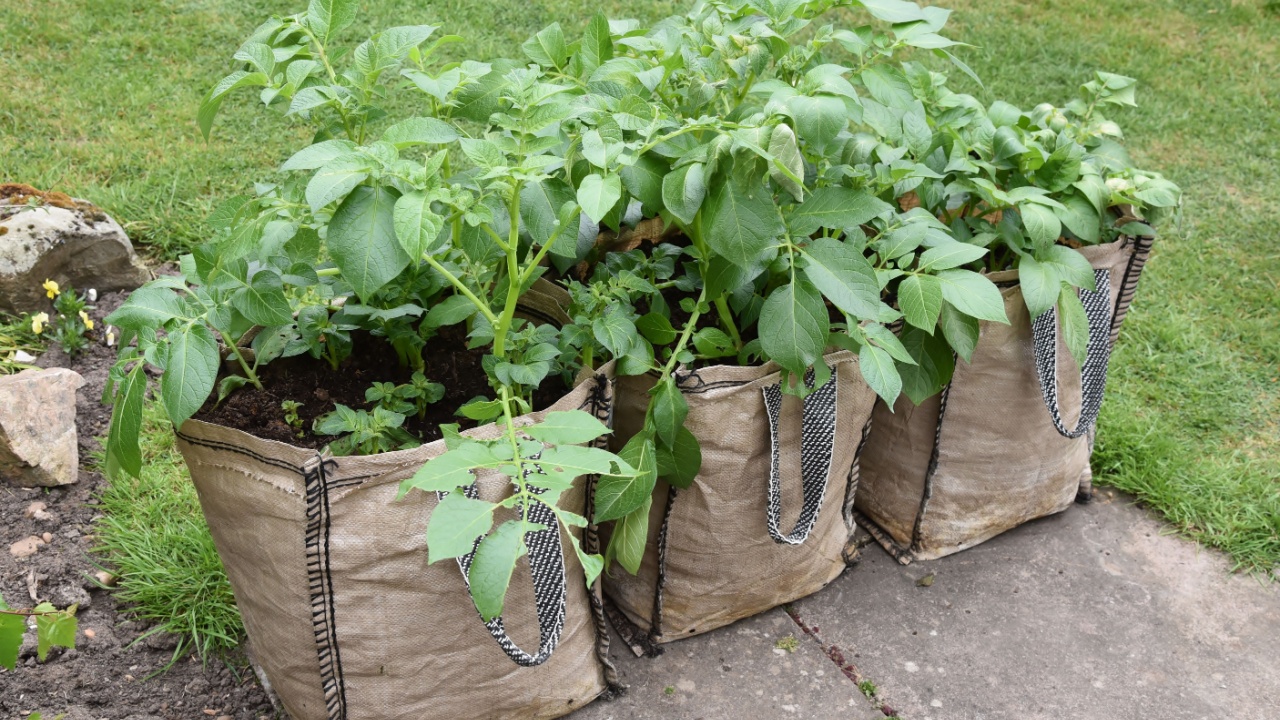
Image Credit: Shutterstock.
The two most common silent killers are a variety mismatch and an undersized container, and neither one announces itself until harvest day. Potatoes come in two fundamentally different types: determinate and indeterminate. Determinate (early-season) varieties form tubers in a single layer just above the seed potato and stop. Indeterminate varieties keep producing tubers all the way up the stem — but only if you keep burying that stem.
This distinction matters enormously in a container. A tall planter stacked with progressive layers of compost can produce impressive yields from an indeterminate variety. That same setup planted with a determinate type will produce exactly as many potatoes as it was going to produce, regardless of how much you hill it. Growing in containers without knowing your variety type is the most common reason experienced gardeners end up disappointed.
Step 1: Choose the Right Potato Variety
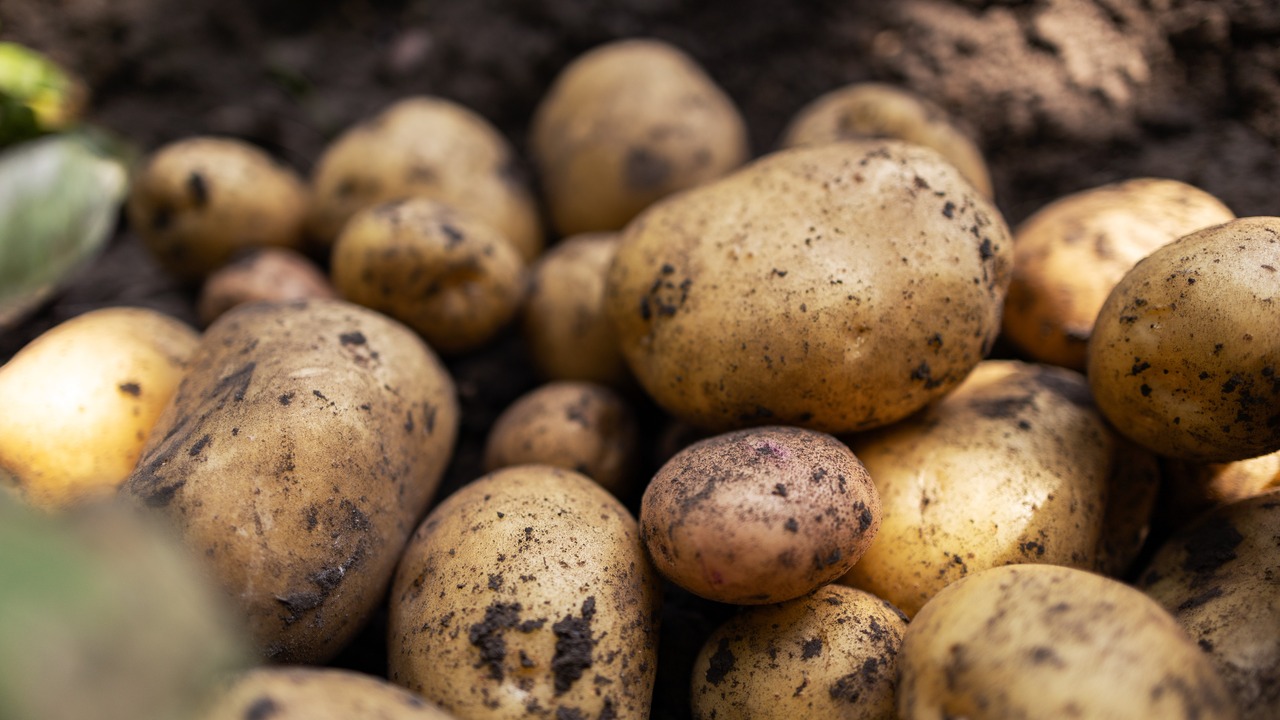
Image Credit: Shutterstock.
For container growing, start with a determinate variety if you want simplicity, or an indeterminate variety if you want to maximize yield and are willing to put in the hilling work. Determinate varieties like Yukon Gold, Red Norland, and most early fingerlings are ideal for beginners: compact, reliable, and forgiving. Indeterminate varieties can produce spectacular yields in tall containers but require consistent layering to earn that result.
According to Nicole Burke of the Gardenary, container potato growing rewards the gardener who prioritizes timing and soil depth above all else. Keep it simple your first year: choose an early or mid-season variety, a correctly sized container, and focus on the fundamentals.
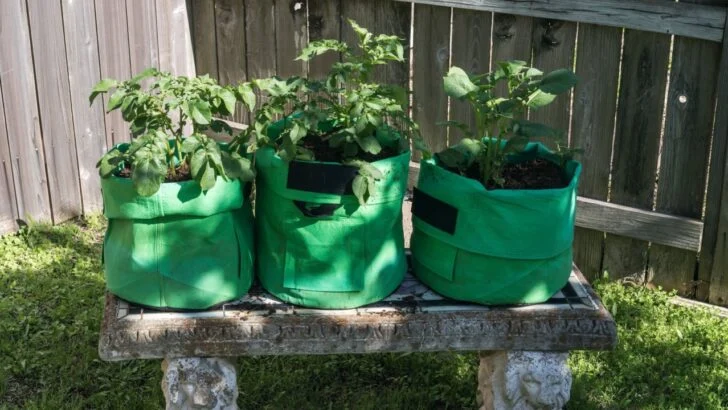
Step 2: Pick a Container That’s Actually Big Enough
Image Credit: Deposit Photos.
The single most common mistake in container potato growing is using a container that is too small. A 5-gallon bucket is not enough. Most growers who tried it came away with a few tiny potatoes and swore off containers forever. The minimum is a 10- to 15-gallon container, at least 14 inches deep, with roughly 5 gallons of growing space per plant.
Fabric grow bags, whiskey barrels, and large plastic planters all work well. Wheeled plastic trash cans in the 20- to 30-gallon range are arguably the best option for most home growers: inexpensive, spacious, and easy to tip over at harvest time. The Old Farmer’s Almanac recommends a container with “at least 14 inches deep” and a capacity of 10 to 15 gallons, noting that you’ll need roughly 5 gallons of soil volume for each plant you intend to grow.
It’s also important to note that dark-colored containers absorb significantly more heat than light-colored ones, and potato tubers stop developing above 80°F soil temperature. In warm climates or on sun-exposed patios, a black grow bag can quietly bake your crop from the inside out. Choose a light-colored container, wrap a dark one in burlap, or position containers where they receive afternoon shade during the hottest weeks.
Step 3: Nail Your Drainage Before You Plant Anything
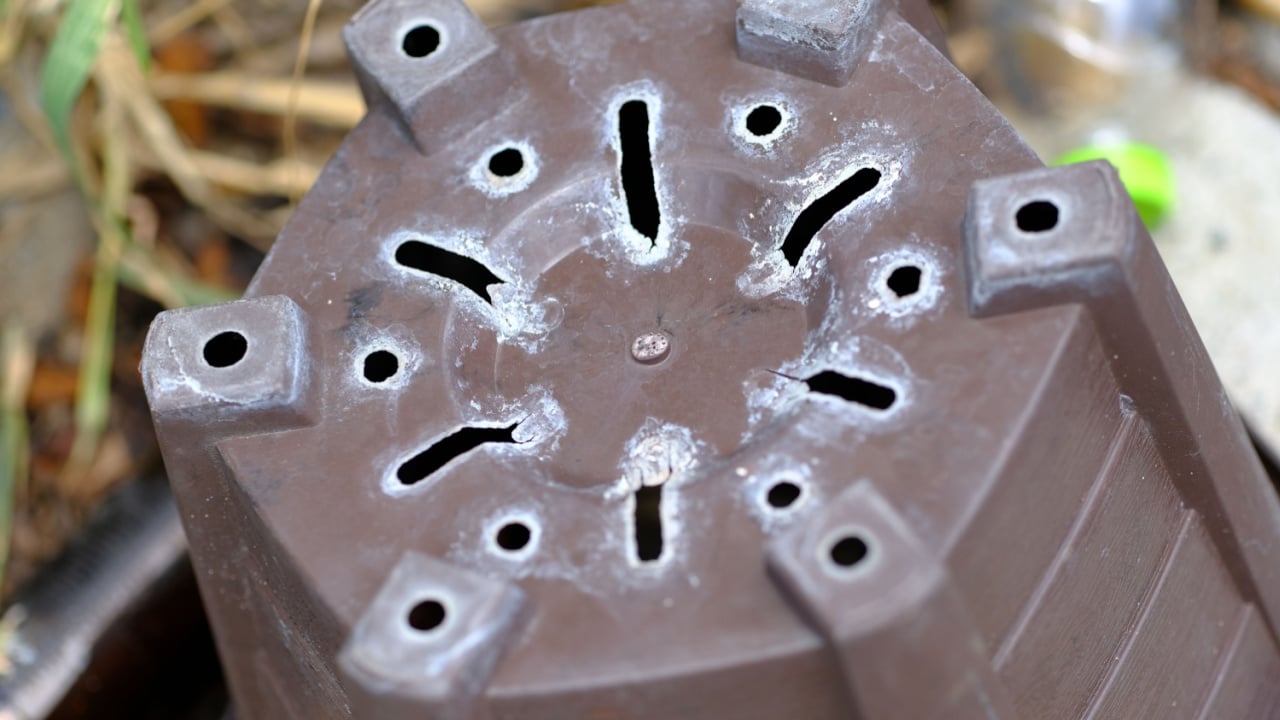
Image Credit: Shutterstock.
Potatoes rot in wet soil, and container soil stays wet longer than in-ground soil. Drill multiple holes in the base of any solid container and add several more holes one to two inches up the sides. Line the interior bottom with burlap or landscape fabric to keep soil from washing out while still allowing free drainage. This setup takes ten minutes and prevents most of the rot problems that plague new growers.
Fine Gardening advises drilling drainage holes in both the base and along the sides of the container, about one to two inches above the bottom, to ensure thorough drainage throughout the root zone, not just at the very bottom of the container.
Step 4: Don’t Use Garden Soil
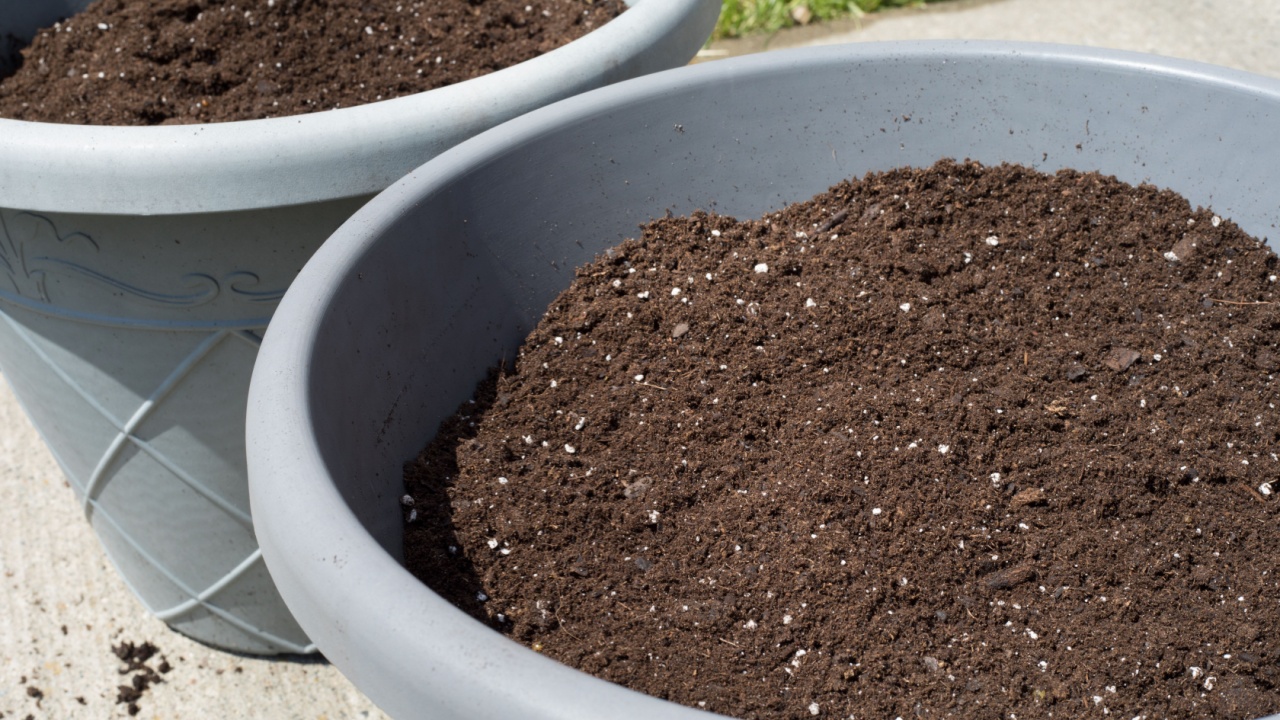
Image Credit: Shutterstock.
Never fill a container with soil taken from your garden. Garden soil compacts in containers into something close to concrete, blocks drainage, suffocates roots, and often carries soil-borne disease. Multiple growers report total crop failure after making this mistake.
The right mix is approximately 50/50 soilless potting mix and well-rotted compost. The potting mix provides structure and drainage; the compost provides fertility and moisture retention. What you’re aiming for is a medium that holds moisture without becoming waterlogged and stays loose enough for tubers to expand freely.
The Old Farmer’s Almanac is direct on this point: garden soil compacts in a container, doesn’t drain well, causes rotting, and often carries weed seeds or disease.” Potting mix, combined with compost, is the only appropriate option for container growing.
Step 5: Chit Your Seed Potatoes
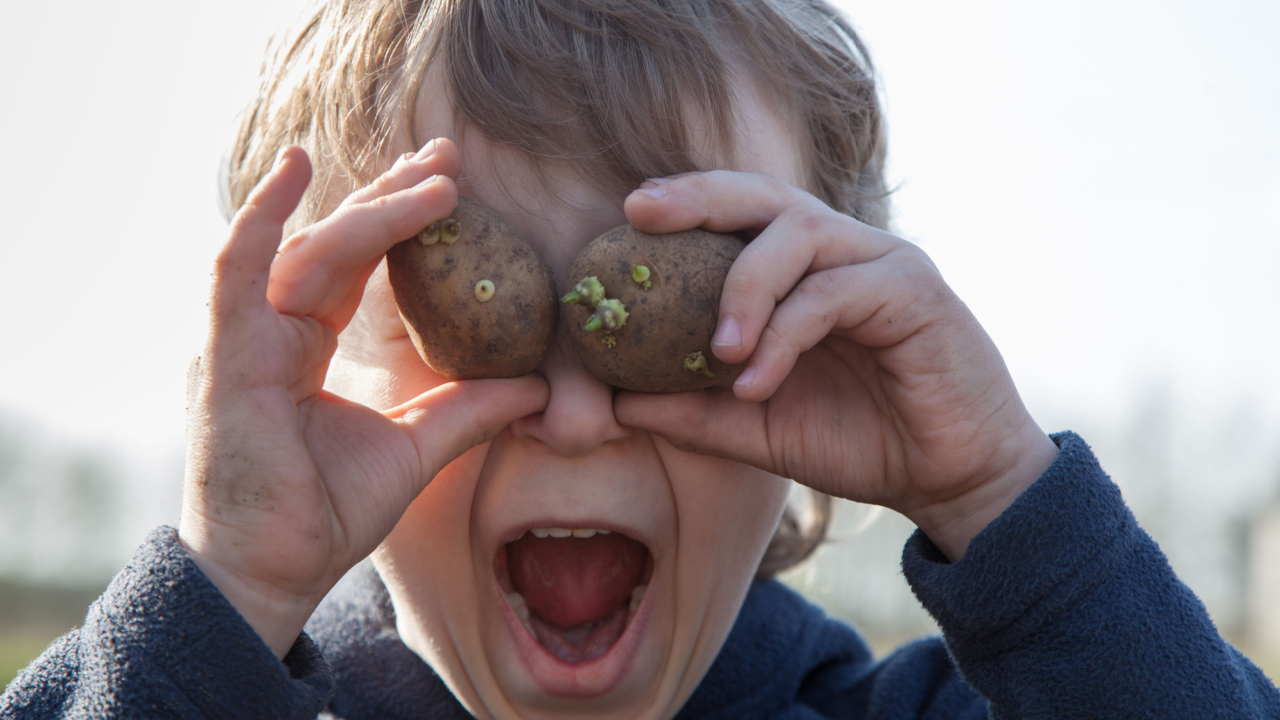
Image Credit: Shutterstock.
Set your seed potatoes eye-side up in an egg carton or on a tray and leave them in a cool, bright spot for two to four weeks. They’ll develop short, sturdy sprouts.
Chitted potatoes establish faster and tend to produce earlier, especially valuable in a short growing season. The sprouts should be compact and firm; long, leggy sprouts break during planting and offer no benefit.
Step 6: Plant Correctly From the Start

Image Credit: Shutterstock.
Place your container in its permanent sunny location before filling it; a 15-gallon container filled with moist compost is extremely heavy to move. Fill the bottom four to six inches with your soil mix, then place seed potatoes on the surface with the eyes facing up, spaced at least five to six inches apart.
Cover with another two to three inches of potting mix and water thoroughly. Leave plenty of headroom above; that space is what makes hilling possible.
Step 7: Hill Consistently as Plants Grow
Image Credit: Shutterstock.
Once plants reach four to five inches tall, add two to three inches of potting mix around each stem, burying the lower leaves but keeping the top two-thirds exposed. Repeat every time plants grow another four to five inches, working your way up to the container rim. Each buried section of stem will develop new stolons, underground runners that produce tubers. More buried stems means more potatoes. Stop hilling once flower buds appear; the plant is shifting its energy to tuber development at that point.
Step 8: Water Right, Not Just Often
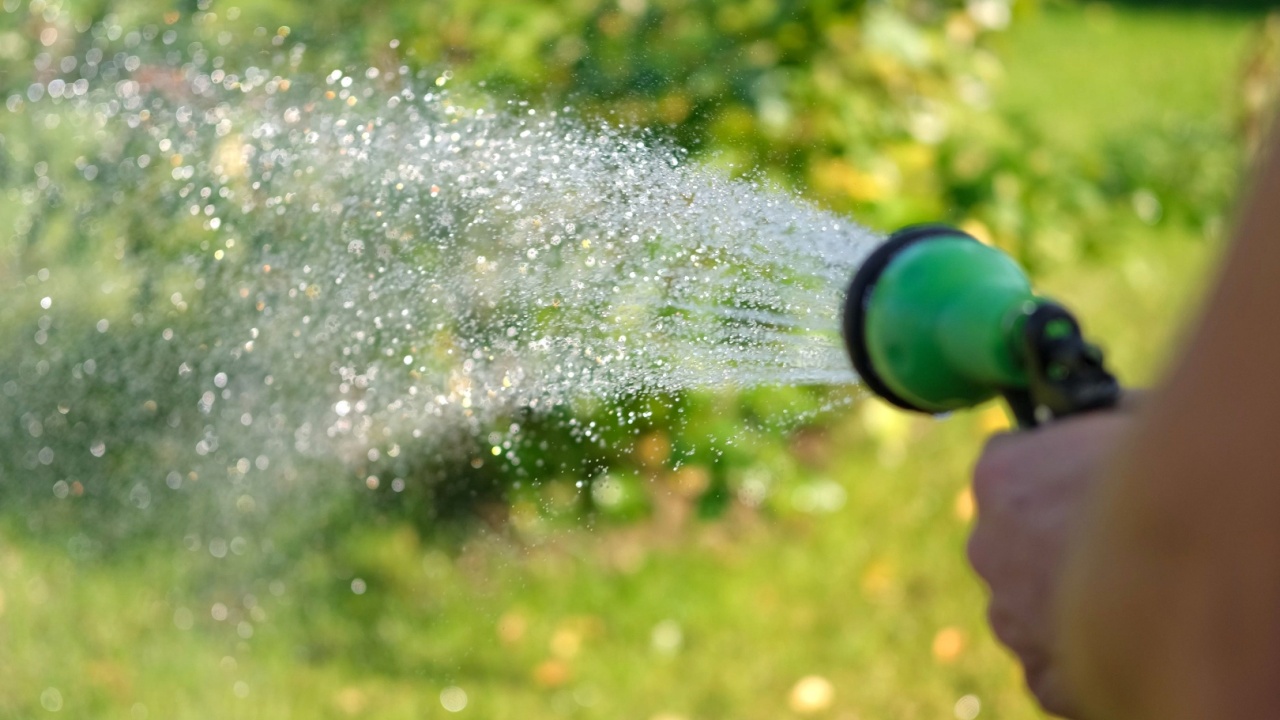
Image Credit: Shutterstock.
Check the top one to two inches of potting mix and water when it feels dry, running enough water that some escapes through the drainage holes. In summer heat, containers may need watering every day; fabric grow bags dry out faster than solid containers and need closer monitoring.
Consistent moisture matters more than volume. Overwatering causes rot and produces watery, gritty potatoes. Avoid high-nitrogen fertilizers, which drive leafy growth at the expense of tubers; diluted fish emulsion every two weeks is ideal.
Step 9: Know the Harvest Signals
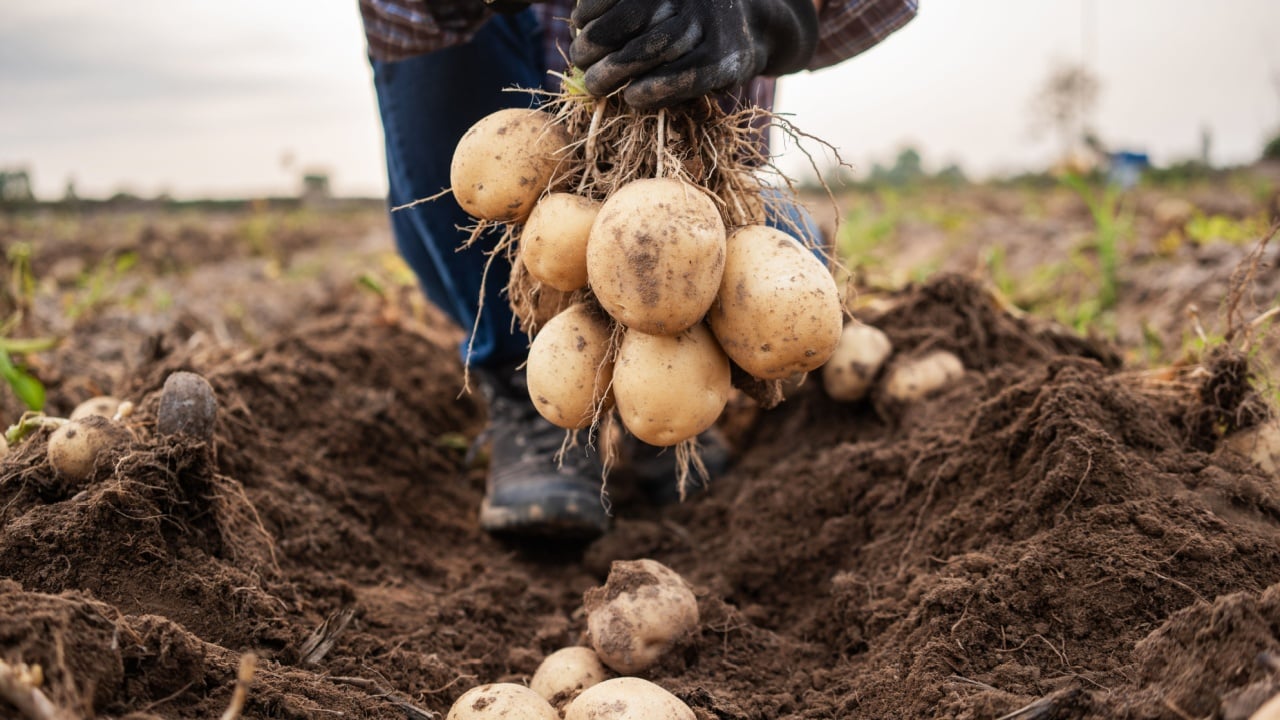
Image Credit: Shutterstock.
The foliage will yellow, then brown, then turn completely papery and dry. That full die-back is your cue. Stop watering when browning begins to help tubers set their skins. When foliage is fully dry, tip the entire container onto a tarp in a shaded spot and sift through the soil by hand.
One bonus most beginners never discover: once the plant finishes flowering, you can reach into the soil around the base and steal a few tender new potatoes without pulling the whole plant. These baby tubers are the most flavorful potatoes you will ever eat.
Step 10: Cure Before You Store
Image Credit: Shutterstock.
Freshly dug potatoes have thin, fragile skins. Without curing, they rot within a week or two of storage. After harvest, spread potatoes in a single layer somewhere cool, dark, and well-ventilated for 10 to 14 days. This toughens the skin and heals any small nicks. After curing, store in a breathable bag or box in a cool, dark place. Do not wash potatoes until you are ready to cook them; moisture triggers rot.
What a Real Container Potato Harvest Looks Like
Image Credit: Shutterstock.
Under good conditions, expect roughly five to six potatoes per seed potato planted. A well-managed 15-gallon container with three or four seed potatoes should yield 10 to 15 or more tubers. The economics are better than they appear: a container setup costs around $15 to $20 in reusable supplies the first year, and the potatoes it produces retail for $3 to $6 per pound at specialty grocers.
The Gardenary notes that growers should expect “about 5 to 6 potatoes for every one” planted under good conditions; a yield that’s modest in scale but impressive in flavor. Home-grown, freshly dug potatoes have a richness and texture that no grocery store variety can match.
Everything that determines success in container potato growing is decided in the first 20 minutes of setup. Get the variety right, get the container right, and get the soil right, and the rest is patience. Tipping that container over on harvest day and watching the tubers tumble out is one of the most satisfying moments the vegetable garden has to offer.
Read more:
Sprouted Potatoes: Kitchen Danger or Delicious Save?
The Easiest Way to Get a Huge Potato Harvest